Follow Me On Pinterest!


Feeding a hungry family doesn’t have to drain your bank account or keep you trapped in the kitchen for hours. We all know that grocery prices are climbing, but with a bit of strategic planning and the right ingredients, you can still serve a nutritious, filling meal for under $20. This budget meal prep focuses on high-volume, low-cost staples like rice, chicken thighs, and seasonal vegetables to ensure nobody leaves the table hungry. It is the ultimate solution for busy weeknights when you want a home-cooked meal that tastes like a splurge but costs less than a fast-food run.
Recipe Information
- Prep Time: 15 minutes
- Cook Time: 45 minutes
- Total Time: 60 minutes
- Servings: 4
- Difficulty: Easy
Nutrition values
- Calories: 480 kcal
- Protein: 32g
- Carbs: 55g
Why Make This Budget Meal Prep Cheap Prep Under $20 Feed Family Of 4 Cost Breakdown
This recipe is a game-changer for anyone looking to balance a tight budget with a desire for healthy eating. By utilizing chicken thighs—which are more affordable and flavorful than breasts—and pairing them with bulk-purchased rice and frozen vegetables, you maximize every penny. This meal prep is specifically designed to minimize waste; you use pantry staples you likely already have and simple fresh items that don’t cost a fortune. Plus, the one-pot cleanup saves you time, making it as efficient as it is economical. It proves that eating well on a budget is entirely possible with the right strategy.
Ingredients
- 1.5 lbs Bone-in, Skin-on Chicken Thighs (approx. $6.50)
- 2 cups Long Grain White Rice (approx. $1.00)
- 1 large Yellow Onion, diced (approx. $0.75)
- 3 cloves Garlic, minced (approx. $0.25)
- 1 bag (12 oz) Frozen Peas and Carrots (approx. $1.50)
- 4 cups Chicken Broth, made from bouillon (approx. $0.50)
- 2 tablespoons Vegetable Oil (pantry staple)
- 1 tablespoon Smoked Paprika (pantry staple)
- 1 teaspoon Dried Thyme (pantry staple)
- Salt and Black Pepper to taste
Total Estimated Cost: $10.50 – $13.00 (Prices may vary by location)
Directions
Step 1: Preparation
Start by preheating your oven to 375°F (190°C). Pat the chicken thighs dry with paper towels to ensure the skin gets crispy. Season both sides of the chicken generously with salt, black pepper, and half of the smoked paprika. Dice your onion and mince the garlic. Rinse the white rice under cold water until the water runs clear to remove excess starch, which prevents the rice from becoming gummy.
Step 2: Searing the Chicken
Heat the vegetable oil in a large, oven-safe skillet or Dutch oven over medium-high heat. Place the chicken thighs skin-side down in the hot pan. Sear for 5-7 minutes until the skin is golden brown and crispy. Flip the chicken and sear for another 3 minutes. Remove the chicken from the pan and set it aside on a plate; it will finish cooking in the oven later.
Step 3: Sautéing and Deglazing
In the same pan, leave about two tablespoons of the rendered chicken fat (discard the rest if there is too much). Add the diced onions and sauté for 3-4 minutes until translucent. Add the garlic, dried thyme, and the remaining paprika, stirring for one minute until fragrant. Pour in the rinsed rice and stir constantly for 2 minutes to “toast” the grains, which adds a nutty depth to the final dish.
Step 4: Combining and Simmering
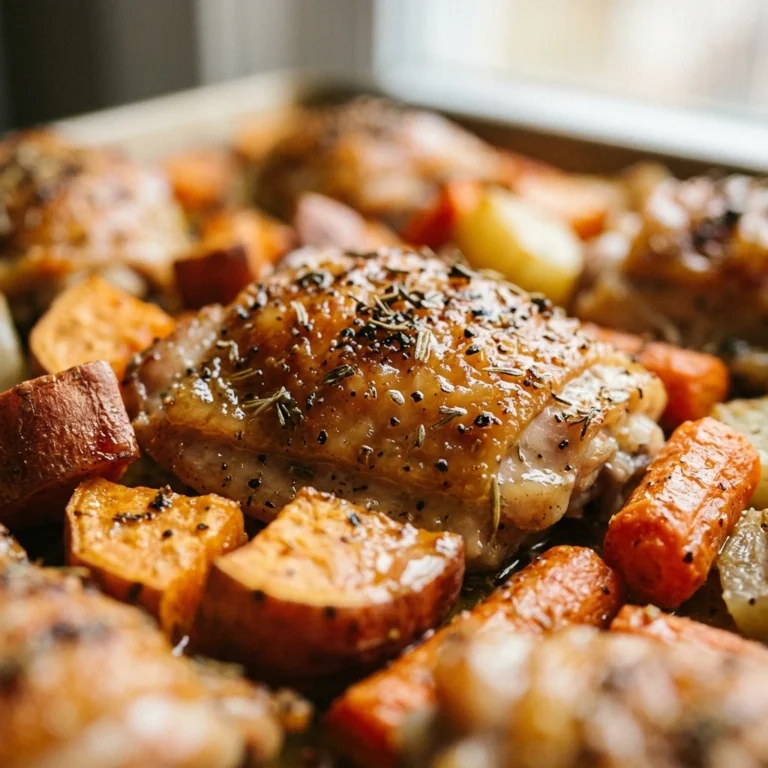
Pour the chicken broth into the pan, using a wooden spoon to scrape up any browned bits from the bottom—that is where the flavor lives! Stir in the frozen peas and carrots. Bring the liquid to a gentle simmer. Once simmering, nestle the seared chicken thighs back into the rice mixture, ensuring the crispy skin remains above the liquid line.
Step 5: Baking
Cover the skillet with a tight-fitting lid or a piece of heavy-duty aluminum foil. Place the pan in the preheated oven and bake for 25-30 minutes. Check the rice at the 25-minute mark; it should be tender and the liquid should be fully absorbed. If the chicken hasn’t reached an internal temperature of 165°F, leave it in for another 5 minutes. Remove from the oven and let it rest, covered, for 5 minutes before serving.
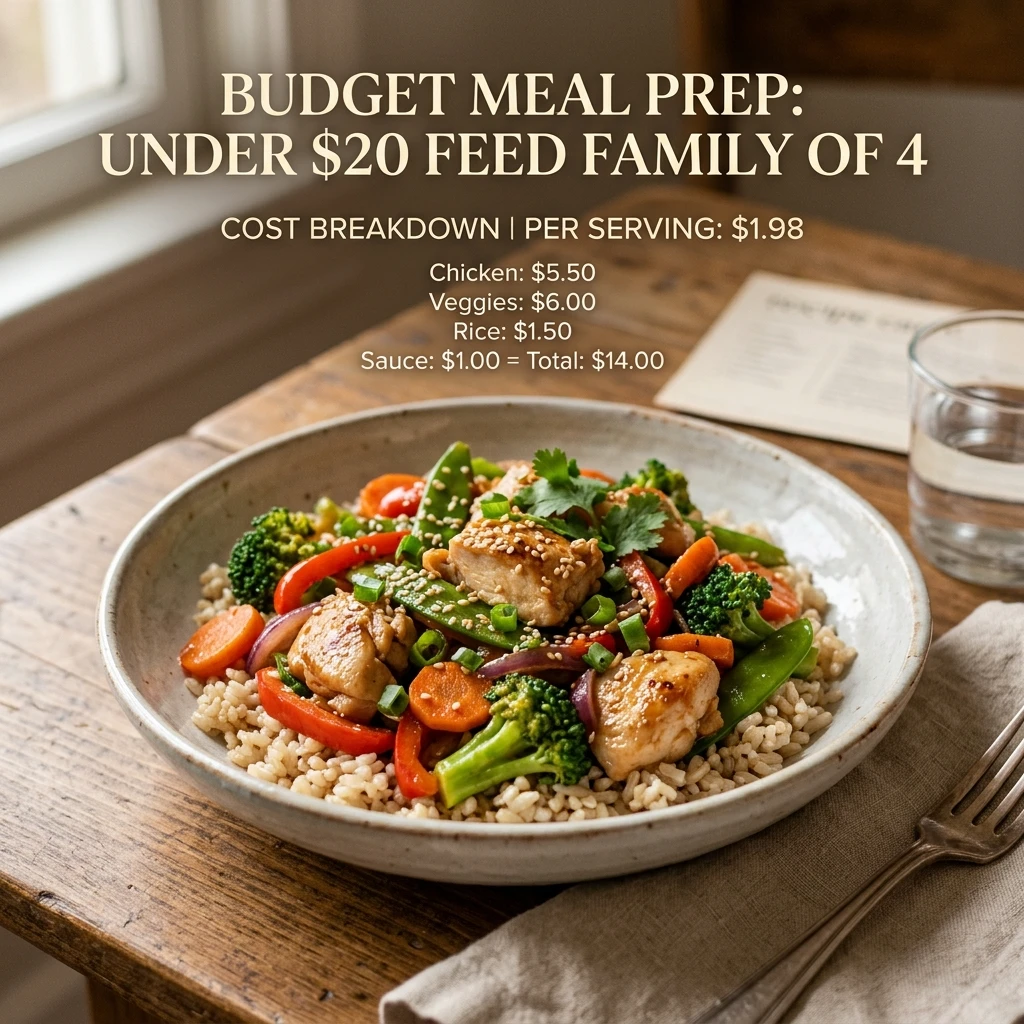
Expert Tips for Perfect Budget Meal Prep Cheap Prep Under $20 Feed Family Of 4 Cost Breakdown
- Buy in Bulk: Purchasing rice and dried beans in large bags significantly lowers the cost per serving compared to small boxes.
- Use Bouillon: Instead of buying cartons of chicken broth, use bouillon cubes or paste. It lasts longer and costs a fraction of the price.
- Save the Scraps: Keep onion skins and garlic ends in a freezer bag to make your own vegetable broth later, saving even more money.
- Crispy Skin Secret: If the chicken skin isn’t as crispy as you’d like after baking, pop the pan under the broiler for 2 minutes at the very end.
- Rice Ratio: Always follow the 2:1 liquid-to-rice ratio for white rice to ensure it doesn’t turn out mushy or burnt.
Delicious Variations
- Mexican Style: Swap the thyme and paprika for cumin and chili powder. Add a can of drained black beans for extra protein at a low cost.
- Creamy Version: Stir in a half cup of whole milk or a splash of heavy cream right before serving to make the rice extra rich.
- Vegetarian Swap: Replace the chicken with extra-firm tofu or large chunks of sweet potato and use vegetable broth.
- Lemon Herb: Add lemon zest and a squeeze of fresh lemon juice at the end for a bright, citrusy finish.
Frequently Asked Questions
Can I use chicken breasts instead of thighs?
Yes, you can use chicken breasts, but keep in mind they dry out faster than thighs. Reduce the oven cooking time by about 5-10 minutes to ensure they stay juicy. Thighs are generally recommended for budget cooking because they are cheaper and more forgiving.
How do I store the leftovers?
Store any leftovers in an airtight container in the refrigerator for up to 4 days. This meal reheats beautifully in the microwave or on the stovetop with a small splash of water to loosen the rice.
Is it possible to freeze this meal?
Absolutely! You can freeze the cooked rice and chicken for up to 3 months. Thaw it overnight in the fridge before reheating. The texture of the vegetables might soften slightly, but the flavor will remain excellent.
What if I don’t have an oven-safe skillet?
If you don’t have a skillet that can go in the oven, simply perform the stovetop steps in a regular pan, then transfer everything to a greased 9×13 baking dish. Cover tightly with foil before placing it in the oven.
Can I use brown rice instead?
You can use brown rice, but you will need to increase the liquid by about half a cup and increase the baking time to 45-50 minutes, as brown rice takes longer to cook and absorbs more moisture.
Conclusion
Creating a delicious, family-sized meal for under $20 is a rewarding way to manage your household budget without sacrificing flavor. This chicken and rice bake is a testament to the power of simple ingredients and smart cooking techniques. It fills the kitchen with a wonderful aroma and fills every plate with a balanced mix of protein, grains, and greens. Whether you are meal prepping for a busy week or sitting down for a Sunday dinner, this recipe is sure to become a staple in your rotation. Enjoy the savings and the satisfied smiles around your dinner table!
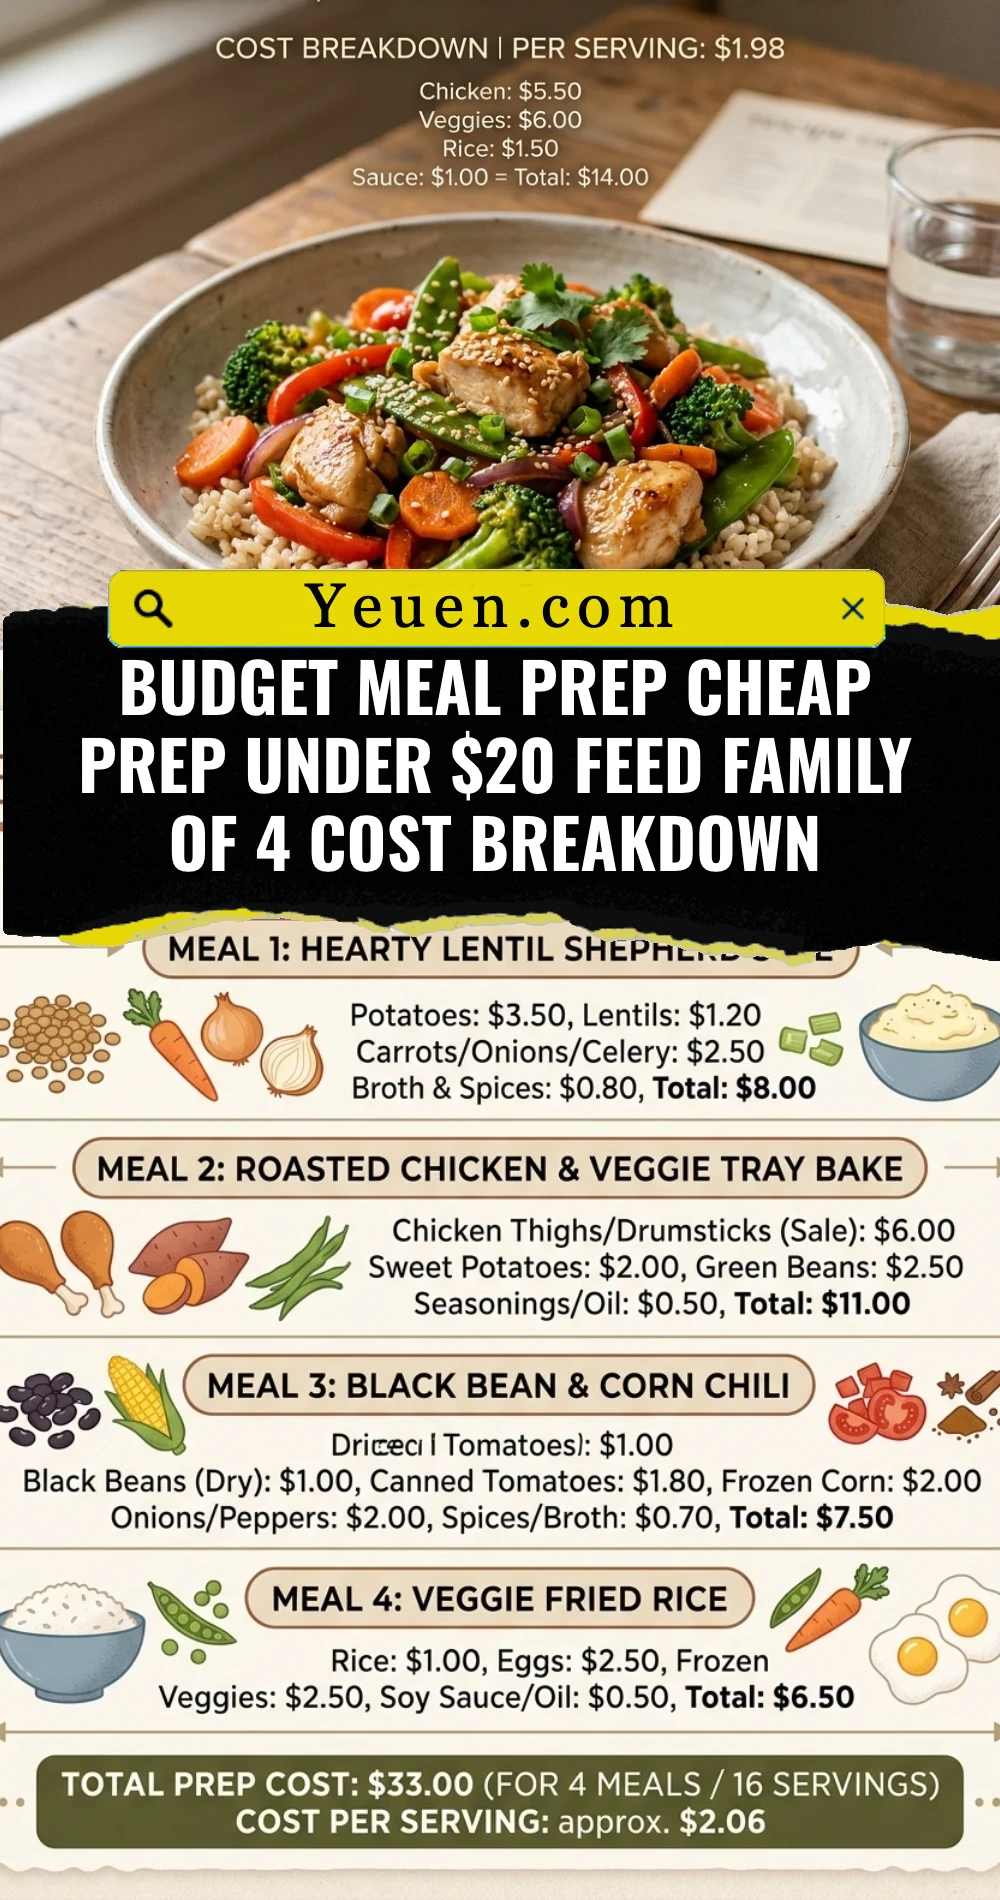
Budget Meal Prep Cheap Prep Under $20 Feed Family Of 4 Cost Breakdown
- Total Time: 1 hour
- Diet: Standard
Ingredients
Scale
- 1.5 lbs Bone-in, Skin-on Chicken Thighs (approx. $6.50)
- 2 cups Long Grain White Rice (approx. $1.00)
- 1 large Yellow Onion, diced (approx. $0.75)
- 3 cloves Garlic, minced (approx. $0.25)
- 1 bag (12 oz) Frozen Peas and Carrots (approx. $1.50)
- 4 cups Chicken Broth, made from bouillon (approx. $0.50)
- 2 tablespoons Vegetable Oil (pantry staple)
- 1 tablespoon Smoked Paprika (pantry staple)
- 1 teaspoon Dried Thyme (pantry staple)
- Salt and Black Pepper to taste
Instructions
- Step 1: Preparation – Start by preheating your oven to 375°F (190°C). Pat the chicken thighs dry with paper towels to ensure the skin gets crispy. Season both sides of the chicken generously with salt, black pepper, and half of the smoked paprika. Dice your onion and mince the garlic. Rinse the white rice under cold water until the water runs clear to remove excess starch, which prevents the rice from becoming gummy.
- Step 2: Searing the Chicken – Heat the vegetable oil in a large, oven-safe skillet or Dutch oven over medium-high heat. Place the chicken thighs skin-side down in the hot pan. Sear for 5-7 minutes until the skin is golden brown and crispy. Flip the chicken and sear for another 3 minutes. Remove the chicken from the pan and set it aside on a plate; it will finish cooking in the oven later.
- Step 3: Sautéing and Deglazing – In the same pan, leave about two tablespoons of the rendered chicken fat (discard the rest if there is too much). Add the diced onions and sauté for 3-4 minutes until translucent. Add the garlic, dried thyme, and the remaining paprika, stirring for one minute until fragrant. Pour in the rinsed rice and stir constantly for 2 minutes to “toast” the grains, which adds a nutty depth to the final dish.
- Step 4: Combining and Simmering – Pour the chicken broth into the pan, using a wooden spoon to scrape up any browned bits from the bottom—that is where the flavor lives! Stir in the frozen peas and carrots. Bring the liquid to a gentle simmer. Once simmering, nestle the seared chicken thighs back into the rice mixture, ensuring the crispy skin remains above the liquid line.
- Step 5: Baking – Cover the skillet with a tight-fitting lid or a piece of heavy-duty aluminum foil. Place the pan in the preheated oven and bake for 25-30 minutes. Check the rice at the 25-minute mark; it should be tender and the liquid should be fully absorbed. If the chicken hasn’t reached an internal temperature of 165°F, leave it in for another 5 minutes. Remove from the oven and let it rest, covered, for 5 minutes before serving.
- Cook Time: 60 minutes