Follow Me On Pinterest!


Imagine a world where you do not need a whisk, a mixing bowl, or even a basic understanding of baking chemistry to create a bakery-worthy dessert. That is the magic of the dump cake. This lemon-flavored masterpiece is the ultimate solution for busy weeknights, last-minute potlucks, or those late-night sugar cravings. By combining the zesty brightness of lemon with the convenience of a box mix, you create a dessert that is buttery, tart, and incredibly satisfying. Whether you are a kitchen novice or a seasoned pro looking for a shortcut, this recipe proves that sometimes the simplest methods yield the most delicious results.
Recipe Information
- Prep Time: 5 minutes
- Cook Time: 40 minutes
- Total Time: 45 minutes
- Servings: 12 servings
- Difficulty: Easy
Nutrition values
- Calories: 310 kcal
- Protein: 2g
- Carbs: 48g
Why Make This Dump Cakes Lemon Easy 3 Ingredient Box Mix Cake Hacks No Fail No Bake Cakes Bakery Style Chocolate Cakes
You should make this recipe because it eliminates all the stress usually associated with baking. There is no measuring of flour, no cracking eggs, and absolutely no chance of over-mixing the batter. This specific lemon version provides a refreshing alternative to heavy, overly sweet desserts. The “dump and bake” method ensures a perfect texture every time—a soft, fruit-filled bottom with a crisp, buttery golden crust. It is a versatile “no-fail” hack that allows you to transform a standard box of cake mix into something that tastes like it came from a high-end bakery. Plus, once you master the technique, you can apply these same hacks to create chocolate versions or even no-bake refrigerator styles.
Ingredients
- 2 cans (21 ounces each) Lemon Pie Filling
- 1 box (15.25 ounces) Yellow or Lemon Cake Mix
- 3/4 cup (1.5 sticks) Unsalted Butter, thinly sliced into squares
- Optional: Powdered sugar for dusting or whipped cream for serving
Directions
Step 1: Preparation
Preheat your oven to 350°F (175°C). Take a 9×13-inch baking dish and spray it lightly with non-stick cooking spray. Open your cans of lemon pie filling and pour them directly into the bottom of the dish. Use a spatula to spread the filling evenly so it covers the entire base of the pan. This creates the moist, tart foundation for your cake.
Step 2: Layering the Mix
Open the box of cake mix and sprinkle the dry powder evenly over the top of the lemon filling. Do not stir the layers together! Use a spoon or your hand to gently level the dry mix so there are no large mounds. The separation of layers is what creates the unique texture of a dump cake. The moisture from the fruit filling will steam the bottom of the cake mix, while the butter crisp the top.
Step 3: Adding the Butter
Place your thin slices of butter in rows across the top of the dry cake mix. Try to cover as much of the surface area as possible. This is the most important “hack” for a bakery-style finish. As the cake bakes, the butter melts into the cake mix, creating a rich, golden, and slightly crunchy crust. If you have large patches of dry mix without butter, those areas may remain powdery after baking.
Step 4: Baking
Place the dish in the center rack of your preheated oven. Bake for 35 to 40 minutes. You are looking for the edges to bubble and the top to turn a beautiful golden brown. If the center still looks a bit pale, give it another 5 minutes. Once finished, remove the cake from the oven and let it sit for at least 10 to 15 minutes. This rest period allows the fruit filling to set so it doesn’t run everywhere when you scoop it out.
Step 5: Plating
Scoop the warm cake into bowls. For a truly elevated experience, top each serving with a dollop of whipped cream or a scoop of vanilla bean ice cream. The cold cream against the hot, zesty lemon cake creates a perfect balance of temperatures and flavors. You can also dust the top with a little powdered sugar for a professional bakery look.
Expert Tips for Perfect Dump Cakes Lemon Easy 3 Ingredient Box Mix Cake Hacks No Fail No Bake Cakes Bakery Style Chocolate Cakes
To ensure your cake comes out perfectly every time, make sure your butter is cold when you slice it. Cold butter is easier to cut into thin, uniform squares, which helps you cover more of the cake mix surface. Another great tip is to use a fork to gently “tamp” down any visible dry spots of cake mix halfway through the baking process if the butter isn’t spreading evenly. For a deeper flavor, try using a “Bakery Style” hack by adding a teaspoon of lemon zest over the pie filling before adding the cake mix. This intensifies the citrus profile significantly.
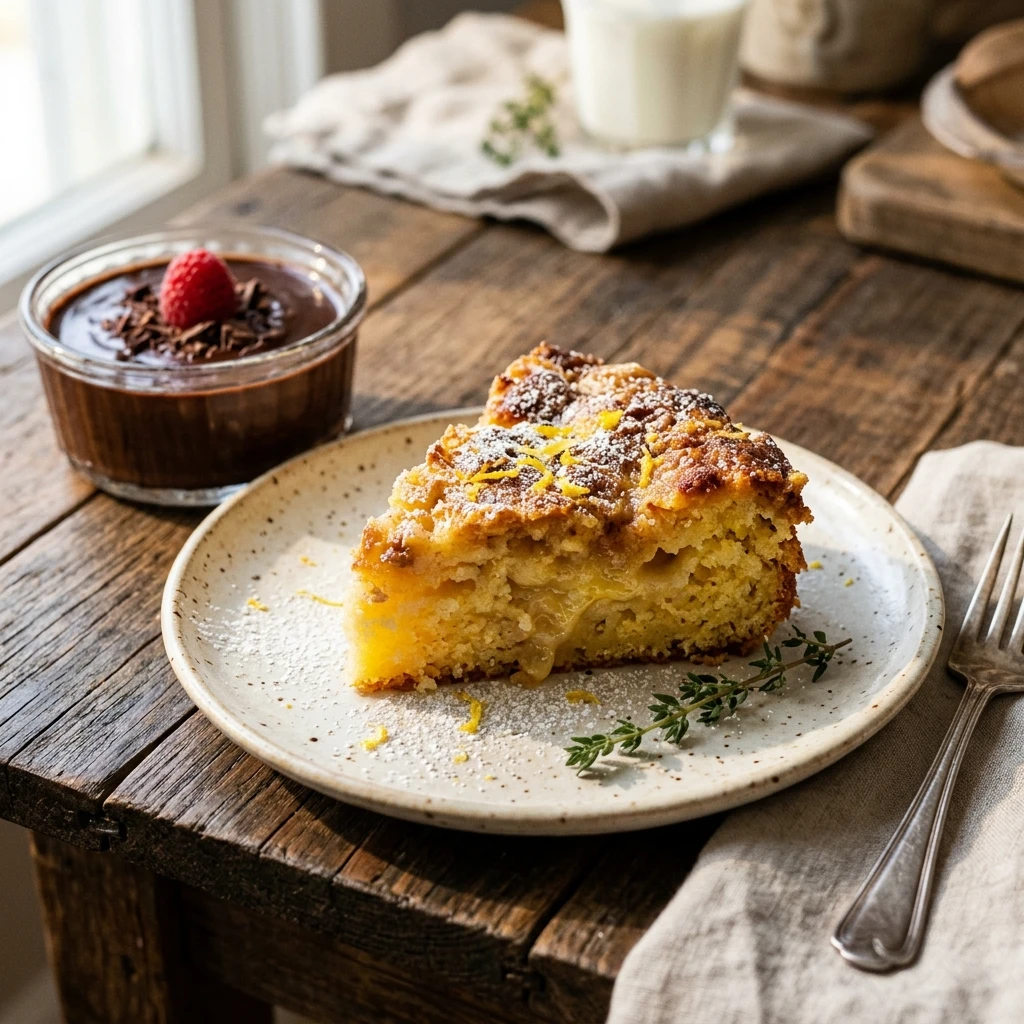
Delicious Variations
- Chocolate Lovers Hack: Swap the lemon pie filling for cherry filling and use a Devil’s Food chocolate cake mix. Top with chocolate chips before baking for a decadent Black Forest dump cake.
- No-Bake Refrigerator Style: You can adapt this into a no-bake “icebox” cake by using layers of graham crackers, lemon curd, and whipped topping, though the texture will be creamy rather than crusty.
- Slow Cooker Version: Follow the same layering steps in a greased slow cooker. Cook on high for 2 hours or low for 4 hours for a hands-off dessert.
- Tropical Twist: Mix a small can of crushed pineapple with the lemon filling for a bright, citrusy “Sunrise” cake.
Frequently Asked Questions
Can I use melted butter instead of sliced butter?
Yes, you can melt the butter and pour it over the top. However, slicing the butter usually results in a more even, crispier crust. If you pour melted butter, try to use a steady hand to cover as much of the dry mix as possible.
Do I need to mix the ingredients together?
No! The number one rule of a dump cake is “do not stir.” The layers need to remain separate to achieve the correct texture. The moisture from the fruit filling cooks the bottom of the mix while the butter handles the top.
How should I store leftovers?
Store any leftovers in an airtight container in the refrigerator for up to 4 days. You can reheat individual portions in the microwave for 20-30 seconds to bring back that “fresh out of the oven” warmth.
Can I make this gluten-free?
Absolutely. Simply substitute the standard cake mix with your favorite gluten-free yellow or lemon cake mix. Most fruit pie fillings are naturally gluten-free, but always check the label to be certain.
What if I don’t have lemon pie filling?
You can use lemon curd mixed with a little water or lemon juice to thin it out. Alternatively, any fruit pie filling like blueberry, raspberry, or strawberry pairs beautifully with a lemon cake mix for a mixed-fruit dessert.
Conclusion
This Dump Cakes Lemon Easy 3 Ingredient Box Mix recipe is a testament to the fact that great desserts don’t have to be complicated. With just a few pantry staples and zero dishes to wash (aside from the baking pan), you can serve a treat that rivals any bakery. Its bright citrus flavor and buttery crust make it a crowd-pleaser for any season. Give this no-fail hack a try today and see just how easy it is to become the hero of the dessert table!
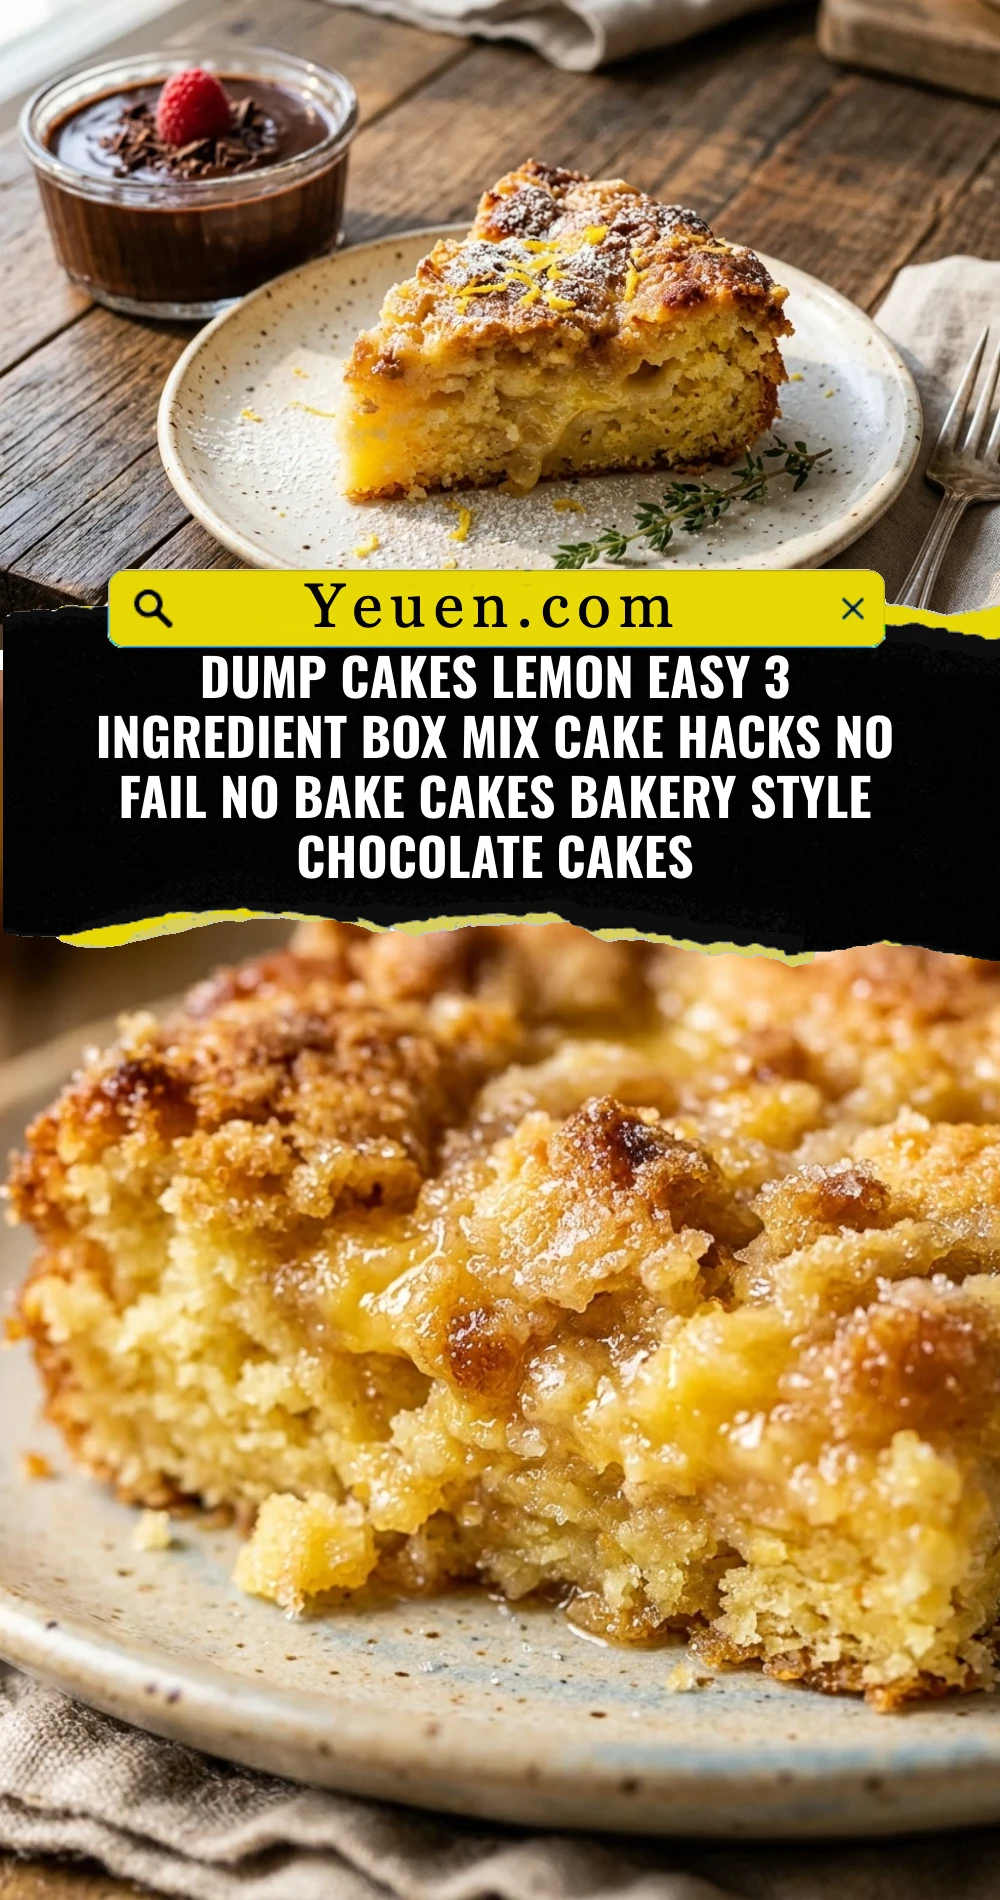

Dump Cakes Lemon Easy 3 Ingredient Box Mix Cake Hacks No Fail No Bake Cakes Bakery Style Chocolate Cakes
- Total Time: 45 minutes
- Diet: Vegetarian, Gluten-Free Option
Ingredients
Scale
- 2 cans (21 ounces each) Lemon Pie Filling
- 1 box (15.25 ounces) Yellow or Lemon Cake Mix
- 3/4 cup (1.5 sticks) Unsalted Butter, thinly sliced into squares
- Optional: Powdered sugar for dusting or whipped cream for serving
Instructions
- Preheat your oven to 350°F (175°C). Take a 9×13-inch baking dish and spray it lightly with non-stick cooking spray. Open your cans of lemon pie filling and pour them directly into the bottom of the dish. Use a spatula to spread the filling evenly so it covers the entire base of the pan. This creates the moist, tart foundation for your cake.
- Open the box of cake mix and sprinkle the dry powder evenly over the top of the lemon filling. Do not stir the layers together! Use a spoon or your hand to gently level the dry mix so there are no large mounds. The separation of layers is what creates the unique texture of a dump cake. The moisture from the fruit filling will steam the bottom of the cake mix, while the butter crisp the top.
- Place your thin slices of butter in rows across the top of the dry cake mix. Try to cover as much of the surface area as possible. This is the most important “hack” for a bakery-style finish. As the cake bakes, the butter melts into the cake mix, creating a rich, golden, and slightly crunchy crust. If you have large patches of dry mix without butter, those areas may remain powdery after baking.
- Place the dish in the center rack of your preheated oven. Bake for 35 to 40 minutes. You are looking for the edges to bubble and the top to turn a beautiful golden brown. If the center still looks a bit pale, give it another 5 minutes. Once finished, remove the cake from the oven and let it sit for at least 10 to 15 minutes. This rest period allows the fruit filling to set so it doesn’t run everywhere when you scoop it out.
- Scoop the warm cake into bowls. For a truly elevated experience, top each serving with a dollop of whipped cream or a scoop of vanilla bean ice cream. The cold cream against the hot, zesty lemon cake creates a perfect balance of temperatures and flavors. You can also dust the top with a little powdered sugar for a professional bakery look.
- Cook Time: 45 minutes