Follow Me On Pinterest!


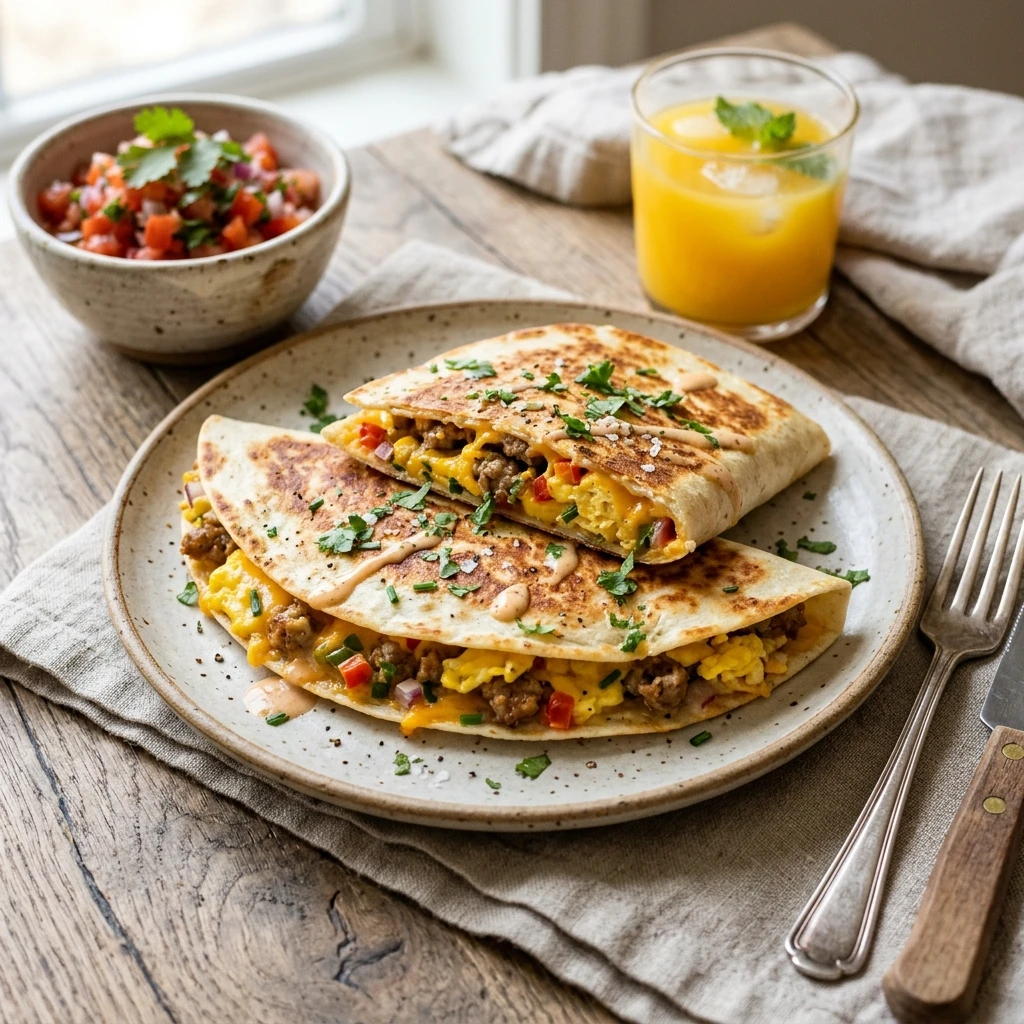
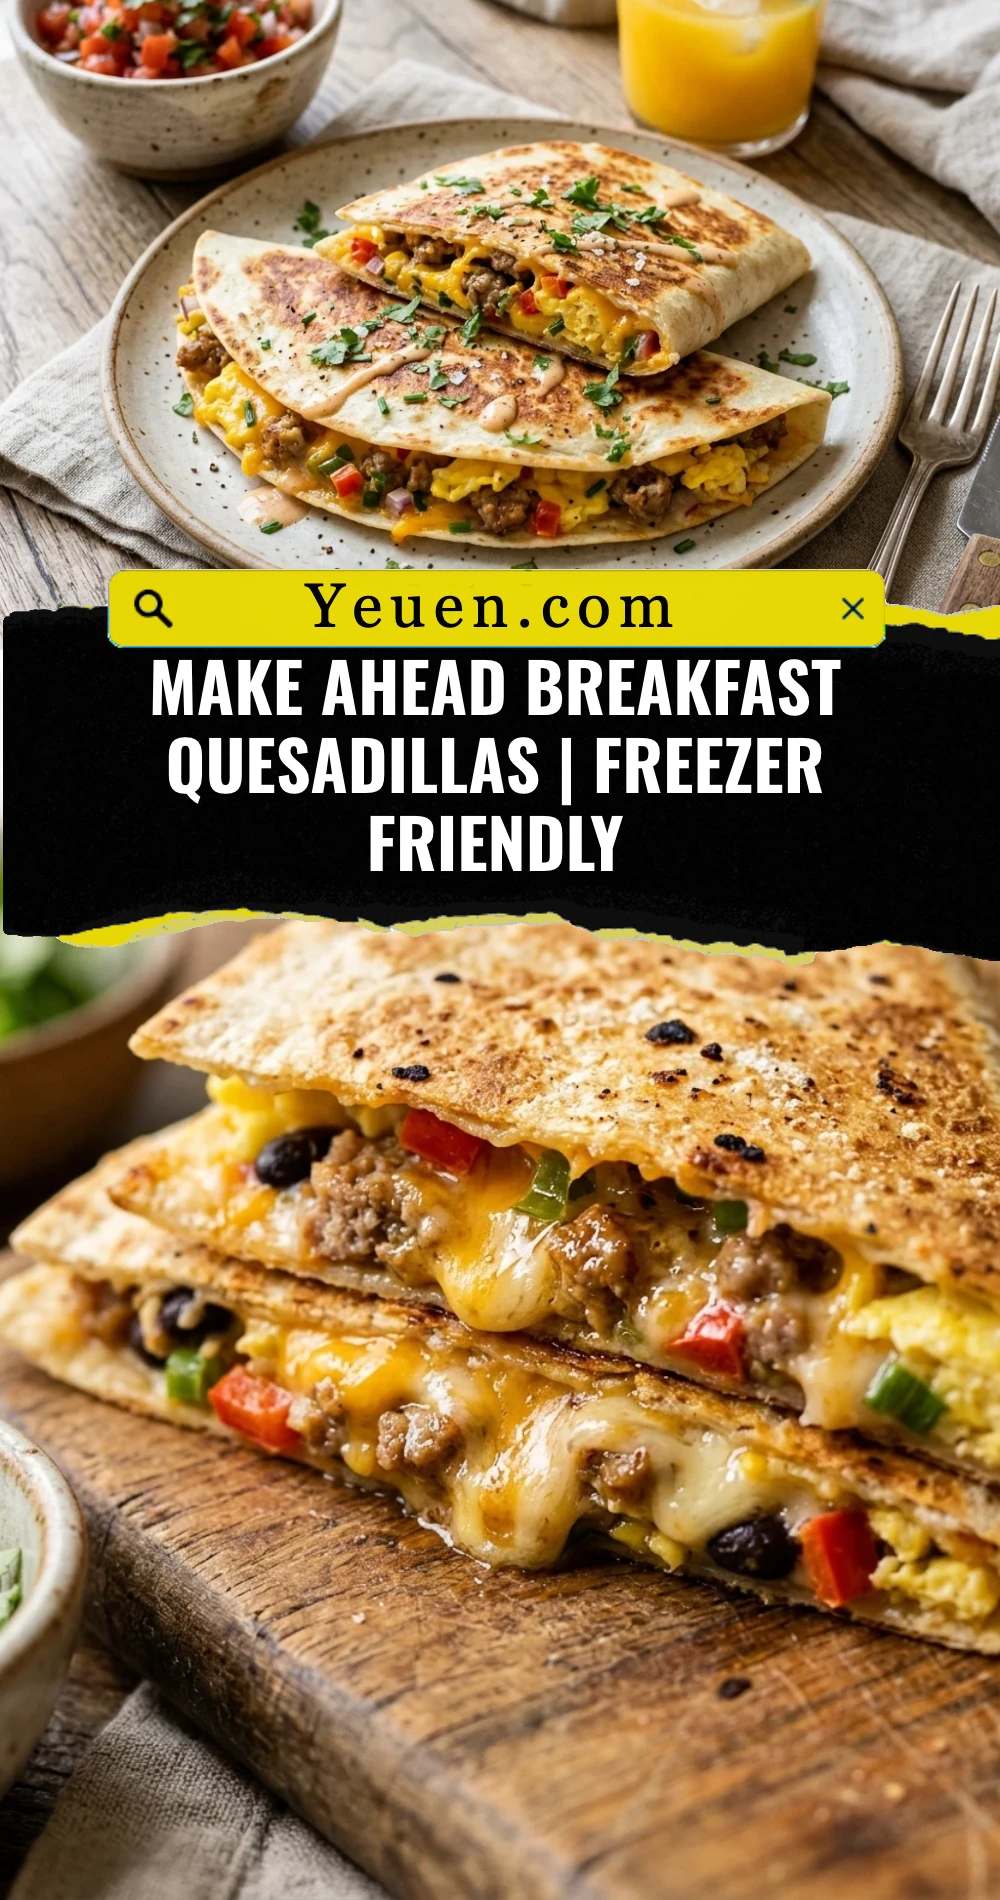
Mornings are often a whirlwind of lost shoes, early alarms, and the constant struggle to get out the door on time. Finding a breakfast that is both satisfying and quick usually feels like an impossible task. Enter these Make Ahead Breakfast Quesadillas. They are the ultimate solution for anyone who craves a hot, cheesy, protein-packed meal without the morning mess. By spending a little time on the weekend preparing a batch, you can enjoy a gourmet-style breakfast in minutes during the work week. These quesadillas are crispy on the outside, fluffy and savory on the inside, and hold up perfectly in the freezer. Say goodbye to boring cereal and hello to your new favorite morning routine.
Recipe Information
- Prep Time: 15 minutes
- Cook Time: 15 minutes
- Total Time: 30 minutes
- Servings: 8 quesadillas
- Difficulty: Easy
Nutrition values
- Calories: 345 kcal
- Protein: 19g
- Carbs: 26g
Why Make This Make Ahead Breakfast Quesadillas | Freezer Friendly
There are countless reasons to add this recipe to your meal prep rotation. First and foremost, they are incredibly convenient. Having a stash of these in your freezer means you always have a healthy, filling meal ready to go. Unlike many pre-packaged breakfast options, you control exactly what goes inside, allowing you to use high-quality proteins and fresh vegetables. They are also extremely budget-friendly, utilizing simple pantry staples like eggs and tortillas. Plus, they are a hit with both kids and adults, making them a versatile choice for the whole family. Whether you are eating at the kitchen table or on your commute, these quesadillas deliver flavor and energy to start your day right.
Ingredients
- 8 large flour tortillas (burrito size)
- 10 large eggs, beaten
- 1 lb breakfast sausage or chopped bacon
- 2 cups shredded sharp cheddar cheese
- 1 red bell pepper, finely diced
- 1/2 small yellow onion, finely diced
- 1 tablespoon butter
- 1/2 teaspoon salt
- 1/4 teaspoon black pepper
- Optional: Sliced green onions or chopped cilantro
Directions
Step 1: Sauté the Aromatics and Meat
Place a large skillet over medium heat. Add your breakfast sausage or bacon. Cook until browned and crispy, breaking the meat into small crumbles as it cooks. If you are using sausage, ensure it is fully cooked through. Add the diced bell peppers and onions to the skillet. Sauté for about 4-5 minutes until the vegetables are soft and the onions are translucent. Remove the mixture from the skillet and set it aside in a bowl, draining any excess grease.
Step 2: Scramble the Eggs
Wipe out the skillet and return it to medium-low heat. Melt the butter in the pan. Pour in the beaten eggs, salt, and pepper. Use a spatula to gently move the eggs around, creating soft curds. Cook them until they are just set but still slightly moist—do not overcook them, as they will be reheated later. Once finished, fold the meat and vegetable mixture back into the eggs. Remove from heat and let the mixture cool for about 10 minutes. This prevents the tortillas from getting soggy.
Step 3: Assemble the Quesadillas
Lay a flour tortilla flat on your work surface. Sprinkle about 2 tablespoons of shredded cheese over one-half of the tortilla. Spoon a generous portion of the egg and meat mixture over the cheese. Top with another 2 tablespoons of cheese—the cheese acts as “glue” to hold everything together. Fold the tortilla in half to create a half-moon shape. Repeat this process for all eight tortillas.
Step 4: Crisp the Tortillas
Place a clean skillet or griddle over medium heat. Lightly grease with a tiny bit of butter or cooking spray. Place the assembled quesadillas in the pan (you may need to do this in batches). Cook for 2-3 minutes per side until the tortilla is golden brown and the cheese is fully melted. Remove from the heat and let them cool completely on a wire rack if you plan to freeze them.
Step 5: Freezing and Storage
Once the quesadillas are completely cool, wrap each one individually in parchment paper or plastic wrap. Place the wrapped quesadillas into a large, freezer-safe gallon bag. Squeeze out as much air as possible before sealing. Label the bag with the date. These will stay fresh in the freezer for up to 3 months.
Expert Tips for Perfect Make Ahead Breakfast Quesadillas | Freezer Friendly
- Cool Before Wrapping: Never wrap a warm quesadilla. The steam will trap moisture inside the wrapping, leading to a soggy texture when you reheat it later.
- Use Block Cheese: If possible, grate your own cheese. Pre-shredded cheese is coated in starch to prevent clumping, which can stop it from melting smoothly and acting as a binder.
- Don’t Overstuff: It is tempting to pile on the fillings, but overstuffing makes the quesadillas difficult to flip and messy to eat on the go.
- Drain the Grease: Make sure to drain your meat and sautéed veggies thoroughly. Excess oil will soak into the tortilla and make it greasy rather than crispy.
- Flash Freeze: For the best results, freeze them flat on a baking sheet for an hour before bagging them. This ensures they don’t stick together.
Delicious Variations
- Southwest Style: Add black beans, corn, and a dash of cumin to the egg mixture. Serve with salsa and avocado.
- Vegetarian Delight: Swap the meat for sautéed spinach, mushrooms, and sun-dried tomatoes. Use feta cheese for a Mediterranean twist.
- Spicy Kick: Incorporate diced jalapenos or a drizzle of hot sauce into the filling. Use Pepper Jack cheese for extra heat.
- Healthy Swap: Use whole wheat tortillas and egg whites to reduce calories and increase fiber content.
- Meat Lover’s: Combine ham, bacon, and sausage for a hearty, protein-heavy version of this classic breakfast.
Frequently Asked Questions
How do I reheat these from frozen?
For the best results, reheat in an air fryer at 350°F for about 5-7 minutes. You can also use a toaster oven or a dry skillet over medium heat. If you are in a rush, microwave for 60-90 seconds, though the tortilla will be softer.
Can I use corn tortillas instead of flour?
While you can use corn tortillas, they tend to crack more easily when folded and frozen. Flour tortillas are much more pliable and hold up better to the freezing and reheating process.
How long do these last in the refrigerator?
If you don’t want to freeze them, you can store them in an airtight container in the fridge for up to 4 days. They make a great quick lunch or dinner as well!
Can I add fresh avocado before freezing?
No, avocado does not freeze well inside a quesadilla and will turn brown and mushy. It is best to add fresh avocado or guacamole as a topping after you have reheated the quesadilla.
What is the best way to prevent sogginess?
The key is ensuring the filling is not too wet. Sauté your vegetables until their moisture has evaporated and let the entire filling cool down before you assemble the tortillas.
Conclusion
Mastering the art of the Make Ahead Breakfast Quesadilla will change your morning game forever. These freezer-friendly treats offer the perfect balance of convenience, nutrition, and pure comfort. By taking a few minutes to prep, you ensure that even your busiest days start with a hot, delicious meal that keeps you full until lunch. Don’t be afraid to experiment with different fillings and spices to make this recipe your own. Store a batch in your freezer today and enjoy the peace of mind that comes with a ready-to-eat breakfast!
Make Ahead Breakfast Quesadillas | Freezer Friendly
- Total Time: 30 minutes
- Diet: High-Protein
Ingredients
Scale
- 8 large flour tortillas (burrito size)
- 10 large eggs, beaten
- 1 lb breakfast sausage or chopped bacon
- 2 cups shredded sharp cheddar cheese
- 1 red bell pepper, finely diced
- 1/2 small yellow onion, finely diced
- 1 tablespoon butter
- 1/2 teaspoon salt
- 1/4 teaspoon black pepper
- Optional: Sliced green onions or chopped cilantro
Instructions
- Step 1: Sauté the Aromatics and Meat: Place a large skillet over medium heat. Add your breakfast sausage or bacon. Cook until browned and crispy, breaking the meat into small crumbles as it cooks. If you are using sausage, ensure it is fully cooked through. Add the diced bell peppers and onions to the skillet. Sauté for about 4-5 minutes until the vegetables are soft and the onions are translucent. Remove the mixture from the skillet and set it aside in a bowl, draining any excess grease.
- Step 2: Scramble the Eggs: Wipe out the skillet and return it to medium-low heat. Melt the butter in the pan. Pour in the beaten eggs, salt, and pepper. Use a spatula to gently move the eggs around, creating soft curds. Cook them until they are just set but still slightly moist—do not overcook them, as they will be reheated later. Once finished, fold the meat and vegetable mixture back into the eggs. Remove from heat and let the mixture cool for about 10 minutes. This prevents the tortillas from getting soggy.
- Step 3: Assemble the Quesadillas: Lay a flour tortilla flat on your work surface. Sprinkle about 2 tablespoons of shredded cheese over one-half of the tortilla. Spoon a generous portion of the egg and meat mixture over the cheese. Top with another 2 tablespoons of cheese—the cheese acts as “glue” to hold everything together. Fold the tortilla in half to create a half-moon shape. Repeat this process for all eight tortillas.
- Step 4: Crisp the Tortillas: Place a clean skillet or griddle over medium heat. Lightly grease with a tiny bit of butter or cooking spray. Place the assembled quesadillas in the pan (you may need to do this in batches). Cook for 2-3 minutes per side until the tortilla is golden brown and the cheese is fully melted. Remove from the heat and let them cool completely on a wire rack if you plan to freeze them.
- Step 5: Freezing and Storage: Once the quesadillas are completely cool, wrap each one individually in parchment paper or plastic wrap. Place the wrapped quesadillas into a large, freezer-safe gallon bag. Squeeze out as much air as possible before sealing. Label the bag with the date. These will stay fresh in the freezer for up to 3 months.
- Cook Time: 30 minutes