
Introduction
Date Pinwheel Cookies are a delightful treat that brings together the rich sweetness of dates with the warmth of spices and the creamy texture of butter. This classic cookie, often enjoyed during festive occasions, showcases a beautiful spiral of dough and a luscious date filling that is both inviting and satisfying. The combination of flavors and textures makes these cookies a standout option for anyone looking to indulge in something homemade and delicious.
The beauty of Date Pinwheel Cookies lies not only in their taste but also in their versatility. Whether you are hosting a holiday gathering, celebrating a special occasion, or simply craving a sweet snack with your afternoon tea, these cookies fit the bill perfectly. They can be enjoyed fresh out of the oven or stored for later, making them an excellent choice for meal prep or gifting to friends and family.
As we delve into the creation of these wonderful cookies, we will explore the essential ingredients that contribute to their unique flavor profile, the method for preparing the delicious date filling, and the steps for crafting the perfect cookie dough. With each step, you will be one step closer to producing a batch of delightful Date Pinwheel Cookies that will impress everyone around you.
Understanding the Ingredients
To create the best Date Pinwheel Cookies, it’s crucial to understand the role of each ingredient in the recipe. Here’s a breakdown of the key components that contribute to the cookies’ flavor, texture, and overall appeal.
Medjool Dates
Medjool dates are the star ingredient in this recipe. Known for their natural sweetness and chewy texture, they serve as a wholesome sweetener that enhances the flavor of the cookies without the need for excessive sugar. Their rich caramel notes complement the brown sugar and spices, creating a well-rounded taste. When choosing dates, opt for soft and fresh Medjool dates for the best results. They are easy to work with and create a luscious filling that adds moisture to the cookies.
Butter and Brown Sugar
Butter is essential for achieving the rich, tender texture that makes these cookies melt in your mouth. Using unsalted butter allows you to control the saltiness of your cookies, resulting in a balanced flavor. Brown sugar, with its molasses content, not only contributes sweetness but also adds depth and moisture to the dough. The combination of butter and brown sugar creates a delectable base that enhances the overall taste of the cookies.
Optional Ingredients
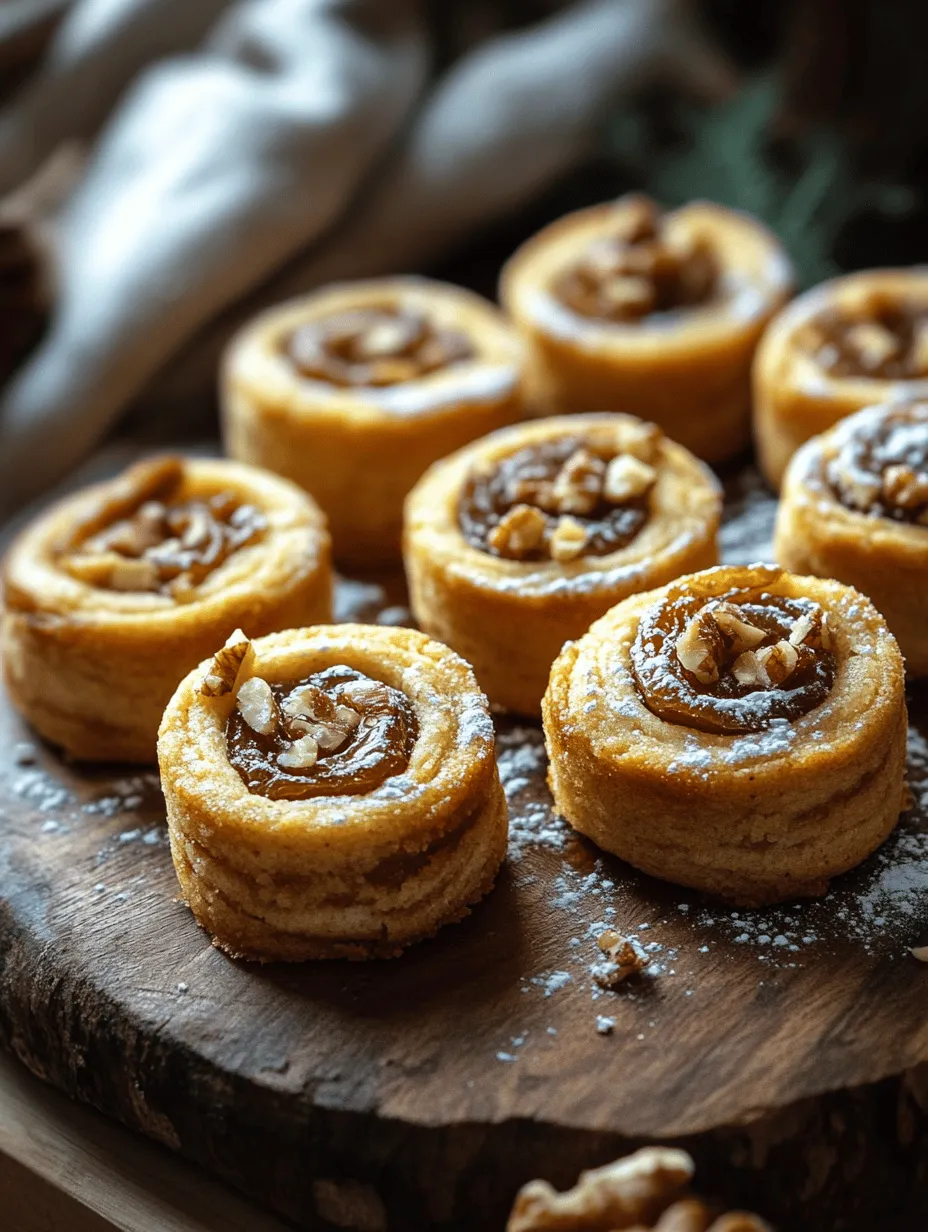
To elevate the flavor and texture of your Date Pinwheel Cookies, consider incorporating optional ingredients such as chopped nuts and powdered sugar. Chopped walnuts or pecans can add a delightful crunch and nutty flavor to the filling, complementing the sweetness of the dates. Additionally, a dusting of powdered sugar on top of the finished cookies can enhance their presentation, giving them a festive touch.
By understanding the significance of each ingredient, you can appreciate the harmony of flavors and textures that come together in these delightful cookies.
Preparing the Date Filling
Creating the date filling is one of the most enjoyable steps in making Date Pinwheel Cookies. Here’s a detailed guide to help you prepare the perfect date paste.
Step 1: Gather Your Ingredients
To prepare the date filling, you will need:
– 1 cup of pitted Medjool dates (approximately 8-10 dates)
– 1/2 cup of water (to help soften the dates)
– Optional: a pinch of cinnamon or nutmeg for added warmth and flavor
Step 2: Soak the Dates
Start by placing the pitted dates in a saucepan with the water. If your dates are a bit dry, soaking them in warm water for about 10-15 minutes can help soften them and make them easier to blend. Once softened, drain any excess water.
Step 3: Blend the Dates
Transfer the soaked dates to a food processor. Blend the dates until they form a smooth paste, scraping down the sides as needed. If the mixture is too thick, you can add a little more water, a teaspoon at a time, to achieve the desired consistency. The filling should be thick yet spreadable, similar to a thick jam.
Step 4: Flavor the Filling
For an extra layer of flavor, consider adding a pinch of cinnamon or nutmeg to the date paste. These spices will enhance the natural sweetness of the dates and contribute to the overall warmth of the cookies. Blend the spices into the mixture until well combined.
Step 5: Cool the Filling
Once the date filling is blended to your liking, transfer it to a bowl and let it cool to room temperature. This step is essential, as using hot filling can make it difficult to spread evenly on the cookie dough. Allowing the filling to cool also helps it thicken slightly, making it easier to work with when assembling the cookies.
Crafting the Cookie Dough
Now that you have your date filling ready, it’s time to craft the cookie dough. This step is crucial, as the dough serves as the foundation for your pinwheel cookies. Here’s a step-by-step guide to help you create the perfect cookie dough.
Step 1: Gather Your Ingredients
For the cookie dough, you will need:
– 2 cups all-purpose flour
– 1/2 cup unsalted butter, softened
– 1 cup brown sugar, packed
– 1 large egg
– 1 teaspoon vanilla extract
– 1/2 teaspoon baking powder
– 1/4 teaspoon salt
– Optional: 1/2 cup chopped nuts
Step 2: Cream the Butter and Sugar
In a large mixing bowl, cream together the softened butter and brown sugar using an electric mixer. Beat the mixture on medium speed until it becomes light and fluffy, which should take about 2-3 minutes. This step is important as it incorporates air into the dough, resulting in a lighter texture.
Step 3: Add the Egg and Vanilla
Once the butter and sugar are well combined, add the egg and vanilla extract to the mixture. Continue mixing until the ingredients are fully incorporated. The egg helps bind the dough together while adding moisture.
Step 4: Combine Dry Ingredients
In a separate bowl, whisk together the all-purpose flour, baking powder, and salt. Gradually add the dry mixture to the wet ingredients, mixing on low speed. It’s important not to overmix the dough; mix just until the flour is incorporated. Overmixing can lead to tough cookies, so stop as soon as you see no streaks of flour.
Step 5: Optional Nuts
If you’re using nuts, fold them into the dough at this stage. Nuts can add a delightful crunch and flavor contrast to the smooth date filling, creating a more complex cookie experience.
Step 6: Form the Dough
Once your dough is ready, gather it into a ball and wrap it in plastic wrap. Flatten the wrapped dough slightly to form a disk, which makes it easier to roll out later. Chill the dough in the refrigerator for at least 30 minutes. Chilling the dough not only makes it easier to handle but also helps the flavors meld together.
Rolling and Chilling the Dough
After the dough has chilled, it’s time to roll it out and prepare it for the final assembly. This step is crucial for achieving the perfect pinwheel shape.
Step 1: Prepare Your Workspace
Lightly flour your work surface and rolling pin to prevent sticking. Remove the chilled dough from the refrigerator and unwrap it. Let it sit at room temperature for a few minutes to soften slightly, making it easier to roll out.
Step 2: Roll Out the Dough
Using a rolling pin, roll the dough into a rectangle about 1/8 inch thick. Aim for an even thickness to ensure the cookies bake uniformly. If the dough begins to stick, sprinkle a little flour on top and on the rolling pin.
Step 3: Spread the Date Filling
Once the dough is rolled out, spread the cooled date filling evenly over the surface, leaving a small border around the edges. This will prevent the filling from leaking out when you roll the dough. Use a spatula or the back of a spoon to create an even layer of filling.
Step 4: Roll the Dough
Starting from one edge, carefully roll the dough into a tight log, making sure to keep the filling contained. Use your hands to gently shape the log as you roll, ensuring it maintains a uniform shape. Once rolled, the log should be about 2 inches in diameter.
Step 5: Chill the Rolled Dough
Wrap the rolled dough in plastic wrap again and refrigerate it for another 30 minutes. Chilling the rolled dough firms it up, making it easier to slice into individual cookies. This step is essential for achieving clean, even cuts when you’re ready to bake.
With these steps completed, you are well on your way to creating a batch of delightful Date Pinwheel Cookies. The combination of the sweet date filling with the buttery cookie dough promises to deliver a treat that will be cherished by all who taste it. As we move forward, we will explore the final steps of slicing, baking, and presenting these delectable cookies, ensuring that they are as visually appealing as they are delicious.

Visual Cues for the Right Thickness of the Rolled Dough
When rolling out the dough for your Date Pinwheel Cookies, achieving the right thickness is crucial for the perfect texture and bake. Aim for a thickness of about 1/4 inch. To ensure consistency, you can use a rolling pin with guides or place wooden dowels on either side of the dough. This will help you roll it evenly without going too thin, which could lead to tearing during the filling and rolling process. The dough should be pliable yet sturdy enough to hold the filling without breaking apart.
Assembling the Pinwheels
Spreading the Date Filling and Rolling
Once your dough has reached the desired thickness, it’s time to add the star of the show: the date filling. Start by placing your rolled-out dough on a clean surface, preferably with a sprinkle of flour to prevent sticking. Using a spatula or the back of a spoon, evenly spread the date filling across the surface of the dough. Ensure that you leave a small border around the edge (about 1/2 inch) to prevent the filling from oozing out when the dough is rolled.
Next, begin rolling the dough from one of the longer edges. Gently lift the edge of the dough and start to roll it tightly towards the opposite end, ensuring that the filling is kept inside. The key here is to maintain a consistent pressure as you roll; this will help create a tight log. If you find the dough is sticking or tearing, you can use a bench scraper to lift and reposition it gently as you roll.
Tips for Ensuring a Tight Roll Without Tearing the Dough
To avoid tearing the dough while rolling, follow these tips:
1. Chill the Dough: If the dough feels too soft or sticky, chill it in the refrigerator for 15-20 minutes before rolling. This will firm it up and make it easier to handle.
2. Use Parchment Paper: Roll the dough between two sheets of parchment paper, which will allow you to easily lift and move it without sticking to your work surface or tearing.
3. Roll Gently: Apply gentle pressure as you roll. If you encounter resistance, pause and reassess; don’t force it.
4. Seal the Edges: Once rolled, pinch the seam to seal it. This will help prevent the filling from leaking out during baking.
Importance of Chilling the Rolled Logs Before Slicing
After you’ve rolled your dough into a log, it’s essential to chill it again before slicing. Chilling the log for at least 30 minutes in the refrigerator helps to firm it up and makes slicing significantly easier. A well-chilled log will hold its shape during slicing and prevent the cookies from spreading too much in the oven.
Baking the Cookies
Preheating the Oven and Preparing Baking Sheets
Before you slice the chilled logs, preheat your oven to 350°F (175°C). While the oven heats, prepare your baking sheets by lining them with parchment paper. This not only prevents sticking but also aids in even baking. If you have a non-stick baking sheet, you may skip this step, but lining ensures a cleaner release.
Proper Slicing Techniques for Uniform Cookies
Once your logs have chilled, it’s time to slice them into cookies. Using a sharp knife, cut the log into 1/4-inch thick slices. For best results, use a sawing motion rather than pressing down hard, which can squish the filling out. If you find the edges of the log are uneven, you can trim them to create a more uniform appearance. This will also help the cookies bake evenly.
Baking Time and Temperature: What to Look for in Doneness
Place your sliced cookies on the prepared baking sheets, leaving some space between each cookie to allow for slight spreading. Bake in the preheated oven for about 10-12 minutes, or until the edges turn golden brown. The cookies will continue to firm up as they cool, so be careful not to overbake them. A good indicator of doneness is a slight firmness to the touch and a pleasant, aromatic scent filling your kitchen.
Cooling and Serving Suggestions
Cooling Tips and the Importance of Letting Cookies Set
Once baked, remove the cookies from the oven and let them cool on the baking sheet for about 5 minutes. This will allow them to firm up slightly before transferring them to a wire rack to cool completely. It’s essential to let the cookies set for at least 15 minutes; this resting time enhances their texture and flavor.
Optional Dusting with Powdered Sugar for Presentation
For a touch of elegance, consider dusting the cooled cookies with powdered sugar before serving. This not only adds a beautiful finishing touch but also provides a delightful contrast to the rich, sweet filling. Use a fine mesh sieve to sprinkle the sugar evenly across the cookies for a delicate look.
Perfect Pairings: Beverages That Complement the Cookies
These Date Pinwheel Cookies pair wonderfully with a variety of beverages. A warm cup of tea, such as chamomile or Earl Grey, enhances the cookies’ flavors, while coffee lovers may enjoy a rich espresso or a smooth latte. For a more indulgent option, serve them alongside a glass of milk or a scoop of vanilla ice cream to create a delightful dessert experience.
Nutritional Information
Breakdown of the Nutritional Value Per Serving
Each cookie is not only delicious but also offers a range of nutritional benefits. A serving of two cookies contains approximately:
– Calories: 150
– Total Fat: 6g
– Saturated Fat: 1g
– Cholesterol: 10mg
– Sodium: 50mg
– Total Carbohydrates: 23g
– Dietary Fiber: 1g
– Sugars: 10g
– Protein: 2g
Discussion on the Health Benefits of Dates and Nuts
Dates are a powerhouse of nutrition, rich in fiber, antioxidants, and essential vitamins. They provide a natural sweetness that reduces the need for added sugars. The nuts in the filling add healthy fats, protein, and additional fiber, making these cookies a wholesome treat. Consuming dates can improve digestive health, boost energy levels, and provide a quick source of energy, making them a great snack option.
Considerations for Dietary Restrictions (e.g., Gluten-Free Options)
For those with dietary restrictions, these cookies can easily be adapted. Substitute regular all-purpose flour with a gluten-free flour blend to make a batch that everyone can enjoy. Ensure that all other ingredients, especially the baking powder, are gluten-free as well. Additionally, those looking to reduce sugar can use natural sweeteners like honey or maple syrup in the filling.
Conclusion
Making Date Pinwheel Cookies at home is a simple yet rewarding experience that brings joy to both the baker and those who enjoy the treats. The process allows for creativity in flavors and fillings, so feel free to experiment with different nuts or even spices like cinnamon to make these cookies your own.
These delightful cookies are perfect for sharing with friends and family during gatherings or special occasions, showcasing your baking skills while providing a delicious and nutritious snack. Whether you’re enjoying them with a warm beverage or as a light dessert, these Date Pinwheel Cookies are sure to impress and satisfy. So, gather your ingredients and start baking; your taste buds will thank you!