
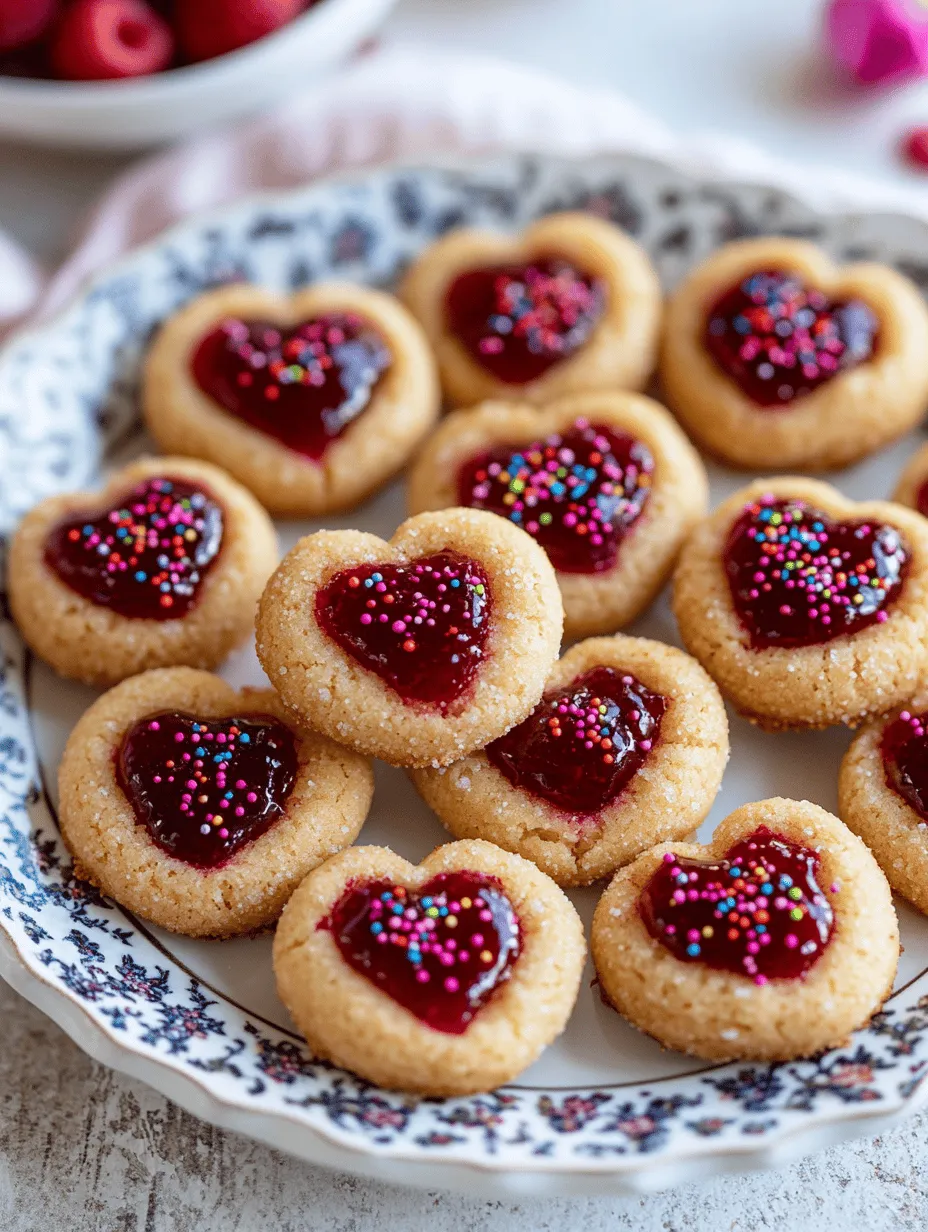
Valentine’s Day is a cherished occasion that invites sweet gestures and heartfelt expressions of love. When it comes to delightful treats that embody the spirit of this special day, Heart-Shaped Thumbprint Cookies emerge as a standout choice. These cookies not only captivate with their charming heart shape, but they also deliver a delightful burst of flavor with a jam-filled center that is sure to please anyone lucky enough to indulge. In this article, we will take a deep dive into the delightful world of Heart-Shaped Thumbprint Cookies, exploring their history, essential ingredients, and detailed preparation steps to ensure you can create a memorable dessert for your loved ones.
Understanding the Heart-Shaped Thumbprint Cookie
To truly appreciate Heart-Shaped Thumbprint Cookies, it’s important to understand the history and significance behind thumbprint cookies themselves. Originating in Europe, thumbprint cookies have a rich history that dates back to the 19th century. Traditionally, these cookies were made by pressing a thumb or finger into the center of a dough ball, creating an indentation that could be filled with a variety of sweet fillings—often jams, chocolate, or nuts. Over time, these delightful treats have evolved, becoming a beloved staple at various occasions, from holiday gatherings to bake sales.
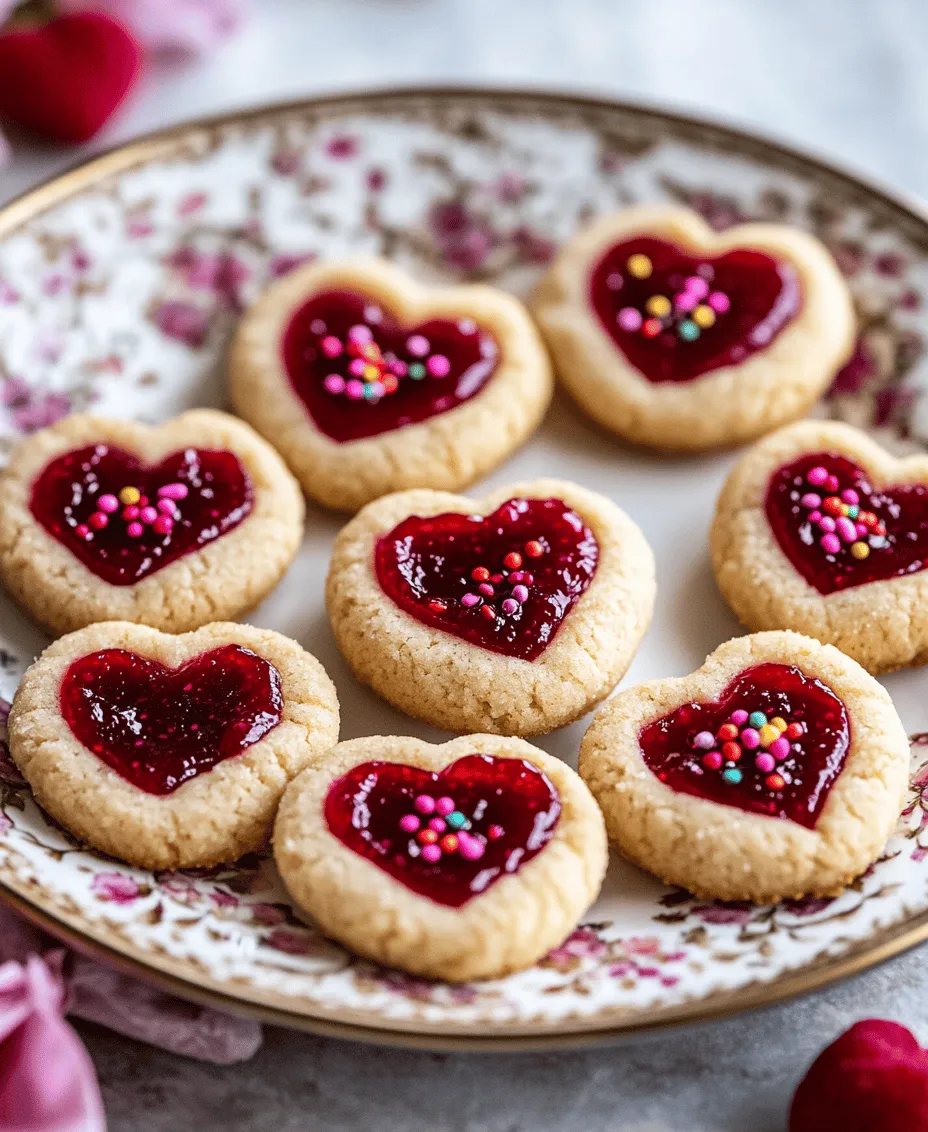
The heart-shaped adaptation of thumbprint cookies is particularly fitting for Valentine’s Day. The heart shape symbolizes love and affection, making these cookies a perfect way to express your feelings to a partner, friend, or family member. Their jam-filled center not only adds a pop of color but also a burst of flavor that complements the buttery cookie base beautifully. Whether you’re preparing them for a romantic dinner or a festive gathering with friends, Heart-Shaped Thumbprint Cookies are a charming and delicious way to celebrate love.
Essential Ingredients for Heart-Shaped Thumbprint Cookies
Creating the perfect Heart-Shaped Thumbprint Cookies requires a selection of key ingredients that contribute to their delightful texture and flavor. Here’s a closer look at each component:
– Butter: Unsalted butter is a crucial ingredient in this recipe, as it provides a rich flavor and creamy texture. Using unsalted butter allows you to control the saltiness of the cookies, ensuring a balanced taste. The butter should be at room temperature for easy creaming with sugar, resulting in a light and fluffy dough.
– Powdered Sugar: Unlike granulated sugar, powdered sugar is finely ground and contains a small amount of cornstarch, which helps prevent clumping. This ingredient not only adds a delicate sweetness to the cookies but also contributes to a tender crumb, making each bite melt-in-your-mouth delicious.
– Vanilla Extract: Vanilla extract is a classic flavor enhancer that brings warmth and depth to baked goods. A splash of pure vanilla extract elevates the overall taste of the cookies, making them even more enjoyable.
– All-Purpose Flour: The backbone of any cookie recipe, all-purpose flour provides the necessary structure and stability. The right balance of flour is essential to achieving the perfect cookie texture—soft yet sturdy enough to hold up to the thumbprint and jam filling.
– Raspberry Jam: The choice of filling is what makes these cookies truly special. Raspberry jam is a popular choice due to its sweet-tart flavor profile that pairs beautifully with the buttery cookie. However, feel free to experiment with other flavors like strawberry, apricot, or even chocolate!
– Optional Additions: To personalize your Heart-Shaped Thumbprint Cookies, consider adding a few drops of food coloring to the dough for a festive touch. Additionally, decorative sprinkles can enhance the visual appeal, making these cookies not only delicious but also eye-catching.
Step-by-Step Instructions for Making Heart-Shaped Thumbprint Cookies
Now that we have a clear understanding of the essential ingredients, it’s time to dive into the step-by-step preparation process for making Heart-Shaped Thumbprint Cookies. Follow these detailed instructions to ensure your cookies turn out perfectly every time:
Step 1: Gather Your Ingredients and Tools
Before you begin, gather all the necessary ingredients and tools:
– Unsalted butter (1 cup, softened)
– Powdered sugar (1 cup)
– Vanilla extract (1 teaspoon)
– All-purpose flour (2 cups)
– Raspberry jam (or your preferred flavor, about 1/2 cup)
– Optional: Food coloring, decorative sprinkles, heart-shaped cookie cutter, baking sheets, parchment paper, mixing bowls, and a hand mixer or stand mixer.
Step 2: Preheat Your Oven
Preheat your oven to 350°F (175°C). This ensures that your cookies will bake evenly and achieve that perfect golden-brown color.
Step 3: Cream Butter and Sugar
In a large mixing bowl, combine the softened unsalted butter and powdered sugar. Using a hand mixer or stand mixer, beat the mixture on medium speed until it becomes light and fluffy—this should take about 2-3 minutes. The incorporation of air during this step is key to achieving a tender cookie texture.
Step 4: Add Vanilla Extract
Once the butter and sugar are well combined, add the vanilla extract. Continue to beat the mixture for an additional minute, ensuring that the vanilla is evenly distributed throughout the batter.
Step 5: Incorporate the Flour
Gradually add the all-purpose flour to the butter-sugar mixture, mixing on low speed until just combined. Be careful not to overmix, as this can lead to tough cookies. The dough should come together but may appear slightly crumbly.
Step 6: Shape the Cookies
Using your hands, pinch off small amounts of dough (about 1 tablespoon) and roll them into balls. Place the balls on a baking sheet lined with parchment paper, spacing them about 2 inches apart. Once all the dough is shaped, take a heart-shaped cookie cutter and gently press it into the center of each dough ball to create an indentation. If you do not have a heart-shaped cookie cutter, you can simply use your thumb to create a thumbprint.
Step 7: Fill with Jam
Now comes the fun part—filling the cookies with jam! Spoon a small amount of raspberry jam (or your chosen flavor) into the indentation of each cookie. Be careful not to overfill, as the jam may bubble over while baking.
Step 8: Bake the Cookies
Place the baking sheet in the preheated oven and bake for 12-15 minutes, or until the edges of the cookies are lightly golden. Keep an eye on them to prevent over-baking, as you want the centers to remain soft.
Step 9: Cool and Decorate
Once baked, remove the cookies from the oven and allow them to cool on the baking sheet for about 5 minutes before transferring them to a wire rack to cool completely. If desired, you can sprinkle the cooled cookies with decorative sprinkles for an extra festive touch.
With these initial steps, you’re well on your way to creating beautiful and delicious Heart-Shaped Thumbprint Cookies that are perfect for Valentine’s Day. The combination of buttery cookies and sweet jam filling is sure to impress, making them a treat that will be loved by all. In the next section, we will delve into variations of this delightful recipe and additional tips for perfecting your cookie-making skills. Stay tuned!
Prepping the Oven
Before you dive into mixing the ingredients for your Heart-Shaped Thumbprint Cookies, it’s crucial to prepare your oven and baking sheets properly. Preheating your oven ensures that the cookies bake evenly, giving them that perfect soft texture with a slight crisp on the edges. Set your oven to 350°F (175°C) and allow it to preheat for about 10-15 minutes.
While the oven is preheating, line two baking sheets with parchment paper. This not only prevents the cookies from sticking but also makes for an easy cleanup afterward. If you don’t have parchment paper, lightly grease the baking sheets with a non-stick spray or butter. Ensure the sheets are spaced apart in your oven to allow for proper air circulation, which is essential for even baking.
Mixing the Cookie Dough
Now that your oven is ready, it’s time to mix your cookie dough. Begin by creaming together the softened unsalted butter and granulated sugar in a large mixing bowl. Use a hand mixer or stand mixer on medium speed to beat the butter and sugar until the mixture is light and fluffy, typically about 2-3 minutes. This step is crucial as it incorporates air into the dough, resulting in a lighter texture.
Next, add in the vanilla extract and the egg. Continue mixing until fully integrated. The egg acts as a binder and helps to create a tender cookie. In a separate bowl, whisk together the all-purpose flour, baking powder, and salt. Gradually add this dry mixture to the wet ingredients, mixing on low speed until just combined. Avoid over-mixing, as this can lead to tough cookies.
Once the dough comes together, it should be soft yet slightly sticky. If it feels too wet, consider adding a bit more flour, a tablespoon at a time, until the desired consistency is reached.
Shaping the Cookies
With your dough ready, it’s time to shape those heart-shaped cookies. Use a cookie scoop or your hands to portion out the dough into even balls, about one inch in diameter. This size ensures uniform baking and a delightful bite-sized treat.
To create the heart shape, first, gently roll the dough ball between your palms. Then, use your thumb to press an indentation in the center of each ball. This thumbprint will later hold your chosen filling, so make sure it’s deep enough to hold a generous scoop but not so deep that it goes all the way through.
For an extra touch, you can use a knife to create a subtle heart shape around the thumbprint; simply drag the knife lightly around the edge of the impression. Place the shaped cookies on the prepared baking sheets, leaving enough space between each cookie to allow for spreading during baking.
Filling and Baking
Now comes the exciting part—filling the cookies! Use your favorite jam or preserve to fill the thumbprints. Raspberry is a classic choice, but feel free to explore other flavors like strawberry, apricot, or even lemon curd for a zesty twist. Use a small spoon or a piping bag to carefully fill each indentation. Be generous, but avoid overfilling; a heaping teaspoon should suffice.
Once all the cookies are filled, it’s time to bake. Place the baking sheets in the preheated oven and bake for 12-15 minutes, or until the edges are lightly golden. Keep a close eye on them, as baking times can vary based on your oven and the size of the cookies.
When done, remove the cookies from the oven and let them cool on the baking sheets for about 5 minutes before transferring them to a wire rack to cool completely. This allows the cookies to firm up a bit, making them easier to handle.
Cooling and Decorating
After your cookies have cooled completely, it’s time to add some decorative touches if desired. While they’re delightful as they are, a sprinkle of powdered sugar can add a lovely finishing touch. Alternatively, you might consider drizzling melted chocolate over the cookies or adding colorful sprinkles for a festive look.
If you’re feeling creative, you could also pipe royal icing around the edges or even on top to create beautiful designs. Remember that decorating can be as simple or elaborate as you wish, making these cookies versatile for any occasion.
Creative Variations and Ideas for Heart-Shaped Thumbprint Cookies
One of the best aspects of Heart-Shaped Thumbprint Cookies is their versatility. Here are a few ideas to inspire your creativity:
Flavor Alternatives
While the classic raspberry jam is a beloved favorite, don’t hesitate to experiment with different jams and fillings. Here are a few suggestions:
– Strawberry: A sweet, fruity option that pairs perfectly with the buttery cookie.
– Apricot: Offers a slightly tart flavor that balances well with sugar.
– Chocolate Ganache: For chocolate lovers, filling the thumbprint with rich chocolate ganache can make for an indulgent treat.
– Nut Butters: Consider using almond or peanut butter for a nutty twist.
Colorful Twists
Adding food coloring to your dough is a fun way to create visually stunning cookies. A few drops of red or pink food coloring can give your cookies a festive appearance, perfect for Valentine’s Day. You can even make different colored dough for each batch, creating a beautiful assortment of heart-shaped cookies.
Seasonal Decorations
These cookies are not just for Valentine’s Day. With a few tweaks, they can be adapted for various holidays:
– Easter: Use pastel-colored fillings and decorations.
– Christmas: Fill with cranberry sauce or spiced apple jam and decorate with red and green icing.
– Birthday Parties: Use colorful sprinkles and vibrant fillings to match party themes.
Nutritional Information
When baking Heart-Shaped Thumbprint Cookies, it’s essential to consider their nutritional aspects. Each cookie provides an average of 100 calories, depending on the size and filling used. They contain approximately:
– Total Fat: 5g
– Saturated Fat: 3g
– Carbohydrates: 12g
– Sugars: 6g
– Protein: 1g
For those looking to make healthier modifications, consider substituting some of the all-purpose flour with whole wheat flour for added fiber, or replacing granulated sugar with coconut sugar or a sugar substitute. Additionally, using reduced-fat butter can decrease the calorie count without sacrificing too much flavor.
Conclusion: Celebrating Love with Heart-Shaped Thumbprint Cookies
Heart-Shaped Thumbprint Cookies are more than just a delightful treat; they are a wonderful way to express love and creativity in the kitchen. Their easy preparation and customizable nature make them perfect for sharing with friends, family, or that special someone on Valentine’s Day. Whether you choose to stick with the classic raspberry filling or explore new flavors, these cookies are sure to bring joy and sweetness to your celebrations.
Happy baking! Embrace the process, get creative with your ingredients and decorations, and enjoy the delicious results of your labor. No matter how you choose to make them, these cookies will surely delight all who receive them, making them a sweet symbol of love and affection.