Introduction
Mini cheesecakes have gained immense popularity over the years, becoming a staple at gatherings, celebrations, and even quiet nights in. Their bite-sized portions make them perfect for sharing, allowing guests to indulge without the guilt of devouring an entire slice. Whether served at birthday parties, holiday festivities, or casual get-togethers, mini cheesecakes cater to everyone’s sweet tooth and are sure to impress.
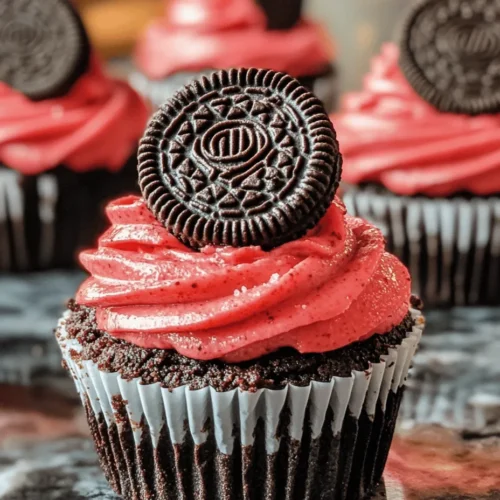
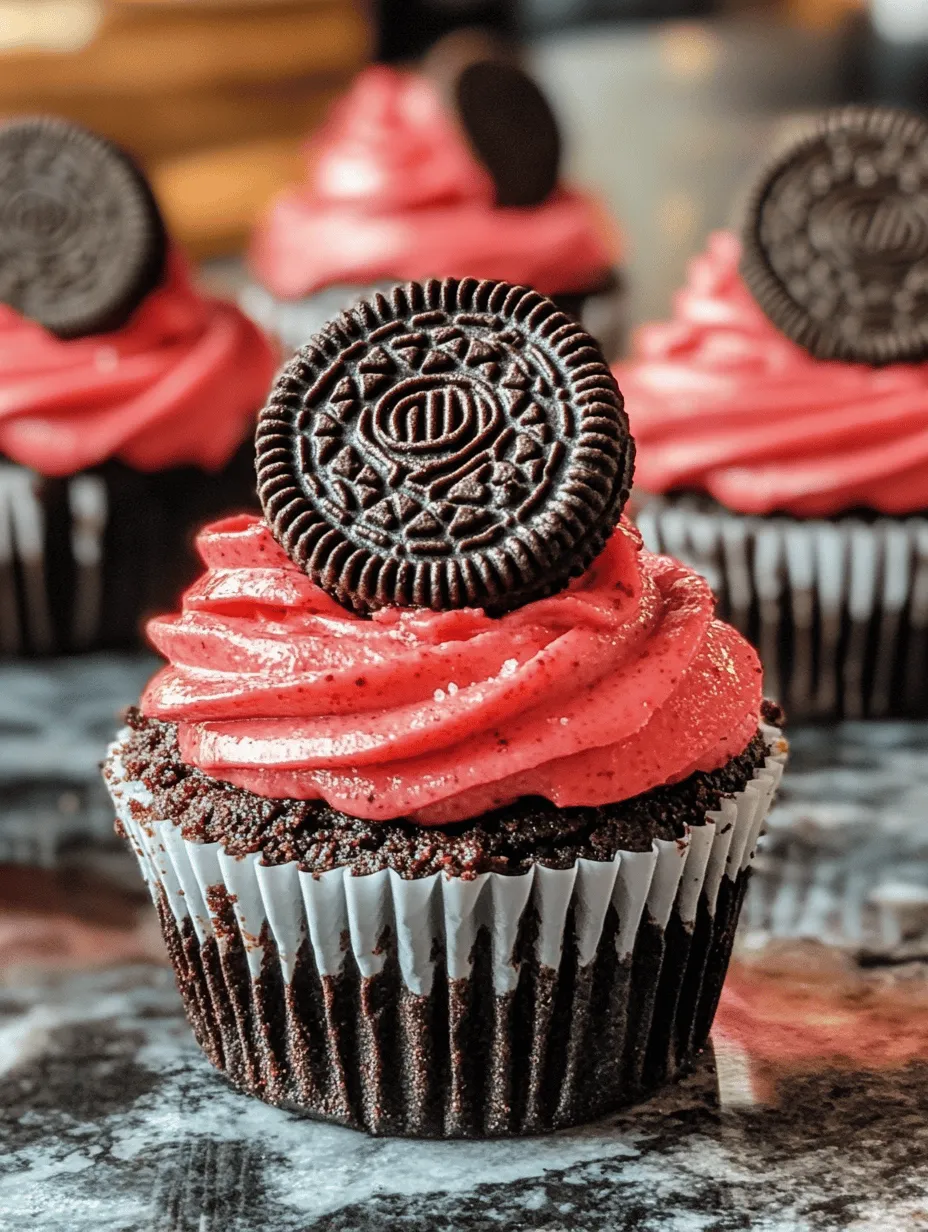
Among the myriad of flavors available, the combination of red velvet and Oreo stands out as a unique twist that balances sweetness and richness. The vibrant red hue of the red velvet cake coupled with the iconic cookie flavor of Oreos creates a delightful dessert that not only looks stunning but also tastes divine. The creaminess of the cheesecake filling, combined with the crunchy crust, offers a textural contrast that elevates this dessert to a new level of indulgence.
What makes this recipe even more appealing is its simplicity. With easy-to-follow steps, you can whip up these delightful Mini Red Velvet Oreo Cheesecakes in no time. They are perfect for serving at gatherings, ensuring that your guests leave with smiles on their faces and delightfully satisfied taste buds.
Understanding the Ingredients
To create the perfect Mini Red Velvet Oreo Cheesecakes, it’s essential to understand the role of each ingredient in the recipe. Each component contributes to the overall flavor and texture, making them integral to achieving the ideal balance in this dessert.
Oreos
Oreos serve as the foundation of the crust, providing a crunchy texture and a rich chocolate flavor that complements the cheesecake filling beautifully. Their distinct taste is instantly recognizable, making them a favorite among many dessert lovers. When crushed and mixed with melted butter, Oreos transform into a sturdy crust that holds the cheesecake filling perfectly.
Cream Cheese
As the main component of the cheesecake filling, cream cheese is responsible for the creamy texture that is synonymous with cheesecake. Its rich and tangy flavor forms the base of the dessert, allowing it to pair seamlessly with the sweetness of the red velvet cake mix. To achieve a smooth and lump-free filling, it’s crucial to use softened cream cheese, which mixes effortlessly and contributes to the overall creaminess of the cheesecake.
Sour Cream
Sour cream plays a vital role in enhancing the tanginess of the cheesecake. This ingredient not only adds a delightful creaminess but also balances the sweetness of the red velvet cake mix, resulting in a more nuanced flavor profile. Additionally, the acidity in sour cream helps to create a lighter texture in the cheesecake filling, making it less dense and more enjoyable.
Red Velvet Cake Mix
The red velvet cake mix is the star of this recipe, providing the characteristic color and subtle flavor that defines red velvet desserts. It adds a hint of cocoa flavor, combined with a rich, buttery essence that perfectly complements the cream cheese. Using cake mix simplifies the preparation process, allowing you to create a luscious cheesecake without the need for baking an entire cake.
Butter
Butter is the binding agent for the crust ingredients. When melted and combined with crushed Oreos, it creates a cohesive mixture that holds its shape when pressed into the cupcake liners. The richness of butter enhances the overall flavor of the crust, ensuring that each bite is as delicious as the last.
Preparation Steps Explained
Now that we have a clear understanding of the ingredients and their roles, let’s dive into the preparation steps for these Mini Red Velvet Oreo Cheesecakes. Following these detailed instructions will ensure you achieve optimal results, creating a dessert that is both visually appealing and utterly delicious.
Step 1: Preparing the Crust
The first step in creating your Mini Red Velvet Oreo Cheesecakes is to prepare the crust. This is crucial for achieving the right texture and flavor balance in your dessert.
1. Crushing the Oreos: Begin by placing the Oreos in a food processor. Pulse until they reach a fine crumb consistency. If you don’t have a food processor, you can place the cookies in a zip-top bag and crush them with a rolling pin.
2. Mixing with Butter: In a medium bowl, combine the crushed Oreos with melted butter. Stir until the mixture is evenly coated. The consistency should resemble wet sand, which will help it adhere together when pressed.
3. Pressing into the Cupcake Liners: Line a muffin tin with cupcake liners. Scoop about 1 tablespoon of the Oreo mixture into each liner. Using the back of a measuring spoon or your fingers, press the mixture firmly into the bottom. Ensure that the crust is compact and even, as this will support the cheesecake filling and prevent it from sinking.
Step 2: Making the Cheesecake Filling
Once the crust is prepared, it’s time to create the luscious cheesecake filling. This step is essential for achieving a creamy and smooth texture.
1. Softening the Cream Cheese: Before you start mixing, ensure the cream cheese is at room temperature. This will allow it to blend smoothly without lumps. If you forget to take it out in advance, you can microwave it for about 15 seconds to soften it slightly.
2. Mixing Ingredients: In a large mixing bowl, beat the softened cream cheese with an electric mixer until creamy and smooth. Gradually add the sour cream, mixing until well combined. This step is crucial to achieving the perfect texture, so take your time to ensure everything is mixed thoroughly.
3. Incorporating the Cake Mix: Next, add the red velvet cake mix into the cream cheese mixture. Mix on low speed until just combined. Avoid overmixing at this stage, as it can introduce excess air into the filling, which may lead to cracks during baking.
4. Final Touches: If desired, add a splash of vanilla extract to enhance the flavor of the cheesecake filling. Mix briefly until incorporated.
Step 3: Filling the Cups
With both the crust and filling prepared, it’s time to assemble your Mini Red Velvet Oreo Cheesecakes.
1. Portion Control: Using a spoon or an ice cream scoop, carefully spoon the cheesecake filling into each cupcake liner, filling them about ¾ full. This will allow room for the cheesecakes to rise slightly during baking without overflowing.
2. Smoothing the Tops: Use a small offset spatula or the back of a spoon to smooth the tops of the filling. This will give your cheesecakes a polished appearance once baked and cooled.
3. Baking: Preheat your oven to 325°F (160°C) and place the muffin tin in the oven. Bake for about 18-20 minutes, or until the edges are set and the centers are slightly jiggly. It’s essential not to overbake, as the cheesecakes will continue to set as they cool.
By following these preparation steps, you’ll be well on your way to creating delightful Mini Red Velvet Oreo Cheesecakes that are sure to impress everyone at your next gathering. The combination of flavors and textural contrasts makes this dessert a standout choice, and with a little patience and attention to detail, you’ll achieve a delicious result that everyone will love.
Baking Process and Techniques
Creating the perfect mini red velvet Oreo cheesecakes requires careful attention to your baking environment. The temperature of your oven and the timing of your bake are crucial to achieving that creamy, rich texture and vibrant red color that characterizes this delectable dessert.
Importance of Oven Temperature and Timing
When baking cheesecakes, consistency is key. Preheat your oven to 325°F (160°C) to ensure even heat distribution. This moderate temperature allows the cheesecake to set properly without overcooking or cracking. A sudden spike in temperature can create a dry texture, so it’s essential to avoid opening the oven door unnecessarily during baking.
Baking your mini cheesecakes for approximately 20-25 minutes should be sufficient. However, the exact time may vary based on your oven’s performance and the size of your cheesecake cups. Keep an eye on them as they approach the 20-minute mark to prevent overbaking.
How to Know When the Cheesecakes Are Done
Determining the perfect doneness for cheesecakes can be tricky. Here are a few visual cues and touch tests to help you:
1. Visual Cues: The edges of the cheesecake should appear set, while the center will look slightly jiggly when you gently shake the pan. This jiggle indicates that the cheesecake will firm up as it cools.
2. Touch Test: Gently press the center of a cheesecake with your finger. If it springs back slowly and leaves a slight indentation, it’s done. If it feels overly soft or liquid, give it a few more minutes in the oven.
Cooling and Chilling
Once your mini cheesecakes are baked to perfection, it’s essential to cool them properly. Remove them from the oven and let them sit at room temperature for about 10 minutes. This gradual cooling helps prevent cracking. After this, transfer them to the refrigerator and chill for at least 4 hours, or ideally overnight. Chilling allows the flavors to meld beautifully and sets the texture to that rich, creamy consistency we all crave in a cheesecake.
Decorating Your Mini Cheesecakes
The presentation of your mini red velvet Oreo cheesecakes is just as important as their taste. Decorating them creatively can elevate their appeal and make them perfect for any occasion.
Creative Ideas for Topping and Presentation
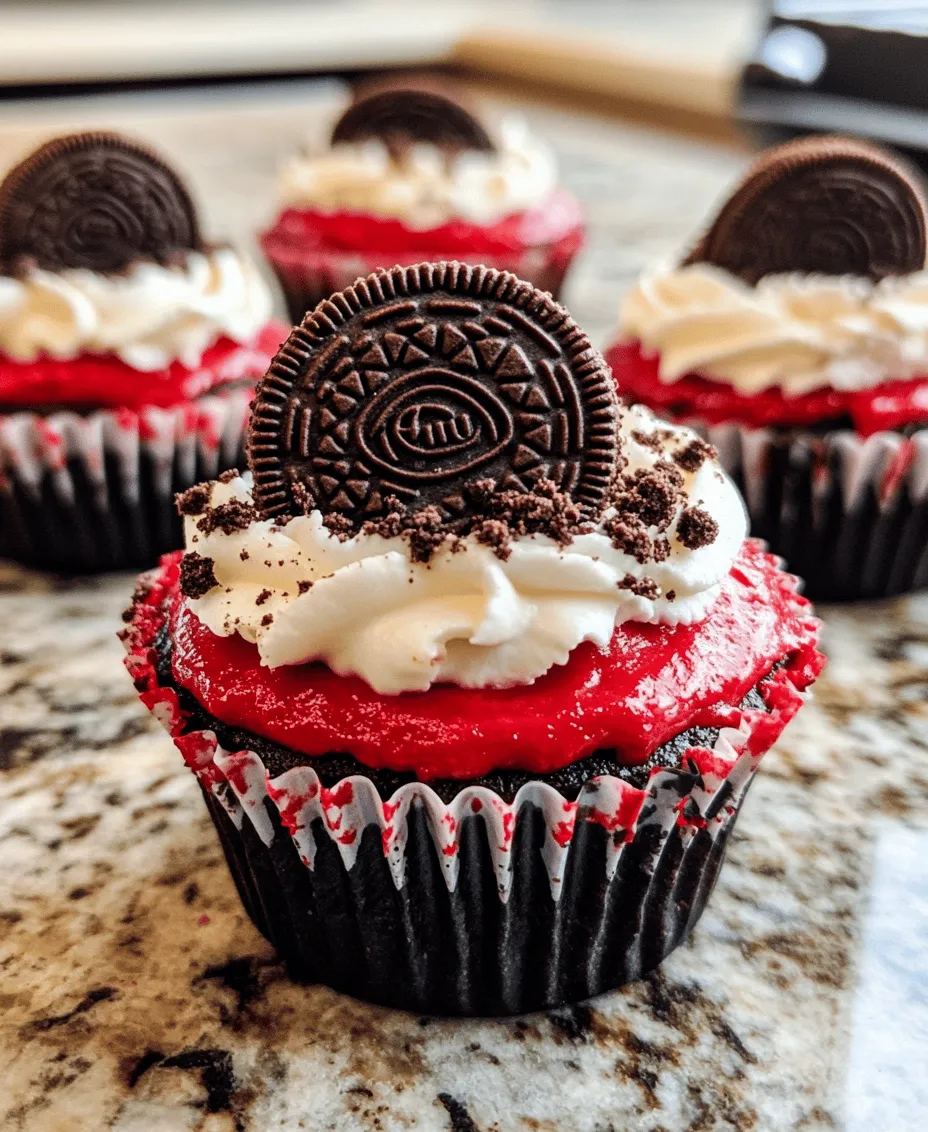
1. Crushed Oreos: One of the simplest yet most effective ways to enhance your cheesecakes is by sprinkling crushed Oreos on top. The contrast of the dark Oreo crumbs against the vibrant red cheesecake creates a visually stunning dessert.
2. Whipped Cream: A dollop of whipped cream can add a luxurious touch. For added elegance, consider piping the whipped cream using a star tip for a more decorative finish.
3. Chocolate Drizzle: A drizzle of chocolate ganache or melted chocolate can also create an enticing look. Simply melt some chocolate, let it cool slightly, and drizzle it over the top for a beautiful finish.
4. Red Velvet Crumbles: For a unique touch, bake a small batch of red velvet cake, crumble it, and use it as a topping to further enhance the dessert’s flavor profile.
Suggestions for Incorporating Whipped Cream or Other Toppings
In addition to whipped cream, consider adding toppings like fresh berries or a dusting of cocoa powder for extra flavor and color. Fresh raspberries or strawberries can provide a tart contrast to the sweet cheesecake, while a sprinkle of cocoa powder can enhance the chocolate notes.
Serving Suggestions and Pairings
Mini red velvet Oreo cheesecakes are incredibly versatile and can be served on various occasions. Their rich flavor and eye-catching appearance make them a crowd-pleaser at parties and gatherings.
Best Occasions to Serve Mini Red Velvet Oreo Cheesecakes
– Birthdays: These mini cheesecakes make an excellent birthday treat, especially for those who love red velvet cake.
– Holidays: With their festive color, they are perfect for holiday celebrations like Christmas or Valentine’s Day.
– Special Events: Consider serving them at bridal showers, baby showers, or any gathering where you want to impress your guests.
Suggestions for Beverage Pairings
To complement the flavors of your mini red velvet Oreo cheesecakes, consider pairing them with beverages that enhance their taste:
– Coffee: A rich cup of coffee pairs beautifully with the sweetness of cheesecake, balancing the flavors.
– Red Wine: A light-bodied red wine, such as Pinot Noir, can also enhance the dessert’s flavors.
– Milk: For a classic combination, opt for a glass of cold milk, which will contrast nicely with the richness of the cheesecake.
Nutritional Information
Understanding the nutritional aspects of your mini red velvet Oreo cheesecakes can help you make informed choices while indulging in this delightful dessert.
Overview of Nutritional Aspects
Each mini cheesecake can vary in calories depending on the specific ingredients used, but on average, you can expect each serving to contain around 200-250 calories. Key ingredients such as cream cheese provide a good amount of fat and protein, while the Oreos contribute sugars and carbs.
Dietary Considerations
If you are catering to specific dietary needs, here are some considerations:
– Gluten-Free: Substitute regular Oreos with gluten-free alternatives and use gluten-free flour in the cheesecake base to accommodate those with gluten sensitivities.
– Vegetarian Options: This recipe is inherently vegetarian-friendly since it uses dairy products without any meat ingredients.
Conclusion
Making mini red velvet Oreo cheesecakes at home is an enjoyable and rewarding experience. The combination of rich cream cheese filling, a hint of cocoa, and the nostalgic flavor of Oreos creates a dessert that is not only delicious but also visually appealing.
This recipe is versatile and adaptable for various occasions, whether it’s a birthday celebration, a holiday feast, or an elegant dinner party. The satisfaction of crafting these mini cheesecakes is unmatched, and we encourage you to try this recipe to enjoy the delightful fusion of flavors. Your guests will surely be impressed, and you may find yourself making these treats time and again. Dive into the world of baking and create a sweet masterpiece that everyone will adore!