Introduction
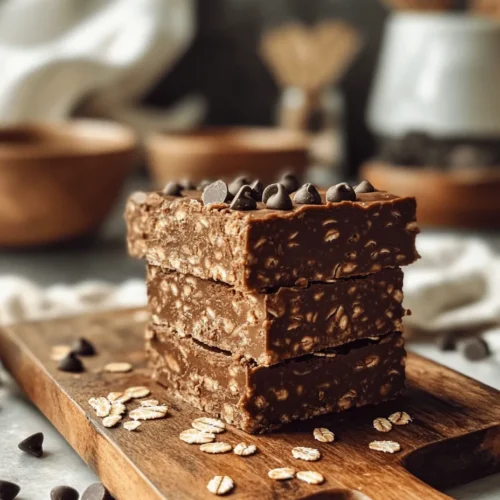
In the world of nutritious snacking, few recipes can compete with the delectable No-Bake Chocolate Peanut Butter Oat Bars. These bars marry indulgence with health, offering a guilt-free treat that satisfies your sweet cravings while providing wholesome ingredients. Whether you’re a busy professional seeking quick energy-boosting snacks or a parent looking for nutritious options for your children, these bars hit the mark. With their blend of rolled oats, natural peanut butter, and rich cocoa powder, they are both easy to prepare and irresistibly tasty.
But what makes these bars stand out? Each ingredient was carefully selected not just for its flavor but for its health benefits too. Rolled oats provide a hearty base packed with fiber, while natural peanut butter contributes healthy fats and protein. Together, they create a treat that keeps you full longer and fuels your body. In this article, we’ll delve into the nutritional benefits of each ingredient, provide you with step-by-step instructions for crafting these bars, and offer tips for customizing them to match your personal taste preferences.
Understanding the Key Ingredients
The Nutritional Power of Rolled Oats
Rolled oats are one of the cornerstone ingredients of our no-bake bars, and for good reason. Known for their incredible health benefits, oats are a whole grain that can significantly contribute to your daily nutrition. They are high in soluble fiber, which helps regulate blood sugar levels and keeps you feeling full longer. This makes them an excellent choice for anyone looking to manage their weight or maintain energy levels throughout the day.
In addition to fiber, oats are packed with antioxidants, including avenanthramides, which can help reduce inflammation and improve heart health. They also provide essential vitamins and minerals, such as magnesium, iron, and B-vitamins, which play vital roles in energy production and overall well-being. By incorporating oats into your no-bake bars, you’re not only enhancing their texture but also boosting their nutritional profile, making them a smart choice for healthy snacking.
The Richness of Natural Peanut Butter
Another star ingredient in our no-bake chocolate peanut butter oat bars is natural peanut butter. This creamy delight is not only delicious but also packed with nutrients. Unlike conventional peanut butter, which often contains added sugars, hydrogenated oils, and preservatives, natural peanut butter is made from just roasted peanuts, making it a healthier option.
Peanut butter is an excellent source of protein, providing around 7-8 grams per two-tablespoon serving, which helps keep you satiated. Additionally, it’s rich in healthy fats, particularly monounsaturated fats, which are known to support heart health. Natural peanut butter also contains essential vitamins and minerals such as vitamin E, magnesium, and potassium. When you opt for natural peanut butter in this recipe, you’re not only enhancing the flavor but also infusing your bars with a wealth of health benefits.
The Sweetness of Honey and Maple Syrup
To elevate the flavor of our no-bake bars, we incorporate natural sweeteners like honey or maple syrup. These alternatives to refined sugars not only provide sweetness but also offer additional health benefits. Honey is a natural source of antioxidants and has antibacterial properties, while maple syrup contains essential minerals like manganese and zinc.
When choosing between honey and maple syrup, consider the flavor profile you desire. Honey has a distinct floral sweetness, while maple syrup offers a rich, caramel-like flavor. Both sweeteners can enhance the taste of your bars without the drawbacks of processed sugars. Additionally, they can help bind the ingredients together, ensuring a cohesive texture.
Cocoa Powder: The Heart of Chocolate Flavor
No chocolate treat would be complete without cocoa powder, the key ingredient that brings a rich chocolate flavor to our bars. Cocoa powder is not only a delicious addition but also packs a nutritional punch. It contains flavonoids, which are powerful antioxidants that can help improve heart health and lower blood pressure.
While many people may think of chocolate as a guilty pleasure, cocoa powder has its benefits when used in moderation. It is low in calories and fat, making it a smart choice for adding a chocolatey taste without the excess calories that come from chocolate bars. Moreover, the unique flavor of cocoa enhances the overall taste of the no-bake bars, making them even more enjoyable.
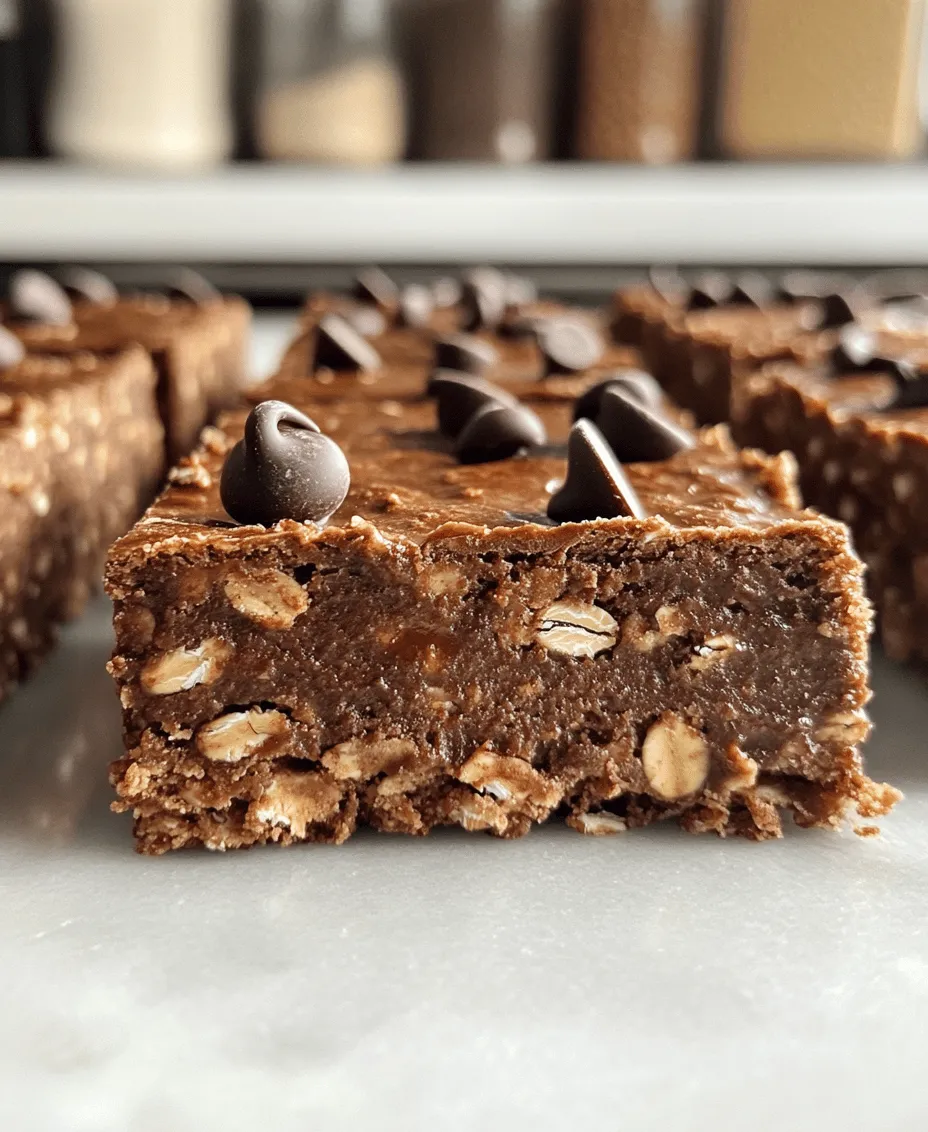
The Role of Chocolate Chips
For chocolate lovers, adding chocolate chips to your no-bake chocolate peanut butter oat bars can take them to the next level. While optional, chocolate chips provide a delightful burst of sweetness and a rich chocolate flavor that complements the other ingredients. There are various types of chocolate chips to consider, including dark, semi-sweet, and even dairy-free options for those with dietary restrictions.
If you want to make your bars a bit healthier, consider using dark chocolate chips, which contain a higher percentage of cocoa and less sugar than their milk chocolate counterparts. You can also explore healthier alternatives like cacao nibs for a more intense chocolate flavor without added sugar. Whatever type of chocolate you choose, these chips can add an extra layer of decadence to your no-bake bars.
Step-by-Step Guide to Making No-Bake Chocolate Peanut Butter Oat Bars
Preparation and Setup
Creating your no-bake chocolate peanut butter oat bars begins with a bit of preparation. First and foremost, gather all your ingredients and kitchen tools to ensure a smooth cooking process. You will need rolled oats, natural peanut butter, honey or maple syrup, cocoa powder, and optional chocolate chips.
For your kitchen tools, prepare mixing bowls, a spatula for mixing, and a baking dish or a lined pan to hold your bars. If you want to make cleanup easier, consider using parchment paper to line your baking dish. This will not only prevent sticking but also simplify the removal of the bars once they are set.
An efficient workspace can make a significant difference in your cooking experience. Clear off your counter, wash your utensils, and ensure that you have ample space for mixing and pouring. By being organized, you can focus more on creating your delicious bars without the distraction of a cluttered kitchen.
Mixing the Dry Ingredients
With your ingredients and tools ready, it’s time to start mixing the dry ingredients. In a large mixing bowl, combine the rolled oats, cocoa powder, and a pinch of salt. The salt will enhance the overall flavor of the bars, balancing the sweetness from the honey or maple syrup.
Using a spatula, mix the dry ingredients thoroughly until they are evenly combined. This step is crucial, as it ensures that the cocoa powder is evenly distributed throughout the oats, providing consistent chocolate flavor in every bite. Take your time with this step; a well-mixed dry base will lead to a more flavorful bar.
Creating the Peanut Butter Mixture
Now that your dry ingredients are ready, it’s time to create the peanut butter mixture. In a small saucepan, gently warm the natural peanut butter and your chosen sweetener (honey or maple syrup) over low heat. This will make the peanut butter easier to mix and will help it blend smoothly with the sweetener.
Using a spatula, stir the peanut butter and sweetener together until they are well combined and smooth. Be careful not to overheat the mixture, as you want it just warm enough to blend but not so hot that it loses its consistency.
Once the peanut butter mixture is ready, pour it over the dry ingredients in the mixing bowl. Using your spatula, mix everything together until the oats are fully coated with the peanut butter and sweetener mixture. The goal is to create a sticky and cohesive mixture that holds together when pressed into the baking dish.
Final Thoughts on the First Steps
These initial steps lay the foundation for your no-bake chocolate peanut butter oat bars. By understanding the health benefits of each ingredient and carefully preparing your workspace, you are setting yourself up for success. The combination of rolled oats, natural peanut butter, and cocoa powder creates a delicious base that is not only satisfying but also nutritious.
Stay tuned for the next part of this article, where we will walk you through the remaining steps of shaping and setting your bars, along with tips for customizing your creation. With a few simple techniques, you’ll have your very own batch of no-bake chocolate peanut butter oat bars ready to enjoy!
Combining Ingredients for Perfect Bars
To create the ultimate No-Bake Chocolate Peanut Butter Oat Bars, achieving a smooth and cohesive mixture is essential. The first step in this process is to warm the peanut butter. Warming the peanut butter not only makes it easier to mix but also helps to achieve a smoother consistency. Heating it slightly allows the oils to become more fluid, which facilitates better incorporation with the oats and any additional ingredients you decide to include.
When combining the oats and peanut butter, using a large mixing bowl is advisable. Start by adding the oats to the bowl, followed by the warmed peanut butter and any sweeteners you’ve chosen. Use a sturdy spatula or wooden spoon to mix the ingredients thoroughly. It’s important to ensure that every oat is coated with the peanut butter mixture. This not only enhances the flavor but also ensures that the bars hold together well once set.
Mix until no dry oats are visible, and the mixture feels somewhat sticky. If you find that the mixture is too dry, consider adding a splash of almond milk or water to help bind everything together. Remember, achieving the right consistency is key to having bars that are both delicious and firm enough to hold their shape.
Preparing the Baking Dish
Once your mixture is ready, it’s time to transfer it to a baking dish. A crucial step in ensuring easy removal and clean cuts is to line your dish with parchment paper. Parchment paper serves as a barrier between the bars and the dish itself, preventing sticking and making it easy to lift the bars out once they are set.
To prepare the dish, cut a piece of parchment paper that is slightly larger than the dimensions of your baking dish, allowing for some overhang. This will give you a handle to pull the bars out easily later. Place the parchment in the dish, ensuring it’s smooth and without wrinkles.
When pressing the mixture into the dish, use a flat spatula or the back of a measuring cup to evenly distribute the mixture across the bottom. Press firmly to ensure that the mixture is compact and level. This step is critical; if the bars are not pressed firmly enough, they may crumble when you try to cut them later.
Setting the Bars
After you’ve pressed the mixture into the baking dish, the next step is to let it set properly. Refrigeration is essential for achieving the right texture. The cooling process allows the fats in the peanut butter and chocolate to solidify, resulting in a firmer bar that holds together well.
For optimal firmness, refrigerate the bars for at least two hours. This will allow enough time for the ingredients to meld together and for the bars to become solid enough to cut. If you’re in a hurry, you can place them in the freezer for about 30 minutes, but be cautious not to leave them too long, as they can become overly firm and challenging to cut.
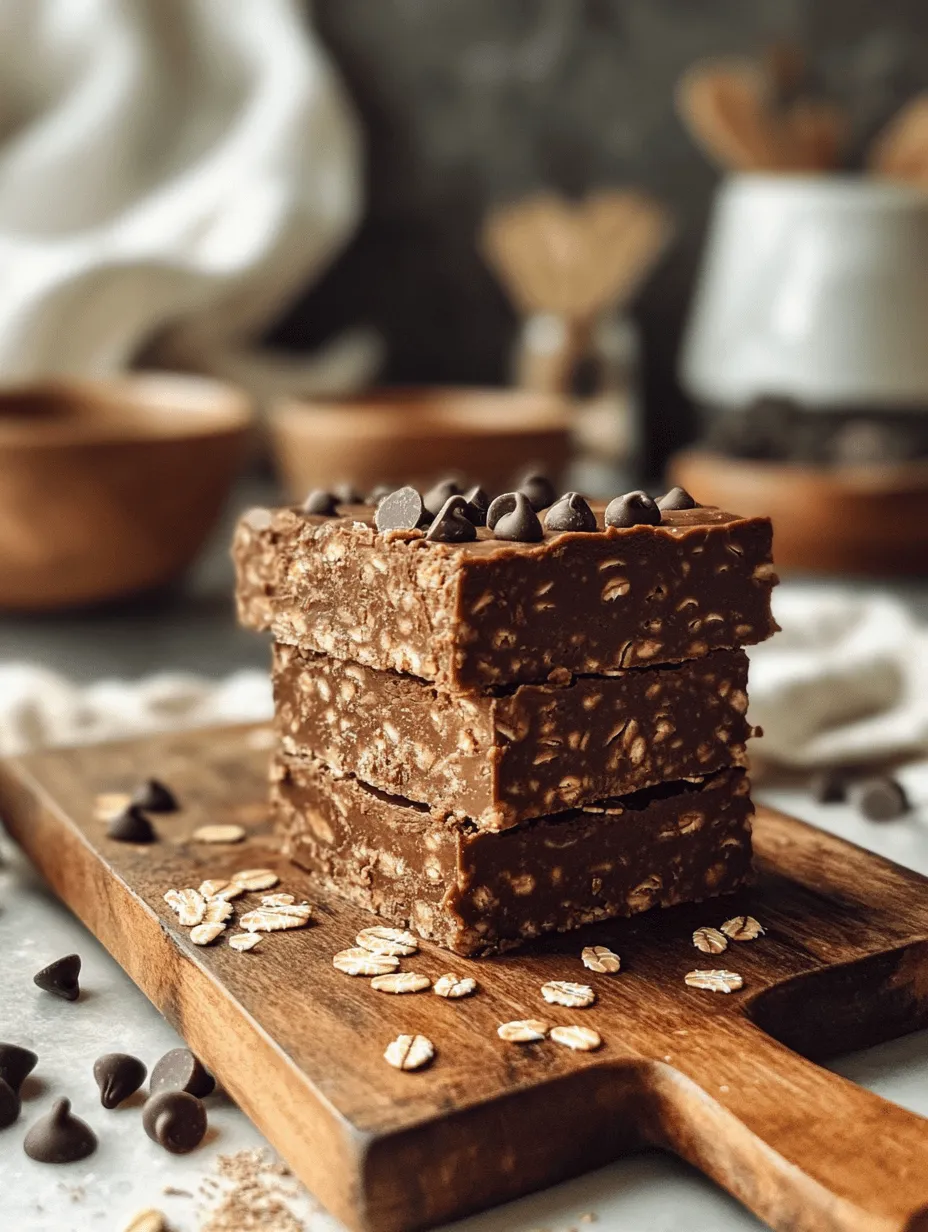
Cutting and Storing the Bars
Once your bars have set, it’s time to cut them into squares. To achieve clean cuts, use a sharp knife and make sure it’s dry. It can be helpful to run the knife under warm water before cutting; this will ease the slicing process and prevent crumbling. For uniformity, you can measure out the bars using a ruler or simply eyeball it based on your preferred serving size.
After cutting, you’ll want to think about storage to keep your bars fresh. If you plan to eat them within a week, they can be stored in an airtight container in the refrigerator. If you prefer room temperature, ensure that your kitchen isn’t too warm, as the bars may become too soft. For longer storage, consider freezing the bars. Wrap each square individually in plastic wrap and place them in a freezer-safe container. This way, you can enjoy a bar any time you need a quick snack.
Customization Ideas for No-Bake Bars
Exploring Flavor Variations
One of the great things about No-Bake Chocolate Peanut Butter Oat Bars is their versatility. There are countless ways to customize your bars to suit your taste preferences or dietary needs.
First, consider adding some crunch to your bars by incorporating nuts or seeds. Chopped almonds, walnuts, or sunflower seeds can enhance the texture and add a nutritious element. If you love a bit of sweetness, consider adding dried fruits such as cranberries, raisins, or chopped dates. These can provide natural sugars and additional flavor, making your bars even more delightful.
You can also experiment with spices. A sprinkle of cinnamon can add warmth and depth of flavor, while a dash of sea salt can enhance the sweetness of the chocolate and peanut butter. Don’t hesitate to get creative with your additions; the possibilities are endless.
Adjusting Sweetness to Taste
When it comes to sweetening your No-Bake Bars, you have control over how sweet you want them to be. If you prefer a less sweet bar, you can reduce the amount of honey or maple syrup used in the recipe. Conversely, if you like your bars on the sweeter side, feel free to increase the sweetener slightly.
For those looking for alternative sweeteners, consider using agave nectar, coconut sugar, or stevia. Each sweetener has its own unique flavor profile and sweetness level, so be sure to test and adjust according to your preferences. Be aware that some sweeteners may impact the texture of the bars, so start with small adjustments.
Making It Vegan or Allergy-Friendly
If you’re looking to make your No-Bake Chocolate Peanut Butter Oat Bars vegan, the good news is that the base ingredients already lend themselves well to a plant-based diet. Simply ensure that you are using a vegan chocolate option, as some brands may contain dairy.
For those with nut allergies, you can substitute peanut butter with sunbutter (sunflower seed butter) or soy nut butter. These alternatives maintain a similar texture and flavor profile while being safe for those with nut sensitivities. You can also explore seed-based butters that offer unique flavors and nutrition.
Health Benefits of No-Bake Bars
Nutritional Overview
Now that you’ve created your delicious No-Bake Chocolate Peanut Butter Oat Bars, let’s take a moment to highlight their nutritional benefits. Each bar is packed with wholesome ingredients that contribute to a balanced diet. With oats as the base, these bars provide a good source of complex carbohydrates and fiber, which can help keep you feeling full and satisfied.
A typical serving of these bars, depending on size, can have around 150-200 calories, with a balance of healthy fats from peanut butter, carbohydrates from oats, and protein that comes from both the oats and peanut butter. This makes them an excellent option for a post-workout snack or a quick energy boost during the day.
Benefits of No-Bake Recipes
No-Bake Chocolate Peanut Butter Oat Bars exemplify the convenience of no-bake recipes. With minimal preparation and no need for cooking, you can whip up a batch of these bars in no time. This simplicity is particularly beneficial for busy lifestyles or for those who may not have access to a full kitchen setup.
Moreover, no-bake recipes often retain more nutrients than their cooked counterparts. Since the ingredients are not subjected to high heat, vitamins and minerals remain intact, allowing you to enjoy the full health benefits of your ingredients.
Conclusion
No-Bake Chocolate Peanut Butter Oat Bars are a delicious and nutritious treat that can easily fit into any lifestyle. With simple ingredients and straightforward preparation, these bars offer a versatile option for snacks, desserts, or on-the-go energy boosts. Whether enjoyed as a post-workout snack or a sweet treat during the day, they provide the perfect balance of flavor and nutrition.
Embrace the goodness of whole foods with this easy recipe and enjoy the satisfaction of creating your own delicious bars at home. The ability to customize these bars means you can make them uniquely yours, catering to your taste and dietary preferences. Whether you enjoy them fresh from the fridge or as a grab-and-go option, these no-bake bars will quickly become a staple in your kitchen.