Introduction
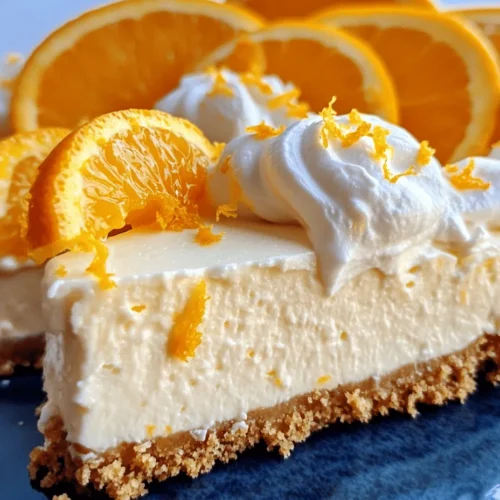
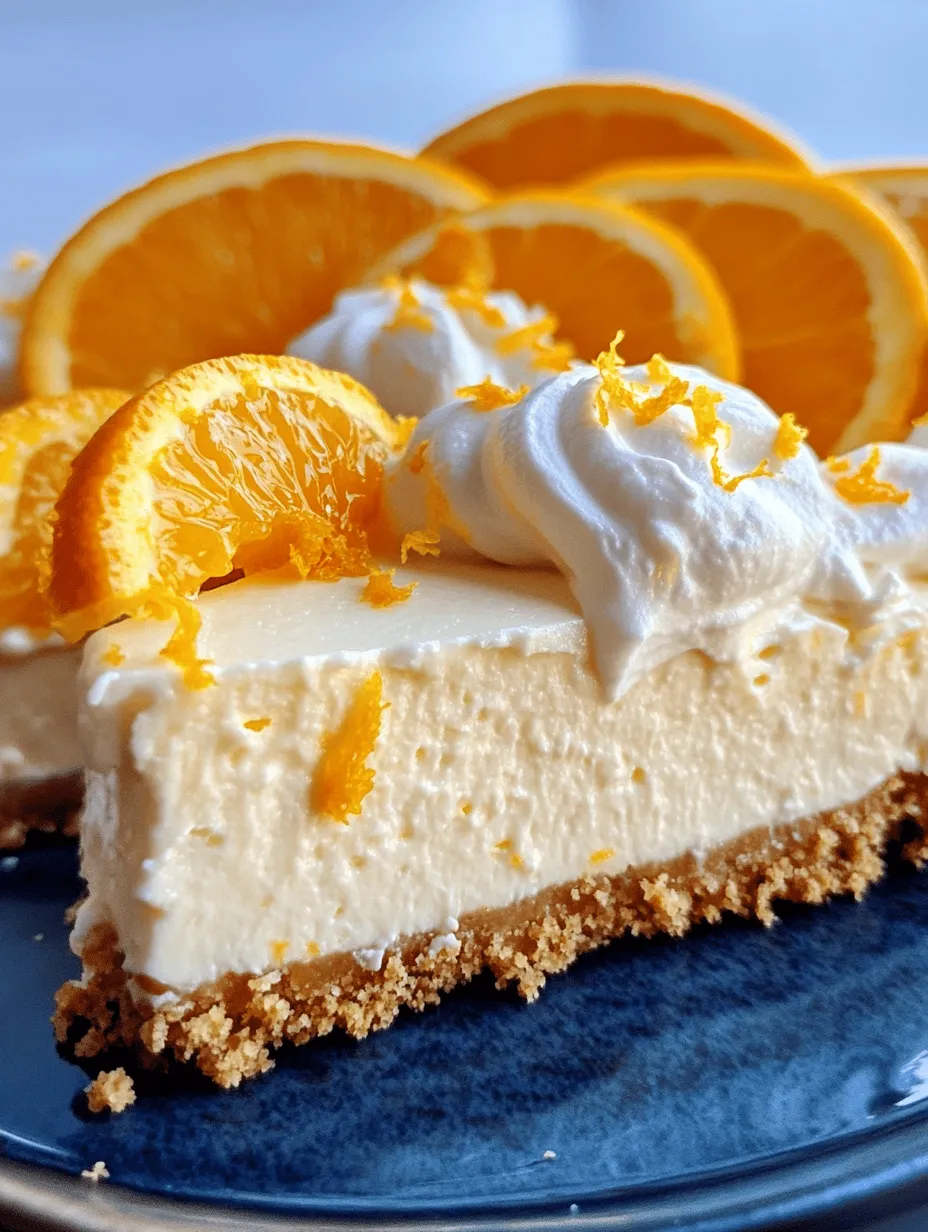
Imagine a dessert that captures the delightful essence of summer in every creamy bite. The No-Bake Orange Creamsicle Cheesecake is just that—a refreshing and indulgent treat that brings back the nostalgia of childhood summers spent enjoying those iconic orange creamsicle popsicles. This dessert not only satisfies your sweet tooth but also provides a light and airy finish that is perfect for warm-weather gatherings or casual evenings at home.
No-bake desserts have become increasingly popular in recent years, and for good reason. They are easy to prepare, require minimal cooking skills, and, most importantly, save you from heating up the kitchen during those scorching summer months. With no baking required, you can whip up this delightful cheesecake quickly and effortlessly, allowing you to spend more time enjoying the fruits of your labor rather than slaving away in the kitchen.
The flavors of orange and cream meld together harmoniously in this cheesecake, evoking memories of lazy afternoons and sun-soaked days. Whether you are hosting a backyard barbecue, celebrating a birthday, or simply treating yourself, this No-Bake Orange Creamsicle Cheesecake promises to be a crowd-pleaser. This article will guide you through the recipe step-by-step, provide insights into the preparation process, and offer variations to suit your taste preferences.
Understanding the Ingredients
A successful cheesecake starts with understanding the role of each ingredient involved. Here’s a detailed look at the essential components of the No-Bake Orange Creamsicle Cheesecake and how they contribute to the dish’s overall flavor and texture.
Graham Cracker Crumbs
Graham cracker crumbs form the base of the crust for this cheesecake. Their slightly sweet and buttery flavor provides the perfect complement to the creamy filling. The texture of the crumbs adds a satisfying crunch that contrasts beautifully with the smoothness of the cheesecake. When mixed with melted butter, the crumbs bind together to create a sturdy foundation that supports the cheesecake filling.
Unsalted Butter
Butter is a crucial ingredient in the crust, as it helps to bind the graham cracker crumbs together while adding richness and flavor. Unsalted butter is preferred to control the saltiness of the dessert, allowing the natural sweetness of the other ingredients to shine through. The melted butter combines seamlessly with the crumbs, ensuring that every bite of the crust is indulgent and flavorful.
Cream Cheese
The star of the show, cream cheese, is the main component of the cheesecake filling. It provides the rich, creamy texture that makes cheesecakes so beloved. Opt for full-fat cream cheese for the best results, as it will yield a luscious and velvety filling. When properly softened, cream cheese blends easily with the other ingredients, creating a smooth and delightful mixture.
Powdered Sugar
To sweeten the cheesecake filling without adding a gritty texture, powdered sugar is used. Its fine consistency allows for easy incorporation into the cream cheese, ensuring a smooth and creamy filling. The amount of sugar can be adjusted based on your personal taste preferences, allowing you to achieve the perfect level of sweetness.
Vanilla Extract
Vanilla extract is a key ingredient that enhances the overall flavor profile of the cheesecake. It adds warmth and depth, balancing the sweetness of the powdered sugar and the acidity of the orange juice. A high-quality pure vanilla extract is recommended for the best flavor, as artificial varieties may not provide the same depth of taste.
Orange Zest
Orange zest is the finely grated outer peel of the orange, and it plays a vital role in infusing the cheesecake with aromatic citrus notes. The essential oils in the zest release a bright and fragrant aroma that elevates the flavor of the dessert, making it even more reminiscent of the classic orange creamsicle.
Fresh Orange Juice
Adding fresh orange juice to the cheesecake filling brings a burst of citrus freshness and acidity, which helps to balance the richness of the cream cheese. The natural sweetness and tartness of the orange juice enhance the overall flavor profile, making each bite refreshing and enjoyable.
Heavy Whipping Cream
To achieve the light and airy texture characteristic of no-bake cheesecakes, heavy whipping cream is whipped until stiff peaks form and then folded into the cream cheese mixture. This step is crucial, as it helps to create a fluffy and light cheesecake that melts in your mouth. The richness of the cream complements the other ingredients perfectly, providing a decadent yet light experience.
Gelatin (Optional)
For those who prefer a firmer cheesecake, gelatin can be added to the filling. This ingredient helps to stabilize the cheesecake, giving it a more traditional sliceable texture. While not necessary for a delicious no-bake cheesecake, using gelatin can be particularly beneficial if you plan to transport the dessert or serve it at an outdoor gathering.
Garnishes
Presentation is an important aspect of any dessert, and garnishes can elevate your No-Bake Orange Creamsicle Cheesecake to the next level. Fresh orange slices or segments can be added on top for a burst of color and flavor, while a dollop of whipped cream can enhance the creamy richness of the cheesecake. These simple touches not only make the dessert visually appealing but also add an extra layer of flavor that complements the orange creamsicle theme.
Step-by-Step Guide to Making No-Bake Orange Creamsicle Cheesecake
Now that you have a solid understanding of the ingredients involved in this delightful No-Bake Orange Creamsicle Cheesecake, let’s dive into the step-by-step process of making it. We will begin with the preparation of the crust.
Preparing the Crust
1. Gather Your Ingredients: Start by gathering all the ingredients for the crust. You will need about 1 ½ cups of graham cracker crumbs and approximately ½ cup of unsalted butter, melted.
2. Mix the Ingredients: In a mixing bowl, combine the graham cracker crumbs with the melted butter. Use a spatula or spoon to mix them together until the crumbs are evenly coated in butter. The mixture should resemble wet sand and hold together when squeezed.
3. Press the Mixture into the Pan: Transfer the graham cracker mixture to a 9-inch springform pan. Using the back of a measuring cup or your fingers, press the mixture firmly and evenly across the bottom of the pan. Make sure to create a compact and even layer, as this will provide a sturdy base for your cheesecake.
4. Chill the Crust: Once the crust is pressed down, place the springform pan in the refrigerator for about 15-20 minutes. This chilling time allows the butter to firm up, setting the crust in place and ensuring it holds together when you add the cheesecake filling.
5. Prepare for the Filling: While the crust is chilling, you can prepare the filling for the cheesecake. Gather the necessary ingredients, including cream cheese, powdered sugar, vanilla extract, orange zest, fresh orange juice, and heavy whipping cream. If you are using gelatin, make sure to follow the instructions on the package for blooming the gelatin in cold water.
By following these steps, you will have a solid foundation for your No-Bake Orange Creamsicle Cheesecake. The crust will provide the perfect contrast to the creamy filling, making every bite a delightful experience. In the following sections, we will dive deeper into making the cheesecake filling and assembling this delicious dessert. Stay tuned for more tips and steps to create the ultimate No-Bake Orange Creamsicle Cheesecake that will impress your family and friends!
Whipping the Cream
Whipping the cream is a crucial step in creating a light and airy cheesecake filling. To achieve soft peaks, start with cold heavy whipping cream, which whips better than room temperature cream. Pour the cream into a large mixing bowl and use an electric mixer set to medium-high speed. As you whip, watch for the moment when the cream begins to thicken. This is when you want to slow down your mixing speed.
You should aim for soft peaks, which means that when you lift the whisk out of the cream, the peaks that form will gently droop over. This is important because over-whipped cream can turn grainy and lose its airy texture, which is essential for a no-bake cheesecake.
Tips for Using an Electric Mixer Effectively:
– Use a clean, dry bowl and beaters for the best results. Any grease or residue can prevent the cream from whipping properly.
– Start at a lower speed to avoid splattering, gradually increasing the speed as the cream thickens.
– Keep an eye on the cream; it can go from perfectly whipped to over-whipped quite quickly.
Crafting the Cheesecake Filling
Once your cream is whipped, it’s time to craft the cheesecake filling. Begin by combining softened cream cheese and sugar in a large mixing bowl. Beat these together until the mixture is smooth and creamy, which should take about 2-3 minutes. This step is crucial for ensuring there are no lumps in your filling.
Next, add in the fresh orange juice and zest. The zest adds an intense orange flavor that complements the creamy texture of the cheesecake, while the juice provides the necessary moisture and tang. Mix these ingredients until everything is well combined, scraping down the sides of the bowl to ensure an even mixture.
Importance of Incorporating Orange Zest and Juice for Flavor Depth:
Incorporating both the zest and juice is essential for achieving that classic creamsicle flavor. The zest contains oils that impart a bright, vibrant taste that juice alone cannot provide. Together, they create a harmonious balance, making your cheesecake truly reminiscent of a creamsicle.
Incorporating the Whipped Cream
Now, it’s time to gently fold the whipped cream into your cheesecake filling. This step requires a delicate touch to preserve the airiness of the whipped cream. Start by adding about one-third of the whipped cream to the cream cheese mixture. Use a spatula to gently fold it in, being careful not to deflate the whipped cream.
Once incorporated, add the remaining whipped cream in two more additions, continuing to fold gently. The goal here is to maintain the light, fluffy texture of the whipped cream, which will result in a lighter cheesecake.
Explanation of Why Care is Needed to Retain Airiness in the Mixture:
Retaining the airiness in the mixture is crucial because it contributes to the overall texture of the cheesecake. A dense filling may lead to a heavy dessert, while a light and fluffy filling ensures that the cheesecake is both rich and satisfying without being overwhelming.
Optional: Using Gelatin for Extra Firmness
For those who prefer a firmer cheesecake, using gelatin can be a great option. Start by blooming the gelatin in cold water according to the package instructions. This typically involves sprinkling the gelatin powder over cold water and letting it sit for about 5-10 minutes until it absorbs the water and swells.
After blooming, gently heat the gelatin mixture in the microwave for a few seconds until it is completely dissolved but not boiling. Allow it to cool slightly before adding it to the cream cheese mixture.
Benefits of Using Gelatin in No-Bake Cheesecakes:
Using gelatin helps stabilize the cheesecake, giving it a firmer texture that holds its shape better when sliced. This can be especially beneficial for transport or when making larger cheesecakes. It also prevents the cheesecake from becoming too soft, ensuring that it retains its structure while still being creamy.
Assembling the Cheesecake
With the filling prepared, it’s time to assemble the cheesecake. Pour the cheesecake filling over the prepared graham cracker crust, using a spatula to spread it evenly. To smooth the top, gently tap the sides of the pan on the counter to release any air bubbles that may be trapped in the filling.
For a flawless finish, you can run an offset spatula or the back of a spoon across the surface to create a smooth top. This not only enhances the aesthetic appeal but also ensures an even layer of filling.
Recommendations for Chilling Time and Conditions for Best Results:
Chill the cheesecake in the refrigerator for at least 4-6 hours, or overnight if possible. The longer it chills, the better it will set and the more the flavors will develop. Make sure your refrigerator is at the correct temperature (around 40°F) to ensure safe chilling.
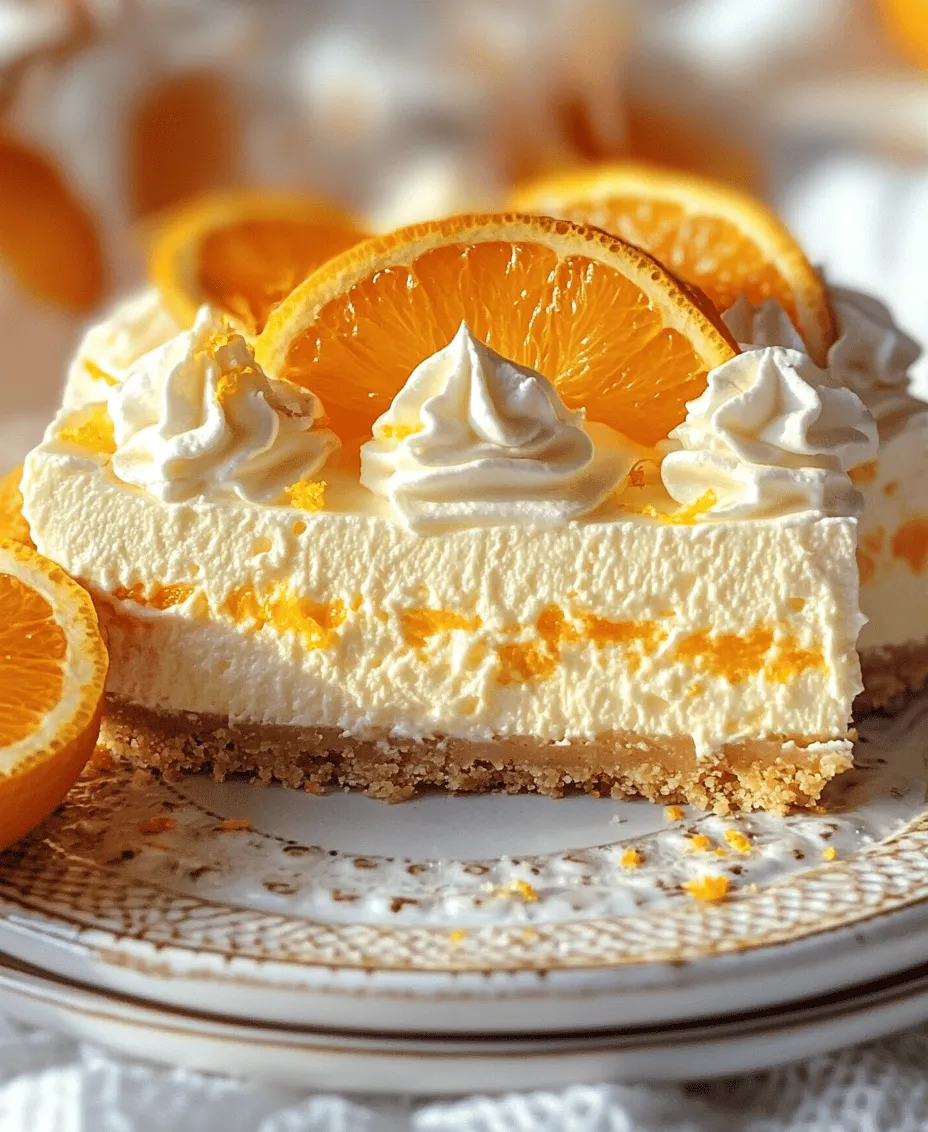
Serving Suggestions and Presentation Ideas
When it’s time to serve your No-Bake Orange Creamsicle Cheesecake, consider garnishing it with a dollop of freshly whipped cream and a few slices of fresh orange on top. This not only adds a pop of color but also enhances the orange flavor. A sprinkle of orange zest can add an elegant touch as well.
Suggestions for Serving Sizes and Accompaniments:
For serving sizes, a typical cheesecake can be cut into 10-12 slices, depending on how generous you want to be. It pairs beautifully with a variety of accompaniments, such as a scoop of vanilla ice cream or a refreshing fruit salad.
Ideas for Pairing with Beverages or Other Desserts:
Consider serving the cheesecake with a glass of iced tea, lemonade, or a light Moscato wine to complement the citrus flavors. For dessert pairings, light options like berry sorbet or a citrus-infused panna cotta would work wonderfully without overwhelming the palate.
Conclusion
The No-Bake Orange Creamsicle Cheesecake is a delightful dessert that embodies the essence of summer with its bright flavors and creamy texture. Its ease of preparation makes it a fantastic option for both novice and experienced bakers alike. Whether you’re hosting a summer gathering, celebrating a special occasion, or simply treating yourself, this cheesecake is sure to impress.
Encourage your family and friends to experience the delightful flavors of this no-bake dessert, and remind them that the versatility of no-bake recipes means they can be enjoyed year-round. From casual gatherings to more formal events, this cheesecake is a crowd-pleaser that will have everyone coming back for seconds. Enjoy the process, relish the flavors, and most importantly, share it with those you love!