Introduction
There’s something undeniably charming about homemade pies, evoking nostalgia for simpler times when family gatherings centered around the kitchen table, and the sweet aroma of baked goods filled the air. Among the many varieties of pies, strawberry rhubarb pie holds a special place in the hearts of dessert lovers everywhere. This classic pie, with its perfect balance of sweet strawberries and tart rhubarb, has become a staple in American households, especially during the spring and summer months when both fruits are in season.
The Pioneer Woman, Ree Drummond, has put her own delightful spin on this beloved recipe, making it accessible and approachable for home bakers of all skill levels. Her version captures the essence of this timeless dessert while infusing it with her signature flair. Whether you’re a seasoned baker or a beginner looking to impress, Ree’s strawberry rhubarb pie is sure to become a favorite in your kitchen.
In this article, we will delve into the ingredients that make up this delightful pie, the preparation of the buttery crust, and the creation of the flavorful filling. By the end, you’ll be equipped with all the knowledge necessary to bake your own Pioneer Woman-inspired strawberry rhubarb pie.
Understanding the Ingredients
Before diving into the baking process, it’s essential to understand the key ingredients that create the delicious layers of flavor in this pie.
All-Purpose Flour
The foundation of any great pie crust is quality all-purpose flour. Flour provides structure to the crust, enabling it to hold its shape while baking. Its protein content is critical; higher protein levels lead to a tougher crust, while lower protein flours yield a more tender, flaky texture. For a perfect pie crust, it’s crucial to measure your flour accurately—too much can result in a dry crust, while too little may lead to a soggy bottom. Ree’s recipe typically calls for standard all-purpose flour, striking the right balance for an ideal crust.
Unsalted Butter
Unsalted butter plays a vital role in both flavor and texture. It contributes to the richness of the crust while also creating the flaky layers that make a pie crust so desirable. The cold butter should be cut into the flour until the mixture resembles coarse crumbs. This technique allows the butter to create pockets of steam during baking, resulting in a flaky texture. Using unsalted butter allows you to control the salt content of your pie, which can be adjusted based on personal preference.
Fresh Strawberries and Rhubarb
The star players in this pie are undoubtedly the fresh strawberries and rhubarb. Strawberries bring a natural sweetness and a vibrant color, making the pie visually appealing. Rhubarb, on the other hand, adds a tangy flavor that balances the sweetness of the strawberries. Together, they create a beautiful harmony of taste. When selecting strawberries, look for ripe, bright red berries with a sweet aroma. For rhubarb, choose firm stalks that are crisp and not overly wilted. Both ingredients should be in peak season for the best flavor and texture.
Granulated Sugar and Cornstarch
Sugar serves multiple purposes in this pie. Not only does it sweeten the filling, but it also helps to draw out the juices from the strawberries and rhubarb. This is where cornstarch comes into play; it acts as a thickening agent, ensuring that the filling has just the right consistency. The combination of sugar and cornstarch creates a luscious filling that holds together beautifully when sliced. It’s important to allow the filling to sit for a while after mixing, as this helps the flavors meld together and the cornstarch to activate.
Vanilla Extract and Lemon Juice
To elevate the flavors of the pie, both vanilla extract and lemon juice are essential. Vanilla adds depth and warmth, enhancing the overall sweetness of the filling. Lemon juice, on the other hand, brings a bright acidity that balances the sweetness and tartness of the fruits. A splash of lemon juice also helps to prevent the strawberries and rhubarb from becoming overly mushy during baking, maintaining a desirable texture.
Preparing the Pie Crust
Now that we’ve covered the essential ingredients, let’s move on to preparing the pie crust. A well-made crust is crucial for a perfect pie, and Ree’s method is straightforward and reliable.
Mixing Dry Ingredients and Cutting in Butter
Start by gathering your all-purpose flour and a pinch of salt in a large mixing bowl. The salt enhances the flavor of the crust and balances the sweetness of the filling. Using a whisk or a fork, mix the flour and salt together until well combined. Next, it’s time to cut in the cold, unsalted butter. The butter should be cubed and added to the flour mixture. Using a pastry cutter, two forks, or even your fingers, work the butter into the flour until the mixture resembles coarse crumbs with some pea-sized pieces of butter remaining. This is a crucial step; leaving small chunks of butter will ensure a flaky texture after baking.
Importance of Chilling the Dough
Once the butter is cut into the flour, it’s time to add cold water. Gradually add ice water, one tablespoon at a time, mixing gently with a fork. The goal is to bring the dough together without overworking it. Once the dough holds together, divide it into two equal parts. Shape each portion into a disc, wrap them in plastic wrap, and refrigerate for at least one hour. Chilling the dough is vital as it allows the gluten to relax, resulting in a tender crust. Additionally, it ensures that the butter remains cold, which contributes to the flakiness of the finished pie.
Tips for Dividing and Wrapping the Dough
When dividing the dough, it’s essential to handle it gently to avoid overworking. Flour your work surface lightly and use a sharp knife or dough scraper to cut the dough into two discs. Wrap each disc tightly in plastic wrap to prevent it from drying out. You can also place the wrapped dough in a resealable plastic bag for extra protection. The dough can be refrigerated for up to three days or frozen for longer storage. If freezing, be sure to label the bags with the date so you can keep track of their freshness.
Creating the Filling
While the pie crust is chilling, it’s the perfect time to prepare the strawberry-rhubarb filling. This step is relatively straightforward and allows the fruity flavors to shine.
Combining Strawberries and Rhubarb
Begin by washing and slicing the fresh strawberries and rhubarb. For the strawberries, remove the green tops and slice them into evenly sized pieces. For the rhubarb, trim the ends and cut the stalks into small, bite-sized pieces. In a large bowl, gently combine the strawberries and rhubarb. The key here is to ensure an even distribution of the two fruits, so every slice of pie has a balanced flavor.
The Role of Sugar and Cornstarch
Once the fruits are combined, it’s time to add the sugar and cornstarch. Sprinkle the granulated sugar and cornstarch over the fruit mixture, and gently toss to coat. The sugar will begin to draw out the juices from the strawberries and rhubarb, while the cornstarch will help thicken this mixture as it cooks. This step is crucial for achieving the right filling consistency, so be sure to mix thoroughly.
How Letting the Filling Sit Enhances the Flavor
After mixing, let the filling sit for about 15 to 20 minutes. This resting period allows the flavors to meld together and gives the cornstarch time to absorb some of the juices. The result is a flavorful filling that will hold its shape beautifully when baked. During this time, you can also prepare your pie crust, ensuring that everything is ready for assembly.
By understanding the ingredients, preparing the crust, and creating a delightful filling, you are well on your way to baking the perfect Pioneer Woman strawberry rhubarb pie. In the next section, we will explore the pie assembly, baking process, and additional tips to ensure your pie turns out beautifully every time. Stay tuned for a journey into the heart of this classic dessert!
Assembling the Pie
Creating the perfect strawberry rhubarb pie begins with the assembly. This crucial step combines the beautifully prepared ingredients into a delightful dessert that will impress anyone who takes a bite.
Rolling Out the Dough
First, ensure your pie dough has been chilled adequately. This is vital for achieving a flaky crust. When ready to roll out, dust your clean countertop with a little flour to prevent sticking. Using a rolling pin, start from the center of your dough disc, applying even pressure as you roll outward. Rotate the dough a quarter turn after each roll to maintain a circular shape and uniform thickness.
Techniques for Rolling Out to the Right Thickness
Aim for a thickness of about 1/8 inch. Too thick, and the crust will be chewy; too thin, and it may tear. As you roll, gently lift the dough to check for sticking. If it adheres to the counter, loosen it with a spatula and sprinkle more flour underneath as needed.
Tips for Transferring Dough into the Pie Pan Without Tearing
Once you’ve achieved the desired thickness, it’s time to transfer the dough into your pie pan. One effective method is to roll the dough around your rolling pin and then unroll it over the pie dish. Gently press the dough into the pan, ensuring it’s snug against the edges. If the dough tears, simply patch it with extra dough. Don’t worry about perfection; rustic charm is part of the allure!
Filling the Pie and Creating a Top Crust
With the bottom crust in place, it’s time to fill your pie. Spoon the strawberry and rhubarb mixture into the crust, making sure to distribute it evenly.
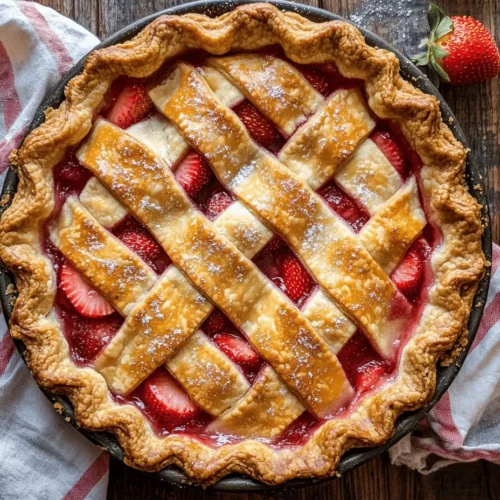
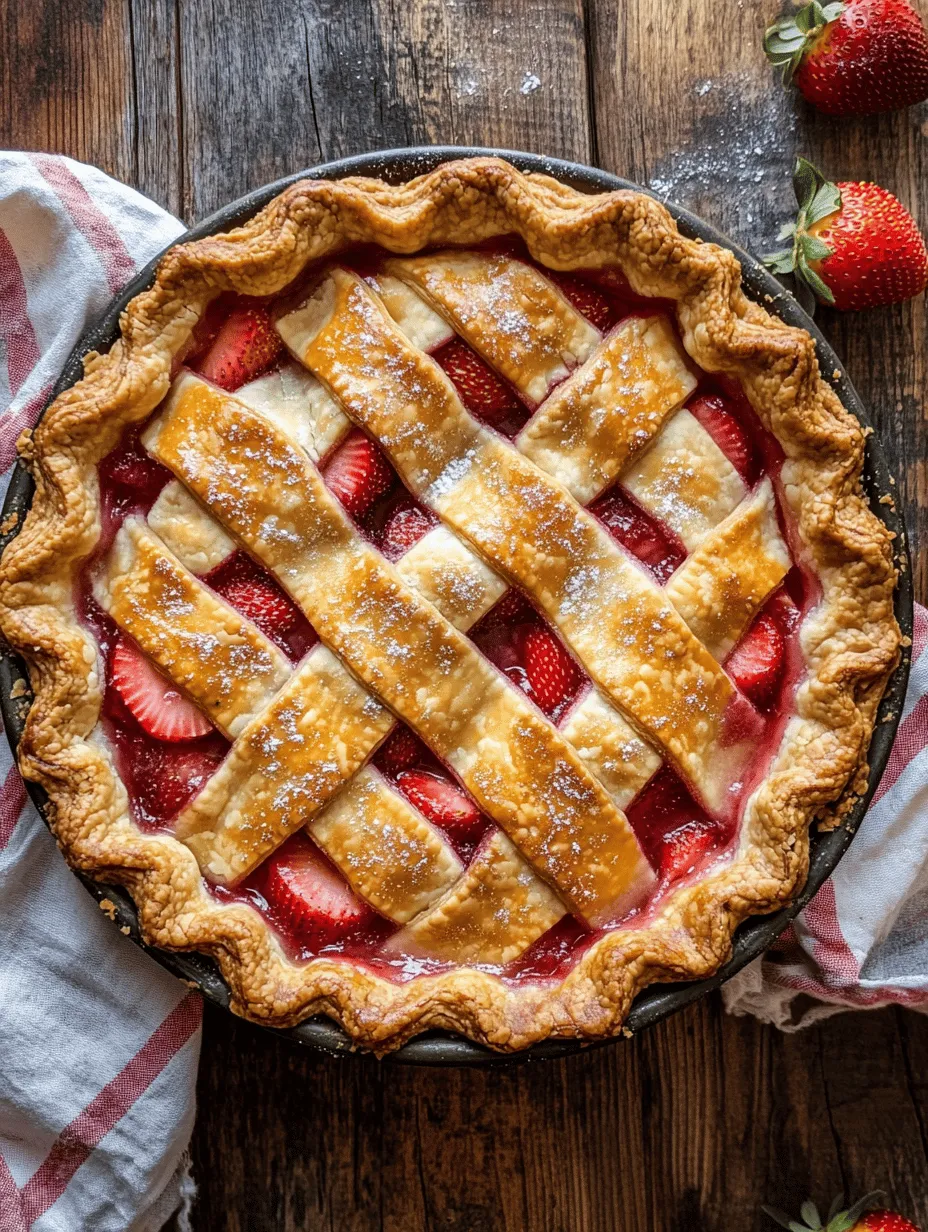
Options for Lattice Versus Flat Top: Aesthetic and Functional Considerations
You have two delightful options for your top crust: a flat top or a lattice design. A flat top crust is straightforward and requires just a single layer of dough covering the filling. However, a lattice crust, made by weaving strips of dough together, allows steam to escape during baking and adds visual appeal. If you choose the lattice option, cut your rolled-out dough into strips and weave them over the filling.
Importance of Sealing the Edges and How It Affects Baking
Regardless of the top crust style, it’s essential to seal the edges of your pie properly. Press the top crust against the bottom crust with your fingers or a fork to create a decorative edge and ensure a good seal. This not only keeps the filling from bubbling over during baking but also enhances the pie’s overall presentation.
Baking the Pie
Now that your pie is assembled, it’s time to bake!
Detailed Baking Instructions
Preheat your oven to 425°F (220°C). Preheating is crucial as it helps create a crispy crust right from the start. Once preheated, place your pie in the oven. The initial high temperature will help the crust set quickly.
The Science Behind Reducing the Temperature for Even Baking
After about 15 minutes, reduce the oven temperature to 350°F (175°C). This step allows the filling to cook thoroughly without burning the crust. Baking at a lower temperature ensures that the strawberries and rhubarb soften perfectly, releasing their juices and creating that iconic pie filling.
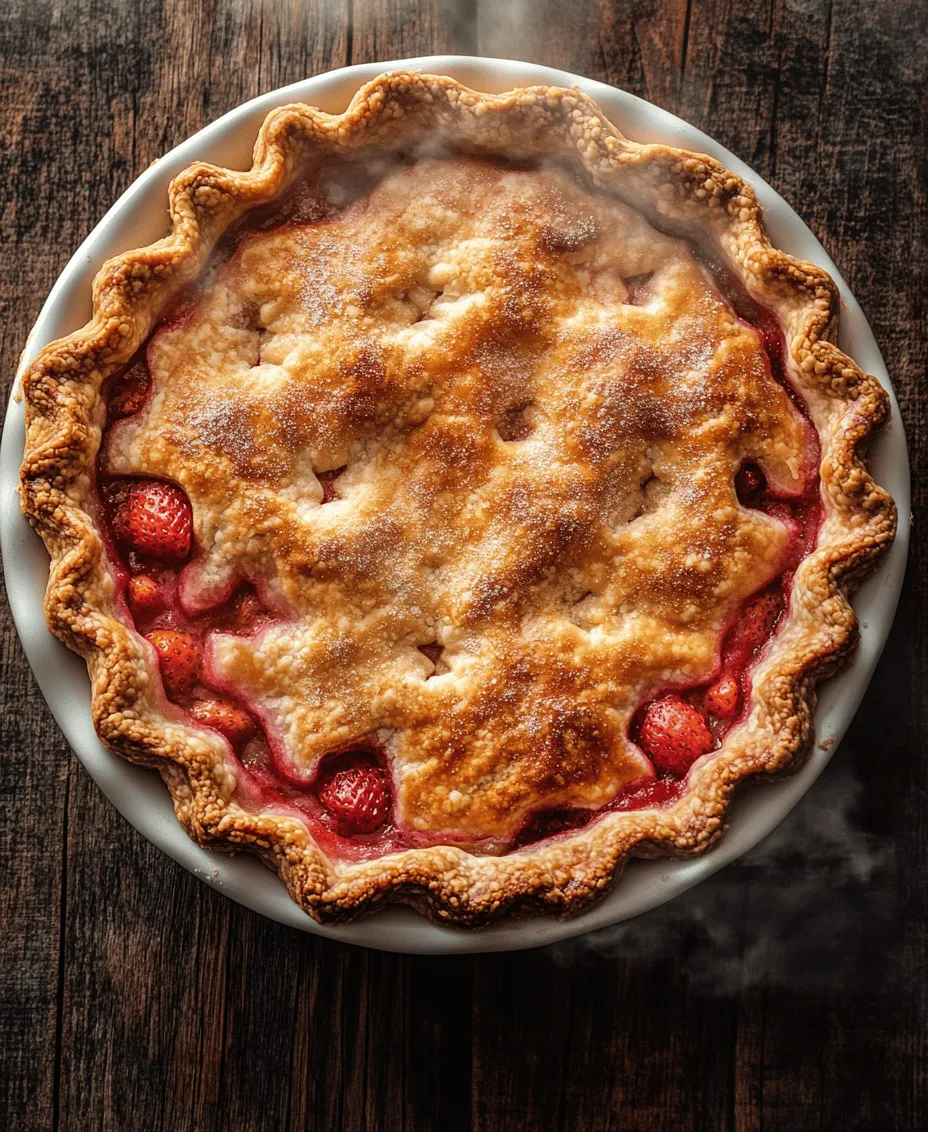
Visual Cues for Determining Doneness
Keep a close eye on your pie as it bakes. The crust should turn a beautiful golden brown, and the filling should bubble through the lattice or vents in the top crust. If the edges brown too quickly, shield them with foil to prevent burning.
Cooling and Serving the Pie
Once baked, the pie must cool before slicing. This step cannot be overlooked.
Why Cooling is Crucial Before Slicing
Cooling allows the filling to set, preventing it from running out when you cut into the pie. If you slice too soon, you may end up with a delicious but messy dessert.
Suggestions for Serving
When it’s time to serve your delightful strawberry rhubarb pie, consider pairing it with a scoop of vanilla ice cream or a dollop of freshly whipped cream. The creamy elements beautifully contrast the tartness of the pie, enhancing the overall experience.
Presentation Tips for a Stunning Dessert Display
For an eye-catching presentation, dust the cooled pie with powdered sugar or serve it with fresh strawberries on the side. A sprig of mint can add a pop of color and freshness, making your dessert not only delicious but stunningly beautiful.
Conclusion
In conclusion, making and sharing homemade strawberry rhubarb pie is a joyful experience. The process, from selecting fresh seasonal ingredients to the final presentation, is filled with tradition and love. Each bite of this delightful pie encapsulates the flavors of spring and summer, inviting smiles and satisfaction.
This recipe is more than just a dessert; it’s a way to connect with family and friends, to relish the fruits of your labor, and to celebrate the beauty of baking. So, gather your ingredients, roll up your sleeves, and try this delightful strawberry rhubarb pie recipe. You’ll create memories and a satisfying dessert that will be cherished for years to come.