Follow Me On Pinterest!


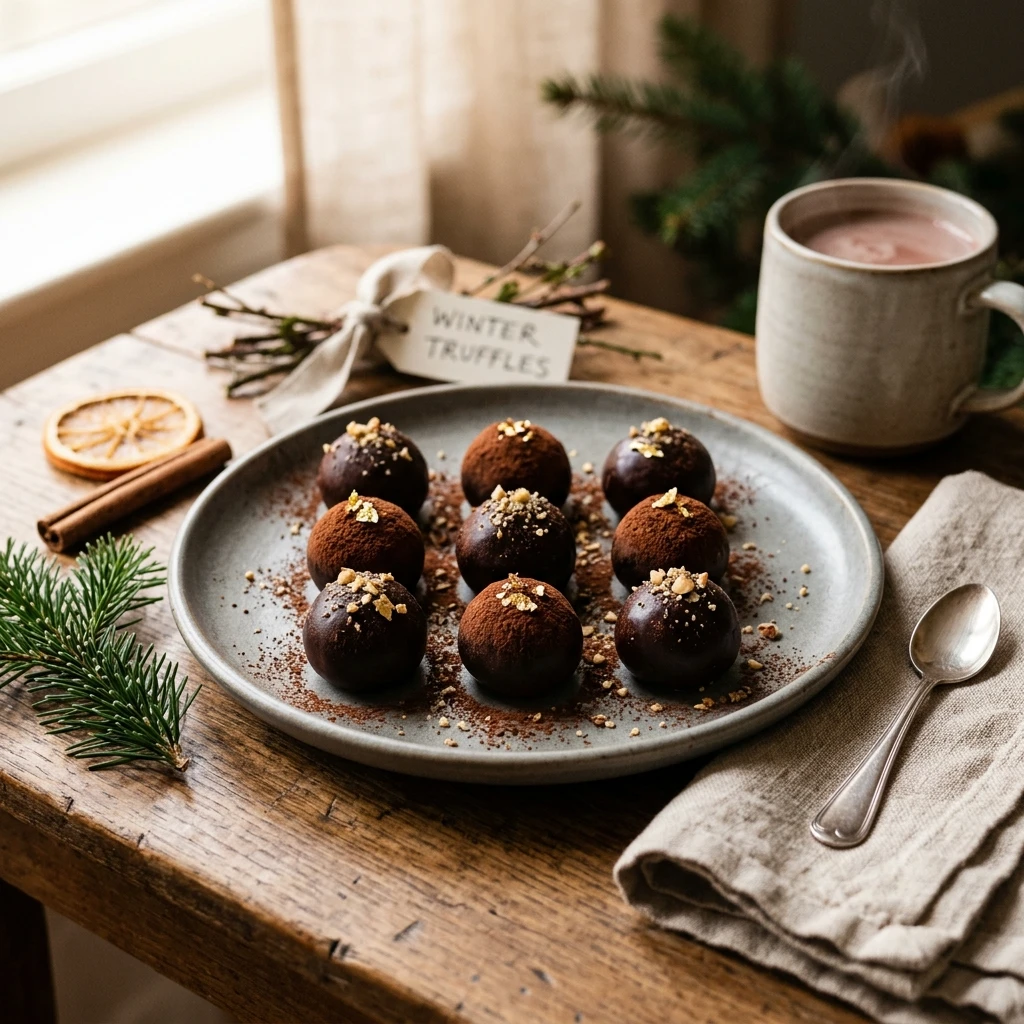
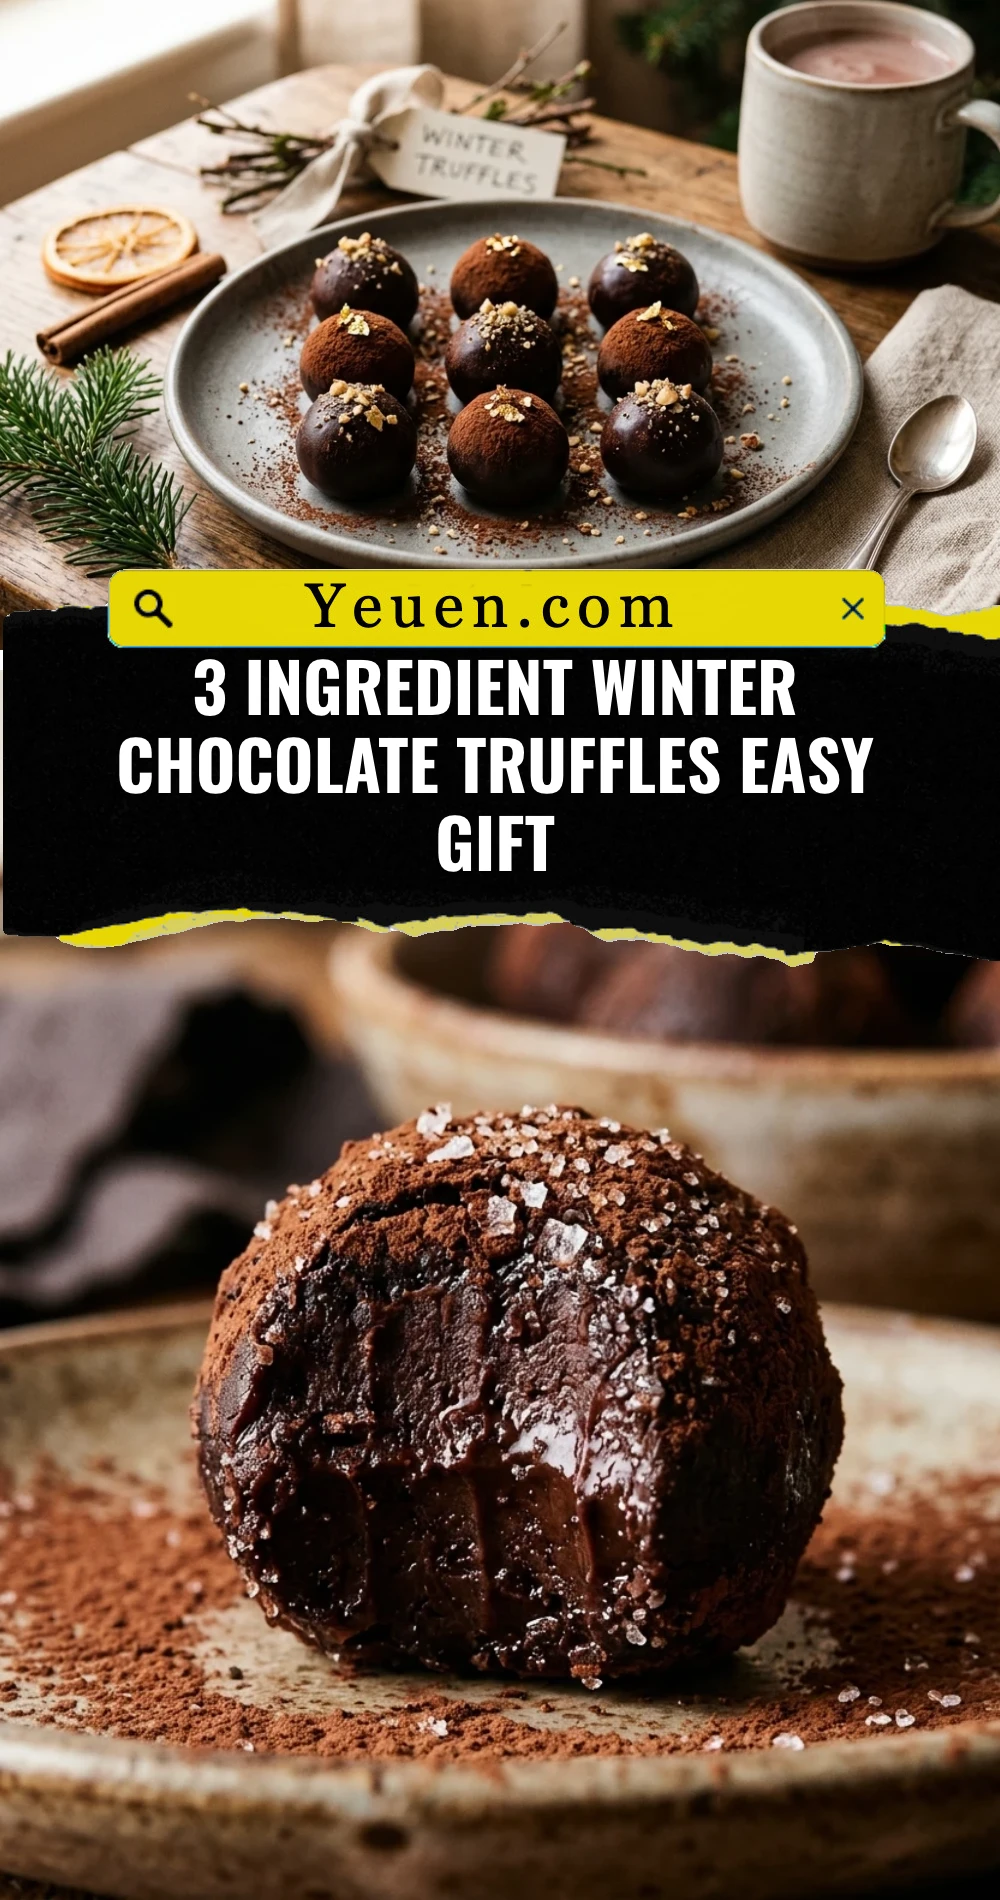
Imagine the perfect holiday gift that looks like it came from a high-end boutique but takes almost zero effort to create. These 3-ingredient winter chocolate truffles are the ultimate shortcut to becoming everyone’s favorite friend this season. With a silky-smooth center and a festive finish, they melt in your mouth and provide that deep, rich chocolate flavor we all crave during the colder months. Whether you are hosting a cozy gathering or need a last-minute homemade gift, these truffles are your secret weapon for holiday success. You do not need to be a professional chocolatier to master this recipe; you just need good chocolate and a little bit of patience while they chill.
Recipe Information
- Prep Time: 15 minutes (plus 2 hours chilling)
- Cook Time: 5 minutes
- Total Time: 20 minutes
- Servings: 24 truffles
- Difficulty: Easy
Nutrition values
- Calories: 85 kcal
- Protein: 1g
- Carbs: 7g
Why Make This 3 Ingredient Winter Chocolate Truffles Easy Gift
This recipe is a game-changer for busy holiday schedules. First, the minimal ingredient list means less time spent at the grocery store and more time enjoying the festivities. Second, the texture is incredibly luxurious; the ganache-based center is velvety and rich, rivaling any store-bought box. Third, they are infinitely customizable for gifting. You can package them in small tins, glass jars, or decorative boxes to create a thoughtful, handmade present that feels personal. Finally, it is a foolproof recipe that allows even beginner cooks to produce professional-grade confections with very little risk of error.
Ingredients
- 8 ounces high-quality semi-sweet or dark chocolate (at least 60% cacao), finely chopped
- 1/2 cup heavy whipping cream
- 1/4 cup unsweetened cocoa powder (for coating)
Directions
Step 1: Chop the Chocolate
Place your chocolate blocks on a cutting board and use a sharp serrated knife to chop them into very small, uniform pieces. The smaller the bits, the faster and more evenly they will melt. Place the chopped chocolate into a medium-sized heat-proof glass or metal bowl. Ensure the bowl is completely dry, as even a drop of water can cause the chocolate to seize and become grainy.
Step 2: Heat the Cream
Pour the heavy whipping cream into a small saucepan over medium heat. Watch the cream closely; you want it to reach a gentle simmer, not a rolling boil. As soon as you see small bubbles forming around the edges and steam rising from the surface, remove the pan from the heat immediately. Overheating the cream can burn the chocolate or cause the fat to separate.
Step 3: Create the Ganache
Pour the hot cream directly over the chopped chocolate in the bowl. Let it sit undisturbed for about 5 minutes. This allows the heat from the cream to gently melt the chocolate from the inside out. After 5 minutes, use a spatula or whisk to gently stir the mixture starting from the center and working your way out. Continue stirring until the mixture is glossy, smooth, and completely combined.
Step 4: Chill the Mixture
Allow the chocolate ganache to cool to room temperature on your counter. Once cooled, cover the bowl with plastic wrap, pressing the wrap directly onto the surface of the chocolate to prevent a skin from forming. Place the bowl in the refrigerator for at least 2 hours, or until the mixture is firm enough to scoop and hold its shape.
Step 5: Scoop, Roll, and Coat
Place the cocoa powder in a small shallow bowl. Use a small cookie scoop or a tablespoon to portion out bite-sized rounds of the chilled ganache. Quickly roll each portion between your palms to form a smooth ball. Drop the ball into the cocoa powder and roll it around until it is fully coated. Place the finished truffles on a parchment-lined tray and store them in the fridge until you are ready to gift or serve them.
Expert Tips for Perfect 3 Ingredient Winter Chocolate Truffles Easy Gift
For the best results, always use high-quality chocolate bars rather than chocolate chips. Chocolate chips often contain stabilizers that prevent them from melting into the perfectly smooth consistency needed for truffles. If your hands are warm and the chocolate starts to melt while you are rolling them, rinse your hands in cold water and dry them thoroughly before continuing. You can also use a melon baller to keep the portions consistent without over-handling the dough. Always sift your cocoa powder before rolling to ensure there are no bitter clumps in the coating.
Delicious Variations
While the classic cocoa coating is timeless, you can easily change the flavor profile. Add a half-teaspoon of peppermint extract to the cream for a wintery mint version. For a salty-sweet contrast, roll the finished truffles in crushed pretzels or top them with a single flake of sea salt. If you want a bit of crunch, roll the truffles in finely chopped toasted hazelnuts or pistachios. For a festive look, use crushed candy canes or white chocolate shavings as a coating instead of cocoa powder.
Frequently Asked Questions
Can I use milk chocolate instead of dark chocolate?
Yes, you can use milk chocolate, but you will need to reduce the amount of heavy cream slightly. Milk chocolate has a higher sugar and fat content and is softer at room temperature, so using about 1/3 cup of cream for 8 ounces of milk chocolate will help ensure they firm up properly.
How long do these truffles stay fresh?
When stored in an airtight container in the refrigerator, these truffles will stay fresh for up to two weeks. If you are gifting them, advise the recipient to keep them chilled for the best texture and longevity.
Can I make these truffles vegan?
Absolutely. You can substitute the heavy cream with full-fat canned coconut milk (shake the can well before measuring) and use a high-quality vegan dark chocolate. The process remains exactly the same.
Why is my ganache too soft to roll?
If the ganache is too soft after two hours, it likely needs more time to chill. If it is still too soft after four hours, you may have used too much cream. You can fix this by melting a small amount of additional chocolate and stirring it into the mixture, then re-chilling.
How should I package these for gifting?
Place individual truffles into mini paper cupcake liners to keep them from sticking together. Arrange them in a sturdy box or a decorative tin. If you are transporting them in a warm environment, include a small reusable ice pack in the gift bag to keep them firm.
Conclusion
Mastering the art of the homemade gift has never been easier than with these 3-ingredient winter chocolate truffles. They offer a sophisticated taste and a beautiful presentation with minimal stress. By following these simple steps, you create more than just a sweet treat; you create a memorable holiday experience for your friends and family. Put on some holiday music, start melting that chocolate, and enjoy the process of making something truly special from scratch.
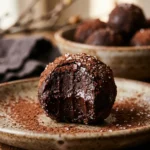
3 Ingredient Winter Chocolate Truffles Easy Gift
- Total Time: 20 minutes
- Diet: Vegetarian
Ingredients
Scale
- 8 ounces high-quality semi-sweet or dark chocolate (at least 60% cacao), finely chopped
- 1/2 cup heavy whipping cream
- 1/4 cup unsweetened cocoa powder (for coating)
Instructions
- Step 1: Chop the Chocolate. Place your chocolate blocks on a cutting board and use a sharp serrated knife to chop them into very small, uniform pieces. The smaller the bits, the faster and more evenly they will melt. Place the chopped chocolate into a medium-sized heat-proof glass or metal bowl. Ensure the bowl is completely dry, as even a drop of water can cause the chocolate to seize and become grainy.
- Step 2: Heat the Cream. Pour the heavy whipping cream into a small saucepan over medium heat. Watch the cream closely; you want it to reach a gentle simmer, not a rolling boil. As soon as you see small bubbles forming around the edges and steam rising from the surface, remove the pan from the heat immediately. Overheating the cream can burn the chocolate or cause the fat to separate.
- Step 3: Create the Ganache. Pour the hot cream directly over the chopped chocolate in the bowl. Let it sit undisturbed for about 5 minutes. This allows the heat from the cream to gently melt the chocolate from the inside out. After 5 minutes, use a spatula or whisk to gently stir the mixture starting from the center and working your way out. Continue stirring until the mixture is glossy, smooth, and completely combined.
- Step 4: Chill the Mixture. Allow the chocolate ganache to cool to room temperature on your counter. Once cooled, cover the bowl with plastic wrap, pressing the wrap directly onto the surface of the chocolate to prevent a skin from forming. Place the bowl in the refrigerator for at least 2 hours, or until the mixture is firm enough to scoop and hold its shape.
- Step 5: Scoop, Roll, and Coat. Place the cocoa powder in a small shallow bowl. Use a small cookie scoop or a tablespoon to portion out bite-sized rounds of the chilled ganache. Quickly roll each portion between your palms to form a smooth ball. Drop the ball into the cocoa powder and roll it around until it is fully coated. Place the finished truffles on a parchment-lined tray and store them in the fridge until you are ready to gift or serve them.
- Cook Time: 20 minutes