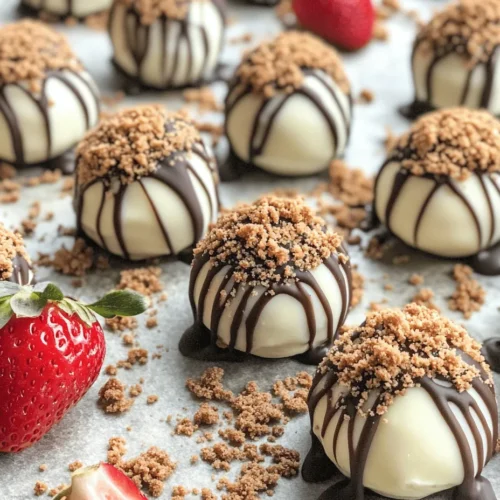
Delight in a sweet twist on a classic dessert with Strawberry Cheesecake Truffle Balls. These decadent treats combine the rich, creamy goodness of cheesecake with the fresh flavor of strawberries, all encased in a delightful chocolate coating. Perfect for parties, special occasions, or simply as a treat for yourself, these truffles offer a burst of flavor in every bite. With their irresistible combination of textures and flavors, Strawberry Cheesecake Truffle Balls are sure to become a favorite among dessert enthusiasts.
The origins of cheesecake date back centuries, with variations appearing in various cultures around the world. The addition of strawberries is a modern twist that enhances this traditional dessert, providing a refreshing contrast to the creamy richness of the cheesecake. These truffles take the essence of cheesecake and transform it into bite-sized delights, making them perfect for sharing or indulging alone.
In this article, we will explore the recipe in detail, including insightful tips and tricks for perfecting your truffle-making skills. From selecting the freshest ingredients to mastering the art of truffle rolling, we will guide you through each step of the process. Let’s dive into the key ingredients that make these Strawberry Cheesecake Truffle Balls so special.
Understanding the Key Ingredients
Fresh Strawberries: Nature’s Sweetness
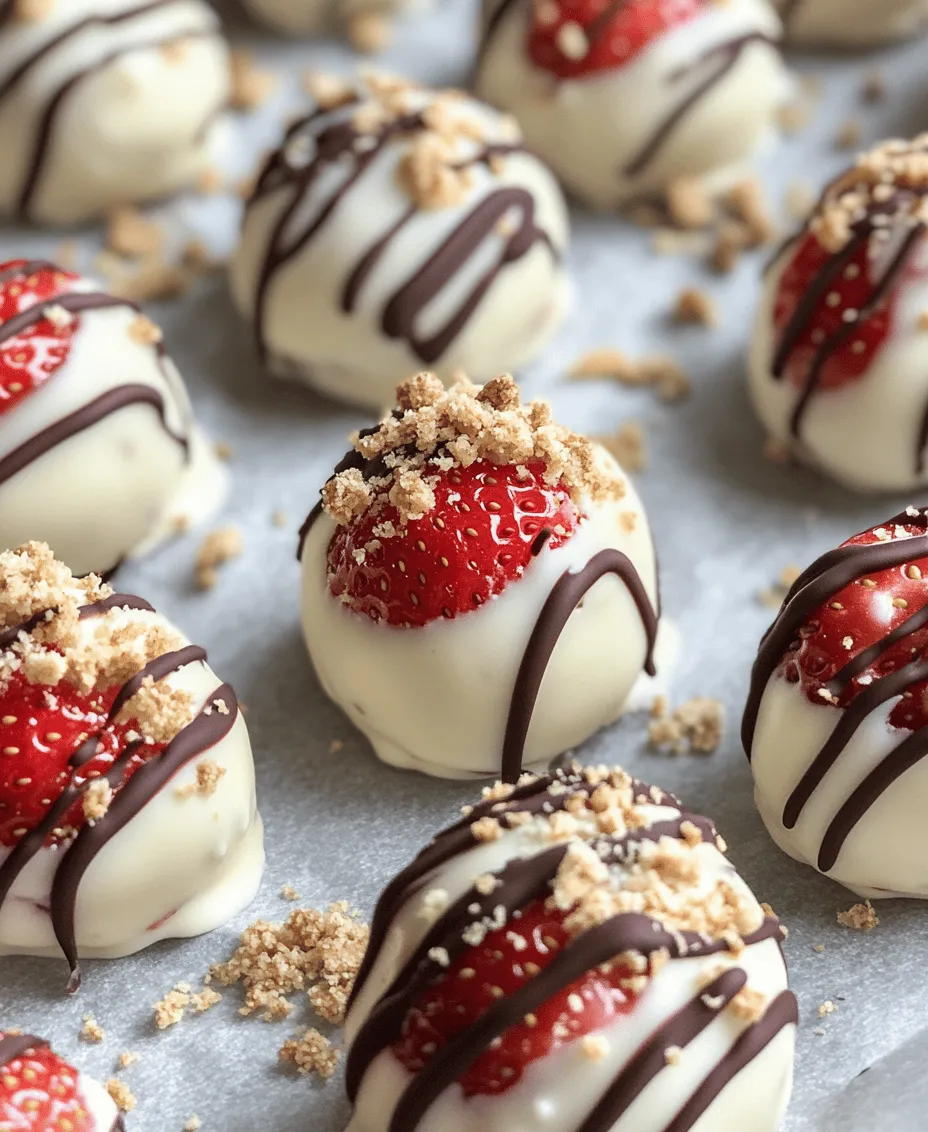
The star of our truffles is undoubtedly the fresh strawberries. When selecting strawberries, look for firm, plump berries with vibrant red color, as these indicate ripeness and flavor. Fresh strawberries not only bring a natural sweetness to the truffle but also a bright, fruity punch that complements the creamy cheesecake filling. Nutritionally, strawberries are packed with vitamins, antioxidants, and fiber, making them a delicious and healthful choice. Their juicy texture will enhance the overall taste of the truffles and help balance the richness of the cream cheese.
To maximize the flavor of your strawberries, consider macerating them before incorporating them into the cheesecake mixture. This process involves sprinkling a little sugar over the chopped strawberries and allowing them to sit for a while. As they sit, the sugar draws out the natural juices, creating a sweet syrup that adds depth to the truffles.
Cream Cheese: The Heart of Cheesecake
Next, we have cream cheese, which is essential for creating the smooth and creamy texture that defines cheesecake. When crafting Strawberry Cheesecake Truffle Balls, it’s crucial to use high-quality cream cheese for the best results. Look for full-fat cream cheese, as it will provide a richer flavor and creamier consistency than lower-fat options. Soften the cream cheese to room temperature before mixing; this will help achieve a smooth blend with the other ingredients.
The creaminess of the cream cheese pairs beautifully with the tartness of the strawberries, creating a harmonious balance that is both satisfying and indulgent. When blending the cream cheese with the other ingredients, use an electric mixer or a food processor for a lump-free consistency. This will ensure that your cheesecake mixture is velvety and easy to work with.
Powdered Sugar: Sweetening the Deal
Powdered sugar is another critical ingredient in our truffle recipe. Unlike granulated sugar, powdered sugar dissolves easily, allowing for a smooth consistency in the cheesecake mixture. It serves to sweeten the filling, balancing the tartness of the strawberries while also contributing to the overall texture.
When measuring powdered sugar, it’s essential to be accurate, as too much sugar can overwhelm the delicate flavors of the strawberries and cream cheese. If you prefer a less sweet truffle, you can adjust the amount of powdered sugar according to your taste. Additionally, consider sifting the powdered sugar before use to eliminate any lumps and ensure a silky texture in your truffle filling.
Graham Crackers: A Crunchy Contrast
No cheesecake is complete without a crunchy element, and this is where crushed graham crackers come into play. In our truffles, crushed graham crackers provide a delightful contrast to the creamy filling and add a hint of flavor reminiscent of traditional cheesecake crusts. They contribute to the overall texture of the truffles, giving them a satisfying bite.
To prepare the graham cracker crust, simply crush the crackers into fine crumbs using a food processor or by placing them in a resealable bag and rolling over them with a rolling pin. For those with dietary restrictions, there are various alternatives available, such as gluten-free graham crackers or even crushed nuts to create a unique flavor profile.
Chocolate Coatings: The Finishing Touch
The final step in creating your Strawberry Cheesecake Truffle Balls is the chocolate coating. This step not only adds visual appeal but also brings an additional layer of flavor that complements the sweetness of the cheesecake and the freshness of the strawberries. You can choose between white, milk, or dark chocolate, depending on your preference.
White chocolate offers a sweet and creamy coating that enhances the dessert’s overall sweetness, while dark chocolate provides a richer, more intense flavor that creates a lovely contrast with the sweet filling. If you’re feeling adventurous, consider using flavored chocolate, such as strawberry or vanilla, to further enhance the truffle’s flavor profile.
When melting the chocolate for coating, do so carefully to avoid burning it. Use a double boiler or microwave in short intervals, stirring frequently. Once melted, you can dip each truffle into the chocolate, allowing any excess to drip off before placing them on a parchment-lined baking sheet to set.
Step-by-Step Recipe Breakdown
Preparing the Strawberries
The first step in crafting your Strawberry Cheesecake Truffle Balls is preparing the strawberries. Begin by hulling the strawberries, which means removing the green leafy tops and the white core. This step is crucial for achieving a smooth filling. After hulling, finely chop the strawberries into small pieces. The smaller the pieces, the easier they will blend into the cheesecake mixture, ensuring that each bite is packed with flavor.
Once chopped, consider macerating the strawberries to enhance their natural sweetness. Place the chopped strawberries in a bowl and sprinkle them with a tablespoon of sugar. Gently toss them to coat, and then let them sit at room temperature for about 15-20 minutes. As they macerate, the sugar will draw out the juices, creating a sweet syrup that will infuse the truffles with even more flavor.
Crafting the Cheesecake Mixture
With the strawberries prepared, it’s time to craft the cheesecake mixture. In a mixing bowl, combine the softened cream cheese, powdered sugar, and a splash of vanilla extract. Using an electric mixer, beat the mixture on medium speed until it becomes smooth and creamy. This process typically takes about 2-3 minutes.
Be sure to scrape down the sides of the bowl with a spatula to ensure that all the ingredients are fully incorporated. Once the mixture is fluffy and well-blended, gently fold in the macerated strawberries and their juices. This step adds a beautiful pink hue and fresh flavor to the cheesecake filling.
Incorporating the Strawberries
Incorporating the strawberries into the cheesecake mixture is a crucial step, as it ensures that every truffle is bursting with strawberry flavor. Use a spatula to gently fold in the macerated strawberries, being careful not to over-mix. The goal is to evenly distribute the strawberries throughout the cheesecake mixture while maintaining its light and airy consistency.
Once the strawberries are well incorporated, it’s time to chill the mixture. Cover the bowl with plastic wrap and place it in the refrigerator for at least 30 minutes. Chilling the mixture will make it easier to roll into balls, ensuring they hold their shape during the coating process.
Stay tuned for the next part of the article, where we will delve deeper into the rolling and coating of your Strawberry Cheesecake Truffle Balls, and provide you with tips to ensure they turn out perfectly every time. Whether you’re serving these truffles at a gathering or savoring them solo, they are sure to impress with their delightful flavors and beautiful presentation.
Gentle Folding Technique
Integrating the strawberries into the cheesecake mixture is a delicate process that requires a gentle folding technique. This method ensures that the strawberries maintain their structure and do not become mushy, preserving their juicy flavor and vibrant color.
To begin, take your chopped strawberries and add them to the cheesecake mixture. Using a spatula, gently scoop underneath the mixture and lift it over the strawberries, turning the bowl as you go. It’s essential to do this slowly and carefully, allowing the cheesecake base to envelop the strawberries without crushing them. If you notice some strawberries breaking apart, reduce the pressure during your folding motion. The goal is to create a beautiful marbled effect while keeping the strawberries intact, which will enhance both the visual appeal and flavor of the truffles.
Forming the Truffle Balls
Once you have successfully folded in the strawberries, it’s time to shape your mixture into truffle balls. The consistency of the mixture is crucial at this stage. It should be thick enough to hold its shape when rolled but not too dry; otherwise, the truffles will crumble.
To create uniform truffle balls, use a small cookie scoop or a tablespoon. This will help you measure out the same amount of mixture each time. Take a scoop of the cheesecake mixture and roll it between your palms to form a ball, about one inch in diameter. If the mixture is too sticky, you can lightly dust your hands with a bit of powdered sugar or graham cracker crumbs, which can help prevent sticking. Once you have shaped all the truffles, place them on a baking sheet lined with parchment paper. This will make transferring them to the fridge much easier.
Chilling for Perfection
Chilling is a critical step in the process of making Strawberry Cheesecake Truffle Balls. It allows the truffles to firm up, making them easier to handle when you coat them in chocolate. Ideally, you should chill the formed truffle balls for at least 30 minutes but refrigerating them for an hour or longer is even better.
During this chilling period, the flavors will meld together, and the texture will improve, resulting in a creamier mouthfeel. If you skip this step or don’t chill them long enough, the truffles may fall apart when dipped in chocolate. So, be patient and allow them to chill thoroughly for the best results.
Melting the Chocolate
For the chocolate coating, you can choose between white and dark chocolate, or even use both for a stunning contrast. Melting chocolate can be tricky, so it’s essential to do it right to avoid burning.
If using a microwave, chop the chocolate into small, even pieces to ensure uniform melting. Place the chocolate in a microwave-safe bowl and heat it in 30-second intervals at medium power. After each interval, stir the chocolate to help distribute the heat evenly. Be cautious not to overheat; stopping when there are still small lumps is advisable, as the residual heat will continue to melt the chocolate even after you remove it from the microwave.
Alternatively, you can use a double boiler. In this method, fill a pot with a few inches of water and bring it to a simmer. Place a heatproof bowl on top of the pot, making sure it doesn’t touch the water. Add the chocolate to the bowl and stir until melted and smooth.
Coating the Truffles
Once your chocolate is melted and smooth, it’s time to coat the truffles. Using a fork or a dipping tool, carefully dip each truffle into the chocolate, ensuring it is completely covered. Allow any excess chocolate to drip off before transferring it back to the parchment-lined baking sheet.
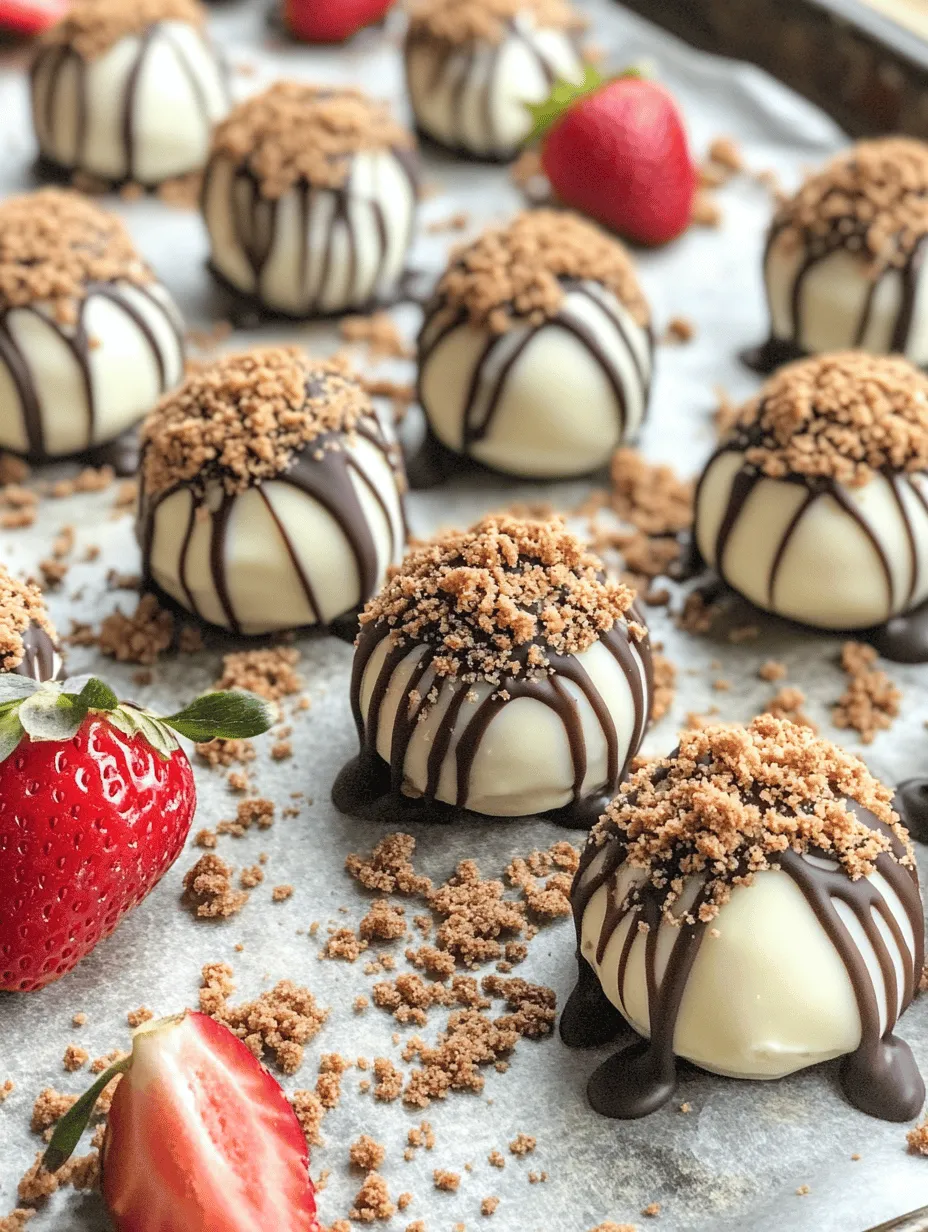
For added texture and flavor, consider rolling the coated truffles in crushed graham crackers before the chocolate hardens. This step will mimic the crust of a traditional cheesecake and provide a delightful crunch that complements the creamy interior.
If you want to enhance the chocolate coating’s appearance, you can drizzle melted chocolate over the truffles after they have been coated. To do this, place the melted chocolate in a small piping bag, or use a fork to create beautiful patterns over the coated truffles. This decorative touch not only looks appealing but also adds another layer of chocolatey goodness.
Serving Suggestions
Best Temperature and Presentation
Strawberry Cheesecake Truffle Balls are best served chilled. This enhances their flavor and ensures they maintain the perfect creamy texture. When presenting them at gatherings, consider using decorative cupcake liners for an elegant touch. Arrange the truffles on a beautiful platter, and for a pop of color, you can garnish the platter with fresh strawberries or mint leaves.
Another presentation idea is to stack the truffles in a glass jar or a tiered dessert stand. This will make for an eye-catching display that is sure to impress your guests.
Pairing Suggestions
To elevate your dessert experience, consider pairing the Strawberry Cheesecake Truffle Balls with complementary beverages. A chilled glass of sparkling wine or a refreshing iced tea can enhance the flavors of the truffles. Alternatively, a rich cup of coffee or espresso can create a delightful contrast to the sweetness of the truffles, making for a satisfying after-dinner treat.
If you want to serve them alongside other desserts, consider offering a selection of mini desserts, such as fruit tarts or chocolate mousse cups, to create a diverse dessert table. This variety will satisfy different palates and make your gathering even more memorable.
Storage and Shelf Life
To maintain the freshness of your Strawberry Cheesecake Truffle Balls, proper storage is essential. Place the truffles in an airtight container lined with parchment paper to prevent sticking. If stacking, ensure to separate layers with parchment paper as well.
Stored this way in the refrigerator, the truffles will stay fresh for up to one week. If you want to extend their shelf life, you can freeze them. When freezing, lay them flat on a baking sheet until solid, then transfer them to a freezer-safe container. They can last for up to three months in the freezer. To enjoy, simply thaw them in the refrigerator before serving.
Conclusion: A Treat for Every Occasion
Strawberry Cheesecake Truffle Balls are more than just a dessert; they are a delightful fusion of flavors and textures that can brighten up any occasion. With their creamy cheesecake filling and luscious chocolate coating, these truffles are sure to impress friends and family alike. Whether for a festive gathering, a simple dinner party, or a sweet treat for yourself, mastering this truffle-making process will allow you to indulge in these delicious bites anytime you desire.
By following the detailed steps outlined in this guide, you’ll be on your way to creating stunning Strawberry Cheesecake Truffle Balls that are not only visually appealing but also bursting with flavor. So gather your ingredients, get ready to roll, and enjoy these delightful treats that blend the best of cheesecake and chocolate in every bite.