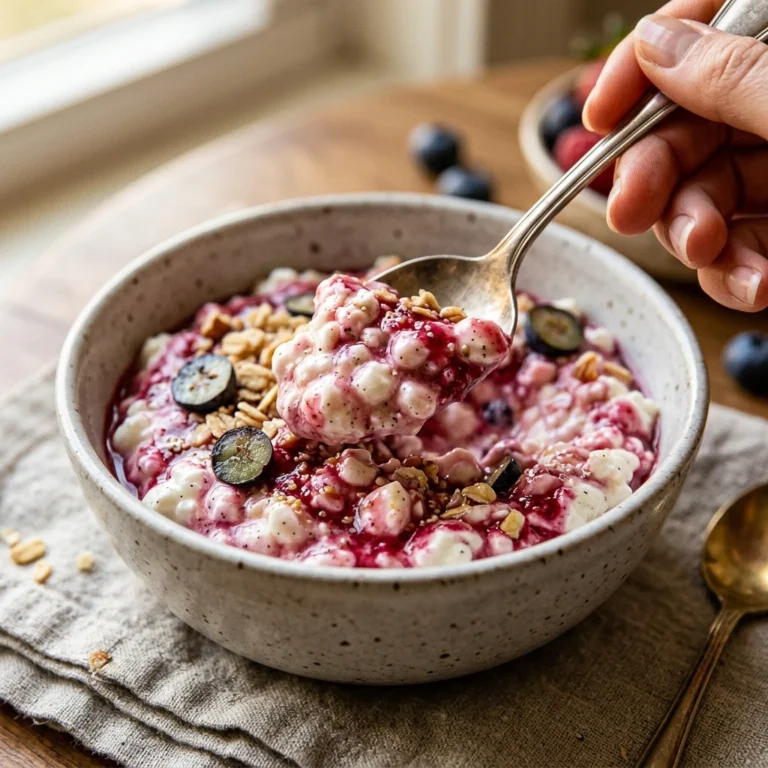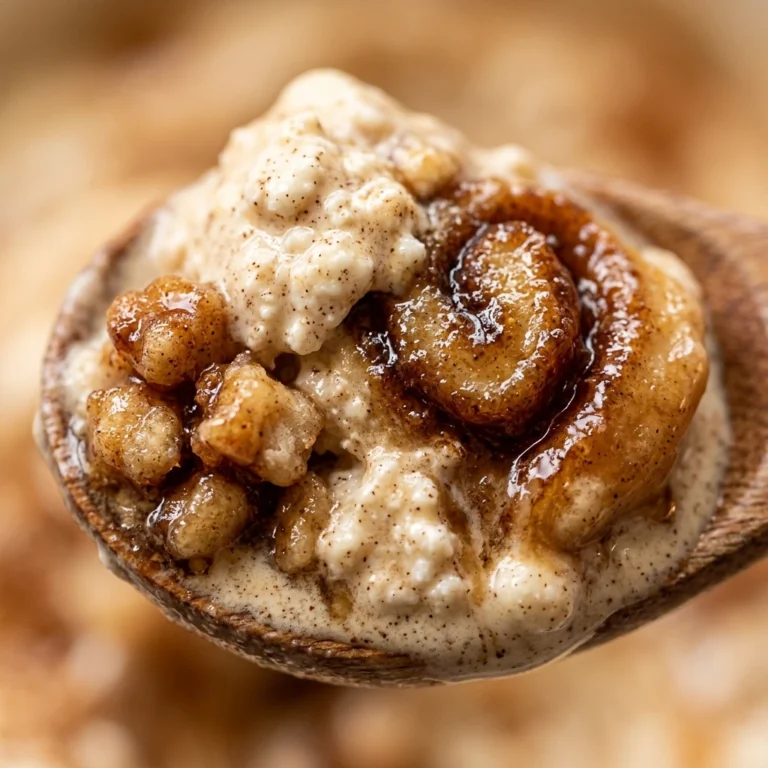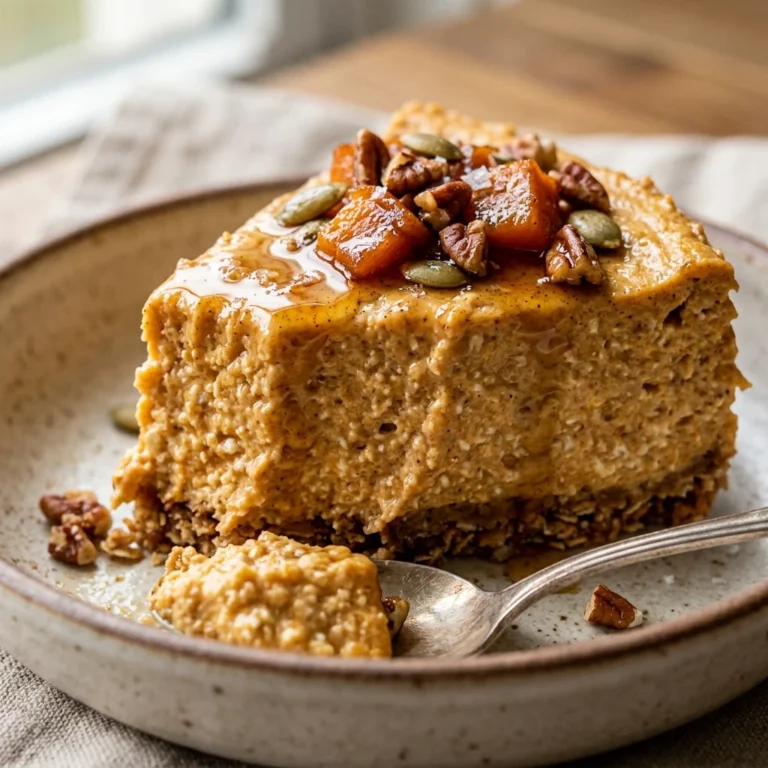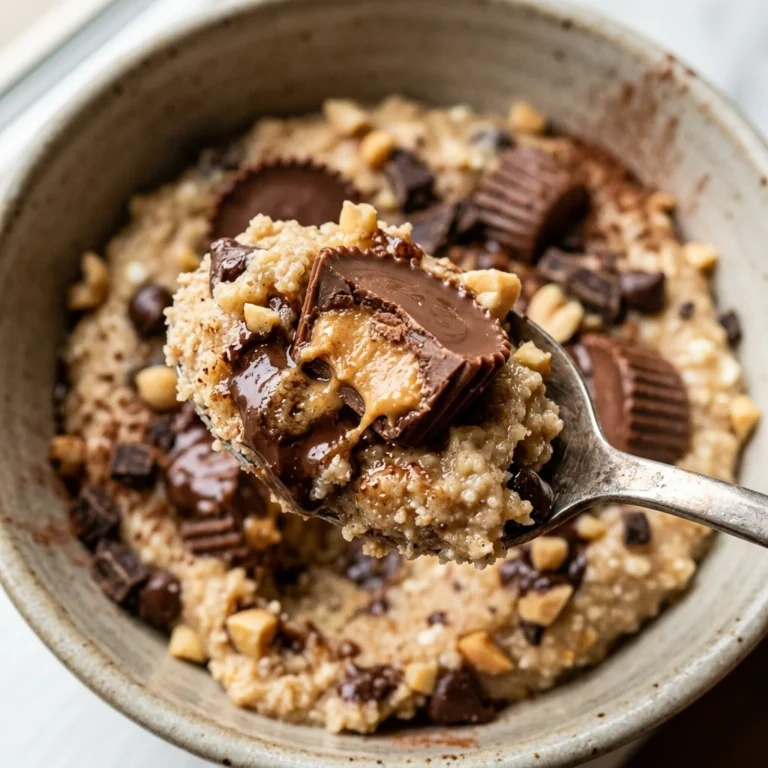
Follow Me On Pinterest!


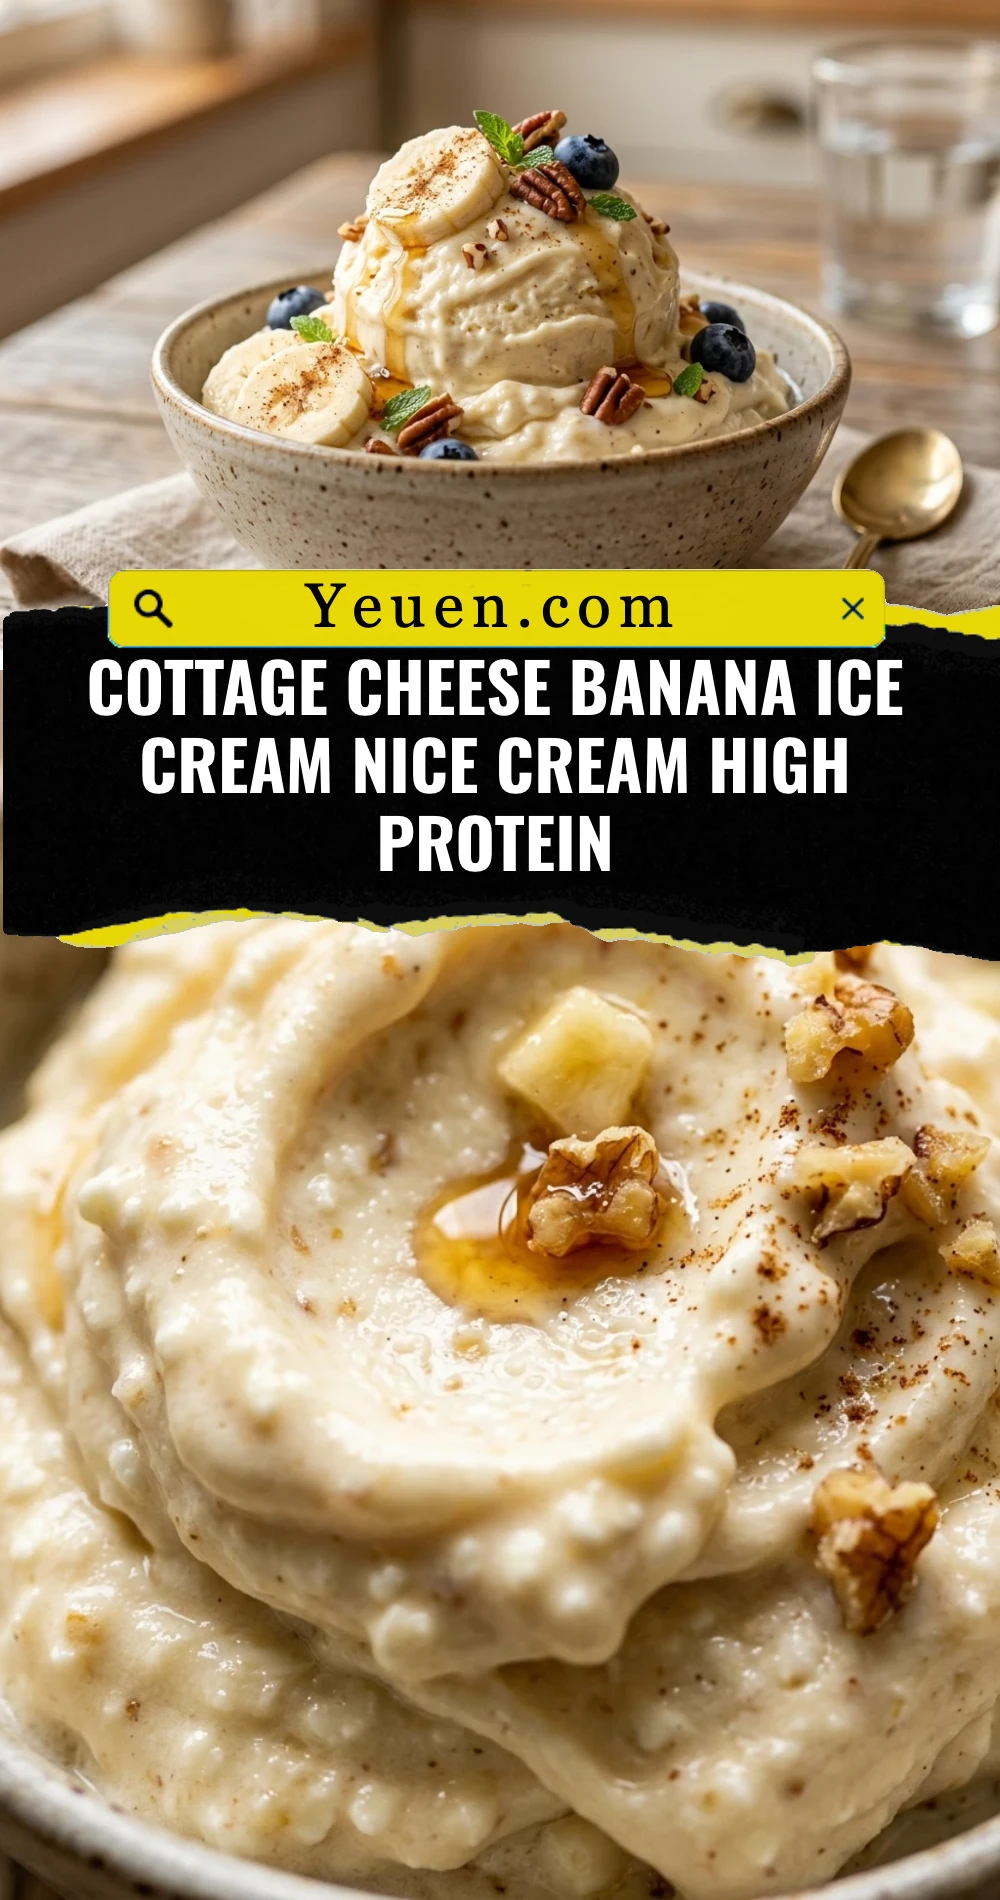
If you have been scrolling through social media lately, you have likely seen the viral sensation that is cottage cheese ice cream. While it might sound unconventional at first, this Cottage Cheese Banana Ice Cream Nice Cream High Protein recipe is a total game-changer for dessert lovers. It transforms humble curds into a silky, decadent treat that rivals your favorite premium pints. By combining the natural sweetness of frozen bananas with the creamy, protein-packed punch of cottage cheese, you get a dessert that fuels your body while satisfying your deepest sugar cravings. It is thick, luscious, and surprisingly healthy, making it the perfect post-workout snack or late-night indulgence without the sugar crash.
Recipe Information
- Prep Time: 10 minutes
- Cook Time: 0 minutes
- Total Time: 10 minutes
- Servings: 2 servings
- Difficulty: Easy
Nutrition values
- Calories: 245 kcal
- Protein: 16g
- Carbs: 38g
Why Make This Cottage Cheese Banana Ice Cream Nice Cream High Protein
This recipe bridges the gap between a protein shake and a decadent dessert. Most “nice creams” rely solely on fruit, which can be high in sugar and low in staying power. Adding cottage cheese introduces a massive protein boost and a cheesecake-like tang that balances the sweetness of the bananas perfectly. It is incredibly budget-friendly, requires no expensive ice cream maker, and takes less than ten minutes to whip up. Plus, it is a fantastic way to sneak extra protein into a picky eater’s diet while using up those overripe bananas sitting on your counter.
Ingredients
- 2 large overripe bananas, sliced and frozen
- 1 cup low-fat or full-fat cottage cheese
- 1 teaspoon pure vanilla extract
- 1 tablespoon maple syrup or honey (optional, for extra sweetness)
- A pinch of sea salt
- 2 tablespoons unsweetened almond milk (only if needed for blending)
Directions
Step 1: Preparation
Ensure your bananas are completely frozen before starting. Slice the bananas into coins before freezing them for at least 4 hours to make the blending process much smoother. Gather your cottage cheese, vanilla, and any sweeteners you plan to use. Set out your high-speed blender or food processor on a sturdy surface.
Step 2: Blending the Base
Place the frozen banana slices and the cottage cheese into the blender carafe. Add the vanilla extract, sea salt, and maple syrup. Turn the blender on a low setting initially to break up the frozen fruit chunks. Slowly increase the speed to high. If the mixture stalls, stop and scrape down the sides with a spatula. Add a splash of almond milk only if the motor is struggling, as you want to maintain a thick, soft-serve consistency.
Step 3: Final Texture and Serving
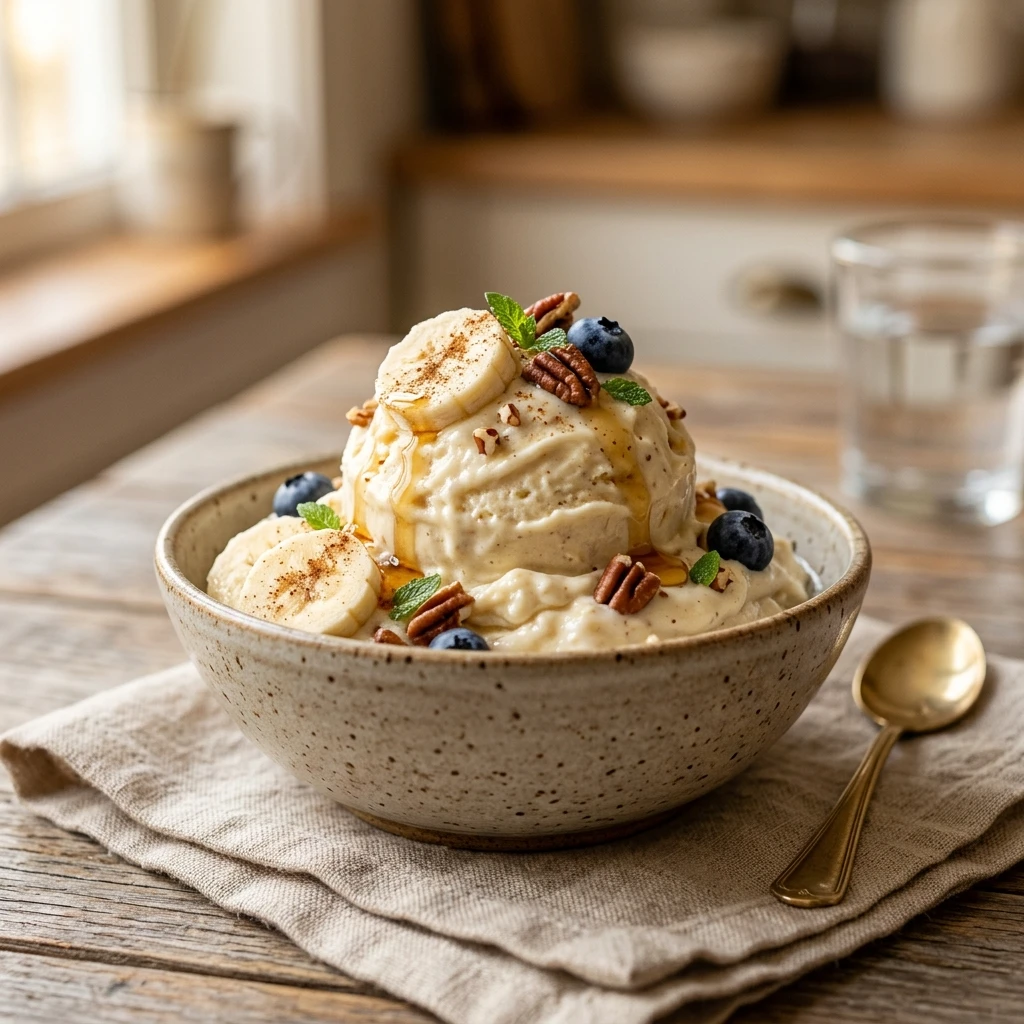
Continue blending until the mixture is completely smooth and no curds from the cottage cheese remain. The texture should look like thick soft-serve ice cream. Serve it immediately in chilled bowls for the best “nice cream” experience. If you prefer a firmer, scoopable texture, transfer the mixture to a shallow container and freeze it for an additional 30 to 60 minutes before serving.
Expert Tips for Perfect Cottage Cheese Banana Ice Cream Nice Cream High Protein
For the smoothest results, use a high-powered blender or a food processor. Standard blenders may require more liquid, which can thin out the ice cream. Always use bananas that are heavily spotted with brown; they provide the best natural sweetness and creaminess. If you find the cottage cheese flavor too strong, add an extra half-banana or a tablespoon of peanut butter to mellow it out. To prevent the ice cream from becoming rock hard in the freezer, eat it fresh or let it thaw on the counter for 10 minutes before scooping if it has been frozen for a long time.
Delicious Variations
You can easily customize this base recipe to fit your mood. For a Chocolate Peanut Butter version, add 1 tablespoon of cocoa powder and 1 tablespoon of creamy peanut butter during the blending step. If you love Berry Cheesecake, toss in a handful of frozen strawberries or blueberries. For a Cookies and Cream vibe, pulse in some crushed chocolate sandwich cookies after the base is smooth. You can also add a scoop of your favorite vanilla or chocolate protein powder to increase the protein content even further for a post-gym recovery meal.
Frequently Asked Questions
Does it actually taste like cottage cheese?
Surprisingly, no! Once blended thoroughly with the frozen bananas and vanilla, the cottage cheese loses its lumpy texture and savory edge. It tastes much more like a tangy vanilla bean ice cream or a light cheesecake.
Can I use fat-free cottage cheese?
You can use fat-free cottage cheese, but the result will be slightly less creamy and may have a higher water content, leading to a leafier texture if frozen for too long. For the best “premium” feel, 2% or 4% cottage cheese is recommended.
How long does this keep in the freezer?
While best enjoyed immediately, you can store it in an airtight container for up to two weeks. Because it lacks the stabilizers found in commercial ice cream, it will freeze very firm. Let it sit at room temperature for a few minutes before eating.
Do I have to use bananas?
Bananas provide the “nice cream” texture, but you can substitute them with frozen mango or even frozen cauliflower rice (combined with a sweetener and protein powder) if you are looking for a lower-carb option, though the flavor will change significantly.
Is this recipe gluten-free?
Yes, this recipe is naturally gluten-free. Just ensure that any mix-ins you add, like cookie crumbles, are also certified gluten-free if you have a sensitivity.
Conclusion
The Cottage Cheese Banana Ice Cream Nice Cream High Protein is a testament to how simple ingredients can create something truly extraordinary. It is the perfect solution for anyone wanting to eat healthier without sacrificing the joy of a cold, creamy dessert. Whether you are looking for a high-protein snack to support your fitness goals or just a quick way to use up frozen fruit, this recipe delivers on flavor and nutrition. Give it a try, and you might never go back to traditional store-bought ice cream again!
Cottage Cheese Banana Ice Cream Nice Cream High Protein
- Total Time: 10 minutes
- Diet: Vegetarian, Gluten-Free
Ingredients
Scale
- 2 large overripe bananas, sliced and frozen
- 1 cup low-fat or full-fat cottage cheese
- 1 teaspoon pure vanilla extract
- 1 tablespoon maple syrup or honey (optional, for extra sweetness)
- A pinch of sea salt
- 2 tablespoons unsweetened almond milk (only if needed for blending)
Instructions
- Ensure your bananas are completely frozen before starting. Slice the bananas into coins before freezing them for at least 4 hours to make the blending process much smoother. Gather your cottage cheese, vanilla, and any sweeteners you plan to use. Set out your high-speed blender or food processor on a sturdy surface.
- Place the frozen banana slices and the cottage cheese into the blender carafe. Add the vanilla extract, sea salt, and maple syrup. Turn the blender on a low setting initially to break up the frozen fruit chunks. Slowly increase the speed to high. If the mixture stalls, stop and scrape down the sides with a spatula. Add a splash of almond milk only if the motor is struggling, as you want to maintain a thick, soft-serve consistency.
- Continue blending until the mixture is completely smooth and no curds from the cottage cheese remain. The texture should look like thick soft-serve ice cream. Serve it immediately in chilled bowls for the best “nice cream” experience. If you prefer a firmer, scoopable texture, transfer the mixture to a shallow container and freeze it for an additional 30 to 60 minutes before serving.
- Cook Time: 10 minutes