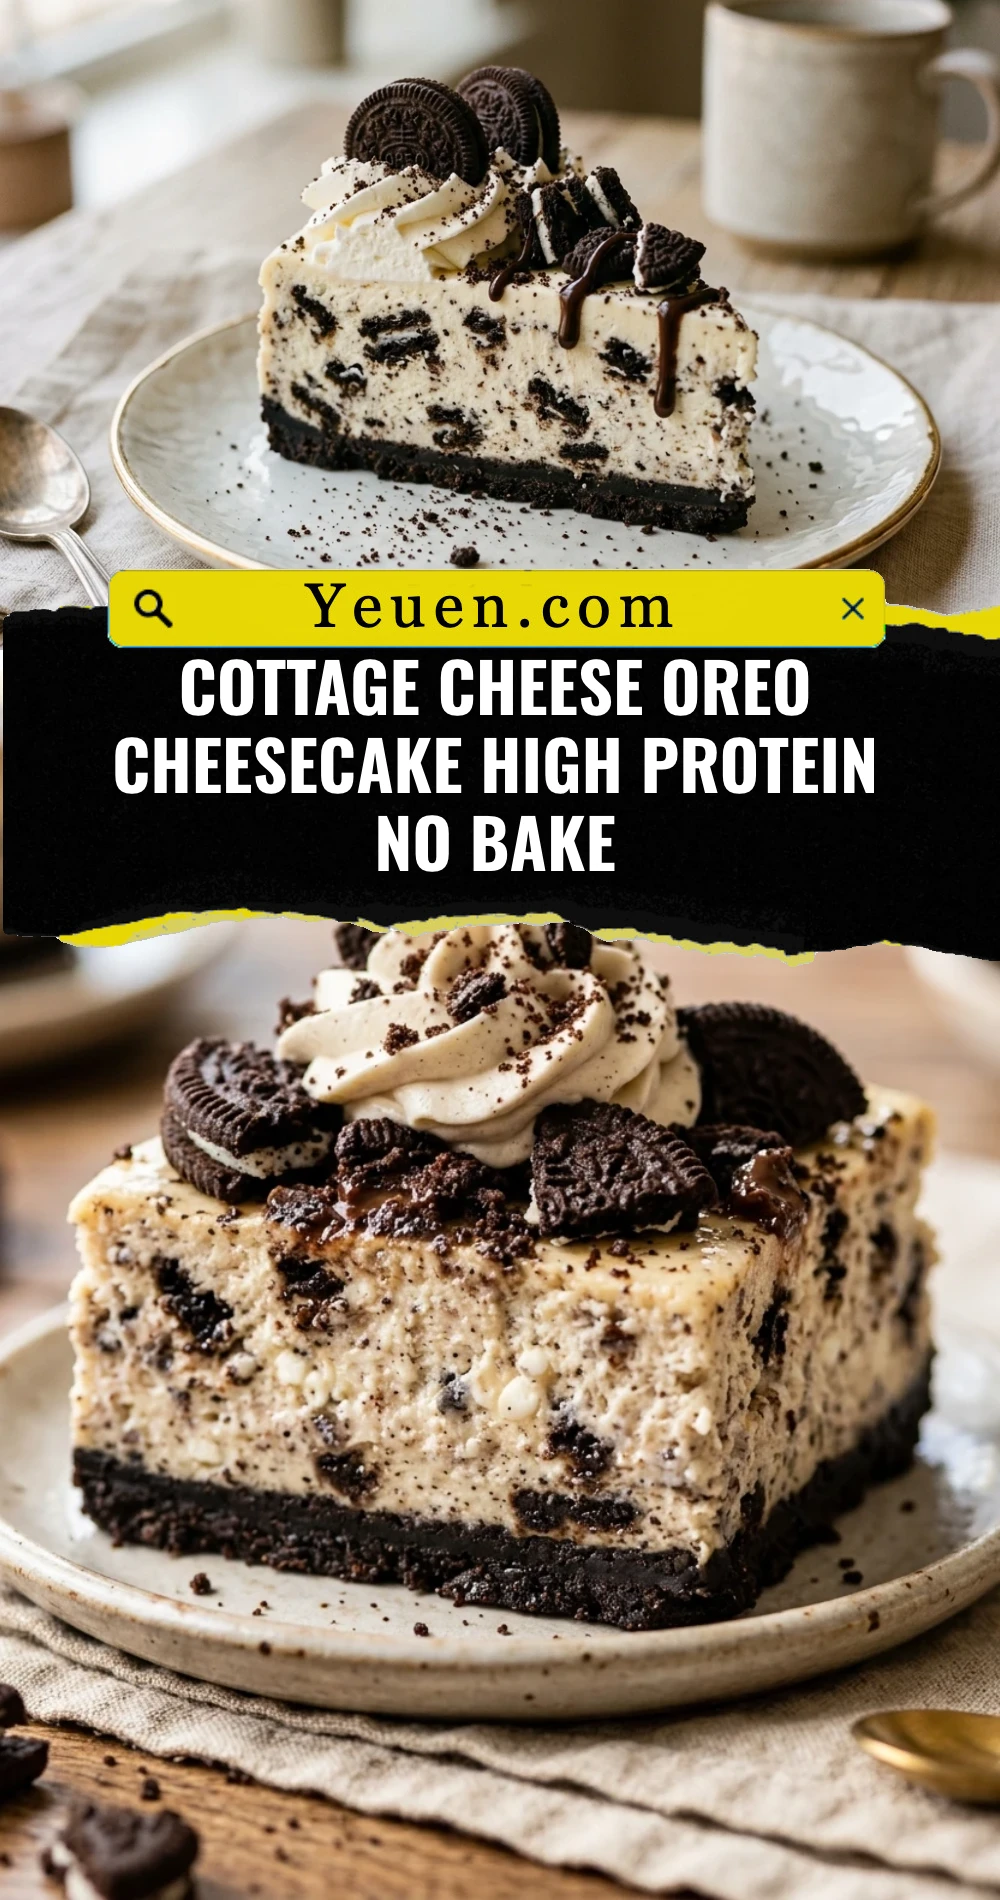
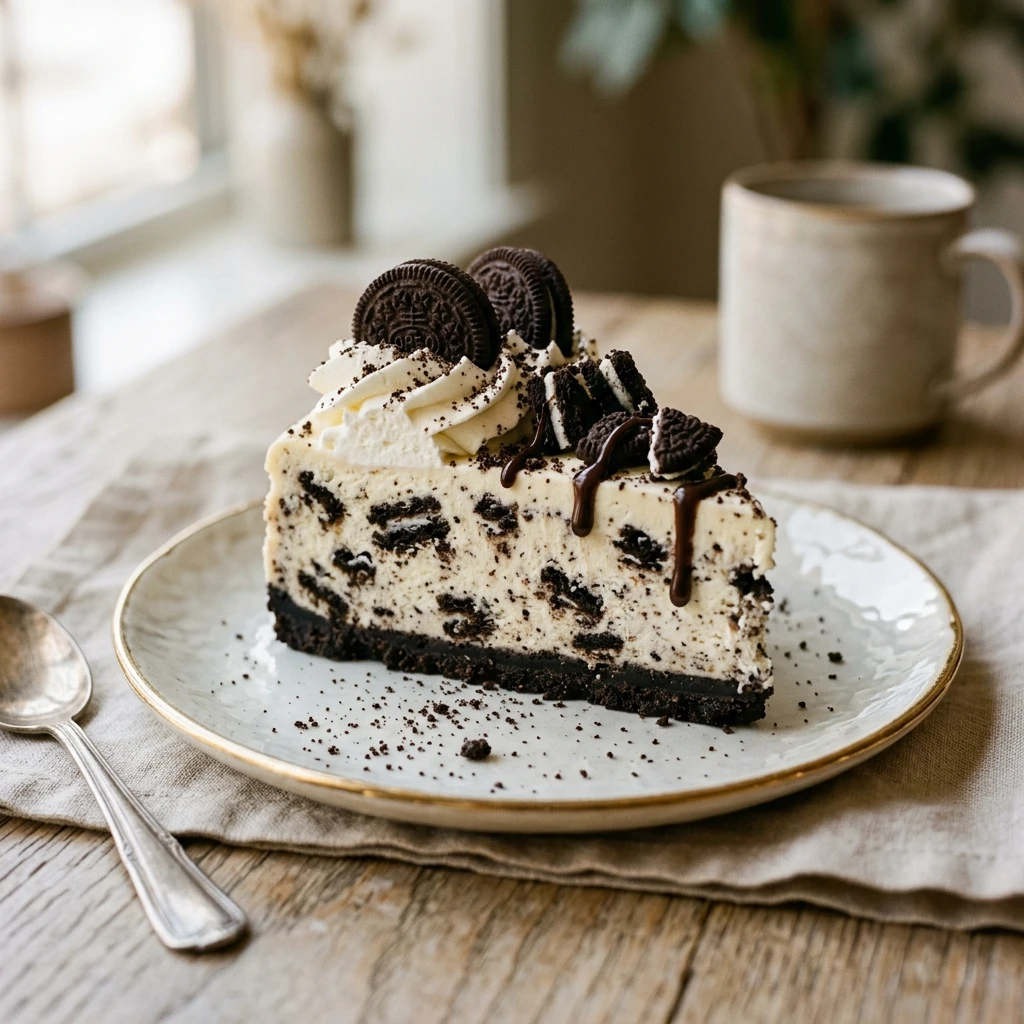
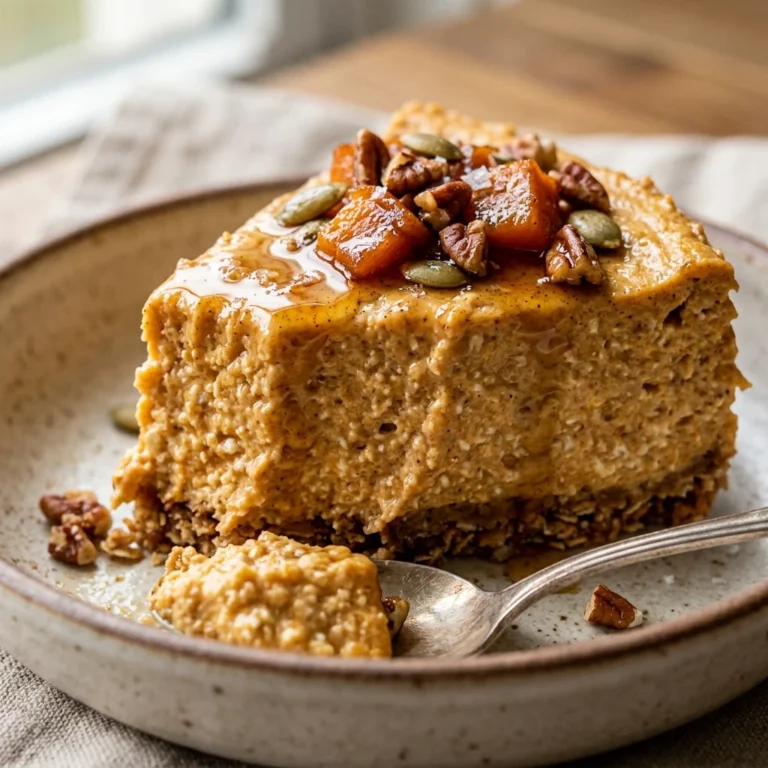
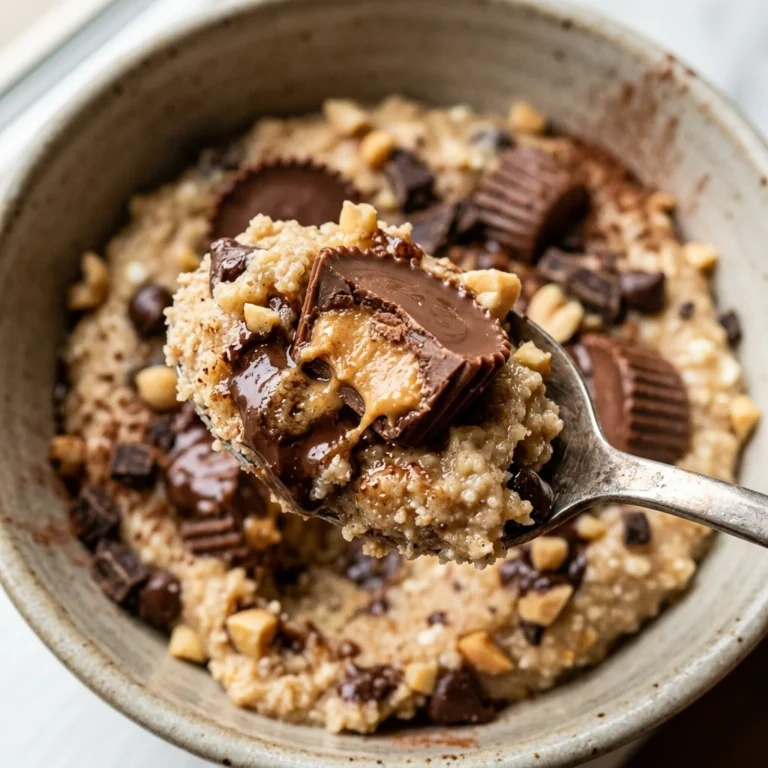
If you are looking for a way to satisfy your cookies-and-cream cravings while hitting your protein goals, this Cottage Cheese Oreo Cheesecake is the ultimate solution. This recipe transforms humble cottage cheese into a velvety, decadent dessert that tastes remarkably like traditional cheesecake. It is the perfect guilt-free treat for fitness enthusiasts or anyone who wants a healthier alternative to store-bought sweets. Best of all, there is no baking required, making it a quick and convenient option for a post-workout snack or a late-night indulgence.
Recipe Information
Prep Time: 10 minutes
Cook Time: 0 minutes
Total Time: 10 minutes (plus 1 hour chilling)
Servings: 1 large serving
Difficulty: Easy
Nutrition values
Calories: 385 kcal
Protein: 32g
Carbs: 42g
Why Make This Cottage Cheese Oreo Cheesecake High Protein No Bake
This recipe is a game-changer for several reasons. First, it utilizes cottage cheese, which is a nutritional powerhouse packed with slow-digesting casein protein. When blended, it loses its lumpy texture and becomes incredibly smooth and creamy. Second, it requires zero oven time, which is perfect for hot days or when you are short on time. Finally, it combines the iconic flavor of Oreos with a high-protein profile, ensuring you feel satisfied and fueled rather than experiencing a sugar crash.
Ingredients
1 cup low-fat cottage cheese (small curd works best)
1 tablespoon maple syrup or honey (or a sugar-free sweetener)
1/2 teaspoon vanilla extract
1 scoop vanilla or cookies-and-cream protein powder (optional for extra protein)
3 Oreo cookies (2 for the mixture, 1 for the topping)
A splash of unsweetened almond milk (if needed for blending)
Directions
Step 1: Blend the Base
Place the cottage cheese, sweetener, vanilla extract, and protein powder into a high-speed blender or food processor. Blend on high until the mixture is completely smooth and no lumps remain. If the mixture is too thick to move, add a tiny splash of almond milk and blend again. The consistency should resemble a thick pudding or cheesecake batter.
Step 2: Fold in the Cookies
Crush two Oreo cookies into small chunks. You can do this by placing them in a small bag and tapping them with a spoon or simply breaking them apart with your hands. Gently fold the cookie pieces into the blended cottage cheese mixture using a spatula. Do not over-mix, or the entire base will turn grey.
Step 3: Assemble and Chill
Transfer the mixture into a small bowl or a decorative ramekin. Crush the final Oreo cookie and sprinkle it over the top for a beautiful finish. Place the bowl in the refrigerator for at least 30 to 60 minutes. Chilling allows the flavors to meld and helps the cheesecake set into a firmer, more authentic texture.
Expert Tips for Perfect Cottage Cheese Oreo Cheesecake High Protein No Bake
To get the best results, use a high-powered blender. This ensures the cottage cheese becomes silkier and loses that characteristic “cheese” texture. If you prefer a firmer cheesecake, you can add a teaspoon of chia seeds during the blending process; they will absorb excess moisture as it chills. Additionally, always taste your mixture before chilling. Depending on the brand of cottage cheese, you might want to add an extra drop of sweetener to balance the slight saltiness of the cheese.
Delicious Variations
You can easily customize this recipe to suit your preferences. Try using Golden Oreos for a “vanilla bean” style cheesecake, or use Mint Oreos for a refreshing twist. If you want even more protein, stir in a tablespoon of PB2 (powdered peanut butter) for a peanut butter Oreo flavor profile. For a vegan-friendly version, swap the cottage cheese for a high-protein silken tofu and use a plant-based protein powder.
Frequently Asked Questions
Does it actually taste like cottage cheese? Once blended with the sweetener, vanilla, and Oreos, the tangy flavor of the cheese transforms into a taste very similar to New York-style cheesecake. Most people cannot tell the difference!
Can I make this ahead of time? Yes, you can prepare this the night before. However, the cookies inside may soften over time. If you like a crunch, add the topping cookies right before serving.
Is this recipe keto-friendly? To make it keto, replace the Oreos with a keto-certified chocolate sandwich cookie and use a sugar-free sweetener like erythritol or monk fruit.
What type of protein powder works best? Casein or a whey-casein blend works best for texture because it is thicker, but standard whey protein works perfectly fine too.
How long does it stay fresh in the fridge? You can store this in an airtight container for up to 3 days. It is not recommended to freeze it, as the texture of the cottage cheese can become grainy upon thawing.
Conclusion
The Cottage Cheese Oreo Cheesecake High Protein No Bake is proof that healthy eating does not have to be boring. It provides all the joy of a classic dessert while supporting your fitness goals with a massive protein boost. Whether you need a quick breakfast, a satisfying snack, or a late-night treat, this recipe is sure to become a staple in your kitchen. Give it a try today and enjoy the creamy, chocolatey goodness without the guilt!
1 cup low-fat cottage cheese (small curd works best)
1 tablespoon maple syrup or honey (or a sugar-free sweetener)
1/2 teaspoon vanilla extract
1 scoop vanilla or cookies-and-cream protein powder (optional for extra protein)
3 Oreo cookies (2 for the mixture, 1 for the topping)
A splash of unsweetened almond milk (if needed for blending)
Instructions
Step 1: Blend the Base – Place the cottage cheese, sweetener, vanilla extract, and protein powder into a high-speed blender or food processor. Blend on high until the mixture is completely smooth and no lumps remain. If the mixture is too thick to move, add a tiny splash of almond milk and blend again. The consistency should resemble a thick pudding or cheesecake batter.
Step 2: Fold in the Cookies – Crush two Oreo cookies into small chunks. You can do this by placing them in a small bag and tapping them with a spoon or simply breaking them apart with your hands. Gently fold the cookie pieces into the blended cottage cheese mixture using a spatula. Do not over-mix, or the entire base will turn grey.
Step 3: Assemble and Chill – Transfer the mixture into a small bowl or a decorative ramekin. Crush the final Oreo cookie and sprinkle it over the top for a beautiful finish. Place the bowl in the refrigerator for at least 30 to 60 minutes. Chilling allows the flavors to meld and helps the cheesecake set into a firmer, more authentic texture.