Follow Me On Pinterest!


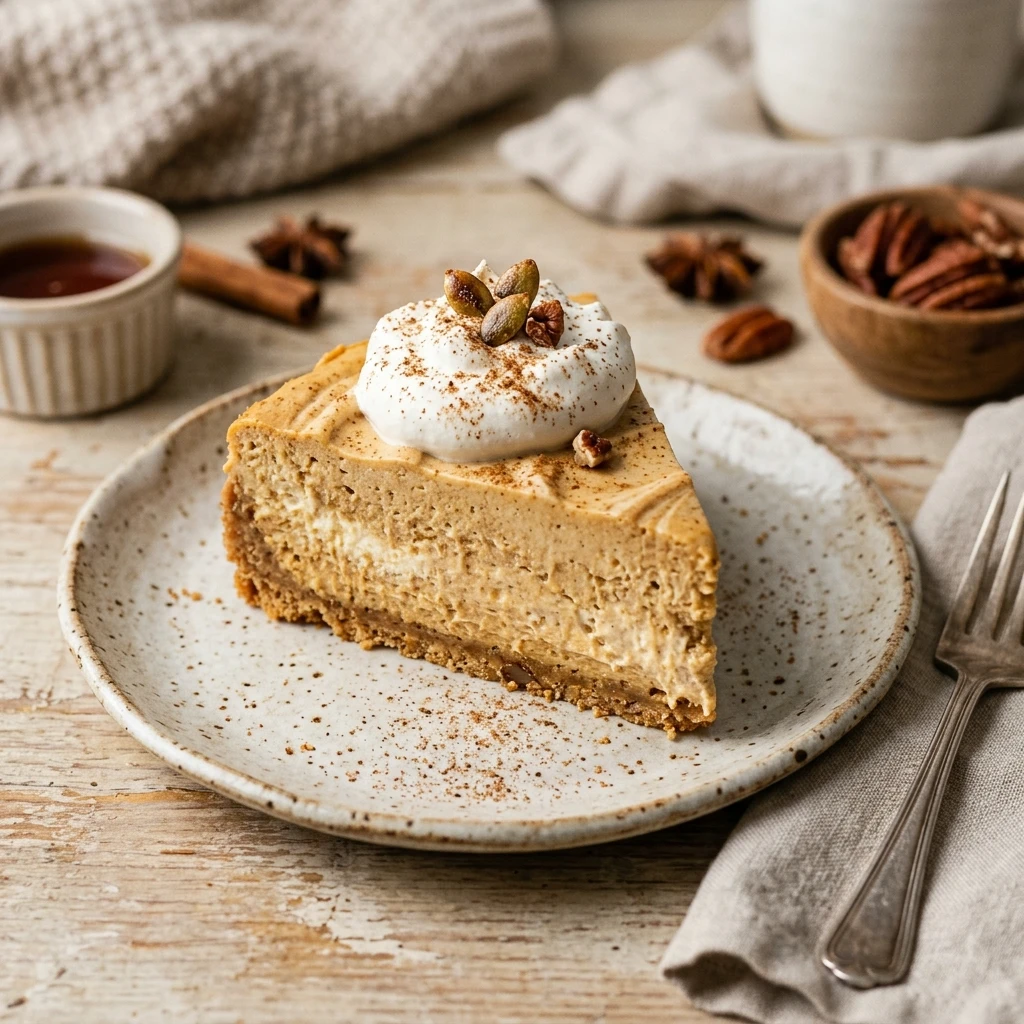
Imagine biting into a creamy, spiced pumpkin treat that actually helps you hit your protein goals. This no-bake cottage cheese pumpkin cheesecake is a game-changer for anyone who loves fall flavors but wants to keep things healthy. It is thick, velvety, and packed with nutrients, making it the perfect guilt-free dessert or even a decadent post-workout snack. Forget the complicated oven temperatures and water baths; this simple recipe relies on the power of a blender and a little bit of patience while it sets in the fridge. You get all the nostalgic warmth of pumpkin spice with a modern, high-protein twist that will leave you feeling satisfied and energized.
Recipe Information
- Prep Time: 15 minutes
- Cook Time: 0 minutes
- Total Time: 4 hours 15 minutes (includes chilling time)
- Servings: 8 servings
- Difficulty: Easy
Nutrition values
- Calories: 215 kcal
- Protein: 16g
- Carbs: 18g
Why Make This Cottage Cheese Pumpkin Cheesecake No Bake High Protein
This recipe is a nutritional powerhouse disguised as a decadent dessert. By using cottage cheese as the base instead of heavy cream cheese, you significantly boost the protein content while slashing the fat and calorie count. It is the ultimate solution for satisfying your sweet tooth during the holidays without veering off your fitness track. Plus, the “no-bake” aspect means you save energy and kitchen space—perfect for when your oven is busy with a turkey or roasted vegetables. It is also incredibly versatile, allowing you to customize the sweetness and spice level to your exact preference.
Ingredients
- 2 cups low-fat or full-fat cottage cheese
- 1 cup pure pumpkin puree (not pumpkin pie filling)
- 1/2 cup plain non-fat Greek yogurt
- 1/3 cup maple syrup or honey (or liquid stevia for lower carbs)
- 1 teaspoon vanilla extract
- 1.5 tablespoons pumpkin pie spice
- 1 packet (7g) unflavored gelatin or 1 teaspoon agar-agar
- 1/4 cup hot water
- For the crust: 1.5 cups graham cracker crumbs and 3 tablespoons melted coconut oil
Directions
Step 1: Prepare the Crust
In a medium bowl, combine the graham cracker crumbs and the melted coconut oil. Stir until the mixture resembles wet sand. Press the mixture firmly into the bottom of a 7-inch or 8-inch springform pan. Use the bottom of a flat glass to ensure the crust is even and compact. Place the pan in the freezer to set while you prepare the filling.
Step 2: Blend the Cheesecake Filling
Place the cottage cheese, pumpkin puree, Greek yogurt, maple syrup, vanilla extract, and pumpkin pie spice into a high-speed blender or food processor. Blend on high until the mixture is completely smooth and no lumps from the cottage cheese remain. This step is crucial for achieving that classic cheesecake texture.
Step 3: Dissolve Gelatin and Combine
In a small bowl, whisk the unflavored gelatin into the hot water until fully dissolved and clear. Let it sit for a minute to bloom. Slowly pour the gelatin mixture into the blender with the pumpkin filling and pulse a few times to incorporate it evenly. This will ensure your no-bake cheesecake sets firmly enough to slice.
Step 4: Chill and Set
Pour the pumpkin mixture over the prepared crust in the springform pan. Smooth the top with a spatula. Cover the pan with plastic wrap and refrigerate for at least 4 hours, though overnight is best for the best texture and flavor development. Once set, run a knife around the edges before releasing the springform sides. Slice and serve with a dollop of whipped topping if desired.
Expert Tips for Perfect Cottage Cheese Pumpkin Cheesecake No Bake High Protein
To get the best results, always use a high-speed blender. Cottage cheese has a curdled texture that only a powerful motor can turn into a silky cream. Additionally, make sure your pumpkin puree is the “pure” variety; pumpkin pie filling contains added sugars and starches that will throw off the consistency and nutrition of this recipe. If you find the filling isn’t sweet enough for your liking, taste the mixture before adding the gelatin and adjust the sweetener then. Lastly, don’t rush the chilling process. The gelatin needs time to work its magic to give you those clean, beautiful slices.
Delicious Variations
If you want to mix things up, try these tasty alternatives. For a Chocolate Pumpkin version, swirl in two tablespoons of melted dark chocolate into the batter before chilling. To make it Extra Nutty, replace the graham cracker crust with a mixture of crushed pecans and almond flour. If you are a fan of Cheesecake Swirls, keep a small amount of the cottage cheese mixture separate before adding pumpkin, then dollop it on top and swirl with a toothpick. You can also add a scoop of vanilla protein powder to the blender for an even higher protein count; just add a tablespoon of milk to keep the consistency right.
Frequently Asked Questions
Can I taste the cottage cheese in this recipe?
No, once blended thoroughly with the pumpkin and spices, the cottage cheese loses its distinct flavor and texture, leaving behind only a creamy, tangy base that tastes remarkably like traditional cheesecake.
How long does this cheesecake stay fresh?
You can store this cheesecake in an airtight container in the refrigerator for up to 5 days. It is a great option for meal-prepping your desserts for the week.
Can I freeze this no-bake cheesecake?
Yes, you can freeze it for up to 2 months. However, the texture may change slightly upon thawing, becoming a bit softer. It is best enjoyed partially frozen or very cold.
Do I have to use gelatin?
Gelatin is necessary for the cheesecake to hold its shape. Without it, the filling will be more like a thick pudding. For a vegan-friendly thickener, you can use agar-agar.
Is this recipe gluten-free?
The filling itself is naturally gluten-free. To make the entire recipe gluten-free, simply use gluten-free graham crackers or a nut-based crust.
Conclusion
This Cottage Cheese Pumpkin Cheesecake is the ultimate proof that you do not have to sacrifice flavor for fitness. It delivers all the cozy, spicy notes of autumn in a package that supports your health goals. Whether you are hosting a dinner party or just want a healthy treat to keep in the fridge, this no-bake wonder is sure to become a seasonal favorite. Give it a try this week and enjoy a slice of high-protein heaven!
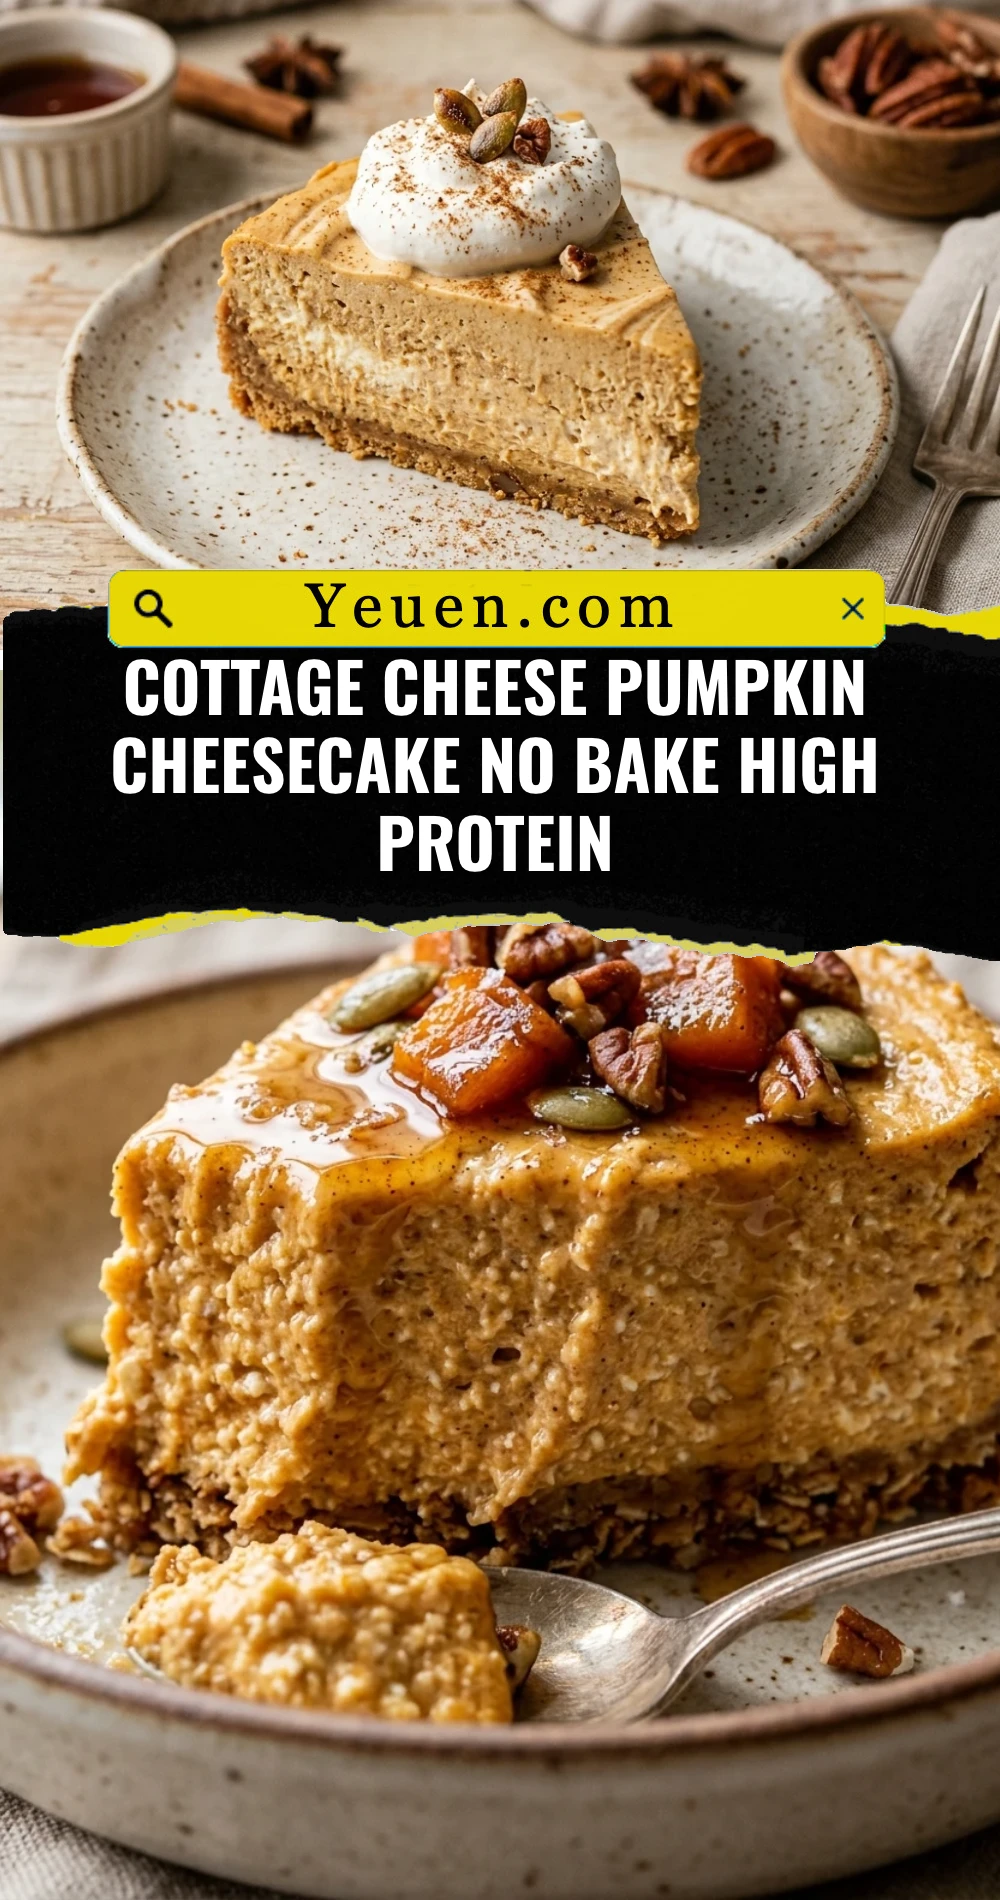
Cottage Cheese Pumpkin Cheesecake No Bake High Protein
- Total Time: 4 hours 15 minutes
- Diet: High-Protein, Low-Carb, Gluten-Free
Ingredients
Scale
- 2 cups low-fat or full-fat cottage cheese
- 1 cup pure pumpkin puree (not pumpkin pie filling)
- 1/2 cup plain non-fat Greek yogurt
- 1/3 cup maple syrup or honey (or liquid stevia for lower carbs)
- 1 teaspoon vanilla extract
- 1.5 tablespoons pumpkin pie spice
- 1 packet (7g) unflavored gelatin or 1 teaspoon agar-agar
- 1/4 cup hot water
- For the crust: 1.5 cups graham cracker crumbs and 3 tablespoons melted coconut oil
Instructions
- Step 1: Prepare the Crust. In a medium bowl, combine the graham cracker crumbs and the melted coconut oil. Stir until the mixture resembles wet sand. Press the mixture firmly into the bottom of a 7-inch or 8-inch springform pan. Use the bottom of a flat glass to ensure the crust is even and compact. Place the pan in the freezer to set while you prepare the filling.
- Step 2: Blend the Cheesecake Filling. Place the cottage cheese, pumpkin puree, Greek yogurt, maple syrup, vanilla extract, and pumpkin pie spice into a high-speed blender or food processor. Blend on high until the mixture is completely smooth and no lumps from the cottage cheese remain. This step is crucial for achieving that classic cheesecake texture.
- Step 3: Dissolve Gelatin and Combine. In a small bowl, whisk the unflavored gelatin into the hot water until fully dissolved and clear. Let it sit for a minute to bloom. Slowly pour the gelatin mixture into the blender with the pumpkin filling and pulse a few times to incorporate it evenly. This will ensure your no-bake cheesecake sets firmly enough to slice.
- Step 4: Chill and Set. Pour the pumpkin mixture over the prepared crust in the springform pan. Smooth the top with a spatula. Cover the pan with plastic wrap and refrigerate for at least 4 hours, though overnight is best for the best texture and flavor development. Once set, run a knife around the edges before releasing the springform sides. Slice and serve with a dollop of whipped topping if desired.
- Cook Time: 4 hours 15 minutes (includes chilling time)