Follow Me On Pinterest!


Imagine waking up on a busy Tuesday morning or hosting a full house of guests on a Saturday and having a gourmet, hot breakfast ready in minutes. These Sheet Pan Breakfast Enchiladas are the ultimate morning hack for anyone who values their sleep but refuses to compromise on flavor. By using a single sheet pan, you eliminate the fuss of multiple dishes, while the freezer-friendly design means you can prep once and eat for a week. These enchiladas are packed with protein, gooey cheese, and a zesty sauce that wakes up your taste buds without requiring any early-morning heavy lifting.
Recipe Information
- Prep Time: 20 minutes
- Cook Time: 30 minutes
- Total Time: 50 minutes
- Servings: 8
- Difficulty: Easy
Nutrition values
- Calories: 385 kcal
- Protein: 22g
- Carbs: 28g
Why Make This Sheet Pan Breakfast Enchiladas Freezer Meal Prep Feeds 8
This recipe is a game-changer for large families or meal preppers. Instead of rolling individual enchiladas every morning, you assemble a massive batch all at once. The sheet pan method ensures every enchilada gets those crispy, golden edges while keeping the center tender and cheesy. Since it feeds eight people, it is incredibly cost-effective. Plus, these enchiladas freeze beautifully. You can pull out exactly what you need, pop it in the microwave or oven, and enjoy a high-protein meal that keeps you full until lunch.
Ingredients
- 12 large flour tortillas (soft taco size)
- 10 large eggs, whisked
- 1/4 cup whole milk
- 1 lb breakfast sausage, browned and crumbled
- 1 can (15 oz) black beans, rinsed and drained
- 2 cups shredded Mexican blend cheese
- 1 can (10 oz) red or green enchilada sauce
- 1/2 cup diced green onions
- 1/4 cup fresh cilantro, chopped
- Salt and pepper to taste
- Non-stick cooking spray
Directions
Step 1: Scramble the Eggs
In a large skillet over medium heat, spray a little non-stick cooking spray. Whisk the eggs and milk together with a pinch of salt and pepper. Pour the mixture into the skillet and scramble until just set. You want them slightly soft because they will cook further in the oven. Remove from heat and set aside.
Step 2: Prepare the Filling Mix
In a large mixing bowl, combine the scrambled eggs, browned breakfast sausage, drained black beans, and half of the shredded cheese. Stir gently to combine all the ingredients so that every bite of your enchiladas has a bit of everything.
Step 3: Assemble the Enchiladas
Lay out a tortilla and place about 1/3 cup of the filling in the center. Roll the tortilla tightly and place it seam-side down on a large, greased sheet pan. Repeat this process until all 12 tortillas are filled and lined up snugly on the pan. They should fit perfectly in two rows.
Step 4: Add Sauce and Cheese
Pour the enchilada sauce evenly over the center of the rolled tortillas, leaving the ends slightly exposed if you like them crunchy. Sprinkle the remaining cup of shredded cheese over the top of the sauce. This creates a beautiful melted crust during the baking process.
Step 5: Baking or Freezing
If eating immediately, bake at 350°F (175°C) for 25-30 minutes until the cheese is bubbly and the tortillas are golden. If freezing, allow the assembled (but unbaked) enchiladas to cool completely. Wrap the entire sheet pan in plastic wrap and then foil, or transfer individual rolls to freezer-safe containers. When ready to eat, bake from frozen for 45 minutes or thaw overnight and bake for 30 minutes.
Step 6: Garnish and Serve
Remove the pan from the oven and let it sit for 5 minutes. Top with diced green onions and fresh cilantro. Serve with a side of sour cream, salsa, or sliced avocado for the perfect finishing touch.
Expert Tips for Perfect Sheet Pan Breakfast Enchiladas Freezer Meal Prep Feeds 8
To prevent soggy enchiladas, make sure your scrambled eggs and sausage are cooled slightly before rolling them into the tortillas. If the filling is steaming hot, it creates moisture that softens the flour. Also, use high-quality flour tortillas; corn tortillas tend to crack more easily when rolled and frozen. If you prefer a crispier texture, use a light hand with the sauce and only pour it down the center line of the pan.
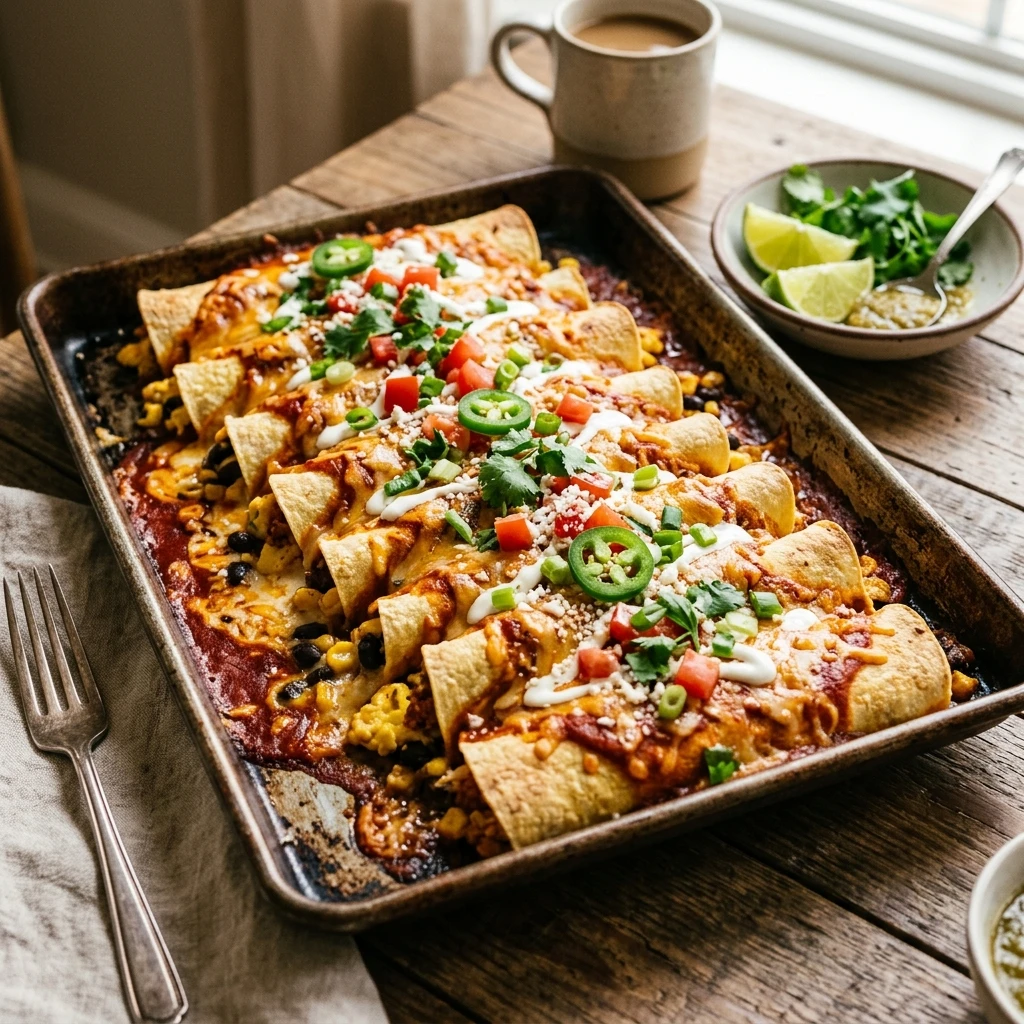
Delicious Variations
You can easily customize this recipe to suit your dietary needs. For a vegetarian version, swap the sausage for sautéed bell peppers, onions, and spinach. If you like heat, add diced jalapeños to the egg mixture or use a “hot” variety of enchilada sauce. For a Southwest twist, use chorizo instead of breakfast sausage and top with a dollop of guacamole before serving. You can even swap the red sauce for a creamy salsa verde sauce for a tangier flavor profile.
Frequently Asked Questions
Can I use corn tortillas instead of flour?
Yes, you can use corn tortillas, but they are more prone to breaking. To make them pliable, wrap them in a damp paper towel and microwave for 30 seconds before rolling. Note that corn tortillas may become slightly mushier after freezing compared to flour.
How long do these stay fresh in the freezer?
When wrapped tightly in plastic wrap and aluminum foil to prevent freezer burn, these enchiladas will stay fresh for up to 3 months. For best results, label the package with the date and reheating instructions.
What is the best way to reheat a single serving?
For a quick breakfast, place one or two enchiladas on a microwave-safe plate. Cover with a damp paper towel and microwave on high for 2-3 minutes. If you want to maintain the texture, use a toaster oven at 350°F for about 12-15 minutes.
Can I make this recipe dairy-free?
Absolutely. Use a dairy-free milk alternative (like unsweetened almond milk) for the eggs and swap the shredded cheese for your favorite vegan cheese shreds. Ensure your enchilada sauce is labeled vegan, as some brands contain milk solids.
Do I have to cook the meat before rolling?
Yes, always pre-cook your breakfast sausage or bacon. The baking time in the oven is intended to melt the cheese and heat the tortillas, which is not long enough to safely cook raw ground meat from scratch.
Conclusion
Sheet Pan Breakfast Enchiladas are the ultimate solution for anyone looking to simplify their morning routine without sacrificing a hearty meal. This recipe offers the perfect balance of savory protein, comforting carbs, and zesty spice. Whether you are feeding a literal crowd or just stocking your freezer for the weeks ahead, these enchiladas deliver satisfaction in every bite. Grab your sheet pan and start prepping—your future self will thank you for the extra sleep and the delicious breakfast!
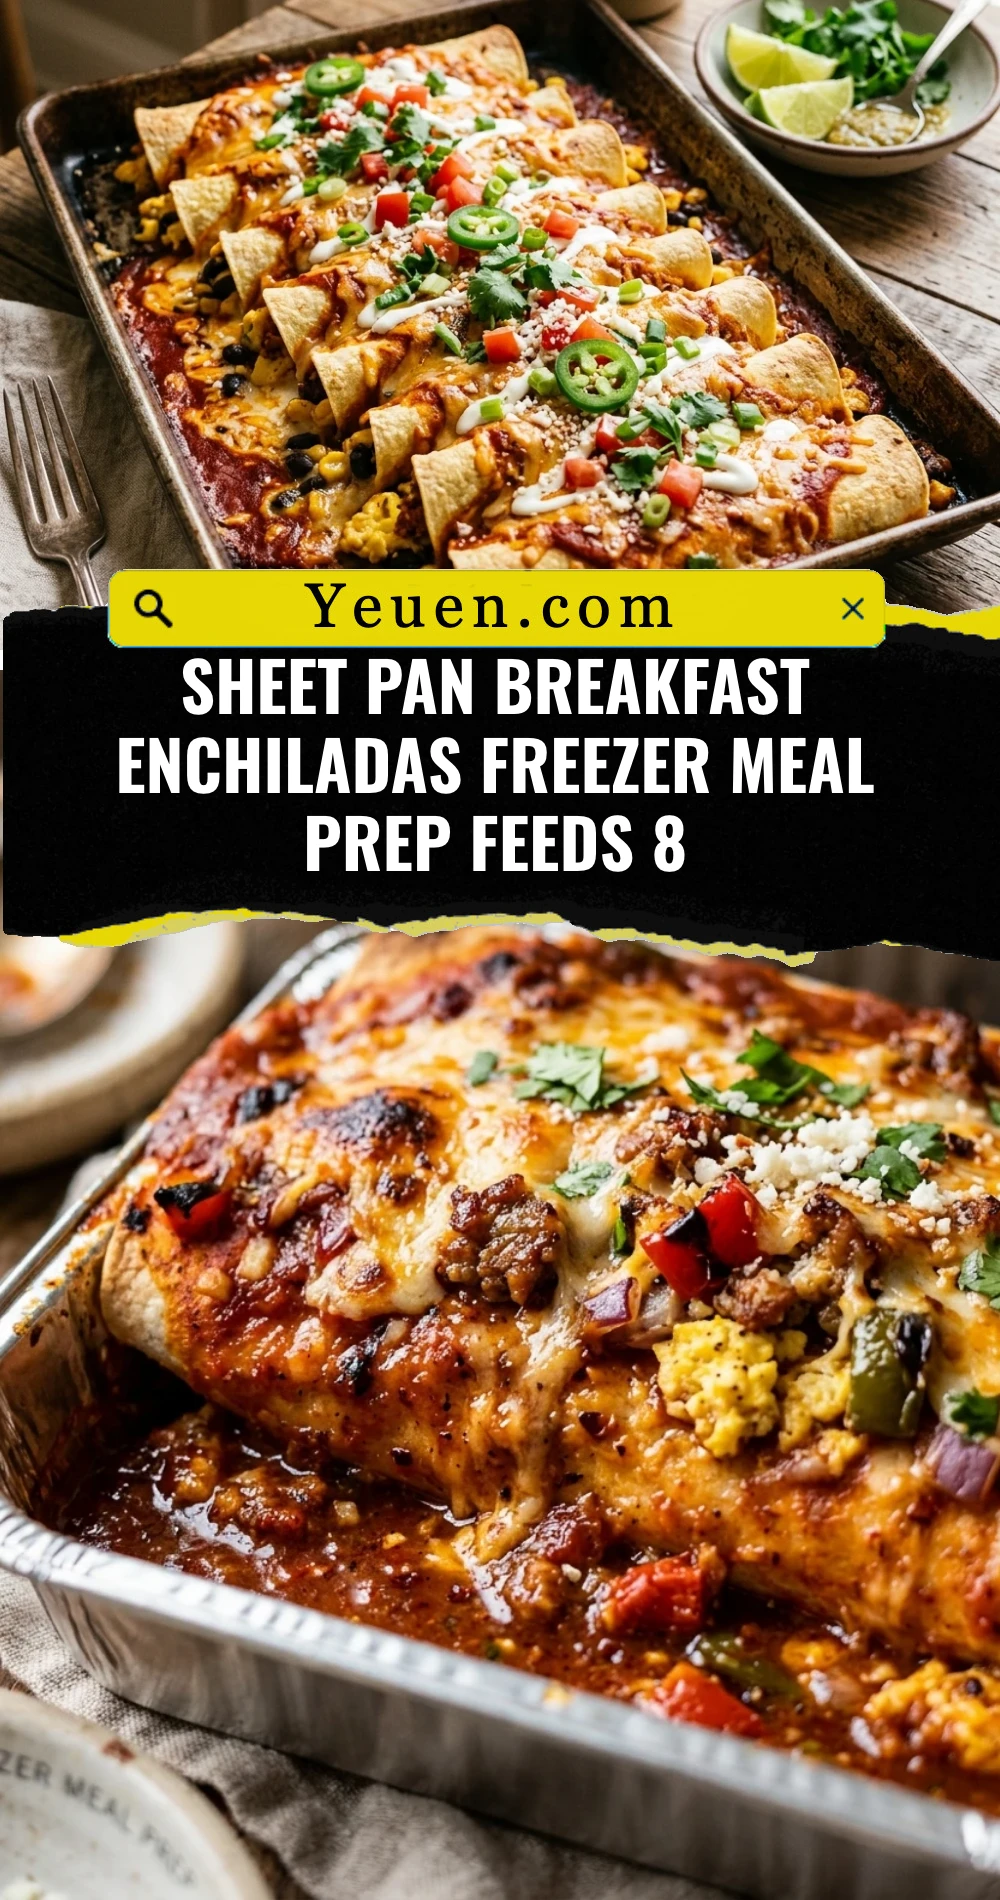
Sheet Pan Breakfast Enchiladas Freezer Meal Prep Feeds 8
- Total Time: 50 minutes
- Diet: High-Protein
Ingredients
Scale
- 12 large flour tortillas (soft taco size)
- 10 large eggs, whisked
- 1/4 cup whole milk
- 1 lb breakfast sausage, browned and crumbled
- 1 can (15 oz) black beans, rinsed and drained
- 2 cups shredded Mexican blend cheese
- 1 can (10 oz) red or green enchilada sauce
- 1/2 cup diced green onions
- 1/4 cup fresh cilantro, chopped
- Salt and pepper to taste
- Non-stick cooking spray
Instructions
- Step 1: Scramble the Eggs: In a large skillet over medium heat, spray a little non-stick cooking spray. Whisk the eggs and milk together with a pinch of salt and pepper. Pour the mixture into the skillet and scramble until just set. You want them slightly soft because they will cook further in the oven. Remove from heat and set aside.
- Step 2: Prepare the Filling Mix: In a large mixing bowl, combine the scrambled eggs, browned breakfast sausage, drained black beans, and half of the shredded cheese. Stir gently to combine all the ingredients so that every bite of your enchiladas has a bit of everything.
- Step 3: Assemble the Enchiladas: Lay out a tortilla and place about 1/3 cup of the filling in the center. Roll the tortilla tightly and place it seam-side down on a large, greased sheet pan. Repeat this process until all 12 tortillas are filled and lined up snugly on the pan. They should fit perfectly in two rows.
- Step 4: Add Sauce and Cheese: Pour the enchilada sauce evenly over the center of the rolled tortillas, leaving the ends slightly exposed if you like them crunchy. Sprinkle the remaining cup of shredded cheese over the top of the sauce. This creates a beautiful melted crust during the baking process.
- Step 5: Baking or Freezing: If eating immediately, bake at 350°F (175°C) for 25-30 minutes until the cheese is bubbly and the tortillas are golden. If freezing, allow the assembled (but unbaked) enchiladas to cool completely. Wrap the entire sheet pan in plastic wrap and then foil, or transfer individual rolls to freezer-safe containers. When ready to eat, bake from frozen for 45 minutes or thaw overnight and bake for 30 minutes.
- Step 6: Garnish and Serve: Remove the pan from the oven and let it sit for 5 minutes. Top with diced green onions and fresh cilantro. Serve with a side of sour cream, salsa, or sliced avocado for the perfect finishing touch.
- Cook Time: 50 minutes