Follow Me On Pinterest!


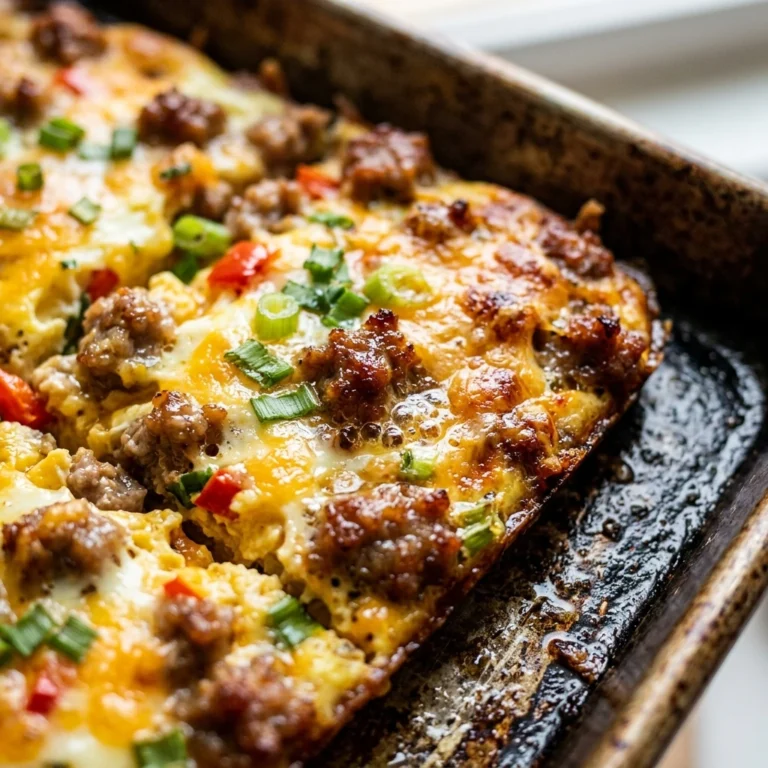
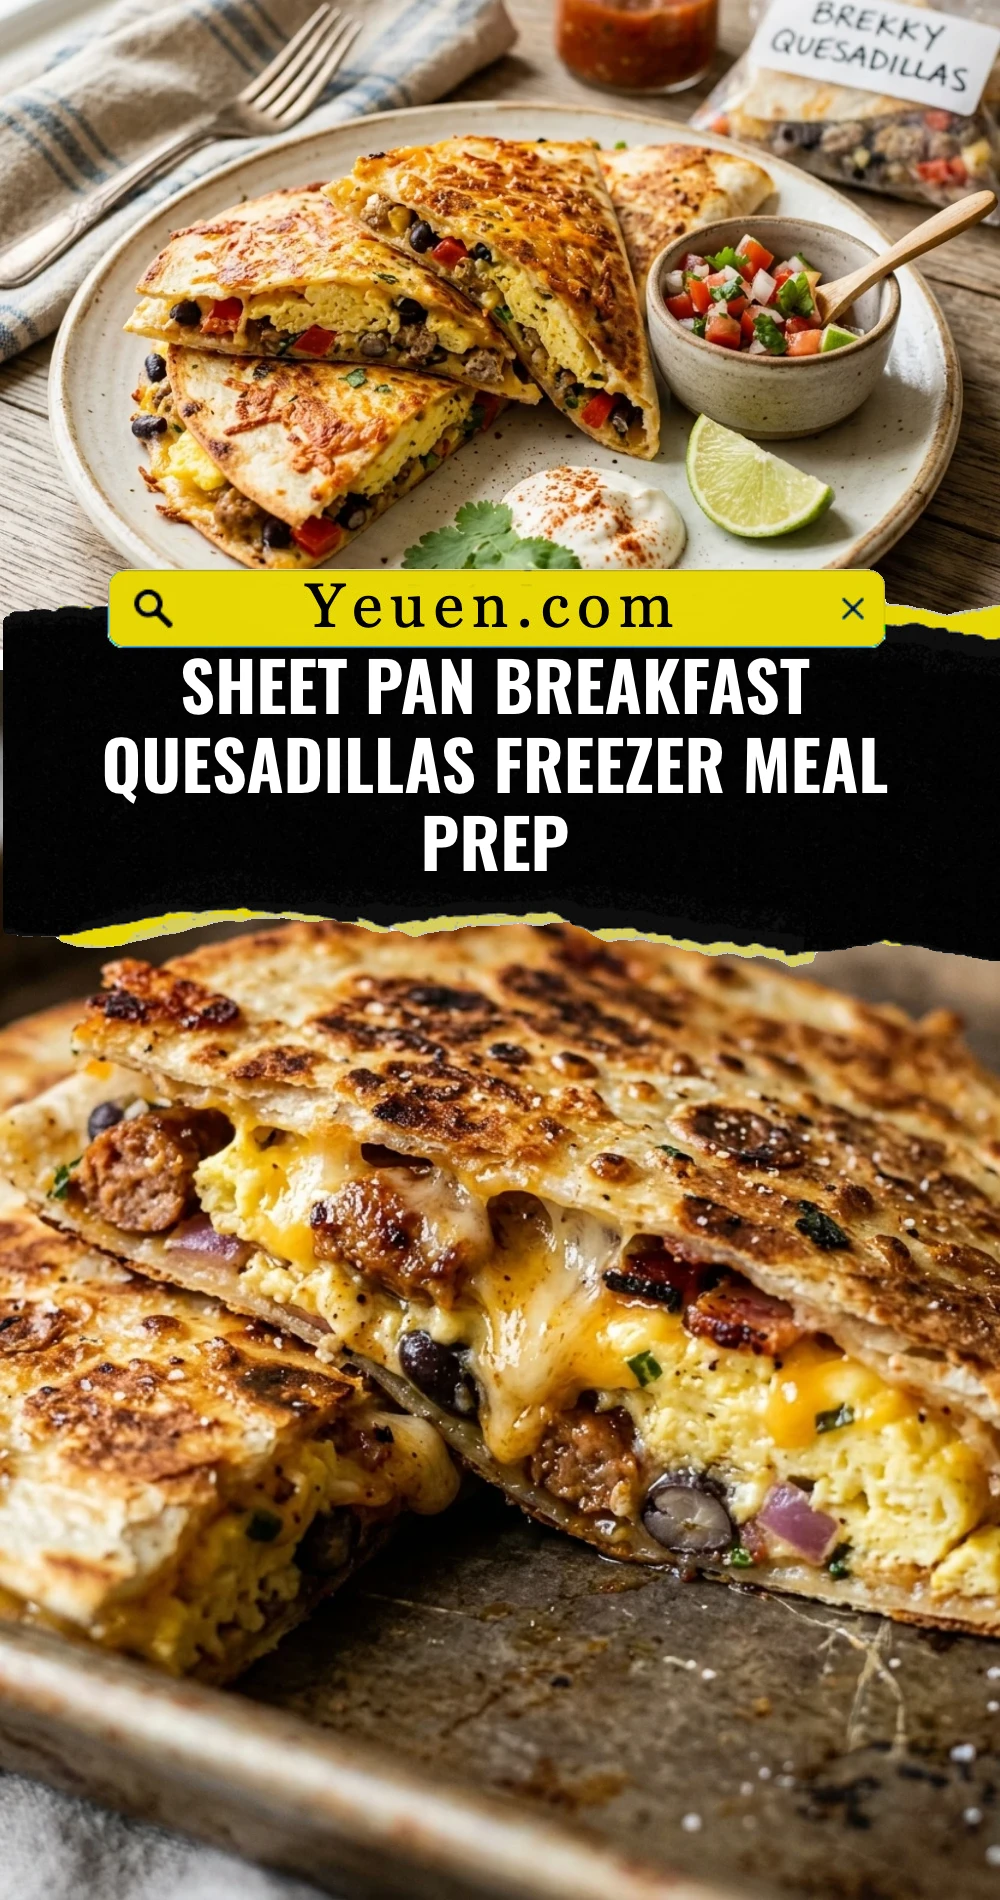
Mornings are often a whirlwind of lost keys, coffee spills, and the constant race against the clock. Imagine reaching into your freezer, grabbing a perfectly crispy, cheesy breakfast square, and knowing your meal is handled. These Sheet Pan Breakfast Quesadillas change the game for anyone craving a hearty, high-protein meal without the weekday cleanup. By utilizing a single sheet pan, you can whip up a dozen servings at once, ensuring your future self stays full and focused. They are crunchy on the outside, fluffy and savory on the inside, and hold up beautifully in the freezer.
Recipe Information
- Prep Time: 15 minutes
- Cook Time: 25 minutes
- Total Time: 40 minutes
- Servings: 12 squares
- Difficulty: Easy
Nutrition values
- Calories: 315 kcal
- Protein: 18g
- Carbs: 22g
Why Make This Sheet Pan Breakfast Quesadillas Freezer Meal Prep
This recipe is the ultimate solution for busy families or solo meal-preppers. Instead of standing over a stove flipping individual quesadillas, you bake them all at once. The sheet pan method uses a second tray to “press” the tortillas, creating a uniform, crispy texture that mimics a restaurant-style griddle. These quesadillas are incredibly portable, making them perfect for “grab and go” commutes. Plus, they are a budget-friendly way to use up leftover vegetables or different types of cheeses in your fridge.
Ingredients
- 10-12 large flour tortillas (burrito size)
- 12 large eggs
- 1/2 cup whole milk
- 1 lb breakfast sausage or bacon, cooked and crumbled
- 3 cups shredded cheddar or Monterey Jack cheese
- 1 red bell pepper, finely diced
- 1/2 small onion, finely diced
- 2 tablespoons melted butter
- 1 teaspoon salt
- 1/2 teaspoon black pepper
- Optional: Sliced jalapeños or chopped cilantro
Directions
Step 1: Prep the Oven and Sheet Pan
Preheat your oven to 425°F (220°C). Generously grease a large rimmed baking sheet (about 13×18 inches) with non-stick spray or melted butter. Lay about 6 to 7 tortillas around the edges of the pan so they hang halfway over the sides. Place one or two tortillas in the center to cover any exposed metal. The entire bottom of the pan should be covered with a layer of flour tortillas.
Step 2: Scramble the Eggs and Aromatics
In a large bowl, whisk together the eggs, milk, salt, and pepper. In a large skillet over medium heat, sauté the diced onions and bell peppers until soft. Pour the egg mixture into the skillet and scramble until just set but still slightly moist. Do not overcook them, as they will finish cooking in the oven. Remove from heat and stir in your cooked sausage or bacon.
Step 3: Assemble the Filling
Spread half of the shredded cheese evenly over the tortilla-lined sheet pan. Layer the scrambled egg and meat mixture over the cheese. Top with the remaining shredded cheese. This “cheese sandwich” method ensures the tortillas stick to the filling and don’t slide apart after baking.
Step 4: Seal and Bake
Fold the overhanging edges of the tortillas back toward the center. Place one or two more tortillas on top to completely enclose the filling. Brush the tops of the tortillas with melted butter. Place a second large baking sheet on top of the quesadillas and press down firmly. This weight ensures the quesadillas stay flat and crispy. Bake for 20 minutes with the second pan on top. Remove the top pan and bake for an additional 5 minutes to brown the tops.
Step 5: Slice and Freeze for Later
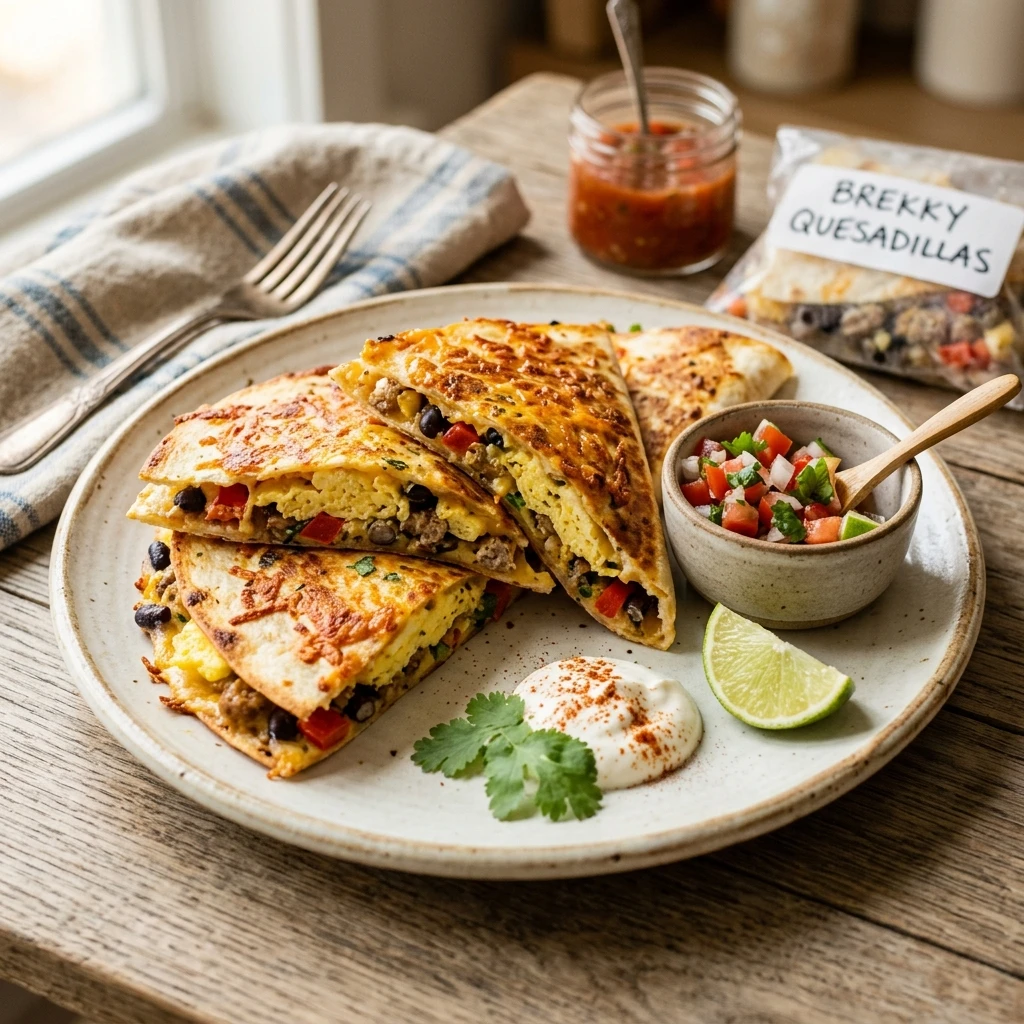
Let the quesadillas cool for at least 10 minutes before slicing into 12 even squares. To freeze, allow the squares to cool completely to room temperature. Wrap each square individually in parchment paper or aluminum foil, then place them in a large freezer-safe zip-top bag. Label with the date and store for up to 3 months.
Expert Tips for Perfect Sheet Pan Breakfast Quesadillas Freezer Meal Prep
- Prevent Sogginess: Ensure your scrambled eggs are not watery. If you use vegetables like mushrooms or spinach, sauté them thoroughly to cook off excess moisture before adding them to the eggs.
- The Weighting Game: Using that second sheet pan is the secret to success. It mimics a panini press and creates a crunchy exterior that holds the filling together.
- Cheese Choice: Use freshly shredded cheese if possible. Pre-shredded cheese is coated in potato starch, which can prevent it from melting as smoothly.
- Cooling is Key: Never freeze hot quesadillas. The steam will turn into ice crystals, making them soggy when you reheat them.
Delicious Variations
- The Vegetarian: Swap the meat for black beans, sautéed spinach, and roasted sweet potato cubes.
- Spicy Southwest: Add canned green chiles to the egg mixture and use Pepper Jack cheese for a spicy kick.
- Meat Lover’s: Combine ham, bacon, and sausage for a protein-packed powerhouse.
- Everything Bagel Style: Sprinkle “Everything Bagel” seasoning over the buttered tortillas before baking for extra crunch and flavor.
Frequently Asked Questions
How do I reheat these from frozen?
For best results, remove the foil and wrap the square in a paper towel. Microwave for 1 to 2 minutes. For a crispy exterior, pop it in the air fryer at 350°F for 5 minutes or a toaster oven until heated through.
Can I use corn tortillas instead of flour?
Corn tortillas are more prone to breaking and don’t “seal” as well as flour tortillas. Flour tortillas are highly recommended for the structural integrity of this sheet pan method.
How long do these stay fresh in the fridge?
If you aren’t freezing them, they will stay fresh in an airtight container in the refrigerator for up to 4 days.
Can I make these dairy-free?
Yes! Use a dairy-free milk alternative (like almond or oat) for the eggs and swap the cheese for your favorite plant-based shred. Use oil or vegan butter for brushing the top.
Do I have to use a second sheet pan?
While not strictly mandatory, the second pan prevents the tortillas from curling up and ensures even browning. If you don’t have one, the quesadillas will still taste great, but they may be a bit more “puffy.”
Conclusion
Mastering the Sheet Pan Breakfast Quesadilla is a total win for your morning routine. It turns a traditionally high-maintenance meal into a streamlined, bulk-prep success story. Whether you’re feeding a hungry crowd on Sunday morning or stocking your freezer for the weeks ahead, these savory squares deliver consistent flavor and convenience. Customize the fillings to your heart’s content, and enjoy the peace of mind that comes with a ready-made, delicious breakfast.
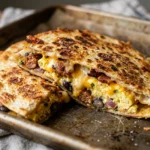
Sheet Pan Breakfast Quesadillas Freezer Meal Prep
- Total Time: 40 minutes
- Diet: High-Protein
Ingredients
Scale
- 10–12 large flour tortillas (burrito size)
- 12 large eggs
- 1/2 cup whole milk
- 1 lb breakfast sausage or bacon, cooked and crumbled
- 3 cups shredded cheddar or Monterey Jack cheese
- 1 red bell pepper, finely diced
- 1/2 small onion, finely diced
- 2 tablespoons melted butter
- 1 teaspoon salt
- 1/2 teaspoon black pepper
- Optional: Sliced jalapeños or chopped cilantro
Instructions
- Preheat your oven to 425°F (220°C). Generously grease a large rimmed baking sheet (about 13×18 inches) with non-stick spray or melted butter. Lay about 6 to 7 tortillas around the edges of the pan so they hang halfway over the sides. Place one or two tortillas in the center to cover any exposed metal. The entire bottom of the pan should be covered with a layer of flour tortillas.
- In a large bowl, whisk together the eggs, milk, salt, and pepper. In a large skillet over medium heat, sauté the diced onions and bell peppers until soft. Pour the egg mixture into the skillet and scramble until just set but still slightly moist. Do not overcook them, as they will finish cooking in the oven. Remove from heat and stir in your cooked sausage or bacon.
- Spread half of the shredded cheese evenly over the tortilla-lined sheet pan. Layer the scrambled egg and meat mixture over the cheese. Top with the remaining shredded cheese. This “cheese sandwich” method ensures the tortillas stick to the filling and don’t slide apart after baking.
- Fold the overhanging edges of the tortillas back toward the center. Place one or two more tortillas on top to completely enclose the filling. Brush the tops of the tortillas with melted butter. Place a second large baking sheet on top of the quesadillas and press down firmly. This weight ensures the quesadillas stay flat and crispy. Bake for 20 minutes with the second pan on top. Remove the top pan and bake for an additional 5 minutes to brown the tops.
- Let the quesadillas cool for at least 10 minutes before slicing into 12 even squares. To freeze, allow the squares to cool completely to room temperature. Wrap each square individually in parchment paper or aluminum foil, then place them in a large freezer-safe zip-top bag. Label with the date and store for up to 3 months.
- Cook Time: 40 minutes