Follow Me On Pinterest!


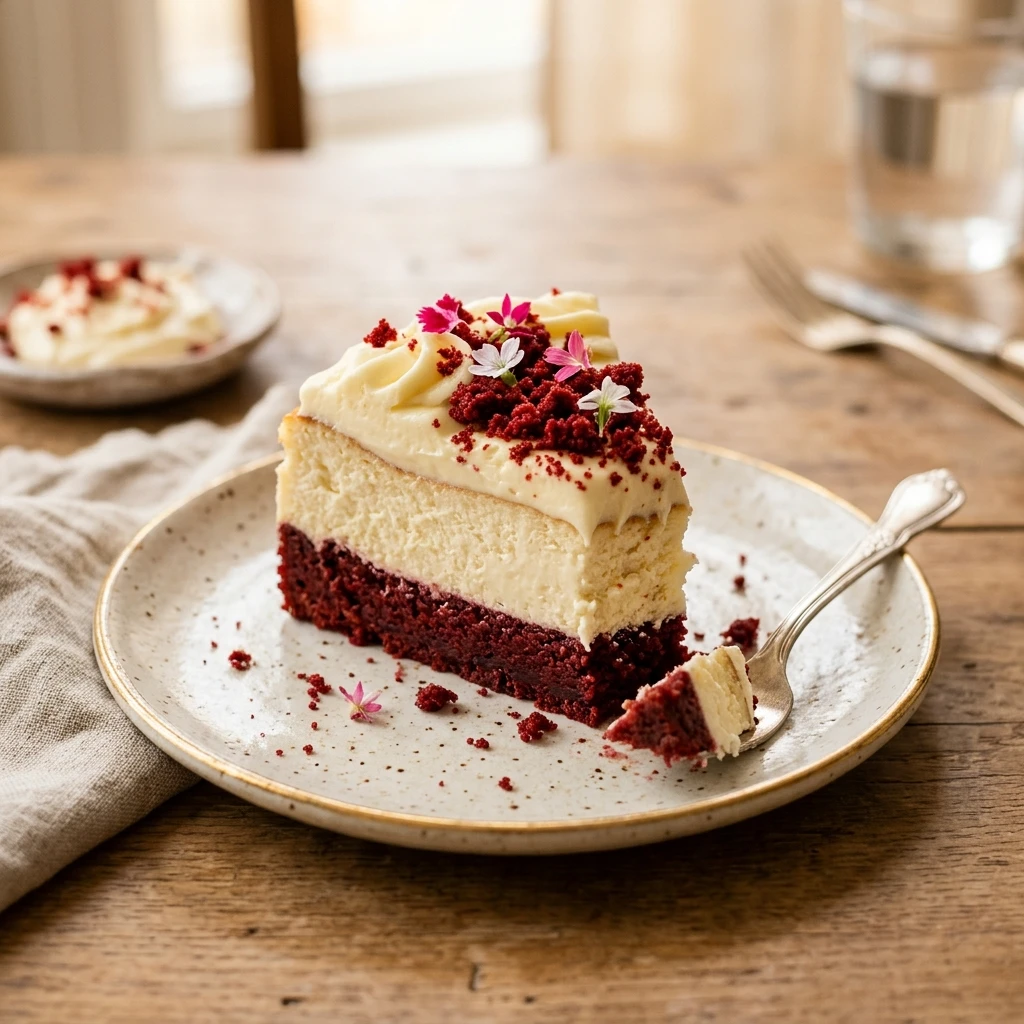
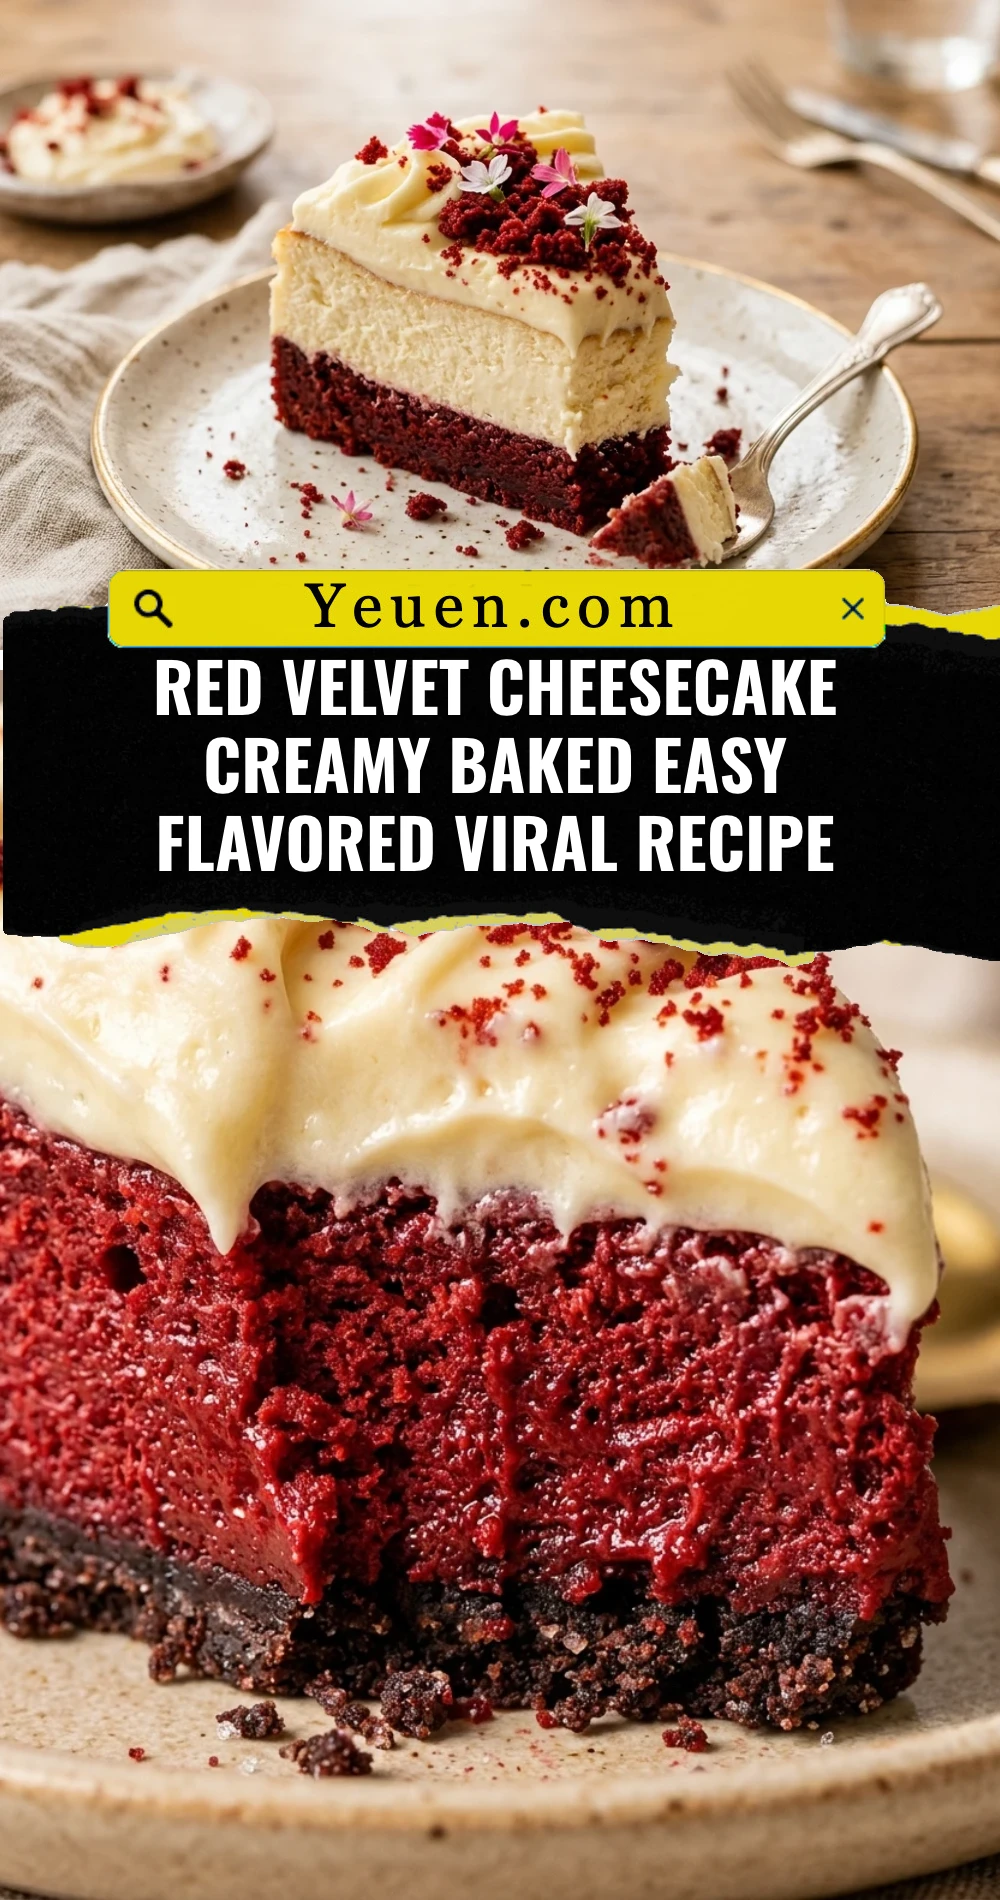
Imagine a dessert that combines the silky smooth texture of a classic cheesecake with the bold, cocoa-infused allure of red velvet cake. This Red Velvet Cheesecake Creamy Baked Easy Flavored Viral Recipe is taking the internet by storm for a reason. It looks like a masterpiece from a high-end bakery but comes together with surprising ease in your own kitchen. Whether you are hosting a romantic dinner or a festive holiday party, this striking crimson dessert is guaranteed to be the star of the show. Get ready to bake a showstopper that tastes even better than it looks.
Recipe Information
- Prep Time: 25 minutes
- Cook Time: 60 minutes
- Total Time: 1 hour 25 minutes
- Servings: 12 servings
- Difficulty: Easy
Nutrition values
- Calories: 485 kcal
- Protein: 7g
- Carbs: 44g
Why Make This Red Velvet Cheesecake Creamy Baked Easy Flavored Viral Recipe
This recipe is the ultimate crowd-pleaser because it bridges the gap between two beloved desserts. The vibrant red color creates an immediate “wow” factor that makes it perfect for Valentine’s Day, Christmas, or any special occasion. Unlike traditional red velvet cakes that can sometimes be dry, this cheesecake version is incredibly moist and decadent. It is also a “viral” recipe because it uses a simplified method that eliminates the intimidation factor often associated with baking cheesecakes.
Ingredients
- 1 ½ cups chocolate graham cracker crumbs
- 1/4 cup unsalted butter, melted
- 24 oz (three 8-oz blocks) cream cheese, softened to room temperature
- 1 cup granulated sugar
- 3 large eggs, room temperature
- 1/4 cup sour cream
- 2 tablespoons unsweetened cocoa powder
- 1 teaspoon vanilla extract
- 1 tablespoon liquid red food coloring
- 1 teaspoon lemon juice or white vinegar
Directions
Step 1: Preparation
Start by preheating your oven to 325°F (160°C). Grease a 9-inch springform pan thoroughly. In a medium bowl, combine the chocolate graham cracker crumbs and melted butter. Mix until the crumbs are evenly moistened. Press the mixture firmly into the bottom of the prepared pan to form an even crust. Bake the crust for 8 minutes, then remove it from the oven and let it cool while you prepare the filling. Wrap the outside of the springform pan in two layers of heavy-duty aluminum foil to prevent water from seeping in later.
Step 2: Cooking
In a large mixing bowl, beat the softened cream cheese and sugar until the mixture is completely smooth and creamy. Sift in the cocoa powder and add the vanilla, lemon juice, and red food coloring. Mix on low speed until the color is uniform. Add the sour cream and mix again. Incorporate the eggs one at a time, beating on low speed just until combined; do not overmix. Pour the batter over the cooled crust. Place the springform pan into a larger roasting pan and fill the roasting pan with about an inch of hot water. Bake for 60 minutes or until the edges are set but the center still has a slight jiggle. Turn off the oven, crack the door open, and let the cheesecake sit inside for 30 minutes before removing it to cool completely on a wire rack.
Step 3: Plating
Once the cheesecake reaches room temperature, refrigerate it for at least 6 hours, or preferably overnight. When you are ready to serve, run a thin knife around the edge of the pan before releasing the springform sides. Slice the cheesecake using a warm, clean knife for the neatest portions. Garnish each slice with a dollop of whipped cream, chocolate shavings, or fresh raspberries to enhance the visual appeal. Serve chilled and enjoy the creamy, tangy goodness.
Expert Tips for Perfect Red Velvet Cheesecake Creamy Baked Easy Flavored Viral Recipe
To ensure your cheesecake is flawlessly smooth, always use room temperature ingredients. Cold cream cheese will create lumps that are impossible to beat out later. When adding the eggs, use the lowest speed on your mixer to avoid incorporating too much air, which causes the cheesecake to puff up and then crack. Using a water bath (bain-marie) is essential for this recipe; the steam provides gentle, even heat that keeps the texture incredibly creamy and prevents the top from drying out.
Delicious Variations
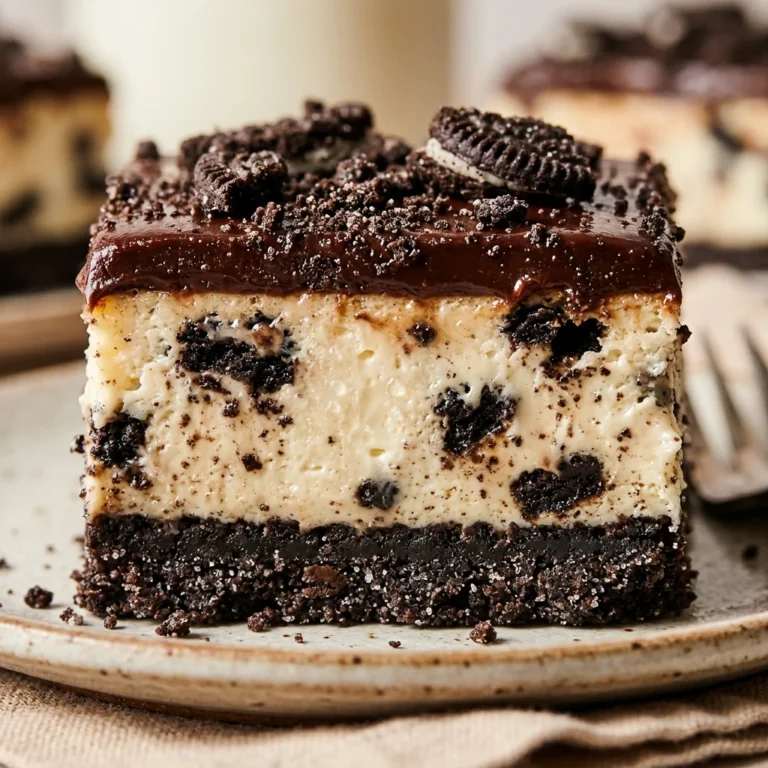
You can easily customize this recipe to suit your preferences. For a “Black Bottom” version, use an Oreo cookie crust instead of chocolate graham crackers. If you prefer a marbled look, reserve half a cup of the plain cheesecake batter (before adding cocoa and food coloring) and swirl it into the red batter with a toothpick. For an extra touch of indulgence, top the finished chilled cheesecake with a layer of cream cheese frosting and a sprinkle of cake crumbs.
Frequently Asked Questions
Can I make this recipe without food coloring?
Yes, you can omit the food coloring, but the cheesecake will be a light cocoa-brown color rather than red. You can also try using beet powder for a more natural coloring alternative, though the hue may be less vibrant.
How do I prevent the top from cracking?
The two best ways to prevent cracks are using a water bath and avoiding over-beating the eggs. Also, let the cheesecake cool gradually in the oven with the door cracked to prevent sudden temperature changes.
Can I freeze this Red Velvet Cheesecake?
Absolutely! This cheesecake freezes beautifully. Wrap the completely cooled and chilled cheesecake in plastic wrap and then aluminum foil. It will stay fresh in the freezer for up to 3 months. Thaw it in the refrigerator overnight before serving.
What if I don’t have a springform pan?
If you don’t have a springform pan, you can use a regular deep-dish cake pan lined with parchment paper that hangs over the sides. This will allow you to lift the cheesecake out once it is fully chilled and set.
Why is there lemon juice or vinegar in the recipe?
Red velvet traditionally has a slight tang. The lemon juice or vinegar reacts with the cocoa powder and enhances the flavor profile while also helping to brighten the red color.
Conclusion
This Red Velvet Cheesecake Creamy Baked Easy Flavored Viral Recipe is the perfect marriage of elegance and simplicity. By following these straightforward steps, you can create a dessert that looks like it belongs in a professional pastry shop. The combination of the crunchy chocolate crust and the velvety, tangy filling is truly irresistible. Give this recipe a try for your next celebration, and watch it become a new family favorite!
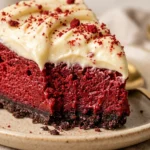
Red Velvet Cheesecake Creamy Baked Easy Flavored Viral Recipe
- Total Time: 1 hour 25 minutes
- Diet: Vegetarian
Ingredients
Scale
- 1 ½ cups chocolate graham cracker crumbs
- 1/4 cup unsalted butter, melted
- 24 oz (three 8-oz blocks) cream cheese, softened to room temperature
- 1 cup granulated sugar
- 3 large eggs, room temperature
- 1/4 cup sour cream
- 2 tablespoons unsweetened cocoa powder
- 1 teaspoon vanilla extract
- 1 tablespoon liquid red food coloring
- 1 teaspoon lemon juice or white vinegar
Instructions
- Start by preheating your oven to 325°F (160°C). Grease a 9-inch springform pan thoroughly. In a medium bowl, combine the chocolate graham cracker crumbs and melted butter. Mix until the crumbs are evenly moistened. Press the mixture firmly into the bottom of the prepared pan to form an even crust. Bake the crust for 8 minutes, then remove it from the oven and let it cool while you prepare the filling. Wrap the outside of the springform pan in two layers of heavy-duty aluminum foil to prevent water from seeping in later.
- In a large mixing bowl, beat the softened cream cheese and sugar until the mixture is completely smooth and creamy. Sift in the cocoa powder and add the vanilla, lemon juice, and red food coloring. Mix on low speed until the color is uniform. Add the sour cream and mix again. Incorporate the eggs one at a time, beating on low speed just until combined; do not overmix. Pour the batter over the cooled crust. Place the springform pan into a larger roasting pan and fill the roasting pan with about an inch of hot water. Bake for 60 minutes or until the edges are set but the center still has a slight jiggle. Turn off the oven, crack the door open, and let the cheesecake sit inside for 30 minutes before removing it to cool completely on a wire rack.
- Once the cheesecake reaches room temperature, refrigerate it for at least 6 hours, or preferably overnight. When you are ready to serve, run a thin knife around the edge of the pan before releasing the springform sides. Slice the cheesecake using a warm, clean knife for the neatest portions. Garnish each slice with a dollop of whipped cream, chocolate shavings, or fresh raspberries to enhance the visual appeal. Serve chilled and enjoy the creamy, tangy goodness.
- Cook Time: 1 hour 25 minutes