Follow Me On Pinterest!



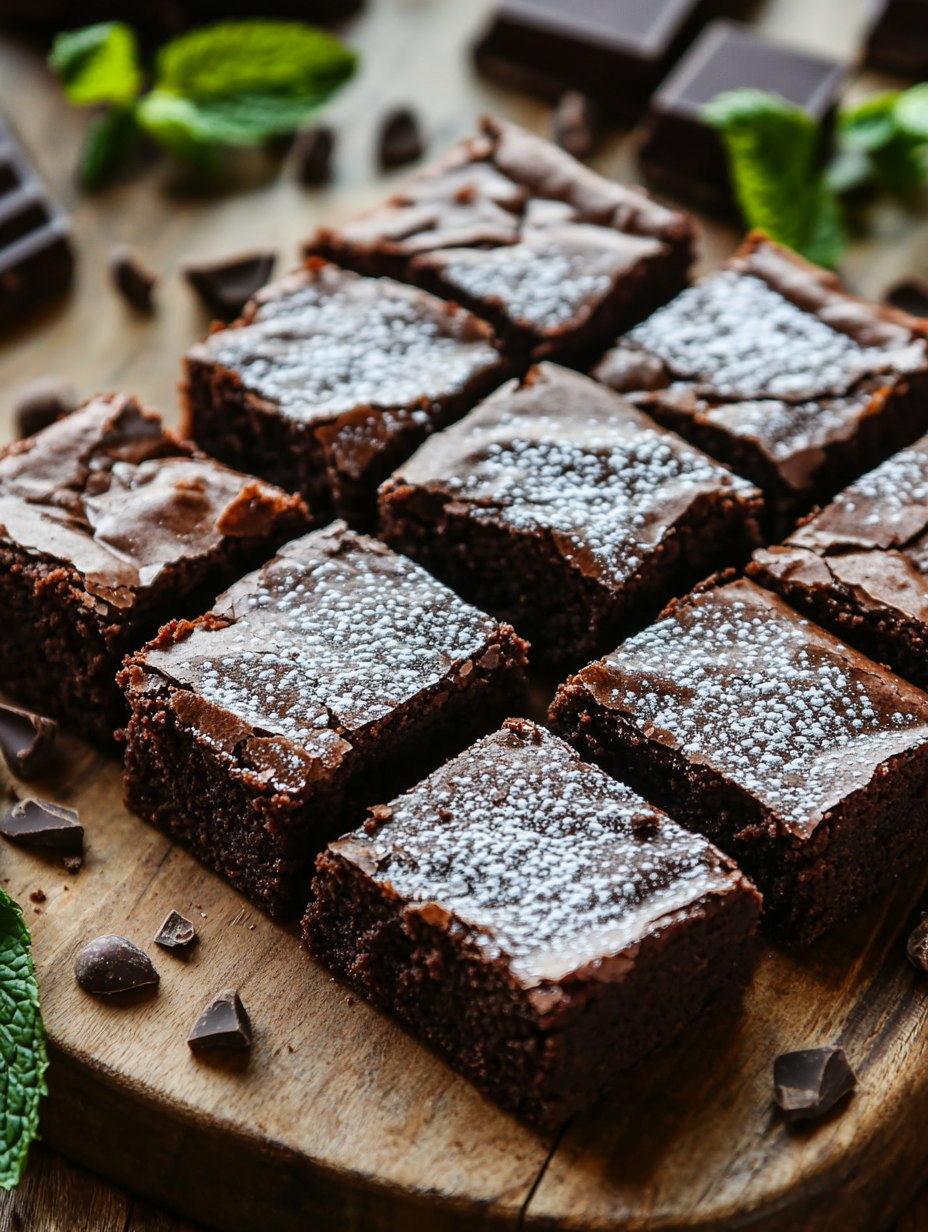
Vegan Chocolate Brownies: Indulge Your Sweet Tooth Guilt-Free
Introduction
There’s something almost magical about the scent of freshly baked brownies wafting through your home. For me, it’s a cherished childhood memory—sneaking into the kitchen with my siblings, the rich aroma enveloping us like a warm hug. We would eagerly await that moment when the oven timer chimed, signaling that our fudgy, chocolatey treasure was ready to be devoured.
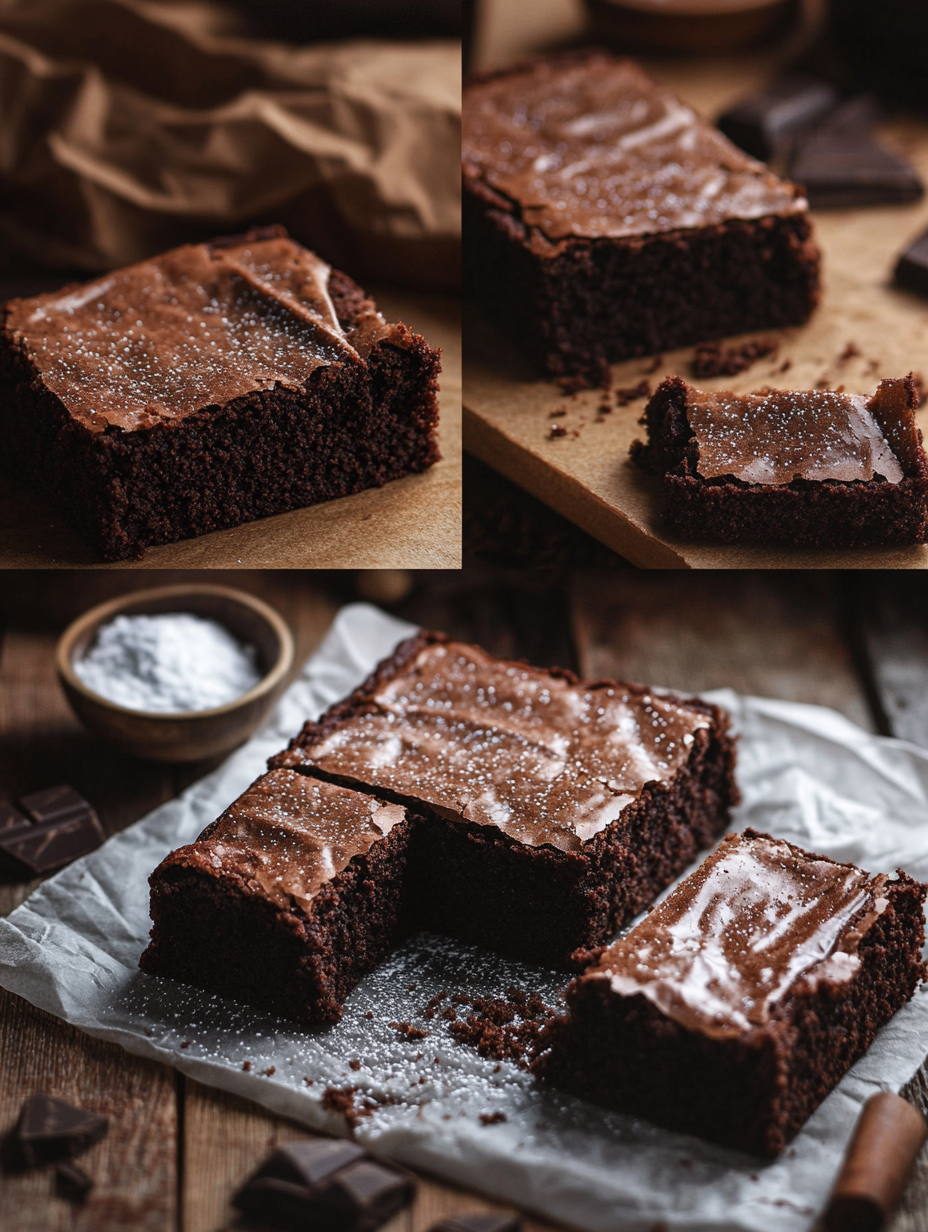
Before I transitioned to a vegan lifestyle, I had my go-to brownie recipe, but I soon discovered that I didn’t have to compromise on taste or texture. With a few simple swaps, I was able to create these vegan chocolate brownies that not only satisfy those intense chocolate cravings but also make my heart sing with joy. The first time I pulled a batch out of the oven, I remember watching as they cooled, the surface glistening and inviting. When I finally took a bite, my taste buds were greeted with a rich, fudgy experience that I thought could only be achieved with eggs and butter.
These brownies are a celebration of indulgence without guilt—a sweet treat that can be shared with friends or enjoyed in solitude with a good book. As you embark on this baking journey, let the warmth of the kitchen and the allure of chocolate transport you to that joyful place where brownies rule and worries melt away.
Why This Recipe Works
What sets these vegan chocolate brownies apart from others is the careful balance of ingredients, which creates a fudgy texture that you might think only traditional brownies can deliver. The combination of cocoa powder and brown sugar provides a deep chocolate flavor, while the coconut oil adds richness and moisture. Together, these ingredients create a satisfying mouthfeel that’s simply irresistible.
One of the key techniques in this recipe is the mixing method. You’ll want to combine the dry and wet ingredients separately before mixing them together. This approach prevents over-mixing, which can lead to a denser texture that you don’t want in brownies. Instead, you’re aiming for a batter that is just combined, allowing for the perfect rise and a wonderfully chewy finish.
Another standout aspect is the use of maple syrup instead of refined sugar. Not only does it add a unique flavor, but it also helps to keep the brownies moist—ensuring each bite is packed with that rich, chocolatey goodness. Plus, using non-dairy milk keeps the recipe accessible for anyone with lactose intolerance, making it a universally appealing treat.
You can rest assured that this recipe will yield brownies that are not just a substitute for the real deal, but a delightful dessert all on their own. They are easy to make and will leave you with a batch that’s sure to impress, whether at a dinner party or a cozy movie night at home.
What Makes It Special
While there are countless brownie recipes out there, these vegan chocolate brownies boast several unique qualities that elevate them above store-bought or restaurant versions.
– Rich and Fudgy Texture: Unlike many vegan brownies that can turn out dry or crumbly, this recipe yields a moist, decadent brownie that rivals any traditional counterpart.
– Simple Ingredients: You won’t find any complicated ingredients here. Each component is likely already in your pantry or easily available at your local grocery store, making this recipe a go-to for spontaneous baking sessions.
– Adaptable and Customizable: Feel free to personalize your brownies by adding nuts, chocolate chips, or even a swirl of nut butter for an extra layer of flavor. This adaptability means you can create a unique treat every time.
– Guilt-Free Indulgence: By using plant-based ingredients, these brownies allow you to indulge without compromising your dietary choices. They’re not just vegan; they’re also a delicious alternative that can be enjoyed by everyone, regardless of their eating habits.
In essence, these special brownies offer the perfect combination of flavor, texture, and accessibility, making them a staple in any dessert lineup.
Ingredient Breakdown
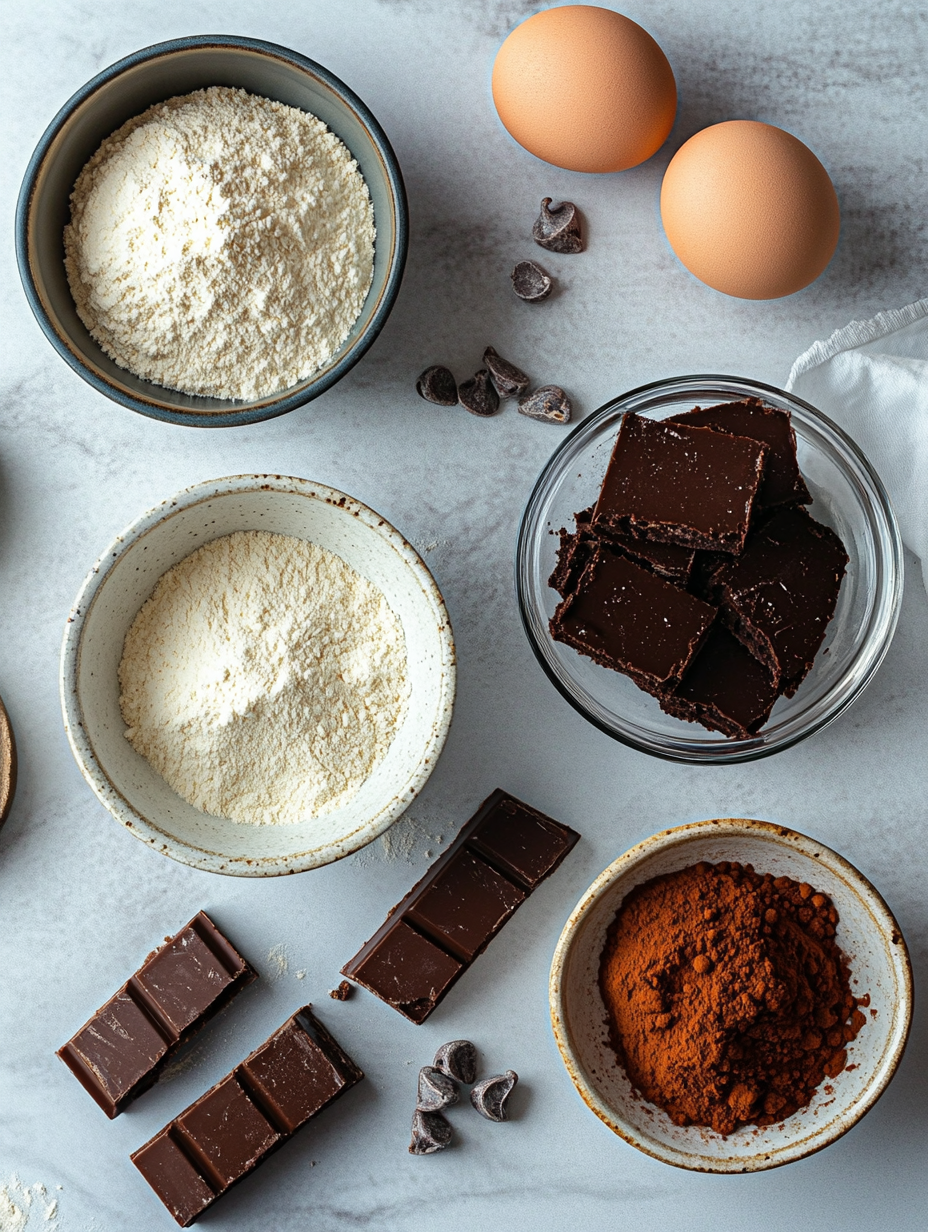
Understanding the role of each ingredient in your vegan chocolate brownies is crucial to achieving the best results. Let’s dive deeper into each component and discuss potential substitutions for those with dietary needs.
– All-Purpose Flour: This serves as the foundation of your brownies, providing structure. If you’re looking for a gluten-free option, you can easily swap it with a 1:1 gluten-free baking flour blend.
– Cocoa Powder: The star of the show! Cocoa powder brings the rich chocolate flavor and contributes to the color and texture. For a darker chocolate experience, opt for Dutch-processed cocoa powder.
– Brown Sugar: This adds sweetness and a hint of molasses flavor, enhancing the overall depth. If you prefer a less processed option, coconut sugar can be used as a substitute.
– Maple Syrup: This natural sweetener not only lends a unique flavor but also keeps the brownies moist. If you don’t have maple syrup on hand, agave syrup or a simple syrup made from sugar and water can work well.
– Coconut Oil: It adds moisture and richness, mimicking the role of butter in traditional recipes. If you’re looking for a neutral flavor, feel free to use vegetable oil or even unsweetened applesauce for a lower-fat option.
– Non-Dairy Milk: This ingredient hydrates the batter and helps create a creamy texture. Almond milk, soy milk, or oat milk are all great alternatives—just ensure they’re unsweetened for best results.
– Vanilla Extract: A must-have for enhancing flavors, vanilla extract rounds out the sweetness and adds a fragrant note. If you’re out of vanilla, you can substitute with a splash of almond extract for a different twist.
– Baking Powder: This leavening agent ensures your brownies rise perfectly, creating that desirable fudgy texture. If you’re avoiding baking powder, a mixture of baking soda and vinegar can serve as a substitute.
– Salt: A pinch of salt enhances all the flavors and balances the sweetness. Don’t skip this step; it’s essential for a well-rounded taste.
Each ingredient plays a significant role in helping you create the ultimate vegan brownie experience. By understanding their functions and how to substitute them, you’ll be well-equipped to make these delicious treats tailored to your preferences.
Equipment Needed
To whip up these vegan chocolate brownies, you don’t need a lot of fancy equipment—just a few kitchen essentials will do the trick. Here’s what you’ll need:
– Mixing Bowls: A few sizes of mixing bowls are essential for combining your dry and wet ingredients separately before mixing them together. If you’re short on space, opt for nesting bowls that save room in your cabinets.
– Whisk: A good whisk will help you blend your wet ingredients smoothly and incorporate air into your batter. If you don’t have a whisk, a fork can do the job in a pinch.
– Rubber Spatula: This is perfect for folding your wet and dry ingredients together gently, ensuring you don’t over-mix your batter.
– 8×8 Inch Baking Pan: This size is ideal for brownies, allowing for even baking. If you don’t have one, a similarly-sized cake or casserole dish will work as well.
– Parchment Paper (optional): Lining your baking pan with parchment paper makes for easy removal and clean-up. If you don’t have parchment paper, a light coat of oil will also do the trick.
These tools are not only affordable but also versatile, serving you well for a variety of other baking projects. With just a few essentials in your kitchen, you’ll be ready to whip up a batch of these delectable vegan chocolate brownies whenever the craving strikes.
Step-by-Step Instructions
1. Preheat and Prepare
WHAT: Start by preheating your oven to 350°F (175°C) and greasing an 8×8 inch baking pan.
HOW: Use a non-stick spray or rub a thin layer of coconut oil on the bottom and sides of the pan.
LOOK/SMELL/HEAR: As the oven warms up, you may catch the subtle aroma of the coconut oil, which will complement the brownies beautifully.
2. Combine the Dry Ingredients
WHAT: In a large mixing bowl, you’ll blend the dry ingredients together.
HOW: Add the all-purpose flour, cocoa powder, brown sugar, baking powder, and salt. Use a whisk to mix them thoroughly, ensuring there are no lumps.
LOOK/SMELL/HEAR: The cocoa will give off a deep, rich chocolate scent as you whisk. The combination should look like a dark, inviting mix.
3. Mix the Wet Ingredients
WHAT: In a separate bowl, it’s time to whisk together the wet ingredients.
HOW: Combine the melted coconut oil, maple syrup, non-dairy milk, and vanilla extract, whisking until fully incorporated.
LOOK/SMELL/HEAR: You’ll notice a glossy texture forming as the ingredients blend. The smell of vanilla will start to emerge, adding sweetness to the mix.
4. Combine Wet and Dry Ingredients
WHAT: Pour the wet mixture into the bowl of dry ingredients.
HOW: Gently fold the two mixtures together using a spatula. Be careful not to over-mix; you want to combine until just incorporated.
LOOK/SMELL/HEAR: The batter will become thick and fudgy. You should see streaks of flour and cocoa disappearing as you mix. The scent of chocolate will fill the air.
5. Spread the Batter
WHAT: Now, you’ll transfer the brownie batter into the prepared baking pan.
HOW: Use a spatula to spread the batter evenly throughout the pan.
LOOK/SMELL/HEAR: The thick batter should create a smooth top. As you spread it, listen for the subtle sound of the spatula against the pan.
6. Bake the Brownies
WHAT: Place the pan in the preheated oven and set your timer for 20 minutes.
HOW: Make sure to center the pan in the oven for even baking.
LOOK/SMELL/HEAR: As they bake, you’ll notice a delightful chocolate aroma wafting through your kitchen. Keep an ear out for the timer!
7. Cool and Cut
WHAT: Once baked, let the brownies cool in the pan for a few minutes before transferring them to a wire rack.
HOW: Using oven mitts, carefully lift the brownies out of the pan using parchment paper if you lined it.
LOOK/SMELL/HEAR: As they cool, the moist, fudgy texture will become more apparent. The scent will continue to be irresistible!
Chef’s Note: For a cleaner cut, allow the brownies to cool completely before slicing. This will help maintain their shape and structure.
Pro Tips for the Best Results
1. Use Quality Cocoa Powder:
Not all cocoa powders are created equal. Opt for a high-quality, unsweetened cocoa powder for a richer chocolate flavor. Your brownies will taste significantly better.
2. Don’t Over-Mix:
Over-mixing your batter can lead to dense brownies. Mix just until the dry ingredients are incorporated, allowing for a lighter, fudgier texture.
3. Check for Doneness:
Baking times can vary based on your oven. Insert a toothpick into the center; it should come out mostly clean, with a few moist crumbs. This indicates the perfect fudgy texture.
4. Let Them Cool:
Patience is key! Allow your brownies to cool in the pan for at least 10 minutes before transferring them. This helps them set up and makes cutting easier.
5. Use Parchment Paper:
Lining your baking pan with parchment paper allows for easy removal and clean-up. It’s a simple trick that can save you time and frustration.
6. Add a Pinch of Espresso Powder:
If you’re a coffee lover, adding a teaspoon of espresso powder to the dry mix can enhance the richness of the chocolate flavor. It’s a secret weapon for decadent desserts!
7. Experiment with Add-Ins:
Feel free to mix in nuts, dairy-free chocolate chips, or even dried fruits for added texture and flavor. Just be careful not to overload the batter, which can change the baking time.
Common Mistakes to Avoid
1. Using Cold Ingredients:
If your coconut oil or non-dairy milk is cold, it can cause the batter to seize. Always use room temperature ingredients for a smoother mixture.
2. Skipping the Cooling Step:
Cutting warm brownies leads to a gooey mess. Let them cool completely for firm, beautifully cut squares.
3. Not Measuring Ingredients Accurately:
Baking is a science, and precise measurements matter. Use measuring cups and spoons for accuracy to avoid dry or overly wet brownies.
4. Opening the Oven Door Too Soon:
Resist the urge to peek! Opening the oven can cause fluctuations in temperature, affecting the rise of your brownies.
5. Overbaking:
Overbaked brownies lose their fudginess. Keep an eye on them as they bake to maintain that rich texture.
6. Ignoring the Toothpick Test:
Don’t skip this crucial step! If you pull the brownies out too soon or too late, you may end up with a dry or undercooked dessert.
Creative Variations
1. Seasonal:
Celebrate the seasons by adding spices like cinnamon or nutmeg for fall-inspired brownies, or fold in fresh raspberries or strawberries during the summer for a fruity twist.
2. Dietary-Friendly:
For a gluten-free option, substitute the all-purpose flour with a 1:1 gluten-free baking flour. This allows you to enjoy the same rich texture without any gluten.
3. Gourmet Elevated:
Elevate your brownies by swirling in a vegan chocolate ganache or adding a sprinkle of sea salt on top before baking. This fancy touch will impress your guests.
4. Quick 15-Minute:
Need a quick fix? Use pre-made vegan brownie mix. Just add your wet ingredients and bake as instructed. It’s a speedy way to satisfy your chocolate cravings!
5. Kid-Friendly:
Get the kids involved by letting them decorate with toppings like sprinkles, nuts, or a drizzle of melted vegan chocolate. It makes for a fun family activity.
6. International Twist:
Infuse your brownies with a hint of international flavor by adding a spoonful of tahini for Middle Eastern flair or a dash of chili powder for a Mexican kick. It’s a wonderful way to spice things up!
7. Nutty Delight:
Incorporate a mix of chopped nuts such as walnuts or pecans for added crunch and flavor. This not only enhances the texture but also provides a satisfying bite.
With these tips and variations, your vegan chocolate brownies will be a delicious addition to any occasion. Whether you’re indulging yourself or sharing with friends, you’re sure to win hearts and taste buds alike!
Serving Ideas
When it comes to serving your vegan chocolate brownies, the possibilities are endless! Here are some delightful plating ideas to elevate your dessert experience:
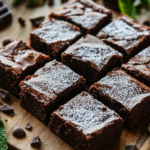
1. Classic Brownie Squares: Cut the brownies into generous squares, and dust the tops with a sprinkle of powdered sugar for a touch of elegance.
2. Brownie Sundaes: Serve warm brownie squares topped with a scoop of your favorite non-dairy ice cream and drizzle with vegan chocolate sauce or caramel for a decadent dessert.
3. Fruit and Nut Garnish: Top your brownies with a handful of fresh berries or a few slices of banana, and sprinkle with chopped nuts like walnuts or almonds for added texture and flavor.
4. Brownie Parfaits: Layer crumbled brownies in a glass with vegan whipped cream and chocolate shavings for a visually stunning dessert that’s perfect for gatherings.
5. Coffee Pairing: Serve your brownies alongside a rich cup of vegan coffee or a mocha. The deep chocolate flavors pair beautifully with a smooth, creamy coffee.
Each of these serving ideas will not only enhance the visual appeal of your brownies but also create an unforgettable tasting experience!
What to Serve With
Pairing your vegan brownies with complementary treats can elevate your dessert game. Here are some fantastic ideas:
1. Vegan Ice Cream: The creaminess of non-dairy ice cream, such as coconut or almond, contrasts wonderfully with the fudgy texture of brownies, creating a luscious mouthfeel.
2. Fresh Berries: The tartness of raspberries or strawberries cuts through the richness of the brownies, adding a refreshing note that balances the sweetness.
3. Nut Butters: A dollop of almond butter or peanut butter adds a savory element that pairs well with chocolate, enhancing both flavors and providing healthy fats.
4. Coconut Whipped Cream: This light and airy topping adds a tropical twist and creamy softness that complements the brownies’ dense texture.
5. Espresso or Coffee: The bitterness of espresso or a well-brewed cup of coffee enhances the chocolate flavor in the brownies, making each bite a little more indulgent.
6. Vegan Milkshakes: Thick and creamy vegan milkshakes, whether chocolate or vanilla, can serve as a delightful drink alongside your brownies, creating a classic dessert combo.
These pairings will not only enhance your brownies but also create a well-rounded dessert experience!
Storage Guide
Storing your vegan chocolate brownies correctly will help maintain their deliciousness and texture. Here’s how to do it:
– Container Type: Use an airtight container to keep your brownies fresh for longer. If you don’t have one, you can wrap them tightly in plastic wrap or aluminum foil.
– Temperature: Store your brownies at room temperature for up to 4 days. If you want to keep them longer, move them to the refrigerator for up to 1 week.
– Signs Gone Bad: Look for signs of spoilage such as a sour smell, discoloration, or a hard texture. If they start to smell off or dry out, it’s best to discard them.
– Refreshing: If you find your brownies have lost their moisture, you can refresh them by lightly warming them in the microwave for 10-15 seconds or covering them with a damp paper towel and reheating.
With these storage tips, you can enjoy your brownies at their best for days to come!
Freezing Tips
Freezing your vegan chocolate brownies is a fantastic way to enjoy them later. Here’s how to do it effectively:
– Freezing Well: Yes, these brownies freeze exceptionally well! The dense texture actually helps them maintain taste and moisture when frozen.
– Portioning: Cut the brownies into squares before freezing. This way, you can easily grab a piece whenever a chocolate craving strikes.
– How Long: Wrap each brownie square in plastic wrap and place them in a freezer-safe bag. They can be frozen for up to 3 months without losing quality.
– Thawing Method: To thaw, simply remove the brownies from the freezer and let them sit at room temperature for about 30 minutes. Alternatively, you can reheat them in the microwave for a quick treat.
With these freezing tips, you can savor the taste of your brownies anytime!
Reheating Guide
If you’ve stored your vegan brownies and want to enjoy them warm and gooey again, here’s how to reheat them using different methods:
– Microwave: Place a brownie square on a microwave-safe plate and heat for 10-15 seconds. Keep an eye on it to ensure it doesn’t overheat, as this can dry it out.
– Oven: Preheat your oven to 350°F (175°C). Place the brownies on a baking sheet and warm them for about 5-10 minutes. Cover them with aluminum foil to retain moisture.
– Stovetop: If you prefer, you can heat a non-stick skillet over low heat. Place a brownie in the skillet and cover with a lid for about 5 minutes, allowing it to warm up without drying out.
These reheating methods will ensure your brownies are as delicious as the day you baked them!
Nutrition Overview
Each serving of these vegan chocolate brownies comes in at approximately 200 calories. Here’s a quick breakdown of their nutritional value:
– Macros:
– Carbohydrates: 30g
– Protein: 3g
– Fat: 10g
The key ingredients in these brownies also offer health benefits:
– Cocoa Powder: Rich in antioxidants, cocoa can help improve heart health and reduce inflammation.
– Maple Syrup: A natural sweetener, maple syrup contains beneficial nutrients, including manganese and zinc.
– Coconut Oil: This oil is known for its medium-chain triglycerides (MCTs) which may support energy production and promote good digestion.
With these nutritional highlights, you can enjoy your brownies with a bit of peace of mind!
Frequently Asked Questions
Q: Can I replace the cocoa powder with carob powder?
A: Yes, you can substitute carob powder for cocoa powder, but the flavor will be different. Carob has a naturally sweeter taste, so you may want to reduce the sugar slightly.
Q: What can I use instead of coconut oil?
A: If you don’t have coconut oil on hand, you can use other plant-based oils like canola oil or melted vegan butter for a similar texture.
Q: Can I add nuts or chocolate chips to the batter?
A: Absolutely! Feel free to fold in vegan chocolate chips, walnuts, or pecans to the batter for added texture and flavor.
Q: Is there a gluten-free option for this recipe?
A: Yes! You can substitute the all-purpose flour with a gluten-free flour blend. Just make sure to use a blend that is meant for baking.
Q: How do I know when the brownies are done baking?
A: The brownies are done when a toothpick inserted into the center comes out mostly clean. They should still look slightly underbaked as they will continue to firm up while cooling.
Q: Can I make these brownies in advance?
A: Yes, you can bake the brownies a day or two in advance and store them in an airtight container at room temperature or in the fridge until you are ready to serve.
Q: How can I make these brownies less sweet?
A: You can decrease the amount of brown sugar or maple syrup used in the recipe. Just keep in mind that this may affect the brownie’s texture.
Q: What’s the best way to cut brownies?
A: For clean cuts, use a sharp, non-serrated knife. Wipe the knife with a damp cloth between cuts to prevent sticking.
Final Thoughts
Baking these vegan chocolate brownies is not only a rewarding experience, but it’s also a delightful way to satisfy your sweet tooth without compromising on your dietary choices. Here’s a key tip: make sure to let your brownies cool completely before cutting them; this will help achieve those perfect, clean squares!
I hope you’re as excited to dive into this rich, fudgy goodness as I am! Whether you enjoy them plain, with a scoop of vegan ice cream, or dressed up with your favorite toppings, these brownies are sure to impress. So, grab your ingredients and bake a batch today—you won’t regret it! Happy baking!