Follow Me On Pinterest!


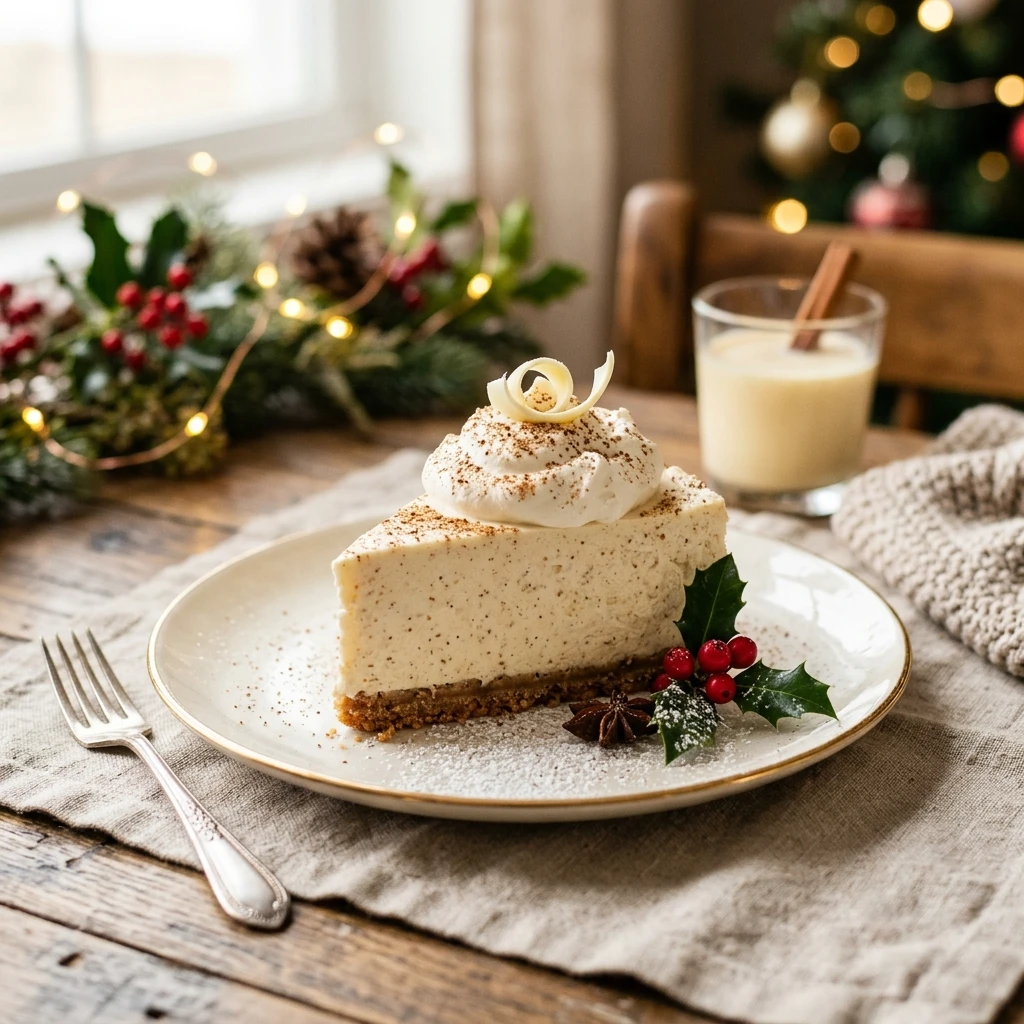
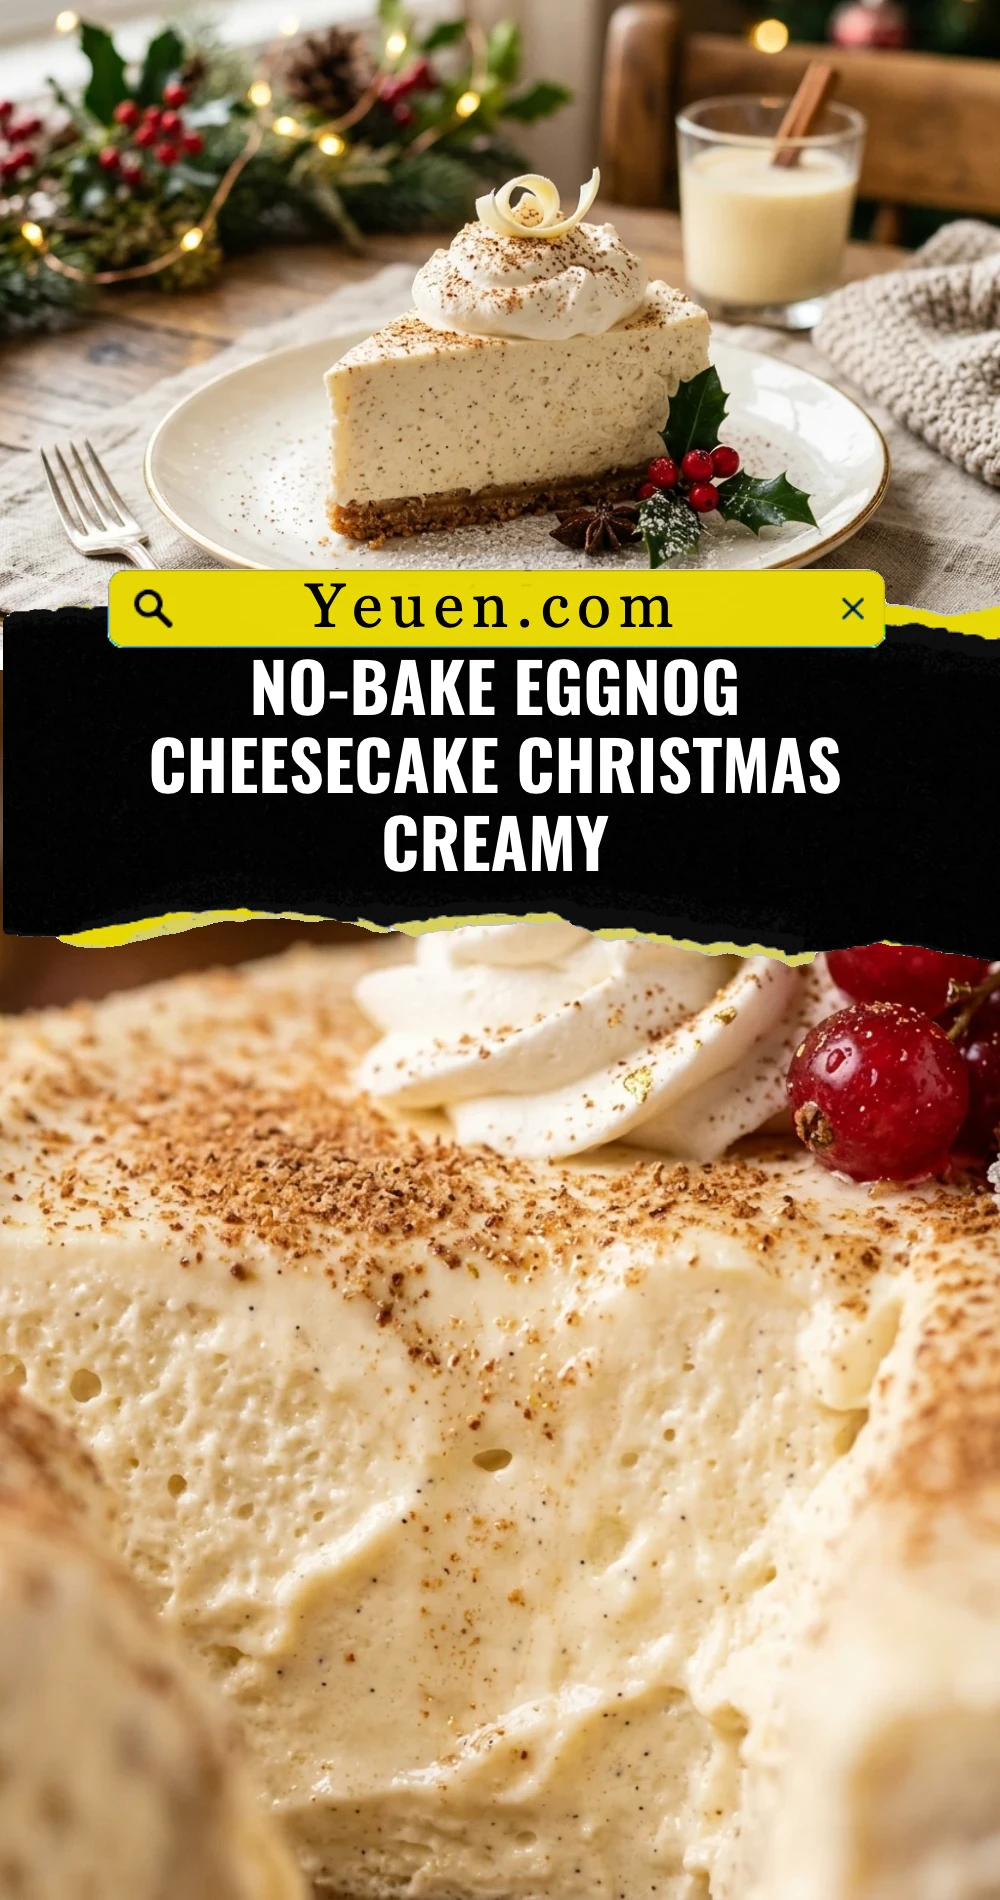
The holiday season is all about spending time with loved ones, not spending every waking hour in the kitchen. This No-Bake Eggnog Cheesecake Christmas Creamy is the ultimate festive dessert that saves you precious oven space while delivering maximum holiday flavor. Imagine a velvety, spiced filling that tastes exactly like your favorite holiday drink, nestled inside a buttery graham cracker crust. It is light, airy, and carries that signature nutmeg warmth that defines Christmas. Whether you are hosting a large party or a cozy family dinner, this cheesecake is a guaranteed crowd-pleaser that looks as elegant as it tastes.
Recipe Information
- Prep Time: 20 minutes
- Cook Time: 0 minutes
- Total Time: 6 hours 20 minutes (includes chilling time)
- Servings: 10 servings
- Difficulty: Easy
Nutrition values
- Calories: 425 kcal
- Protein: 5g
- Carbs: 39g
Why Make This No-Bake Eggnog Cheesecake Christmas Creamy
This recipe is a holiday lifesaver for several reasons. First, it requires zero baking, which means you won’t be fighting for oven space with the turkey or ham. Second, the texture is incredibly creamy and mousse-like, offering a refreshing contrast to the often heavy traditional Christmas puddings. It also highlights the unique, nostalgic flavor of eggnog in a way that even non-eggnog drinkers tend to enjoy. Finally, you can make this a day in advance, allowing you to focus on your guests on the big day.
Ingredients
- 1.5 cups graham cracker crumbs
- 6 tablespoons unsalted butter, melted
- 1/4 cup granulated sugar
- 16 ounces cream cheese, softened to room temperature
- 1 cup powdered sugar
- 1 cup full-fat eggnog
- 1 teaspoon ground nutmeg (plus extra for garnish)
- 1 teaspoon vanilla extract
- 2 cups whipped topping or stabilized whipped cream
- Optional: 1 teaspoon rum extract for extra flavor
Directions
Step 1: Prepare the Crust
In a medium mixing bowl, combine the graham cracker crumbs, melted butter, and granulated sugar. Stir the mixture until the crumbs are evenly moistened. Press the mixture firmly into the bottom and up the sides of a 9-inch springform pan. Use the bottom of a measuring cup to pack it tightly. Place the crust in the freezer to set while you prepare the filling.
Step 2: Cream the Base Filling
In a large bowl using a hand mixer or a stand mixer fitted with the paddle attachment, beat the softened cream cheese until it is completely smooth and free of lumps. Slowly add the powdered sugar and continue beating until the mixture is light and fluffy. This step is crucial for achieving that silky-smooth texture.
Step 3: Incorporate Holiday Flavors
Gradually pour the eggnog into the cream cheese mixture while mixing on low speed. Add the vanilla extract, ground nutmeg, and rum extract if you are using it. Mix until everything is well combined and the batter looks uniform. Be careful not to over-mix at this stage to keep the filling from becoming too liquid.
Step 4: Fold and Assemble
Gently fold in the whipped topping using a rubber spatula. Use a slow “over and under” motion to keep the air in the whipped topping, which ensures a light cheesecake. Once the mixture is combined, pour it over the prepared crust. Smooth the top with an offset spatula for a clean finish.
Step 5: Chill and Set
Cover the pan loosely with plastic wrap and refrigerate for at least 6 hours, though overnight is best. This time allows the filling to firm up properly so it can be sliced cleanly. Just before serving, sprinkle a little extra nutmeg over the top or add swirls of whipped cream for a decorative touch.
Expert Tips for Perfect No-Bake Eggnog Cheesecake Christmas Creamy
- Use Room Temperature Cream Cheese: This is the most important tip. If the cream cheese is cold, you will end up with tiny lumps in your cheesecake that are impossible to beat out later.
- Full-Fat is Best: Use full-fat eggnog and full-fat cream cheese for the best stability and flavor. Low-fat versions contain more water and may prevent the cheesecake from setting properly.
- Don’t Rush the Chill: Since there are no eggs or heat to set the cake, it relies entirely on the refrigerator. Give it the full 6 hours to ensure it holds its shape when sliced.
- Wipe Your Knife: For clean, professional-looking slices, wipe your knife with a warm, damp cloth between every single cut.
Delicious Variations
- Gingersnap Crust: Swap the graham cracker crumbs for crushed gingersnap cookies to add a spicy, ginger kick that pairs perfectly with eggnog.
- Spiked Cheesecake: Replace the rum extract with 2 tablespoons of real dark rum or bourbon for an “adults-only” version of this dessert.
- Chocolate Drizzle: Drizzle melted white or dark chocolate over the top before serving to add a layer of richness.
- Individual Parfaits: Instead of a springform pan, layer the crumbs and filling in small mason jars for easy, portable holiday treats.
Frequently Asked Questions
Can I freeze this cheesecake?
Yes, you can freeze this cheesecake for up to one month. Wrap it tightly in plastic wrap and then foil. Thaw it in the refrigerator overnight before you plan to serve it.
What if my filling is too runny?
If the filling seems too soft after chilling, it might be due to the brand of eggnog used. You can try folding in an extra cup of whipped topping, or next time, add a tablespoon of unflavored gelatin dissolved in a little warm eggnog to the mix.
Can I use homemade eggnog?
Homemade eggnog works wonderfully as long as it has a thick, creamy consistency. If your homemade version is very thin, the cheesecake may not set as firmly as it would with store-bought varieties.
How long does this cheesecake stay fresh?
Stored in an airtight container in the refrigerator, this cheesecake will stay fresh and delicious for up to 5 days.
Can I make this gluten-free?
Absolutely! Simply replace the graham cracker crumbs with your favorite gluten-free graham cracker brand or crushed gluten-free ginger cookies. Most eggnog brands are naturally gluten-free, but always check the label to be sure.
Conclusion
The No-Bake Eggnog Cheesecake Christmas Creamy is the perfect solution for a stress-free holiday dessert. It captures the essence of Christmas in every bite without requiring hours of labor. With its smooth texture and warm spices, it is destined to become a new tradition in your household. Prepare it ahead of time, keep it chilled, and get ready for the rave reviews from your holiday guests!
No-Bake Eggnog Cheesecake Christmas Creamy
- Total Time: 6 hours 20 minutes
- Diet: Vegetarian, Gluten-Free (optional)
Ingredients
Scale
- 1.5 cups graham cracker crumbs
- 6 tablespoons unsalted butter, melted
- 1/4 cup granulated sugar
- 16 ounces cream cheese, softened to room temperature
- 1 cup powdered sugar
- 1 cup full-fat eggnog
- 1 teaspoon ground nutmeg (plus extra for garnish)
- 1 teaspoon vanilla extract
- 2 cups whipped topping or stabilized whipped cream
- Optional: 1 teaspoon rum extract for extra flavor
Instructions
- Step 1: Prepare the Crust. In a medium mixing bowl, combine the graham cracker crumbs, melted butter, and granulated sugar. Stir the mixture until the crumbs are evenly moistened. Press the mixture firmly into the bottom and up the sides of a 9-inch springform pan. Use the bottom of a measuring cup to pack it tightly. Place the crust in the freezer to set while you prepare the filling.
- Step 2: Cream the Base Filling. In a large bowl using a hand mixer or a stand mixer fitted with the paddle attachment, beat the softened cream cheese until it is completely smooth and free of lumps. Slowly add the powdered sugar and continue beating until the mixture is light and fluffy. This step is crucial for achieving that silky-smooth texture.
- Step 3: Incorporate Holiday Flavors. Gradually pour the eggnog into the cream cheese mixture while mixing on low speed. Add the vanilla extract, ground nutmeg, and rum extract if you are using it. Mix until everything is well combined and the batter looks uniform. Be careful not to over-mix at this stage to keep the filling from becoming too liquid.
- Step 4: Fold and Assemble. Gently fold in the whipped topping using a rubber spatula. Use a slow “over and under” motion to keep the air in the whipped topping, which ensures a light cheesecake. Once the mixture is combined, pour it over the prepared crust. Smooth the top with an offset spatula for a clean finish.
- Step 5: Chill and Set. Cover the pan loosely with plastic wrap and refrigerate for at least 6 hours, though overnight is best. This time allows the filling to firm up properly so it can be sliced cleanly. Just before serving, sprinkle a little extra nutmeg over the top or add swirls of whipped cream for a decorative touch.
- Cook Time: 6 hours 20 minutes (includes chilling time)