

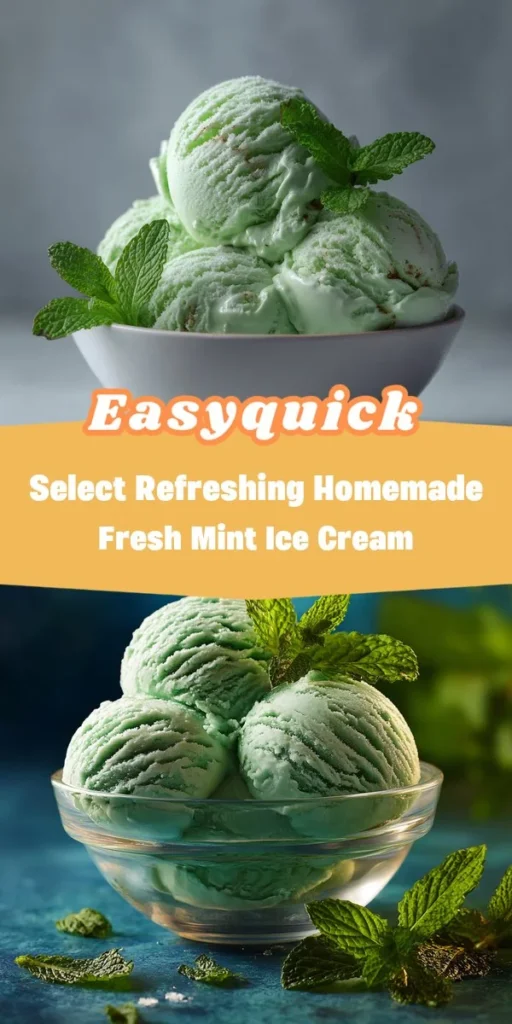
Refreshing Homemade Fresh Mint Ice Cream
About This Recipe
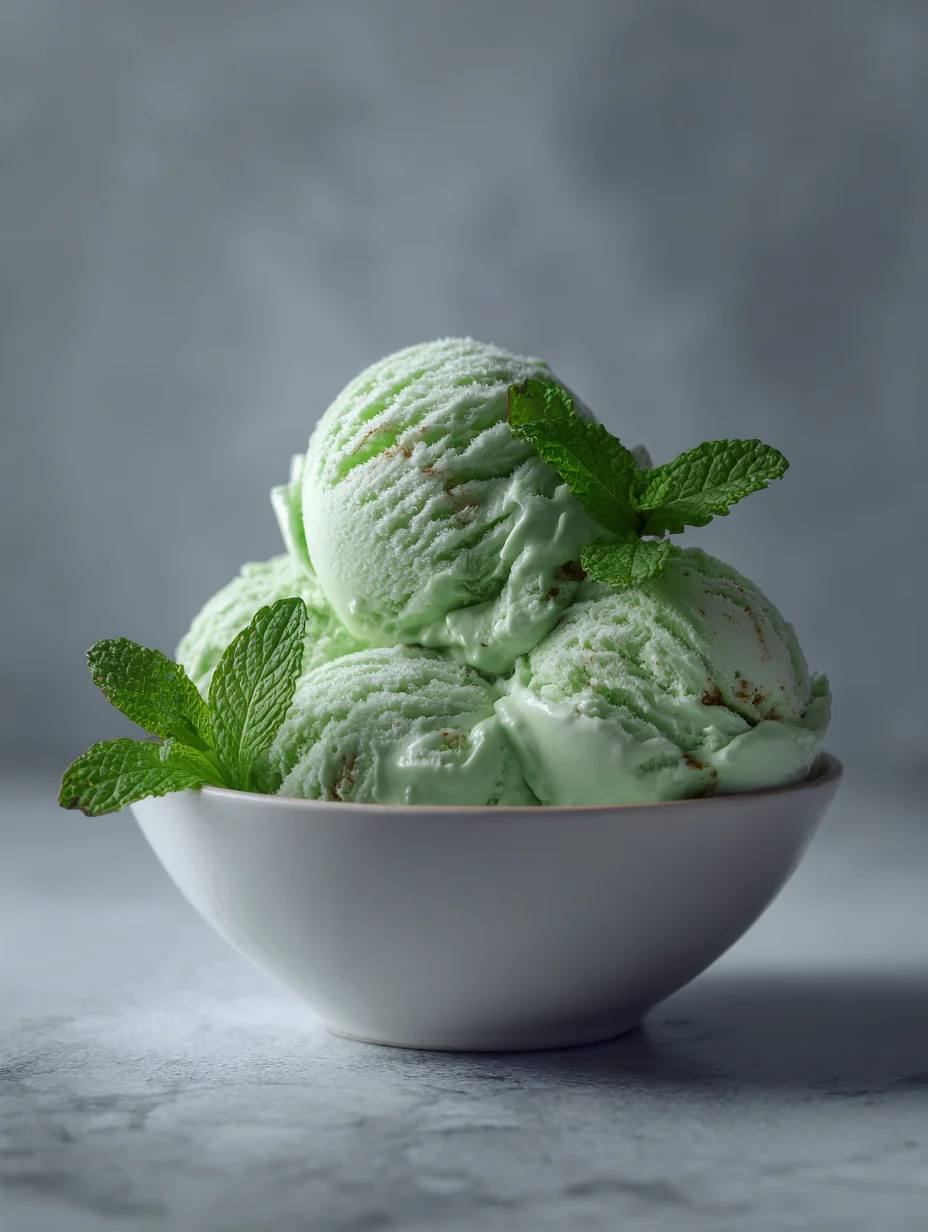
Homemade ice cream is a delightful experience, and there’s nothing quite like the invigorating flavor of fresh mint to elevate your summer treat. This homemade fresh mint ice cream recipe captures the essence of summertime, providing a cooling respite on warm days. The joy of creating this creamy concoction from scratch not only fills your kitchen with the refreshing aroma of mint but also allows you to savor the satisfaction of enjoying a treat made entirely by your own hands.
Using fresh mint leaves ensures that you are capturing the true, vibrant flavor of this herb, setting your ice cream apart from the mass-produced alternatives. With each creamy bite, you’ll be reminded of lazy afternoons spent in the garden or at a picnic, making this ice cream a perfect companion for sunny gatherings or cozy evenings at home.
Why You’ll Love This
There are countless reasons to fall in love with this refreshing homemade mint ice cream recipe:
1. Vibrant Flavor: Unlike store-bought options that often use artificial flavorings, this recipe harnesses the bright, natural flavor of fresh mint, which is both aromatic and refreshing. The result is a taste that is not only more authentic but also more satisfying.
2. Creamy Texture: The combination of heavy cream and whole milk ensures a rich and creamy texture that is hard to resist. This balance creates a luxurious mouthfeel that store-bought ice creams often sacrifice for convenience.
3. Satisfaction of Homemade: There’s a unique joy that comes with making ice cream at home. The process allows you to engage with the ingredients, creating something special to share with family and friends.
4. Customization: One of the best parts of making your own ice cream is the ability to tailor it to your preferences. You can adjust the sweetness and the intensity of the mint flavor to suit your taste, ensuring that every scoop is just right for you.
5. Perfect for Any Occasion: Whether you’re hosting a summer barbecue, celebrating a birthday, or simply enjoying a quiet night in, this homemade fresh mint ice cream is the perfect treat. It’s versatile enough to be enjoyed on its own or served alongside desserts like brownies or fruit.
Ingredient Breakdown
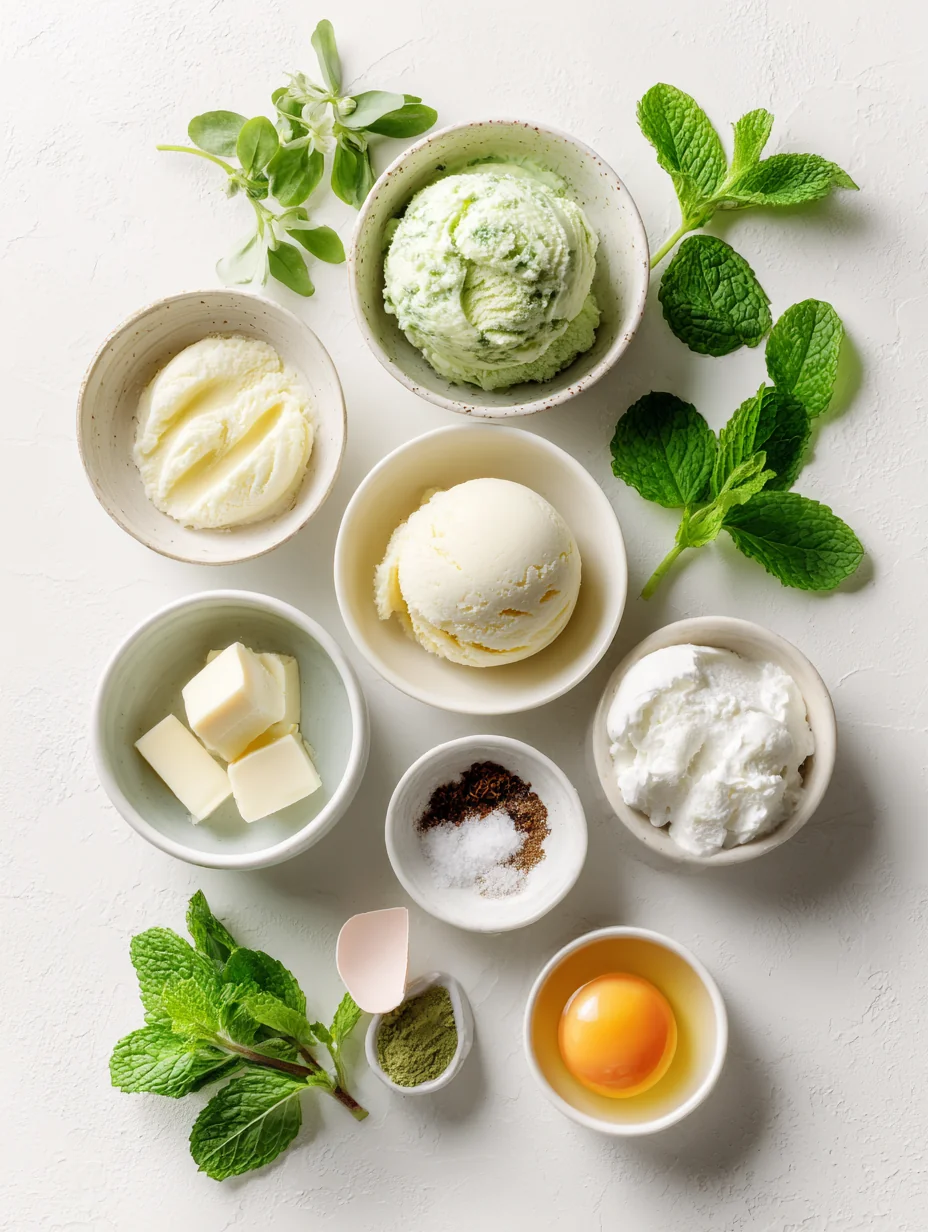
Let’s take a closer look at each ingredient used in this refreshing ice cream recipe, ensuring even the most novice cooks understand their roles and importance.
Fresh Mint Leaves
Fresh mint leaves are the star of this recipe. Known for their vibrant flavor and cooling properties, mint adds a refreshing twist that is perfect for summertime. When sourcing mint, look for bright green leaves without any yellowing or wilting. The best way to maximize flavor is to use mint that is as fresh as possible; consider visiting a local farmer’s market or growing your own mint at home.
Heavy Cream
Heavy cream is crucial for achieving the rich, creamy texture that makes ice cream so delightful. With a high-fat content (usually around 36%), heavy cream provides the luxurious mouthfeel that is characteristic of premium ice creams. It also helps to create a stable base that doesn’t freeze too hard, ensuring a scoopable texture.
Whole Milk
Whole milk plays a vital role in balancing the richness of heavy cream while adding a touch of lightness to the ice cream. It contains about 3.25% fat, which helps to create a smooth and creamy texture without being overly dense. The combination of heavy cream and whole milk results in an ideal consistency for your ice cream, allowing it to be both rich and refreshing.
Granulated Sugar
Granulated sugar is essential for enhancing the flavor and sweetness of the ice cream. It not only sweetens the mixture but also helps to lower the freezing point, resulting in a smoother texture. The amount of sugar can be adjusted based on your preference for sweetness, and using quality sugar will contribute to the overall flavor profile.
Pure Vanilla Extract
Pure vanilla extract adds depth and complexity to the flavor of your mint ice cream. It enhances the sweetness and rounds out the mint flavor, creating a more well-balanced treat. Opt for pure vanilla extract over imitation for the best results, as it offers a richer flavor.
Pinch of Salt
A small pinch of salt is often overlooked, but it plays a crucial role in enhancing the overall flavor of the ice cream. Salt helps to balance the sweetness and brings out the natural flavors of the other ingredients, making each bite more enjoyable without overpowering the mint.
Egg Yolks
Egg yolks are a key component in traditional ice cream recipes, as they serve to emulsify and thicken the ice cream base. The proteins in the yolks help to stabilize the mixture, creating a creamy texture while also contributing richness. When using egg yolks, it’s important to whisk them properly to achieve a smooth consistency and avoid curdling during cooking.
Step-by-step Preparation
Now that you’re familiar with the ingredients, let’s dive into the preparation process. Follow these step-by-step instructions for a successful batch of homemade fresh mint ice cream.
Step 1: Infusing the Mint
The first step is to infuse the fresh mint into the cream mixture. Start by washing the mint leaves thoroughly to remove any dirt or impurities. Next, combine the heavy cream and whole milk in a saucepan over medium heat. Add the mint leaves and bring the mixture to a gentle simmer. Allow it to steep for about 10-15 minutes, stirring occasionally, until the cream is infused with the mint flavor. This step is crucial as it allows the aromatic oils from the mint to permeate the liquid, enhancing the overall taste.
Step 2: Mixing Sugar and Salt
While the mint is infusing, measure out the granulated sugar and a pinch of salt in a separate bowl. Mixing the sugar and salt together ensures that they are evenly distributed throughout the ice cream base, preventing any clumping and ensuring consistent sweetness.
Step 3: Preparing Egg Yolks
In a mixing bowl, crack the required number of egg yolks. Using a whisk, beat the yolks until they become pale and slightly thickened. This process is essential for incorporating air into the yolks, which will help create a lighter texture in the final product.
Step 4: Combining Mixtures
Once the mint has steeped and the cream mixture is fragrant, it’s time to combine the ingredients. Remove the saucepan from the heat and strain the mint leaves from the cream using a fine-mesh sieve. Gradually pour the warm cream mixture into the bowl with the beaten egg yolks, whisking continuously to prevent the yolks from curdling. This technique, known as tempering, allows the eggs to warm up gently without cooking.
Step 5: Cooking the Base
Return the combined mixture to the saucepan and place it over medium heat. Cook the mixture, stirring constantly, until it thickens enough to coat the back of a wooden spoon (about 170 degreesF or 77 degreesC). It is crucial to monitor the temperature closely and avoid boiling, as this can lead to curdling.
Step 6: Cooling Down
Once thickened, remove the saucepan from the heat and allow the mixture to cool to room temperature. This cooling process is essential for developing the flavors further. Once cooled, stir in the pure vanilla extract for added depth.
Step 7: Churning the Ice Cream
Pour the cooled mixture into your ice cream maker and churn according to the manufacturer’s instructions. Typically, this process takes about 20-30 minutes, and you’ll know it’s ready when the ice cream has thickened and has a soft-serve consistency.
Step 8: Freezing the Ice Cream
After churning, transfer the ice cream to an airtight container and freeze it for at least four hours or until firm. This final step allows the ice cream to set properly, resulting in the perfect texture for scooping.
Component Preparation
To successfully make your homemade fresh mint ice cream, you’ll need a few essential tools:
- Saucepan: For heating the cream and cooking the custard base.
- Whisk: To beat the egg yolks and combine ingredients smoothly.
- Fine-Mesh Sieve: For straining the mint leaves from the cream mixture.
- Ice Cream Maker: Essential for churning the ice cream to achieve the right consistency.
- Airtight Container: For storing the ice cream once it’s set.
With these ingredients and tools at your disposal, you’re well on your way to creating a refreshing homemade fresh mint ice cream that will become a staple in your summertime dessert repertoire. Enjoy the process and the delicious results!
Refreshing Homemade Fresh Mint Ice Cream: Part 2
Component Preparation
Time Management Tips
To ensure a smooth ice cream making process, it’s essential to manage your time effectively. Here’s how:
1. Prep Ahead: The day before you plan to make the ice cream, gather all your ingredients and equipment. Measure out the milk, cream, sugar, and fresh mint. This will save you time and help you avoid any last-minute scrambles.
2. Infusion Timing: Allow the mint to infuse in the cream mixture for at least 30 minutes. Use this time to clean up your workspace or prepare your serving dishes.
3. Chill the Ice Cream Base: After cooking the base, let it cool before refrigerating it for at least 4 hours or overnight. This step not only enhances flavor but also ensures a smoother texture.
4. Churning Time: Ice cream makers vary in churning time, but most take about 20-30 minutes. Use a timer to avoid over-churning, which can lead to a grainy texture.
Kitchen Equipment Alternatives
If you’re a beginner without specialized equipment, don’t worry! Here are some alternatives:
- Ice Cream Maker: If you don’t have one, you can use a shallow dish. Pour the ice cream base into it and freeze for about 30 minutes. Stir vigorously with a fork every 30 minutes for about 3 hours to break up ice crystals.
- Whisk: If you don’t have an electric mixer, a good old-fashioned whisk will do the job. It may take longer, but you’ll still achieve a creamy texture.
- Fine Mesh Sieve: If you don’t have one, a cheesecloth or a clean kitchen towel can be used to strain the mint leaves from the base.
Assembly & Serving Tips
When it’s time to serve your homemade fresh mint ice cream, presentation is key. Here are some practical tips:
- Ideal Serving Vessels: Choose between bowls and cones based on your preference. For a classic presentation, consider serving in chilled dessert bowls. If you want a fun, portable option, opt for waffle cones.
- Creative Garnish Ideas: Enhance your ice cream with garnishes. Chocolate shavings, crushed pistachios, or additional mint leaves can add color and a burst of flavor. A drizzle of chocolate or caramel sauce can also elevate the dish.
- Pairings: Consider serving your ice cream alongside fresh fruits like berries or sliced peaches. Cookies, brownies, or even a slice of cake can make a delightful pairing that complements the cool mint flavor.
Presentation
Creating a visually appealing presentation can make your homemade ice cream even more enjoyable:
- Scooping Techniques: To achieve perfect ice cream balls, dip your scoop in warm water before scooping. This helps the ice cream release easily and gives you a smooth, round shape.
- Colorful Garnishes: Use vibrant garnishes such as edible flowers, seasonal fruit slices, or colorful sprinkles to add visual interest to your serving dish.
- Plating for Occasions: For gatherings, consider using elegant glass dishes or tiered stands. Layer the ice cream with other components, like crumbled cookies or fresh fruit, to create a stunning dessert tower.
Variations
One of the joys of making ice cream at home is the ability to customize it. Here are some ideas:
- Different Herbs: Experiment with herbs like basil or rosemary for a unique twist. These herbs can lend an aromatic and sophisticated flavor to your ice cream.
- Mix-ins: Stir in chocolate chips, crushed cookies, or even fruit preserves during the last few minutes of churning for added texture and flavor.
- Dairy-Free Options: For a dairy-free or vegan alternative, use coconut milk or almond milk as a base. Adjust the sugar content as needed since some plant-based milks are naturally sweet.
- Flavor Infusions: Consider infusing your base with other flavors, such as lavender or citrus zest, for a refreshing change.
Storage Guidelines
Proper storage will ensure your ice cream stays fresh and delicious:
- Freezing Practices: Use an airtight container to store your ice cream. This prevents ice crystals from forming and keeps it from absorbing other odors in the freezer.
- Shelf Life: Homemade ice cream is best enjoyed within 2-3 weeks, but it can last for up to a month if stored properly.
- Reviving Texture: If your ice cream becomes too hard in the freezer, let it sit at room temperature for about 5-10 minutes before scooping. You can also stir in a bit of milk to help restore its creamy texture.
Frequently Asked Questions
1. Can I use dried mint instead of fresh?
Dried mint can be used, but the flavor will be less vibrant. If you choose to use dried mint, use about one-third of the amount as fresh mint, as dried herbs are more concentrated.
2. What can I do if my ice cream is too icy?
If your ice cream turns out icy, it may have been over-churned or not mixed enough. Ensure your base is well-chilled before churning, and try to churn it just until it reaches a soft-serve consistency.
3. How do I know when the ice cream is done churning?
The ice cream is ready when it has thickened and resembles soft serve. It should hold its shape when you lift the churner or scoop.
4. Can I make this without an ice cream maker?
Yes! Pour the mixture into a shallow dish and freeze it. Stir every 30 minutes for the first few hours to break up ice crystals until it reaches your desired consistency.
5. What are some common mistakes to avoid?
Avoid over-mixing or over-churning, which can lead to an undesirable texture. Additionally, ensure your ingredients are well-chilled before mixing to promote smoother freezing.
Conclusion
Making your own fresh mint ice cream at home is not only rewarding but also allows for creativity and experimentation with flavors. The satisfaction of enjoying a homemade treat, especially during warm weather, is unparalleled. Whether you stick to the classic mint flavor or venture into new variations, this recipe is versatile enough for any occasion. Embrace the process, and don’t hesitate to personalize your creation. Your journey into homemade ice cream is just beginning, and the possibilities are endless!