Introduction: The Allure of Homemade Chocolate Chip Cookies
There’s something undeniably enchanting about the aroma of freshly baked chocolate chip cookies wafting through the kitchen. This classic treat, which has become a staple in homes across the globe, holds a special place in the hearts of many. For countless people, chocolate chip cookies evoke fond memories of childhood, family gatherings, and the simple pleasure of indulging in something sweet after a long day.
What is it about these cookies that makes them so universally appealing? Perhaps it’s the delightful combination of smooth, melting chocolate morsels paired with a warm, buttery dough. Or maybe it’s the crispy edges contrasted with a soft, chewy center that creates a satisfying bite. Regardless of personal preference, one thing is clear: homemade chocolate chip cookies offer an unmatched comfort that store-bought versions simply cannot replicate.
In this article, we will explore what makes these cookies irresistibly delicious. From their unique texture and rich flavor to the sheer joy of preparing them from scratch, you’ll discover why baking chocolate chip cookies at home is a delightful experience worth pursuing. Get ready to embark on a baking adventure that will fill your home with warmth and sweetness, leading to the creation of cookie perfection.
Understanding the Ingredients: The Foundation of Delicious Cookies
Before diving into the baking process, it’s essential to understand the crucial role that each ingredient plays in crafting the perfect chocolate chip cookie. Each element contributes to the overall flavor and texture, making them truly irresistible. Let’s break down the key components of this classic recipe.
Unsalted Butter: Essential for Flavor Control
Using unsalted butter in your cookie recipe is a critical choice that can significantly affect the flavor profile. By opting for unsalted butter, you have better control over the saltiness of your cookies. This allows the sweetness and richness of the cookie to shine through, enhancing the overall taste. Additionally, the use of butter versus margarine or other substitutes will yield a richer flavor and a more tender texture, resulting in that sought-after melt-in-your-mouth experience.
Granulated and Brown Sugar: Achieving the Perfect Texture
The combination of granulated and brown sugar is a key factor in achieving the ideal texture for your chocolate chip cookies. Granulated sugar helps the cookies spread during baking, creating those delightful crispy edges, while brown sugar, which contains molasses, adds moisture and chewiness to the center. This harmonious blend results in cookies that are both crisp and chewy, a perfect balance that keeps cookie lovers coming back for more.
Vanilla Extract: Enhancing Flavor
Vanilla extract is more than just a flavoring agent; it’s a fundamental ingredient that elevates the overall taste of your cookies. The warm, aromatic notes of vanilla complement the chocolate and butter, bringing depth to the flavor profile. When selecting vanilla extract, opt for pure vanilla rather than imitation for the best results. This simple addition can transform ordinary cookies into something truly extraordinary.
Eggs: Binding and Moisture
Eggs serve multiple purposes in cookie recipes, acting as a binding agent and contributing moisture. The proteins in eggs help hold the ingredients together, ensuring that your cookies maintain their shape during baking. Additionally, the fat found in the yolk enriches the dough, resulting in a tender cookie with a delightful texture. For optimal results, use large eggs, as they are the standard size for most baking recipes.
All-Purpose Flour, Baking Soda, and Salt: The Science Behind the Dough
All-purpose flour is the backbone of your cookie dough, providing structure and stability. It is essential to measure your flour accurately, as too much can lead to dense cookies. Baking soda, a leavening agent, helps the cookies rise, creating a light and airy texture. Lastly, a pinch of salt enhances the overall flavor, balancing the sweetness and bringing out the richness of the chocolate.
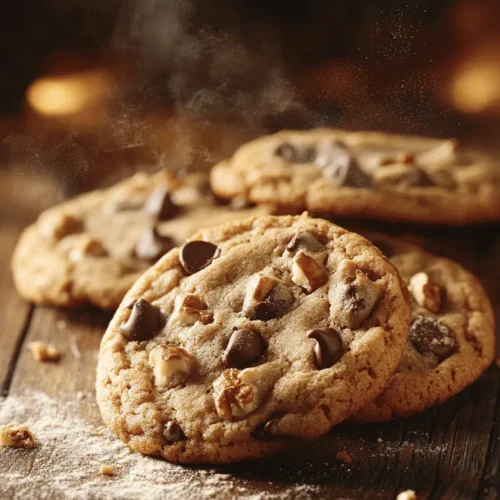
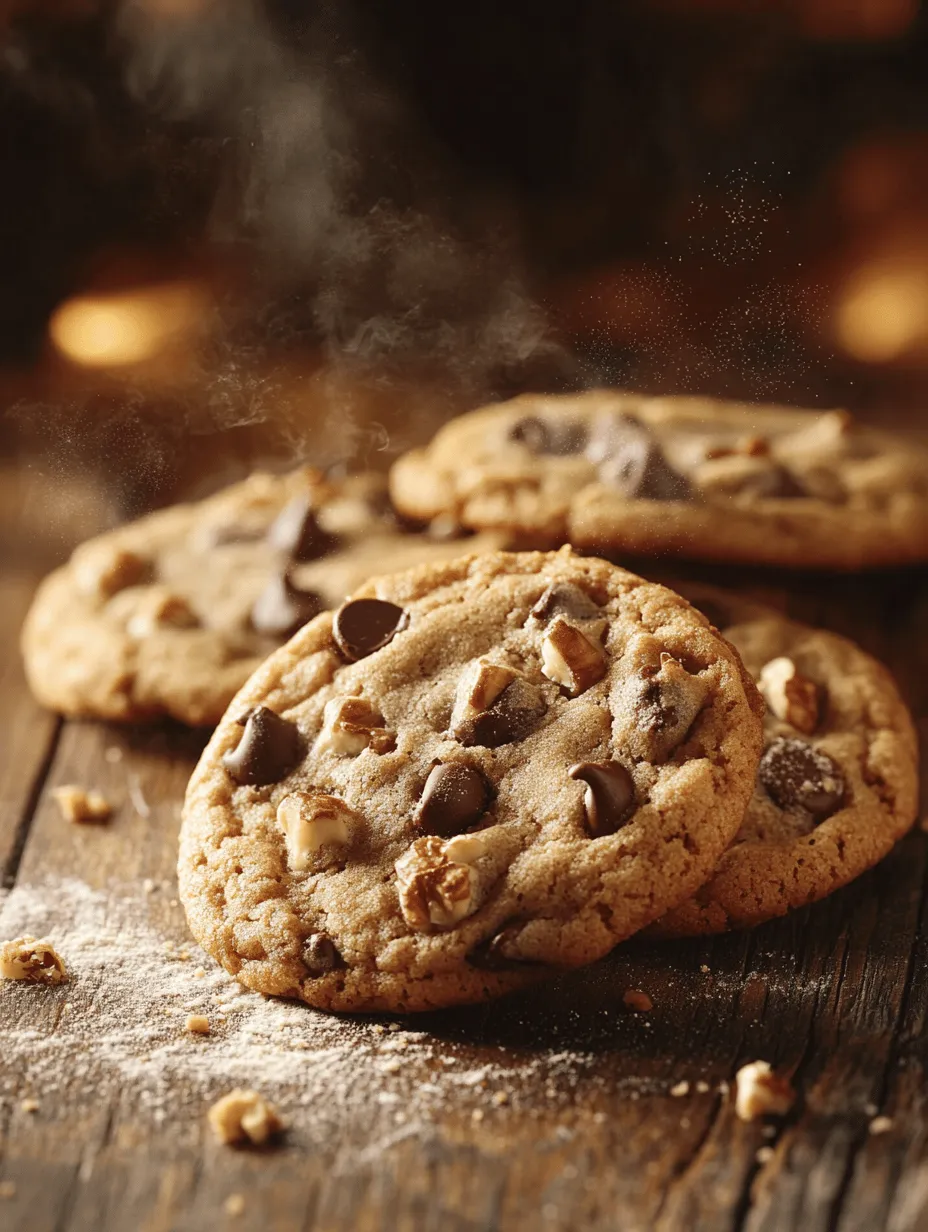
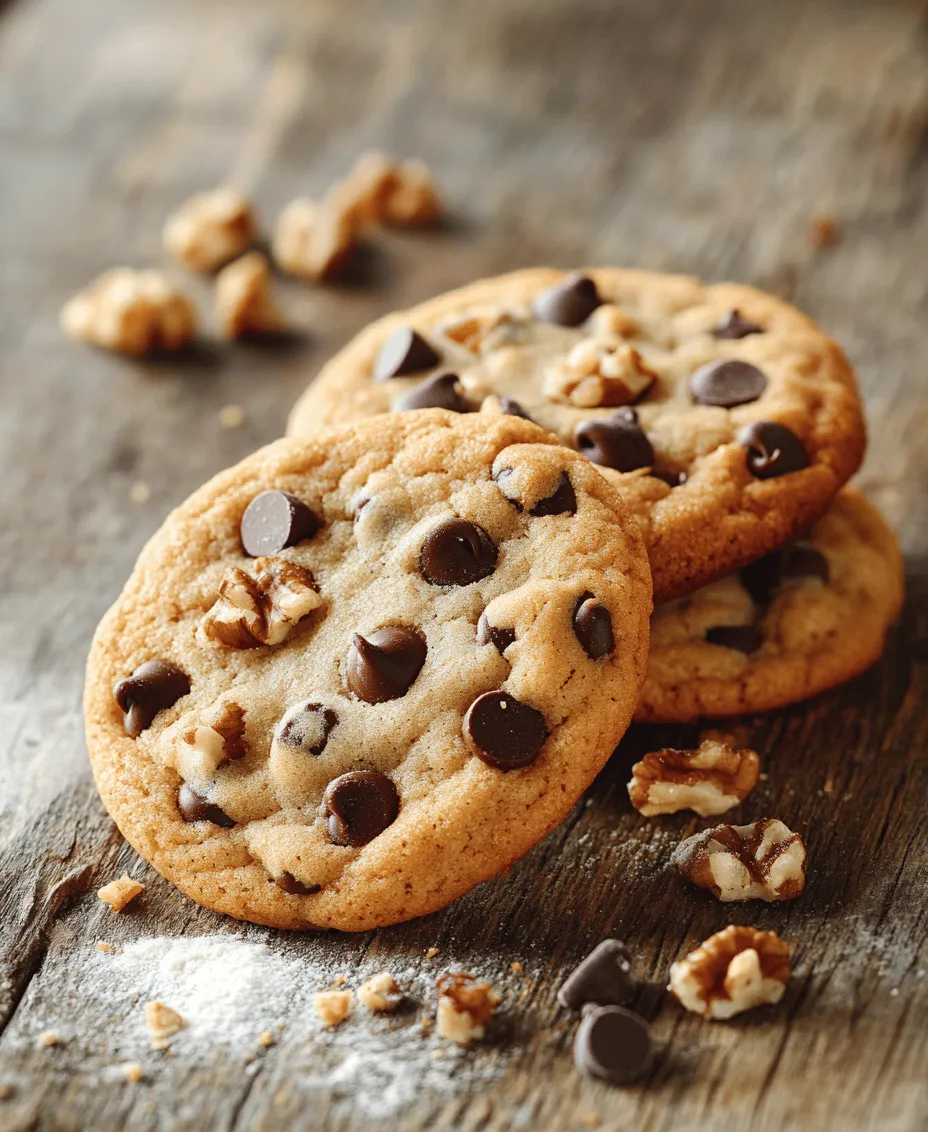
Chocolate Chips: Semi-Sweet vs. Other Varieties
The choice of chocolate chips can significantly affect the flavor of your cookies. While semi-sweet chocolate chips are the classic choice, you may also opt for milk chocolate, dark chocolate, or even white chocolate for a different twist. Each variety offers a unique flavor profile, allowing you to customize your cookies to suit your taste. Additionally, consider using chocolate chunks for a more rustic appearance and an extra burst of chocolate in every bite.
Optional Ingredients: Nuts for Added Texture and Flavor
While chocolate chips are the star of the show, adding nuts can elevate your cookies to a new level. Chopped walnuts or pecans introduce a delightful crunch, complementing the softness of the cookie. If you choose to include nuts, make sure to chop them coarsely for even distribution throughout the dough. However, remember that this is purely optional—feel free to experiment with or without them based on your preference.
Step-by-Step Guide: Baking Irresistible Chocolate Chip Cookies
Now that we understand the essential ingredients that contribute to the magic of chocolate chip cookies, it’s time to roll up our sleeves and start baking! Follow this step-by-step guide to achieve cookie perfection every time.
Preparing Your Workspace: Importance of Organization and Cleanliness
Before you dive into the baking process, take a moment to prepare your workspace. A clean and organized kitchen not only makes the process smoother but also enhances your overall baking experience. Gather all your ingredients, measuring cups, mixing bowls, baking sheets, and utensils. This will save you time and prevent any last-minute scrambles for missing items.
Preheating the Oven: Why Temperature Matters for Baking Success
Preheating your oven is a crucial step in achieving the perfect chocolate chip cookies. Set your oven to 350°F (175°C) and allow it to fully preheat before placing your cookies inside. This ensures that the cookies begin baking at the right temperature, promoting even cooking and a desirable texture. Baking at the correct temperature helps to create that golden-brown exterior while maintaining a soft and chewy interior.
Mixing the Butters and Sugars: Techniques for Achieving the Right Consistency
In a large mixing bowl, combine your softened unsalted butter with both granulated and brown sugar. Using an electric mixer or a wooden spoon, cream the butter and sugars together until the mixture is light and fluffy. This process incorporates air into the dough, resulting in a lighter texture. Aim for a consistency that is smooth and well-blended, which usually takes about 2-3 minutes of mixing.
Incorporating Vanilla and Eggs: Tips for Ensuring Even Mixing
Once your butter and sugars are combined, it’s time to add the vanilla extract and eggs. Add the eggs one at a time, ensuring that each is fully incorporated before adding the next. This step is essential for even mixing, as it helps to create a uniform dough. Follow this with the vanilla extract, mixing until combined. The batter should be creamy and homogenous at this stage.
Combining Dry Ingredients: Understanding the Importance of Proper Mixing
In a separate bowl, whisk together your all-purpose flour, baking soda, and salt. This step is important as it helps to evenly distribute the leavening agent and salt throughout the flour, preventing any clumps in your cookie dough. Gradually add the dry ingredients to the wet mixture, mixing on a low speed or gently by hand until just combined. Avoid overmixing, as this can lead to tough cookies.
Mixing Wet and Dry Ingredients: Best Practices to Avoid Overmixing
When combining the wet and dry ingredients, it’s crucial to mix until just incorporated. The dough should be slightly shaggy and not completely smooth. Overmixing can develop the gluten in the flour, resulting in a denser cookie. Stop mixing as soon as you see no dry flour remaining, allowing the dough to maintain its tender texture.
Folding in Chocolate Chips and Nuts: Techniques for Even Distribution
Now comes the exciting part—folding in the chocolate chips! If you’re using nuts, this is the time to add them as well. Using a spatula, gently fold the chocolate chips and nuts into the dough, ensuring an even distribution throughout. This technique helps to prevent the chips from breaking and ensures that each cookie is packed with chocolatey goodness.
Scooping the Dough: How to Achieve Uniform Cookie Sizes for Even Baking
For perfectly shaped cookies, use a cookie scoop or a tablespoon to portion out the dough onto your prepared baking sheets. Space the dough balls about two inches apart, as they will spread during baking. If you prefer larger cookies, feel free to use a larger scoop; just keep in mind that baking times may vary.
As you prepare to bake your cookies, you can feel the excitement building. The combination of rich flavors, the promise of gooey chocolate, and the warmth of homemade treats will surely make this baking experience one to remember. Stay tuned as we continue with the next steps and tips for achieving chocolate chip cookie perfection!
Baking to Perfection: Recognizing the Signs of Doneness
Baking chocolate chip cookies is not just about following a recipe; it’s about knowing when they are perfectly baked. The signs of doneness can vary, but there are a few key indicators you should look for. First, observe the edges of the cookies. They should be set and lightly golden brown, while the centers may appear slightly underbaked. This is a good sign; cookies will continue to firm up as they cool.
The tops should also look soft and slightly puffy, and you might notice a few cracks on the surface. If your cookies are browning too quickly, you may need to adjust your oven temperature. It’s a good idea to invest in an oven thermometer to ensure your oven is at the right temperature, as many home ovens can be inaccurate.
Once you feel confident that your cookies are done, remove them from the oven and allow them to rest on the baking sheet for about 5 minutes before transferring them to a wire rack. This cooling process is essential in achieving the perfect texture.
Cooling Process: The Importance of Allowing Cookies to Set and Cool
After baking, the cooling process is a crucial step that many bakers overlook. Allowing your chocolate chip cookies to set on the baking sheet helps them firm up, preventing them from falling apart when you move them. The heat from the baking sheet continues to cook the cookies slightly, which is why removing them too soon can lead to a doughy texture.
Once the cookies have rested for a few minutes, use a spatula to transfer them to a wire rack. This allows air to circulate around the cookies, preventing them from becoming soggy. If you can resist the temptation, let the cookies cool completely before enjoying them. However, warm cookies straight from the oven are undeniably delicious, so feel free to indulge!
Tips for Customizing Your Chocolate Chip Cookies
One of the best aspects of baking chocolate chip cookies is the ability to customize them to suit your taste. Here are some tips to help you create a cookie that is uniquely yours:
Experimenting with Different Types of Chocolate
While semi-sweet chocolate chips are the classic choice, don’t hesitate to experiment with different types of chocolate. Dark chocolate chips add a rich, deep flavor, while milk chocolate offers a sweeter taste. White chocolate can also be a delightful addition, especially when paired with macadamia nuts for a tropical twist. You can even mix and match the types of chocolate for a more complex flavor profile.
How to Incorporate Spices for a Unique Flavor Profile
Adding spices can elevate your chocolate chip cookies to a whole new level. A pinch of cinnamon or nutmeg can add warmth and depth, while a touch of sea salt can enhance the sweetness of the chocolate. For an adventurous kick, try adding a hint of cayenne pepper or espresso powder to intensify the chocolate flavor. Just be careful not to overdo it; a little goes a long way!
Options for Creating Cookie Variations: Oatmeal, Peanut Butter, and More
If you’re looking to change things up, consider incorporating other ingredients into your cookie dough. Adding rolled oats can create a heartier texture and a chewy bite, while peanut butter can add richness and a nutty flavor. For a fun twist, try mixing in crushed pretzels for a salty-sweet cookie or adding dried fruit and nuts for a chewy oatmeal cookie variation.
Adjusting Sugar Levels for Different Sweetness Preferences
Not everyone has the same sweet tooth, so feel free to adjust the sugar levels in your cookie dough. If you prefer less sweetness, reduce the sugar by a quarter or a third. Conversely, if you enjoy a sweeter cookie, you can add a bit more sugar or even a drizzle of honey or maple syrup.
Vegan and Gluten-Free Alternatives: Substitutions to Consider
For those with dietary restrictions, there are plenty of substitutions that can be made to accommodate vegan or gluten-free diets. Instead of regular flour, try using almond flour or a gluten-free all-purpose blend. For a vegan option, swap out butter for coconut oil or vegan butter and replace eggs with flaxseed meal or applesauce. These substitutions can yield delicious results without compromising on taste.
The Science of Cookie Baking: Understanding Texture and Flavor
Baking cookies is both an art and a science. Understanding the science behind your ingredients can help you achieve the desired texture and flavor.
The Role of Temperature in Baking Cookies
Temperature plays a crucial role in baking. The temperature of your ingredients (like butter and eggs) should ideally be at room temperature for the best incorporation. Additionally, the oven temperature should be precisely set to ensure even cooking. If the oven is too hot, your cookies may spread too quickly and become thin and crispy. Conversely, if the oven is too cool, your cookies may not rise properly.
How Ingredient Ratios Affect Texture: Chewy vs. Crispy Cookies
The ratios of ingredients in your cookie dough will determine whether your cookies are chewy or crispy. For chewier cookies, use more brown sugar, as it retains moisture. If you prefer a crispier texture, increase the ratio of white sugar and decrease the amount of flour slightly. Additionally, baking time can also influence texture—shorter baking times yield chewier cookies, while longer baking times create a crisper result.
The Maillard Reaction and Its Role in Flavor Development
The Maillard reaction is a chemical reaction that occurs when sugars and proteins in your cookie dough are exposed to heat, creating complex flavors and that golden-brown color we all love. This reaction is what gives your cookies a rich, toasty flavor, so don’t be afraid to allow them to bake until they reach that perfect shade of golden brown.
Understanding Cookie Cooling: Why Cookies Continue to Bake After Removal from the Oven
One essential aspect of baking is understanding that cookies continue to bake even after being taken out of the oven. This phenomenon, known as carryover cooking, occurs due to the residual heat from the baking sheet. This is why it’s critical to follow the resting period before transferring cookies to a wire rack.
Storing and Enjoying Your Freshly Baked Cookies
Once you have baked your delicious chocolate chip cookies, you’ll want to ensure they remain fresh and tasty for as long as possible. Here are some best practices for storing and enjoying your cookies:
Best Practices for Storing Chocolate Chip Cookies to Maintain Freshness
To keep your cookies fresh, store them in an airtight container at room temperature. This will help retain moisture and prevent them from becoming stale. If you live in a particularly humid environment, consider adding a slice of bread to the container. The bread will absorb moisture, helping to maintain the cookies’ texture.
Freezing Cookies for Later Enjoyment: Techniques and Tips
For long-term storage, you can freeze cookies. To do this, ensure they are completely cool before placing them in a freezer-safe bag or container. Lay them flat in a single layer to prevent sticking. When you’re ready to enjoy them, simply remove the desired number of cookies and let them thaw at room temperature. You can even pop them in the microwave for a few seconds for that freshly baked taste.
Creative Ways to Enjoy Cookies: Pairings with Milk or Ice Cream
Chocolate chip cookies can be enjoyed in so many ways. For a classic experience, pair them with a glass of cold milk. If you’re feeling indulgent, try sandwiching a scoop of ice cream between two cookies for a delightful ice cream sandwich. You can also crumble cookies over your favorite desserts, such as brownies or sundaes, for added texture and flavor.
The Joy of Sharing Cookies: Gifting Ideas and Presentation Tips
Cookies make for wonderful gifts. Consider packaging them in a decorative tin or mason jar, tied with a festive ribbon. You can also include a handwritten note or a recipe card, sharing the joy of baking with others. Baked cookies are perfect for holidays, birthdays, or just because—a little treat to brighten someone’s day!
Conclusion: Embracing the Joy of Baking Chocolate Chip Cookies at Home
Baking chocolate chip cookies at home is not just about enjoying a delicious treat; it’s about creating lasting memories. The timeless appeal of homemade cookies lies in their warmth, comfort, and the joy they bring to both the baker and the consumer.
As you embark on your cookie-baking journey, remember that experimentation is key. Adapting the recipe to suit your taste can lead to delightful discoveries and new flavor combinations. Whether you stick with the classic chocolate chip cookie or venture into creative variations, the joy of baking—and sharing—will always be a cherished experience.
So, preheat your oven, gather your ingredients, and embrace the art of baking chocolate chip cookies. Each batch is an opportunity to create something special, and who knows? You might just find a new favorite variation along the way. Happy baking!