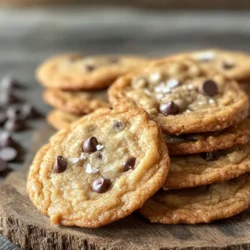
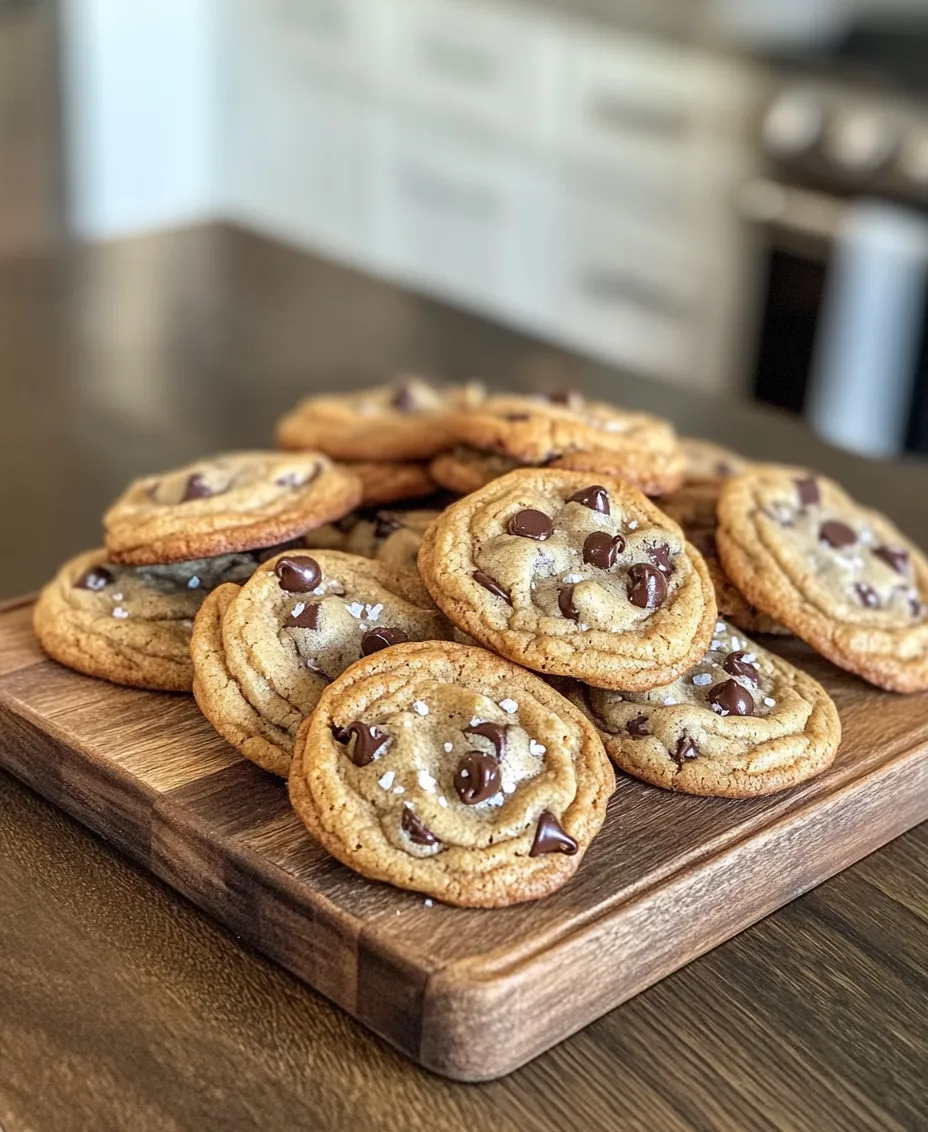
In the world of baking, few treats hold the same nostalgic charm as classic chocolate chip cookies. This beloved dessert has delighted generations, becoming a staple in homes and bakeries alike. The irresistible combination of buttery dough and rich chocolate creates an unforgettable experience for cookie enthusiasts. Whether enjoyed fresh from the oven, dunked in milk, or packed in lunchboxes, chocolate chip cookies evoke feelings of warmth, comfort, and a hint of childhood nostalgia. In this article, we will delve into the origins of chocolate chip cookies, break down the essential ingredients, and provide a step-by-step guide for crafting the perfect batch. Whether you are a seasoned baker or a novice in the kitchen, this comprehensive guide will help you create cookies that are soft, chewy, and utterly delicious.
The History of Chocolate Chip Cookies: A Sweet Legacy
The story of chocolate chip cookies begins in the 1930s, when a woman named Ruth Wakefield invented the recipe at the Toll House Inn in Whitman, Massachusetts. Ruth was a dietitian and food writer who had a passion for baking. One day, she decided to create a new dessert to serve her guests. The original recipe called for a bar of Nestlé semi-sweet chocolate, which she chopped into small pieces and mixed into a buttery cookie dough. To her surprise, the chocolate didn’t melt entirely but instead retained its shape, creating delightful little pockets of chocolate in each cookie.
The cookies quickly became a favorite among her guests, and soon word spread about this delicious new treat. Ruth Wakefield struck a deal with Nestlé, allowing them to print her recipe on their chocolate packages. This collaboration skyrocketed the popularity of the chocolate chip cookie, making it a household name across America. The cookies were so beloved that they even inspired Nestlé to create chocolate chips specifically for baking, ensuring that bakers everywhere would have the perfect ingredient at their fingertips.
As the years passed, chocolate chip cookies evolved, with various adaptations and variations emerging. From the addition of nuts to the incorporation of different types of chocolate, bakers have put their own spin on this classic treat. Today, chocolate chip cookies remain a quintessential dessert, often associated with family gatherings, celebrations, and holidays. The cultural significance of chocolate chip cookies cannot be overstated; they have found their way into cookbooks, movies, and even national events.
Essential Ingredients for Classic Chocolate Chip Cookies
To create the perfect classic chocolate chip cookies, understanding the role of each ingredient is crucial. Let’s take a closer look at the essential components that contribute to the flavor, texture, and overall success of your cookies.
1. Unsalted Butter
Butter is the cornerstone of any cookie recipe, and unsalted butter is preferred for its ability to control the amount of salt in the dough. Using unsalted butter allows you to enhance the flavor of the cookies without making them overly salty. For a rich, tender cookie, it’s important to use butter that is at room temperature, allowing for proper creaming with the sugars. This process incorporates air into the batter, contributing to a light and chewy texture.
2. Granulated Sugar vs. Brown Sugar
The combination of granulated sugar and brown sugar is key to achieving the perfect balance of sweetness and texture. Granulated sugar helps the cookies spread out and achieve a crisp outer edge while lending a sweet flavor. Brown sugar, on the other hand, contains molasses, which adds moisture and creates a chewy interior. The ratio of these two sugars can be adjusted based on personal preference, but a standard recipe typically calls for equal parts of each for optimal results.
3. Vanilla Extract
Vanilla extract is a flavor enhancer that elevates the taste of chocolate chip cookies. Its aromatic qualities complement the rich flavors of the butter and chocolate, creating a well-rounded, delicious cookie. Always choose pure vanilla extract over imitation vanilla for the best flavor.
4. Eggs
Eggs play a vital role in binding the ingredients together while adding moisture to the dough. Typically, a recipe will call for one large egg, which contributes to the structure and helps the cookies rise. For a richer flavor, you can use an additional egg yolk, which adds fat and moisture, resulting in an even softer and chewier cookie.
5. All-Purpose Flour
Choosing the right flour is essential for achieving the ideal cookie texture. All-purpose flour is the most commonly used flour in chocolate chip cookie recipes, as it provides the right balance of protein to create a chewy texture. Be sure to measure your flour accurately—too much flour can lead to dry cookies, while too little can result in overly flat or greasy cookies.
6. Chocolate Chips
Finally, the star of the show: chocolate chips. When it comes to selecting chocolate chips, there are many options available, including semi-sweet, dark, milk, and even white chocolate. The choice of chocolate can significantly impact the flavor profile of your cookies. For a classic chocolate chip cookie, semi-sweet chocolate chips are the most popular choice, but feel free to experiment with different types or even mix them for a more complex flavor.
Step-by-Step Guide to Baking Classic Chocolate Chip Cookies
Now that we’ve covered the essential ingredients, it’s time to put on your apron and start baking! Below is a straightforward, step-by-step guide to help you create a batch of classic chocolate chip cookies that will impress friends and family alike.
Step 1: Gather Your Ingredients
Before you begin, ensure you have all the necessary ingredients on hand. Here’s what you will need for a standard batch of classic chocolate chip cookies:
– 1 cup (2 sticks) unsalted butter, softened
– 3/4 cup granulated sugar
– 3/4 cup packed brown sugar
– 1 teaspoon vanilla extract
– 2 large eggs
– 2 1/4 cups all-purpose flour
– 1 teaspoon
Preparation: Setting Up Your Workspace and Gathering Tools
Before diving into the delightful world of baking classic chocolate chip cookies, it’s essential to set up your workspace for an efficient and enjoyable experience. A tidy kitchen not only helps in maintaining focus but also ensures that you have everything you need within reach.
1. Gather Your Tools:
– Mixing bowls (preferably one large and one medium)
– Measuring cups and spoons for precise ingredient measurements
– A whisk or electric mixer for creaming the butter and sugar
– A spatula or wooden spoon for mixing
– Baking sheets lined with parchment paper or silicone baking mats
– A cookie scoop or tablespoon for consistent cookie sizes
– Cooling racks for letting your cookies rest after baking
2. Organize Your Ingredients:
Make sure you have all your ingredients ready: unsalted butter, granulated sugar, brown sugar, eggs, vanilla extract, all-purpose flour, baking soda, and of course, semi-sweet chocolate chips. Having everything measured out and ready to go will streamline the process, allowing you to focus on the joy of baking.
Mixing the Dough: Techniques for Achieving the Ideal Consistency
Now that your workspace is organized, it’s time to mix the dough. The mixing process is critical in determining the texture of your chocolate chip cookies.
1. Creaming Butter and Sugars:
– Start by softening your unsalted butter at room temperature. This step is crucial for achieving a smooth and creamy texture. Using an electric mixer, beat the softened butter with granulated sugar and brown sugar until the mixture is light and fluffy. This process typically takes about 2-3 minutes.
– For best results, scrape down the sides of the bowl periodically to ensure that all ingredients are evenly incorporated.
2. Adding Eggs and Vanilla:
– Once your butter and sugars are creamed, add in the eggs one at a time, mixing well after each addition. Follow this by adding the vanilla extract. This combination not only adds moisture but also infuses the dough with rich flavor.
3. Incorporating Dry Ingredients:
– In a separate bowl, whisk together the all-purpose flour, baking soda, and a pinch of salt. Gradually add this dry mixture to the wet ingredients. Mix until just combined, being careful not to overmix. Overmixing can lead to tough cookies, so stop as soon as you no longer see dry flour.
4. Folding in Chocolate Chips:
– Finally, gently fold in the chocolate chips using a spatula. This ensures that the chips are evenly distributed throughout the dough, providing that delicious melty chocolate experience in every bite.
Chilling the Dough: Why This Step is Crucial
Once your dough is ready, it’s time to chill it. This step is often overlooked, but crucial for achieving the ideal cookie texture.
1. Benefits of Chilling:
– Chilling the dough for at least 30 minutes (or up to 24 hours in the refrigerator) allows the fats to solidify. This results in a firmer dough that spreads less while baking, leading to thicker, chewier cookies.
– Additionally, chilling enhances the flavors as the ingredients meld together, creating a more complex taste.
Shaping the Cookies: Tips for Uniform Size and Appearance
To ensure that your cookies bake evenly and look appealing, proper shaping is essential.
1. Use a Cookie Scoop:
– A cookie scoop or tablespoon is ideal for portioning out your dough. This not only guarantees uniform size but also helps ensure even baking.
– If you prefer larger cookies, feel free to adjust the size, but remember that larger cookies may require additional baking time.
2. Roll and Shape:
– Once you’ve scooped the dough onto your prepared baking sheets, lightly roll each portion into a ball. Place them about 2 inches apart to allow for spreading.
– For a decorative touch, you can press a few extra chocolate chips on top of each cookie before baking.
Baking: Understanding Oven Temperatures and Bake Times
Baking your cookies to perfection requires attention to temperature and timing.
1. Preheating the Oven:
– Always preheat your oven to 350°F (175°C) before placing your cookies inside. This ensures that the cookies begin baking immediately, helping to create the desired texture.
2. Bake Time:
– Bake your cookies for 10-12 minutes, or until the edges are lightly golden while the centers remain soft. Remember that cookies will continue to cook on the baking sheet after being removed from the oven, so it’s best to pull them out when they still look slightly underbaked.
– If you are baking multiple trays, rotate them halfway through to promote even baking.
Cooling: The Importance of Letting Cookies Rest
After baking, it’s tempting to dive right into your warm cookies, but allowing them to cool is essential.
1. Transferring to Cooling Racks:
– Let the cookies rest on the baking sheet for about 5 minutes. This resting period allows them to firm up and makes transferring easier.
– Use a spatula to transfer the cookies to cooling racks. This prevents them from becoming soggy by allowing air to circulate around them.
Baking Variations and Customizations for Chocolate Chip Cookies
Classic chocolate chip cookies are versatile and can be customized to suit various preferences and dietary needs.
1. Exploring Alternative Ingredients:
– For those with dietary restrictions, consider using gluten-free flour or coconut sugar as substitutes. These alternatives can create equally delicious cookies while accommodating different diets.
2. Stuffed Chocolate Chip Cookies:
– For a fun twist, try creating stuffed chocolate chip cookies. You can add fillings such as Nutella, peanut butter, or even caramel. Simply flatten the dough, place a small amount of the filling in the center, and wrap the dough around it before baking.
3. Adding Nuts, Oats, or Spices:
– To enhance the flavor profile, consider adding chopped nuts (like walnuts or pecans), oats for a chewy texture, or spices such as cinnamon or sea salt for a unique twist.
4. Transforming Classic Cookies:
– If you’re feeling adventurous, transform your cookie dough into bars or blondies. Simply spread the dough into a greased baking dish and adjust the baking time, usually increasing it by 5-10 minutes, until golden and set.
Storing and Enjoying Your Homemade Cookies
Once your cookies are baked and cooled, storing them properly ensures they remain fresh and delicious.
1. Best Practices for Storing Cookies:
– Store your cookies in an airtight container at room temperature to maintain their chewiness. For optimal freshness, place a slice of bread in the container. The bread will absorb excess moisture, helping to keep your cookies soft.
2. Freezing Dough for Future Baking:
– If you want to enjoy freshly baked cookies later, freeze the cookie dough. Portion the dough onto a baking sheet, freeze until solid, then transfer to a zip-top bag. When you’re ready to bake, simply add a couple of extra minutes to the baking time.
3. Serving Suggestions:
– Chocolate chip cookies pair wonderfully with a glass of milk or a cup of coffee. For an indulgent treat, serve them warm with a scoop of vanilla ice cream for a delicious ice cream sandwich.
Conclusion: Cherishing the Simple Joy of Homemade Chocolate Chip Cookies
Classic chocolate chip cookies are more than just a dessert; they are a representation of home and comfort. Through this article, we have explored their rich history, the essential ingredients that make them special, and provided a comprehensive guide to baking your own batch. By following these steps, you can create cookies that not only satisfy your sweet tooth but also evoke cherished memories. So, gather your ingredients and enjoy the process of baking these timeless treats, sharing them with family and friends, and creating new memories in the kitchen.