
Introduction
Few desserts evoke the warmth of home and the essence of American culture quite like a classic apple pie. This iconic dish has become synonymous with comfort and family gatherings, cherished for its harmonious blend of sweet and tart flavors enveloped in a flaky, buttery crust. The significance of apple pie extends beyond mere taste; it represents tradition, celebration, and the simple joy of sharing with loved ones.
Baking from scratch, particularly when it comes to desserts, offers a unique satisfaction that cannot be replicated by store-bought options. The act of measuring, mixing, and kneading allows for a personal touch that elevates any dish. When you make a pie at home, you’re not just creating a dessert; you’re crafting memories.
To achieve the best flavor and texture in your apple pie, it is crucial to use high-quality ingredients. Fresh, ripe apples and premium butter can make all the difference in your final product, enhancing the taste and ensuring a delightful experience for everyone at the table. In this article, we will delve into the history of apple pie, explore the best ingredients for a classic double crust apple pie, and guide you through the essential steps of crafting the perfect pie crust.
Understanding the Basics of Apple Pie
A Slice of History
The history of apple pie is as rich as its flavor, with origins that trace back to ancient civilizations. The earliest recorded apple pie recipe dates back to the 14th century in England, where apples were combined with spices and sweeteners in a pastry shell. The dish evolved over the centuries, with each culture adding its unique twist. However, it was in America that apple pie truly became a symbol of national identity, often associated with the phrase “as American as apple pie.”
The apple pie we know today showcases the fruit’s versatility, allowing for a myriad of flavor combinations and textures. Its evolution reflects the agricultural bounty of the regions where it is made, and the specific varieties of apples play a crucial role in defining the pie’s character.
Choosing the Right Apples
When it comes to making the perfect apple pie, selecting the right type of apple is critical. Not all apples are created equal; some varieties hold up better during baking, while others provide just the right amount of sweetness or tartness.
Granny Smith apples are a popular choice among bakers due to their tart flavor, which contrasts beautifully with the sweetness of sugars added to the filling. Their firm texture also ensures they hold their shape while baking. Honeycrisp apples are another excellent option, celebrated for their crispness and balanced sweetness. Mixing these two varieties can create a complex flavor profile that elevates your pie to the next level.
Beyond these, other apples like Braeburn, Jonagold, and Northern Spy also work well. The key is to find a balance between sweet and tart apples to create a filling that is flavorful and well-rounded.
Texture and Flavor Balance
The filling of an apple pie should be a harmonious blend of flavors and textures. While the sweetness from the sugars is essential, it is equally important to maintain a balance with the tartness of the apples. A well-crafted filling will have a slight tang that cuts through the sweetness, preventing it from becoming cloying.
Texture is also paramount. The apples should be tender yet retain some bite, providing a pleasant contrast to the flaky crust. Achieving this balance often involves letting the apples macerate with sugar and spices before baking. This process draws out moisture, helping to concentrate the flavors while ensuring the final filling doesn’t become overly watery.
Ingredients Breakdown
Creating a classic double crust apple pie requires careful consideration of each ingredient. Here’s a detailed breakdown of what you’ll need and why each component is essential.
Flour: The Foundation of Your Crust
The type of flour you choose can significantly affect the texture of your pie crust. For optimal results, use all-purpose flour. It strikes the perfect balance between structure and tenderness. If you prefer a lighter crust, consider using a blend of all-purpose and pastry flour, which has a lower protein content and contributes to a flakier texture.
Butter: The Secret to Flakiness
When it comes to pie crust, the fat you use is crucial. Cold butter is preferred for its ability to create layers of flakiness. As the butter melts during baking, it produces steam, which lifts the layers of dough. For the best results, cut your butter into small pieces and chill it before incorporating it into the flour. This helps maintain its temperature and ensures the crust remains tender.
Apples: The Star of the Show
As discussed earlier, the choice of apples will greatly influence the flavor and texture of your pie. A combination of Granny Smith and Honeycrisp apples provides a delightful contrast, but feel free to experiment with other varieties. The key is to select apples that are firm, crisp, and flavorful.
Sugars: Enhancing Flavor
The combination of granulated sugar and brown sugar creates a depth of flavor in the filling. Granulated sugar provides sweetness, while brown sugar adds a hint of caramel and moisture. Adjust the balance of sugars based on your taste preferences and the tartness of your apples.
Spices: Adding Warmth
The warmth of cinnamon and nutmeg is essential in any apple pie filling. These spices not only enhance the flavor of the apples but also contribute to the overall aroma of the pie as it bakes. A pinch of each can make a significant difference, so feel free to adjust according to your palate.
Lemon Juice: A Balance of Sweetness
Incorporating a splash of lemon juice into your apple filling is crucial. It helps to balance the sweetness and adds brightness to the overall flavor. Additionally, lemon juice can prevent the apples from browning too quickly, preserving their fresh look.
Egg Wash: A Golden Finish
An egg wash applied to the crust before baking gives your pie a beautiful golden color and a shiny finish. This simple mixture of beaten egg and a splash of water or milk can elevate the appearance of your pie, making it more inviting and appetizing.
Crafting the Perfect Pie Crust
The crust is a vital component of any double-crust apple pie. A well-made crust can elevate your pie from good to extraordinary. Here’s a step-by-step guide to help you craft the perfect pie crust.
Step 1: Mixing the Dry Ingredients
Start by combining your all-purpose flour with a pinch of salt in a large mixing bowl. The salt enhances the flavor of the crust, so don’t skip this step. Use a whisk or fork to ensure the ingredients are evenly distributed.
Step 2: Incorporating Butter
Next, add your cold, cubed butter to the flour mixture. Using a pastry cutter, fork, or your fingers, work the butter into the flour until it resembles coarse crumbs. Be careful not to overwork the dough; you want chunks of butter to remain intact to ensure a flaky texture.
Step 3: Adding Ice Water
Gradually add ice water to the mixture, one tablespoon at a time, mixing gently with a fork after each addition. You’ll know the dough is ready when it holds together when pressed but isn’t sticky. This step is crucial, as adding too much water can lead to a tough crust.
Step 4: Forming the Dough
Once the dough comes together, divide it into two equal portions. Shape each portion into a disk, wrap it in plastic wrap, and refrigerate for at least one hour. Chilling the dough allows the gluten to relax, resulting in a tender and flaky crust.
Step 5: Rolling Out the Dough
After chilling, lightly flour your work surface and rolling pin. Unwrap one disk of dough and roll it out into a circle about 12 inches in diameter. Aim for even thickness to ensure uniform baking. Transfer the rolled-out dough to your pie dish, gently pressing it into the bottom and sides.
Step 6: Filling and Topping
Once your pie crust is ready, it’s time to fill it with your prepared apple filling. After adding the filling, roll out the second disk of dough and place it over the top. Create slits in the top crust to allow steam to escape, and brush with your egg wash for that perfect golden finish.
With these foundational steps, you’re well on your way to creating a delicious classic double crust apple pie that will impress your friends and family. Let’s continue with the remaining steps to ensure your pie turns out perfectly baked and irresistibly delicious.
Tips for Storing and Chilling the Dough for Best Results
To achieve the perfect flaky crust for your Classic Double Crust Apple Pie, proper handling of the dough is essential. After preparing your pie dough, make sure to chill it for at least 1 hour in the refrigerator. This resting period allows the gluten in the flour to relax, making the dough easier to roll out and preventing shrinkage during baking.
If you’re preparing the dough in advance, you can store it in the refrigerator for up to 2 days. Alternatively, you can freeze the dough. To do this, wrap it tightly in plastic wrap and place it in an airtight container or freezer bag. The dough can be stored in the freezer for up to 3 months. When you’re ready to use it, simply thaw it in the refrigerator overnight before rolling it out.
Preparing the Apple Filling
Selecting and Preparing Apples
Choosing the right apples is critical for the flavor and texture of your apple pie. A combination of sweet and tart varieties often yields the best results. Good options include Granny Smith for tartness and Honeycrisp or Fuji for sweetness. Aim for about 6-8 medium apples, which will yield around 6-7 cups of sliced apples.
To prepare your apples, start by peeling them with a vegetable peeler. Once peeled, use an apple corer or a sharp knife to remove the core. Next, slice the apples into even pieces—about 1/4 to 1/2 inch thick. Consistency in size is key, as this ensures even cooking and prevents some slices from becoming mushy while others remain crunchy.
Mixing the Filling
For the apple filling, you’ll need sugar, flour, cinnamon, nutmeg, and a pinch of salt. The sugar not only sweetens the apples but also helps create a syrupy filling as the pie bakes. The flour acts as a thickening agent, preventing the filling from becoming too runny.
In a large mixing bowl, combine 3/4 cup sugar, 2 tablespoons flour, 1 teaspoon ground cinnamon, 1/4 teaspoon ground nutmeg, and a pinch of salt. Toss in the prepared apple slices, making sure they are well-coated in the mixture. This allows the sugar and spices to evenly distribute throughout the filling.
Allowing the Filling to Rest
After mixing the filling, let it sit for about 15-30 minutes. This resting period allows the apples to release some of their juices, which combines with the sugar and flour to create a flavorful syrup. This step is crucial for achieving the right consistency in your filling. If you don’t allow the mixture to rest, the filling may be too liquidy, leading to a soggy crust.
Assembling Your Apple Pie
Preparing the Pie Dish
Before you begin assembling your pie, prepare your pie dish. Use a 9-inch pie plate, preferably glass or metal for even baking. Lightly grease the bottom and sides of the dish with butter or cooking spray, then dust it with a little flour. This will help prevent the crust from sticking and make for easy slicing when the pie is baked.
Rolling Out the Dough
Once your dough has chilled, divide it in half, reserving one half for the top crust. On a lightly floured surface, roll out the first half of the dough into a circle, approximately 12 inches in diameter. Aim for an even thickness of about 1/8 inch. If you encounter cracks along the edges, don’t worry; simply press the dough back together. If the dough becomes too soft and sticky, return it to the refrigerator for a few minutes to firm up.
Layering the Filling
Carefully transfer the rolled-out dough to your prepared pie dish. Gently press the dough into the dish, ensuring there are no air pockets. Pour the apple filling into the crust, spreading it evenly. For an added touch, sprinkle a little extra cinnamon or a dash of lemon juice over the apples for brightness.
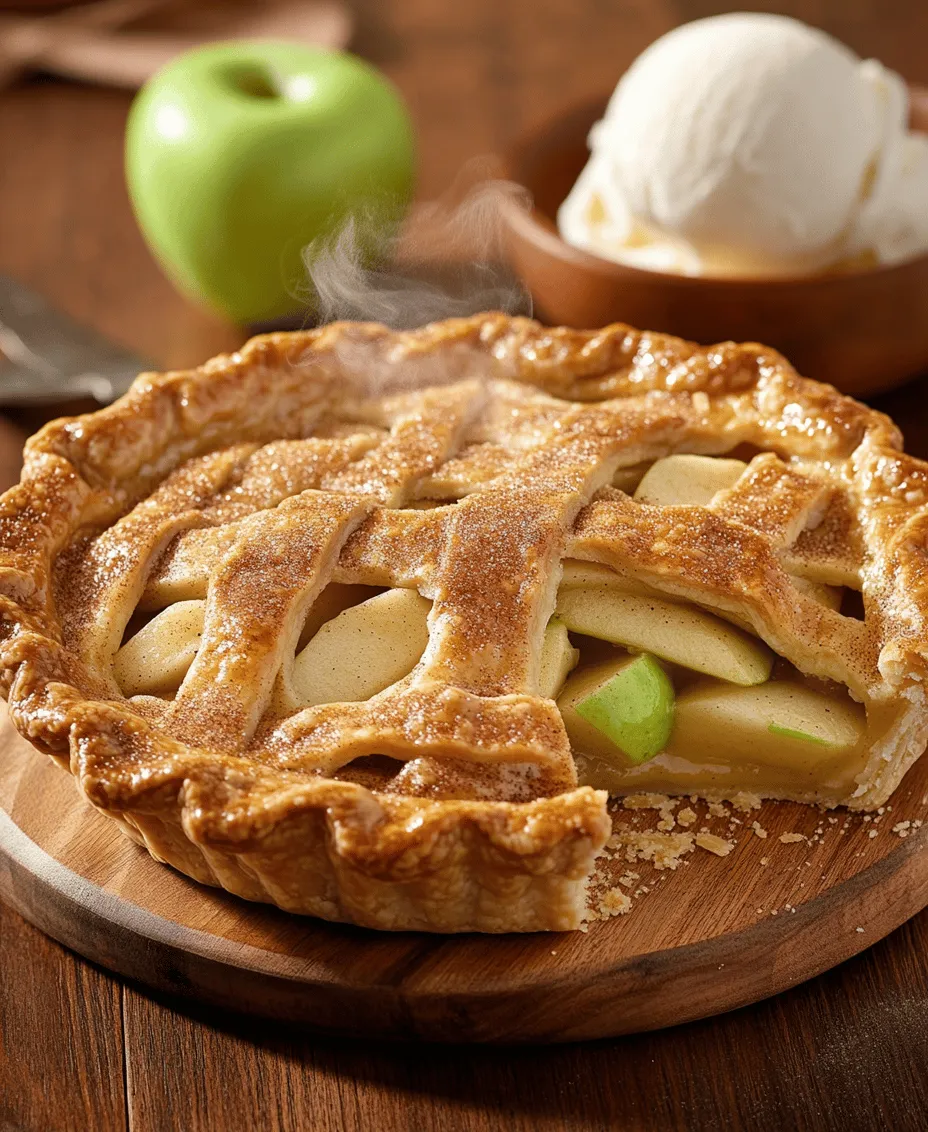
Creating a Top Crust
Now it’s time to prepare the top crust. You can either roll out the second half of the dough and lay it over the filling whole, or create a lattice design. For a lattice crust, cut the rolled dough into strips about 1 inch wide. Arrange half of the strips parallel to each other across the top of the filling, then weave the remaining strips over and under to create a crisscross pattern.
If you prefer a solid top crust, make a few slits in the dough to allow steam to escape. This will help prevent the pie from bubbling over. Whichever method you choose, remember to trim any excess dough hanging over the edges.
Sealing the Pie
To ensure a good seal, crimp the edges of the pie crust together. Use your fingers to pinch the edges or a fork to press down along the rim, which also adds a decorative touch. This sealing technique prevents the filling from leaking out during baking.
Baking the Pie to Perfection
Preheating the Oven
Preheat your oven to 425°F (220°C). This initial high temperature helps create a golden crust while allowing the filling to cook thoroughly. While the oven is heating, prepare your pie for baking.
Baking Stages
Place the pie in the preheated oven and bake for 15-20 minutes at this higher temperature. This will help the crust to set. After this time, reduce the temperature to 350°F (175°C) and continue baking for an additional 30-45 minutes. This two-stage baking process ensures that the crust is perfectly golden and the filling is bubbling and well-cooked.
Monitoring the Pie
Keep an eye on your pie as it bakes. If the edges start to brown too quickly, cover them with strips of aluminum foil to prevent burning. This will allow the center to bake thoroughly without overcooking the edges.
Signs of Doneness
The pie is done when the crust is golden brown and the filling is bubbling through the slits or lattice. A good test for the filling is to insert a knife into the apples; they should be tender but not mushy. If unsure, let the pie bake a little longer, checking every 5 minutes until you achieve the desired doneness.
Cooling and Serving Your Apple Pie
Importance of Cooling
Once your pie has finished baking, remove it from the oven and allow it to cool on a wire rack for at least 2 hours before slicing. This cooling period is essential; it allows the filling to set, making it easier to slice and serve. Cutting into the pie too soon can result in a messy, runny filling.
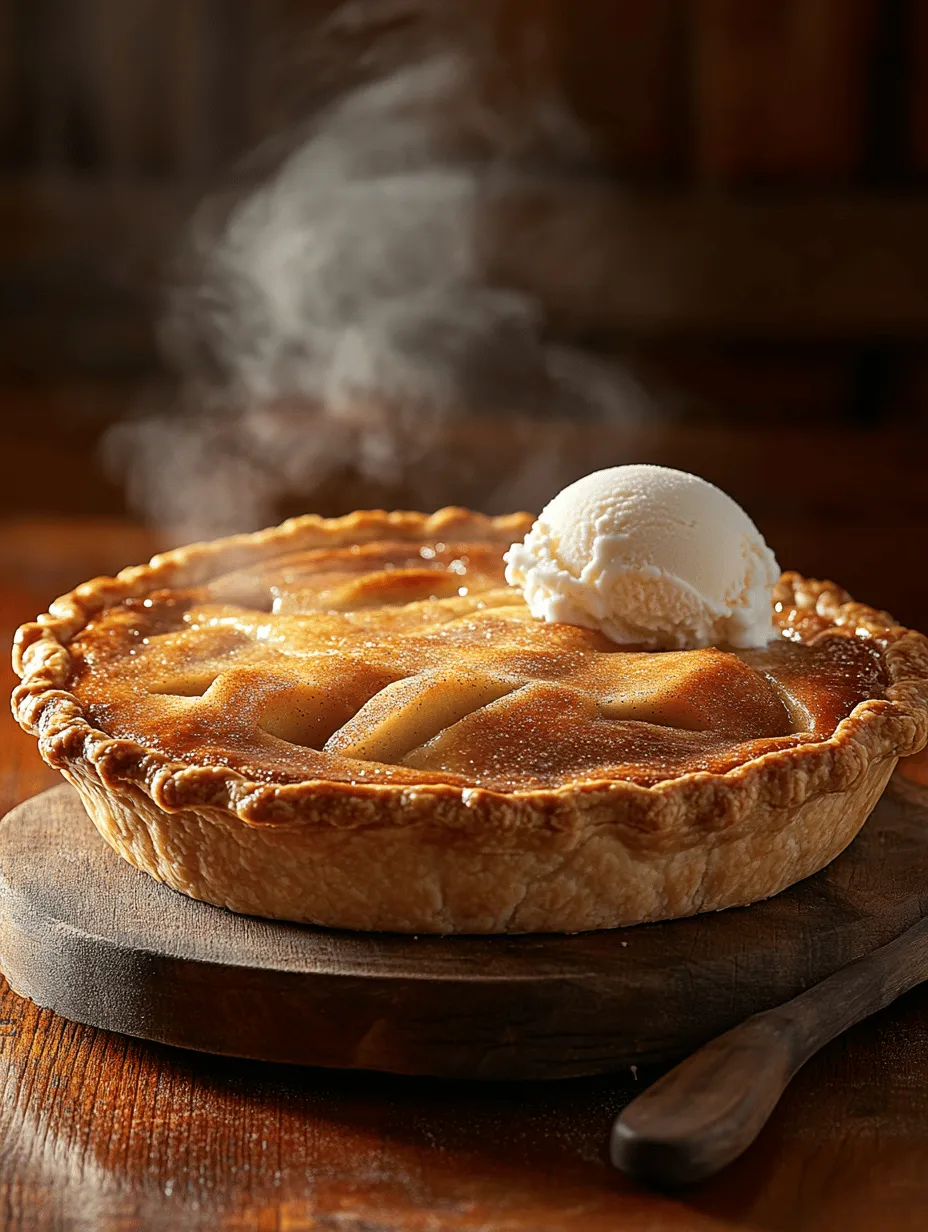
Serving Suggestions
Classic apple pie is often best enjoyed warm, but it can also be served at room temperature. A scoop of vanilla ice cream or a dollop of whipped cream pairs perfectly with the warm pie, adding a creamy contrast to the sweet and spiced flavors of the apples. For a twist, consider drizzling some caramel sauce over the top or adding a sprinkle of sea salt for balance.
Storing Leftovers
If you have any leftovers, store them in an airtight container at room temperature for up to 2 days. If you want to keep it longer, you can refrigerate the pie for up to a week. To reheat, simply place slices in a preheated oven at 350°F (175°C) for about 10-15 minutes until warmed through.
Conclusion
Making a Classic Double Crust Apple Pie from scratch is not just about following a recipe; it’s about creating a memorable dessert filled with warmth and flavor. The joy of rolling out dough, combining fresh apples with spices, and watching the pie bubble in the oven is a rewarding experience that brings comfort to any occasion.
Feel free to experiment with variations like adding cranberries for a tart twist or incorporating nuts for added texture. Each pie tells a story, and with every bite, you can savor the timeless nature of apple pie as a comforting dessert. So gather your ingredients, roll up your sleeves, and enjoy the art of pie-making—there’s nothing quite like a homemade apple pie to bring family and friends together.