Introduction
As the temperatures rise and summer approaches, many of us find ourselves reminiscing about the sweet, tangy flavors of childhood. One treat that perfectly encapsulates those sunny days is the classic orange creamsicle. The combination of vibrant orange and creamy vanilla evokes fond memories of ice cream trucks, beach trips, and lazy afternoons spent soaking up the sun. This delightful dessert is not only nostalgic but also incredibly versatile, making it a favorite among both children and adults alike.
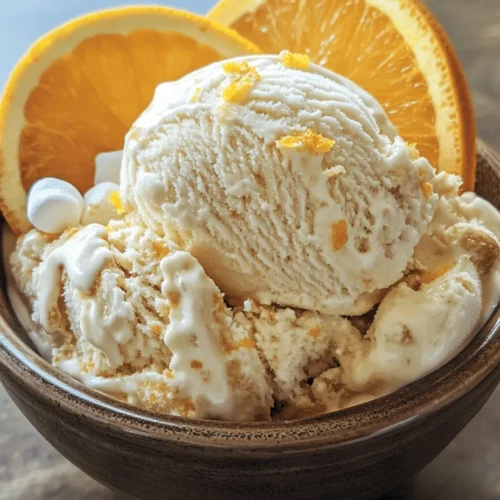
But why settle for store-bought options when you can create your own version of this summer staple at home? Homemade ice cream offers a unique joy, a satisfaction that comes from crafting something delicious from scratch. The process allows you to control the ingredients, ensuring that you get the freshest flavors while also experimenting to suit your taste preferences. Today, we will dive into an easy and enjoyable recipe for Creamy Orange Dreamsicle Ice Cream, a refreshing treat that captures the essence of summer in every scoop.
Understanding the Ingredients
Before we dive into the steps of making our Creamy Orange Dreamsicle Ice Cream, it’s essential to understand the role of each ingredient in creating a luscious and flavorful experience. Here’s a breakdown of the key components:
Heavy Cream
Heavy cream is the backbone of this ice cream recipe, providing a rich and creamy texture that is essential for a luxurious mouthfeel. The high-fat content not only contributes to the creaminess but also helps prevent the formation of ice crystals, ensuring a smooth, velvety finish.
Whole Milk
Whole milk complements the heavy cream by adding a touch of lightness to the ice cream base. This combination is crucial for achieving that perfect balance between richness and smoothness, making each bite incredibly satisfying.
Freshly Squeezed Orange Juice
To capture the vibrant, zesty flavor of the classic orange creamsicle, freshly squeezed orange juice is a must. Store-bought juice often lacks the brightness and depth of flavor that comes from fresh oranges, so we recommend juicing your own for the best results. This ingredient is key in bringing that authentic citrus taste to your ice cream.
Orange Zest
Orange zest is the aromatic outer skin of the orange, packed with essential oils that enhance the ice cream’s overall flavor profile. A small amount adds a powerful burst of citrus aroma and a depth of flavor that complements the juice beautifully.
Granulated Sugar
Sugar is essential for balancing the flavors in your ice cream, contributing to its sweetness and texture. It not only sweetens the mixture but also helps in achieving a creamy consistency and prevents the ice cream from becoming too hard once frozen.
Vanilla Extract
A splash of vanilla extract adds complexity to the flavor of the ice cream, rounding out the citrus notes with a warm, comforting undertone. Vanilla is a classic pairing with orange, and its inclusion elevates the overall taste.
Cornstarch (Optional)
Cornstarch can be used as a thickening agent in this recipe, providing extra creaminess to the ice cream. While it’s not necessary, it can help create a smoother texture by reducing the formation of ice crystals during the freezing process.
Mini Marshmallows (Optional)
For an added touch of fun and texture, you might consider folding in mini marshmallows just before freezing the ice cream. They provide a playful element and can mimic the textures found in traditional creamsicles.
Preparing the Base
Now that we’ve covered the essential ingredients, it’s time to get started on creating the ice cream base. Follow these step-by-step instructions to ensure a successful and delicious Creamy Orange Dreamsicle Ice Cream.
Step 1: Combine the Cream, Milk, and Orange Juice
Begin by measuring out your heavy cream and whole milk. In a medium saucepan, combine 2 cups of heavy cream with 1 cup of whole milk. Next, add 1 cup of freshly squeezed orange juice. This mixture will serve as the foundation for your ice cream and should be whisked together until fully combined.
Step 2: Add the Orange Zest
Grate the zest of one large orange, making sure to avoid the bitter white pith beneath the skin. Add the zest to the cream and milk mixture, stirring well to incorporate it evenly. The zest will infuse the base with a bright, citrusy aroma that will enhance the final product.
Step 3: Incorporate Cornstarch (If Using)
If you choose to use cornstarch for added creaminess, you will need to make a slurry. Take 2 tablespoons of cornstarch and mix it with a small amount of the cream mixture (about ¼ cup) in a separate bowl. Stir until the cornstarch is fully dissolved, and then add this slurry back into the saucepan with the remaining cream and milk. This step is crucial for ensuring that the cornstarch blends smoothly without clumping.
Step 4: Heat the Mixture
Place the saucepan over medium heat and begin to warm the mixture. It’s important to stir continuously with a whisk or spatula to prevent the ingredients from sticking to the bottom of the pan. Keep a close eye on the mixture and avoid bringing it to a boil, as boiling can cause the cream to separate and negatively affect the texture of your ice cream.
Step 5: Add the Sugar
Once the mixture is warm (but not boiling), add ¾ cup of granulated sugar to the saucepan. Continue to whisk until the sugar is completely dissolved. This step not only sweetens the ice cream but also enhances the overall flavor, allowing the citrus notes to shine through.
Step 6: Monitor the Temperature
To achieve the perfect consistency, you’ll want to heat the mixture until it reaches about 170°F (77°C). You can use a cooking thermometer to ensure accuracy. At this temperature, the mixture will thicken slightly, providing a richer texture for your ice cream.
Step 7: Allow to Cool
Once you’ve reached the desired temperature, remove the saucepan from the heat. Allow the mixture to cool at room temperature for about 30 minutes before transferring it to the refrigerator. Chilling the base thoroughly is vital for a smooth texture when you churn it in an ice cream maker.
With these initial steps completed, you are well on your way to creating a delightful batch of Creamy Orange Dreamsicle Ice Cream that will bring back all those nostalgic summer memories. In the next part of this recipe, we will cover the final steps of churning and freezing the ice cream, ensuring that every scoop is a delightful blend of creamy vanilla and zesty orange. Stay tuned for more delicious details!
The Final Addition of Vanilla Extract and Salt
To elevate the flavor of your Creamy Orange Dreamsicle Ice Cream, it’s time to add the final touches: vanilla extract and a pinch of salt. The vanilla extract enhances the sweetness and complexity of the orange, creating a harmonious balance that brings out the best in both flavors. Salt, on the other hand, is a flavor enhancer that rounds out the sweetness and elevates the overall taste profile of the ice cream.
Instructions:
1. Once the orange mixture has been blended until smooth, remove it from the blender and pour it into a large mixing bowl.
2. Add 1 teaspoon of pure vanilla extract and a small pinch of salt (about 1/4 teaspoon) to the mixture.
3. Stir gently until both ingredients are well incorporated. This step not only adds depth to the flavor but also ensures no clumps remain.
Cooling the Mixture
Cooling the mixture is a crucial step in achieving the perfect texture for your ice cream. When the mixture is at room temperature, it can form ice crystals as it freezes, leading to a grainy texture. By cooling the mixture, you ensure a smoother, creamier consistency.
Instructions:
1. Cover the mixing bowl with plastic wrap or a lid.
2. Refrigerate the mixture for at least 4 hours or overnight. For optimal results, allowing the mixture to chill overnight is recommended, as this will enhance the flavor and allow the mixture to thicken slightly.
Churning the Ice Cream
Once your mixture has cooled and thickened, it’s time to churn it. Churning incorporates air into the mixture, which contributes to the light and fluffy texture of ice cream. It also prevents the formation of large ice crystals, ensuring a creamy consistency.
Using an Ice Cream Maker:
1. Before starting, ensure your ice cream maker’s bowl is fully frozen (if using a bowl-style machine), usually overnight.
2. Pour the chilled orange mixture into the ice cream maker according to the manufacturer’s instructions.
3. Turn on the machine and churn for approximately 20-25 minutes, or until the ice cream reaches a soft-serve consistency.
Optional Addition of Mini Marshmallows:
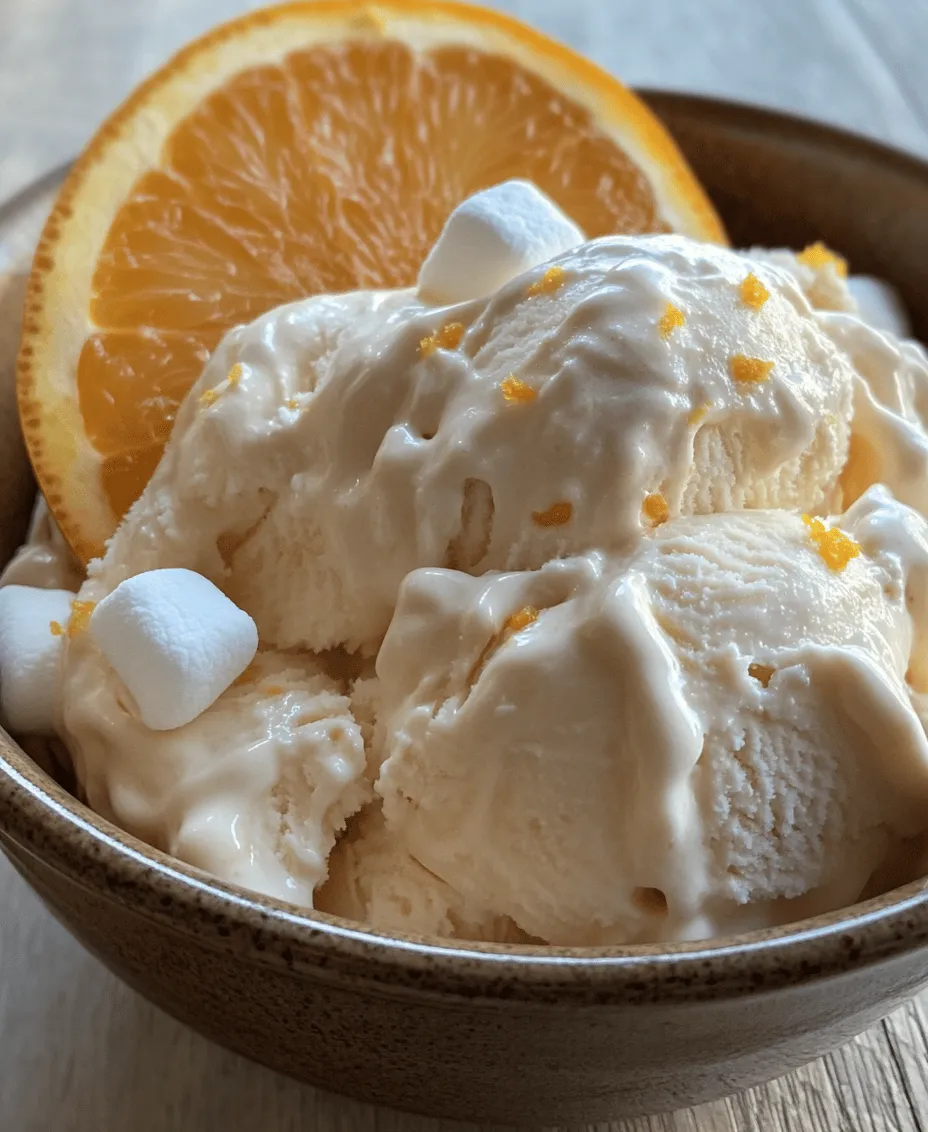
For an extra fun texture and a nostalgic nod to the classic dreamsicle, consider adding mini marshmallows during the last few minutes of churning. Simply sprinkle in about 1/2 cup of mini marshmallows when the ice cream is nearly done churning, and let the machine mix them in evenly.
Freezing and Serving the Ice Cream
Once churning is complete, it’s time to transfer your creamy creation into an airtight container. This step is essential for the final freezing process, which will solidify the ice cream into its final texture.
Instructions:
1. Using a spatula, scoop the churned ice cream into a pre-chilled airtight container, smoothing the top as you go.
2. Seal the container tightly and place it in the freezer. Allow the ice cream to freeze for at least 4 hours, or until it reaches your desired firmness.
Serving Suggestions:
1. When ready to serve, remove the ice cream from the freezer and let it sit at room temperature for about 5-10 minutes to soften slightly.
2. Use an ice cream scoop to serve into bowls or cones. For a delightful presentation, garnish with additional orange zest or fresh orange slices. You can also drizzle with a bit of chocolate sauce for a contrasting flavor.
The Science Behind Ice Cream Making
Understanding the science behind ice cream making can enhance your skills in the kitchen. Ice cream is essentially a frozen emulsion of fat, sugar, and water. The balance of these ingredients, along with air incorporation during churning, contributes to the texture and flavor of the final product.
– Temperature: The colder the mixture when it’s churned, the less time it will take to freeze, leading to a smoother texture. Ideally, the mixture should be below 40°F (4°C) before churning.
– Ingredients: The fat content in cream not only adds richness but also helps prevent ice crystal formation. A higher fat content leads to creamier ice cream.
– Churning Process: Churning not only incorporates air, making the ice cream light, but it also helps break up ice crystals that form during freezing. This results in a smoother texture, making each scoop enjoyable.
Healthier Alternatives and Customizations
If you’re looking to make your Creamy Orange Dreamsicle Ice Cream a bit healthier, there are several alternatives you can consider:
– Less Sugar: Reduce the sugar content by using natural sweeteners like honey or maple syrup, or simply cut back on the amount called for in the recipe.
– Alternative Milks: Experiment with almond milk, coconut milk, or oat milk for a dairy-free version. These alternatives can also impart unique flavors.
– Flavor Variations: Get creative with your ice cream! Consider adding other fruits like strawberries or mango for a tropical twist. You can also incorporate extracts like almond or coconut for an exciting flavor profile.
Conclusion
Making your own Creamy Orange Dreamsicle Ice Cream is not just about enjoying a delicious treat; it’s about the joy of creating something special from scratch. This homemade ice cream is perfect for hot summer days, family gatherings, or simply as a delightful dessert to share with loved ones.
Encouraging experimentation with flavors and ingredients can lead to remarkable discoveries in the kitchen. Whether you stick to the classic orange flavor or venture into new combinations, this recipe serves as a base for your ice cream adventures. Remember, the process of making ice cream can be just as enjoyable as eating it—so gather your ingredients, roll up your sleeves, and dive into the delightful world of homemade ice cream. Your Creamy Orange Dreamsicle may just become a cherished summer staple for years to come!