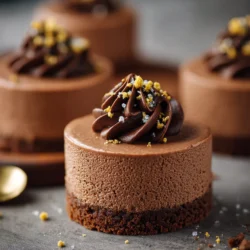
Decadent Mini Chocolate Mousse Cakes
Welcome to another delicious recipe on the blog! Today, we are diving into the world of indulgence with these heavenly Mini Chocolate Mousse Cakes. Perfect for satisfying your sweet cravings, these little treats are sure to impress your taste buds and your guests.
Why Youll Love This Recipe
These Mini Chocolate Mousse Cakes are the epitome of decadence in every bite. Imagine a velvety smooth chocolate mousse nestled on a rich chocolate cake base it’s a match made in dessert heaven! Whether you’re celebrating a special occasion or simply treating yourself, these mini cakes are guaranteed to bring joy to your day. Plus, they’re perfectly portioned for easy serving and enjoyment.
Key Ingredients and Why They Matter
– **Chocolate**: Using high-quality chocolate is crucial for achieving that rich, intense chocolate flavor. Opt for semi-sweet or dark chocolate for the best results.
– **Eggs**: Eggs play a vital role in creating the light and airy texture of the mousse. Make sure to use fresh, room temperature eggs for the best results.
– **Heavy Cream**: Whipped cream adds creaminess and lightness to the mousse. Choose heavy cream with a high fat content for a luxurious texture.
Step-by-Step Instructions
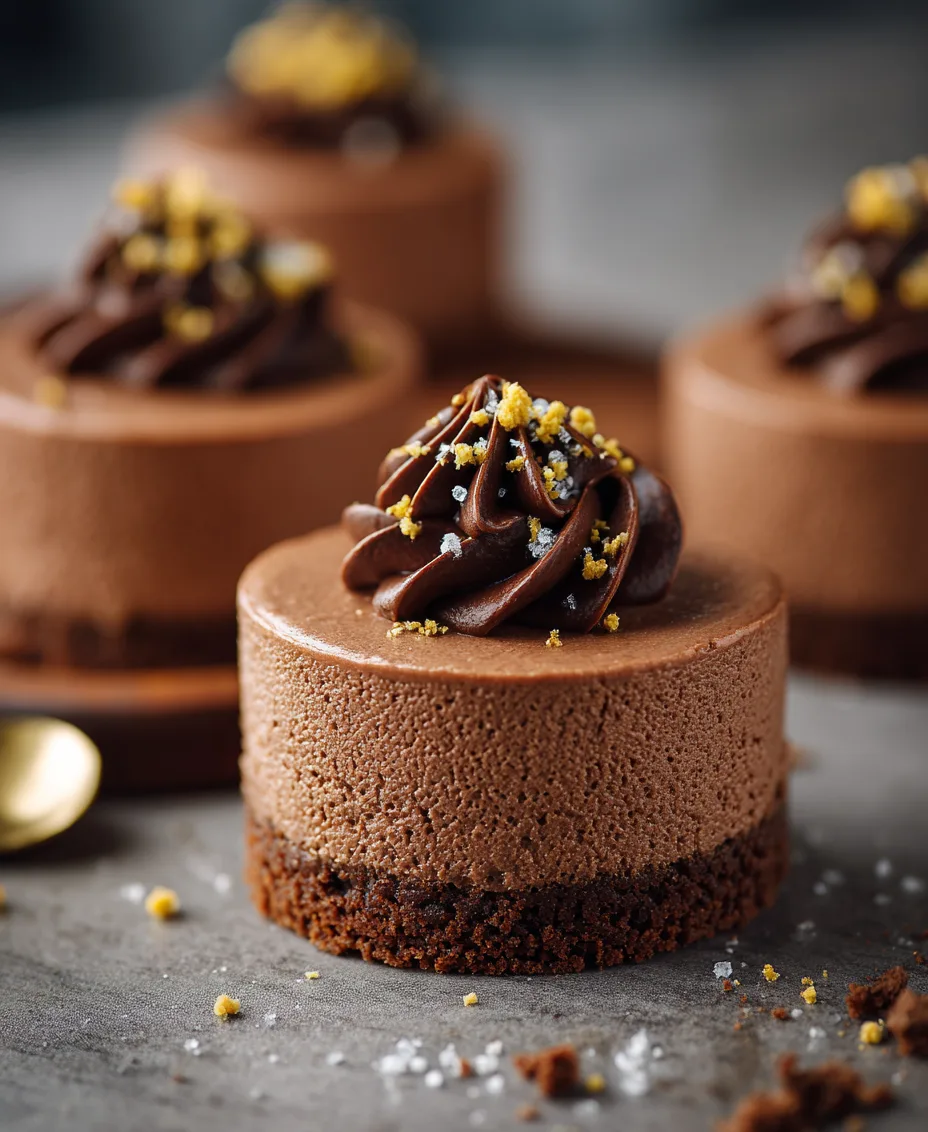
Step 1: Prepare the Chocolate Cake Base
{image_2}
Start by making a simple chocolate cake batter. Divide the batter into individual mini cake molds and bake until cooked through. Let the cakes cool completely before assembling the mousse.
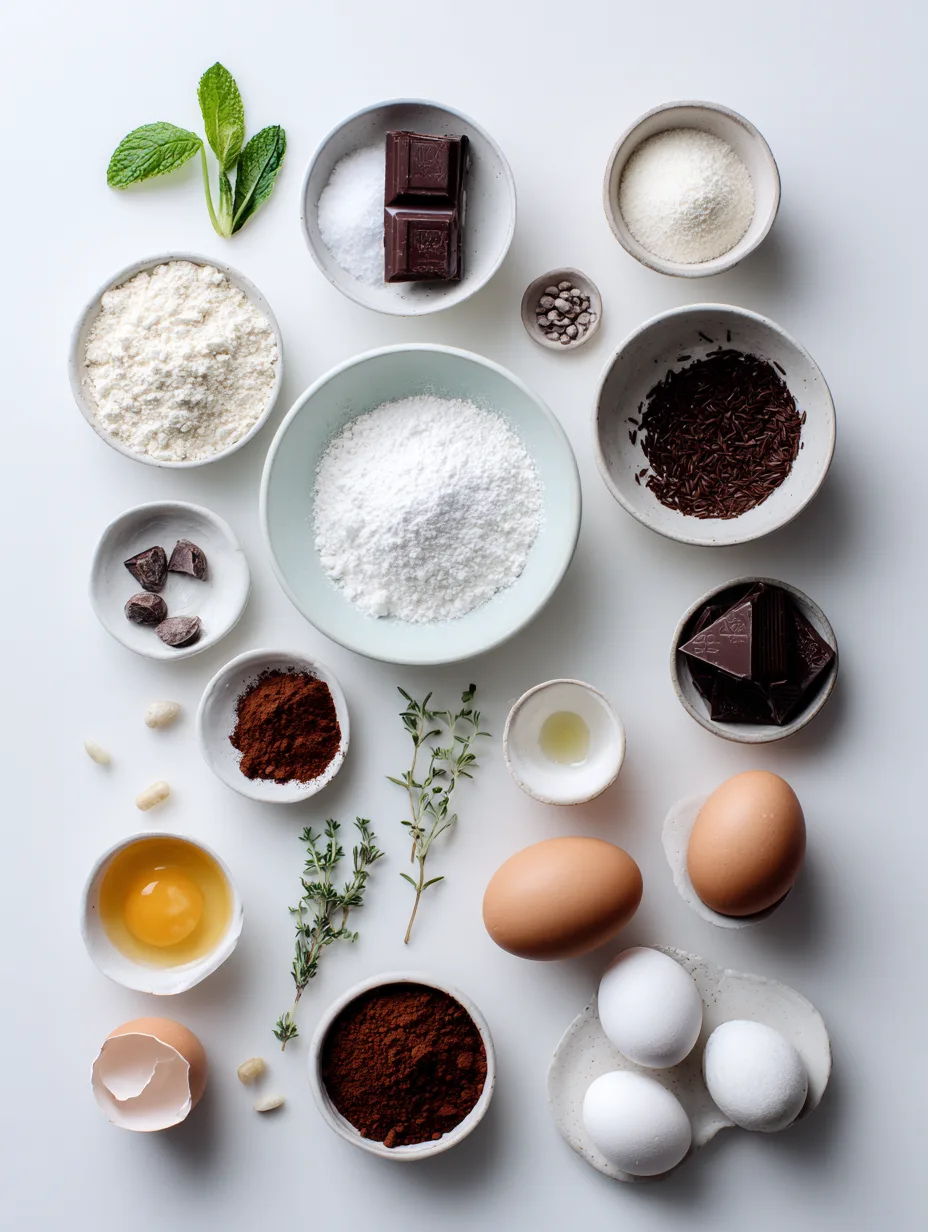
Step 2: Make the Chocolate Mousse
{image_3}
In a bowl, melt the chocolate and let it cool slightly. Whip the heavy cream until stiff peaks form. In another bowl, beat the egg yolks until pale and fluffy. Fold the whipped cream into the egg yolks, then gently fold in the melted chocolate until well combined.
Step 3: Assemble the Mini Cakes
Once the chocolate mousse is ready, spoon it onto the cooled chocolate cake bases. Chill the mini cakes in the refrigerator for a few hours to set.
Tips & Tricks
– To achieve a silky smooth mousse, make sure your chocolate is fully melted and slightly cooled before adding it to the whipped cream.
– For a fancy touch, garnish your mini cakes with chocolate shavings, fresh berries, or a dollop of whipped cream before serving.
Health and Nutrition Highlights
While these Mini Chocolate Mousse Cakes are definitely a treat, you can still enjoy them in moderation. Indulge in a small portion to satisfy your sweet tooth without overdoing it on calories. Remember, balance is key when it comes to enjoying desserts.
Storage & Make-Ahead Notes
These mini cakes are best enjoyed fresh, but you can store any leftovers in the refrigerator for up to two days. Keep them covered to maintain their freshness and texture. If you want to prepare ahead, you can make the chocolate mousse in advance and assemble the cakes just before serving.
Frequently Asked Questions
**Can I use milk chocolate instead of dark chocolate for the mousse?**
While dark chocolate offers a richer flavor, you can certainly use milk chocolate if you prefer a milder taste. Just adjust the sweetness level to suit your preference.
**Can I freeze these Mini Chocolate Mousse Cakes?**
While freezing may affect the texture of the mousse, you can freeze the assembled cakes for up to a month. Thaw them in the refrigerator before serving.
Conclusion
These Decadent Mini Chocolate Mousse Cakes are a delightful treat that combines the richness of chocolate with the lightness of mousse. Whether you’re hosting a dinner party or simply want to pamper yourself, these mini cakes are sure to impress. So go ahead, indulge in a little luxury and savor the magic of chocolate in every bite!