

About This Recipe
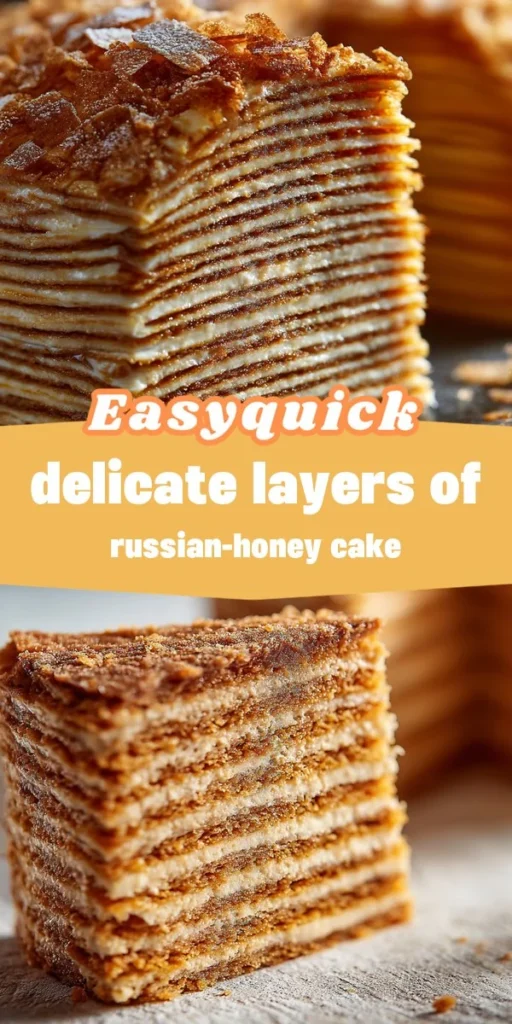
Discover the enchanting world of Russian desserts with the Medovik Cake, a traditional honey cake that has captured the hearts of many. This delightful confection consists of multiple layers of soft, honey-infused cake paired with a rich cream filling, creating a heavenly combination that’s perfect for any occasion. With its origins steeped in Russian culture, the Medovik Cake is not only a treat for the taste buds but also a significant part of festive celebrations and family gatherings.
The name “Medovik” comes from the Russian word “med,” which means honey, highlighting the key ingredient that gives this cake its distinctive flavor. While the cake may appear intimidating due to its layered structure, this beginner-friendly recipe simplifies the process, allowing you to impress family and friends with a stunning dessert that speaks volumes about your baking skills.
Why You’ll Love This
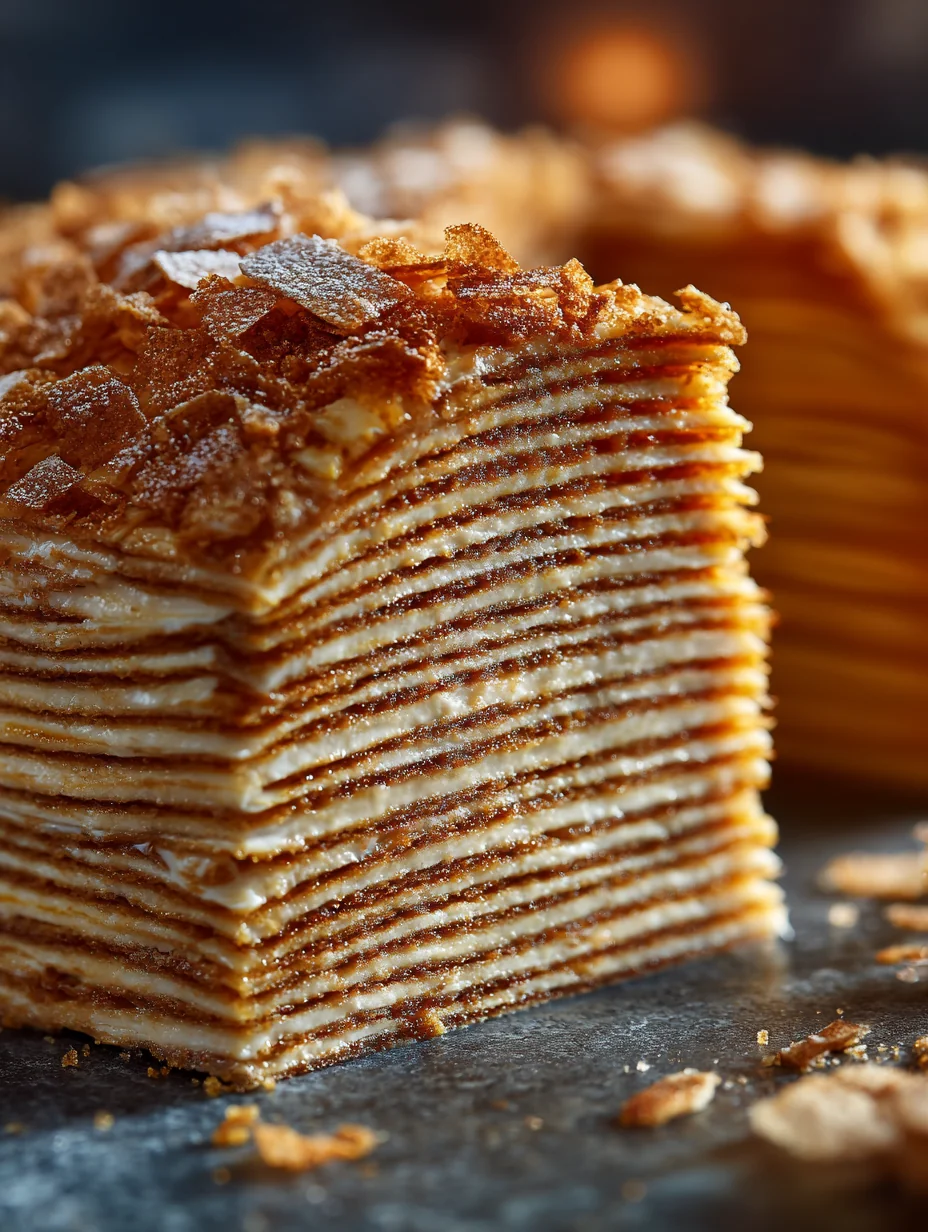
The Medovik Cake is a true labor of love, but it rewards you with a stunning dessert that boasts a unique texture and flavor profile. The sweetness of honey pairs beautifully with the creamy mascarpone filling, offering a perfect balance that will leave your guests wanting more. The layers of cake are soft and slightly chewy, while the filling is light and velvety, creating a delightful contrast in every bite.
Moreover, despite its impressive appearance, the recipe is straightforward, making it an ideal choice for beginner bakers. You’ll love how you can create a cake that not only looks magnificent but also tastes divine. Whether you’re celebrating a special occasion or just looking to indulge in something sweet, the Medovik Cake is sure to become a favorite in your dessert repertoire.
Ingredient Breakdown
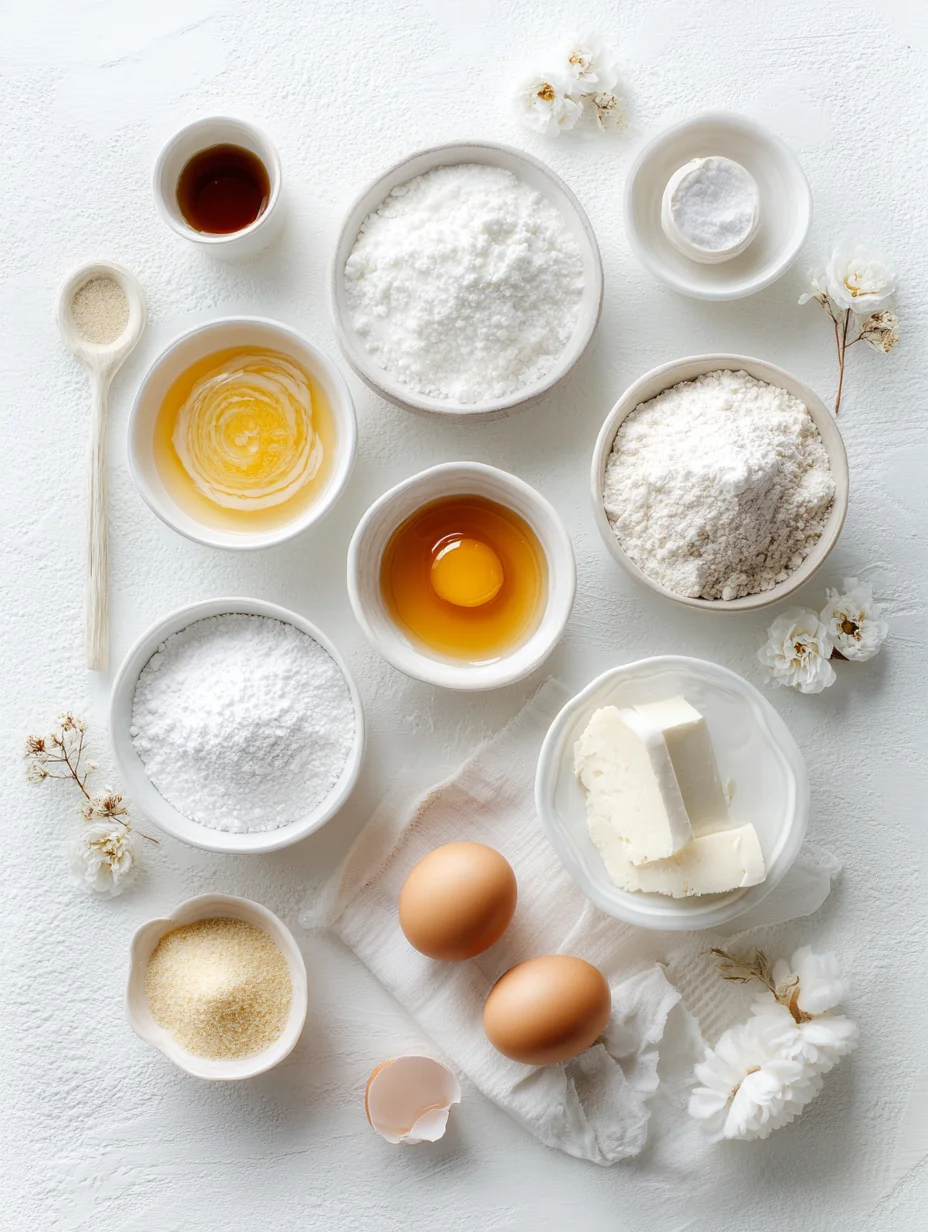
Understanding the ingredients is key to mastering the Medovik Cake. Here’s a closer look at what you’ll need and why each component is essential:
For the Cake Layers:
- Honey: This natural sweetener is the star of the cake, contributing both sweetness and moisture. It also imparts a unique flavor that enhances the overall taste of the dessert.
- Granulated Sugar: While honey is the main sweetener, granulated sugar boosts the sweetness and helps with browning during baking, giving the cake a lovely color.
- Unsalted Butter: Butter adds richness and tenderness to the cake. Using unsalted butter allows you to control the saltiness of the final product.
- Eggs: Eggs play a crucial role in providing structure and stability to the cake layers. They also help bind the ingredients together.
- All-Purpose Flour: This is the backbone of the cake, providing structure. It helps hold the layers together while keeping them light and airy.
- Baking Soda: A leavening agent that reacts with the acidic components in the batter (like honey) to help the cake rise, resulting in a fluffy texture.
- Salt: A pinch of salt enhances the overall flavors of the cake, balancing the sweetness and bringing out the richness of the other ingredients.
For the Cream Filling:
- Heavy Whipping Cream: This ingredient adds lightness and volume to the filling. When whipped, it creates a fluffy texture that complements the denser cake layers.
- Mascarpone Cheese: Known for its rich and creamy texture, mascarpone cheese elevates the filling, making it luscious and decadent.
- Powdered Sugar: This finely ground sugar sweetens the cream filling without adding any graininess, ensuring a smooth consistency.
- Vanilla Extract: A few drops of vanilla extract enhance the flavor profile with a warm, aromatic note, making the filling even more delightful.
For the Garnish:
- Crushed Walnuts or Almonds: These nuts add a crunchy texture and nutty flavor that complements the sweetness of the cake and filling beautifully.
- Honey for Drizzling: A drizzle of honey on top of the cake not only adds an extra touch of sweetness but also enhances the visual appeal, making the cake look inviting and delicious.
Step-by-Step Preparation
Follow these detailed steps to create your Medovik Cake effortlessly, ensuring that you achieve the best results:
1. Prepare Your Workstation: Start by gathering all your ingredients and tools. You will need mixing bowls, measuring cups and spoons, a whisk, a spatula, and a baking sheet lined with parchment paper for the cake layers.
2. Make the Cake Layers:
- In a medium saucepan, combine 1 cup of honey, 1 cup of granulated sugar, 1 cup of unsalted butter (cubed), and 1 teaspoon of baking soda. Heat over medium-low heat, stirring continuously until the mixture is well combined and the sugar has dissolved.
- Once the mixture is smooth, remove it from heat and allow it to cool slightly. This step is crucial as it allows the batter to cool down before adding the eggs.
3. Incorporate the Eggs:
- After the honey mixture has cooled for about 10 minutes, add 3 large eggs one at a time, whisking well after each addition. Make sure the mixture is cool enough to avoid cooking the eggs.
4. Mix in the Dry Ingredients:
- Gradually add 3 cups of all-purpose flour and a pinch of salt to the honey-egg mixture. Use a spatula to fold in the flour until just combined. Be careful not to overmix, as this could lead to dense layers.
5. Divide and Bake:
- Preheat your oven to 350 degreesF (175 degreesC). Once preheated, divide the dough into 6 equal portions. Roll each portion into a thin circle (about 1/8 inch thick) on a lightly floured surface. Place each rolled layer onto the prepared baking sheet.
- Bake each layer for about 5-7 minutes or until they are golden brown. Keep a close eye on them, as they can burn quickly.
6. Cool the Layers:
- Once baked, remove the layers from the oven and let them cool on a wire rack. This cooling process is essential for maintaining the cake’s structure and preventing sogginess.
As you follow these steps, you’ll be well on your way to creating a mouthwatering Medovik Cake. Stay tuned for the next part, where we’ll explore the cream filling and the finishing touches that will make your cake truly shine.
the overall presentation and taste. Here are some key tips to ensure your cake is both visually appealing and delicious:
1. Layering: When spreading the cream filling between layers, use an offset spatula or the back of a spoon for an even distribution. This will help avoid any bulging layers and keep the cake balanced.
2. Top Layer: For the final layer, you can create a decorative swirl with the cream filling or simply smooth it out for a clean look. If you have any leftover cream, save it for touch-ups or decorative piping.
3. Chilling: Allowing the cake to chill overnight is crucial. This resting period not only enhances the flavors but also allows the layers to meld together, making the cake easier to slice.
4. Serving: When ready to serve, use a sharp knife dipped in hot water to slice through the layers smoothly. This technique prevents the cream from sticking to the knife and ensures clean cuts.
—
Component Preparation
Understanding how to prepare each component ensures your Medovik cake turns out perfectly. Here are some detailed tips for the dough and cream filling:
- Dough Tips:
- Ensure the honey mixture cools slightly before adding the eggs to prevent scrambling. This step is essential for a smooth dough.
- When mixing the dry ingredients, sift well to prevent clumping. A well-mixed dough will yield soft, tender layers.
- Cream Filling Tips:
- Make sure your heavy cream is very cold before whipping. Cold cream whips up better, creating a light and airy texture.
- Avoid overmixing the cream and mascarpone filling. The mixture should be light and fluffy. A gentle folding motion helps maintain the volume of the whipped cream.
—
Assembly & Serving Tips
Assembling the Medovik Cake correctly will enhance the overall presentation and taste. Here are some key tips to ensure your cake is both visually appealing and delicious:
1. Layering: When spreading the cream filling between layers, use an offset spatula or the back of a spoon for an even distribution. This will help avoid any bulging layers and keep the cake balanced.
2. Top Layer: For the final layer, you can create a decorative swirl with the cream filling or simply smooth it out for a clean look. If you have any leftover cream, save it for touch-ups or decorative piping.
3. Chilling: Allowing the cake to chill overnight is crucial. This resting period not only enhances the flavors but also allows the layers to meld together, making the cake easier to slice.
4. Serving: When ready to serve, use a sharp knife dipped in hot water to slice through the layers smoothly. This technique prevents the cream from sticking to the knife and ensures clean cuts.
—
Presentation
Presenting your Medovik cake beautifully can elevate its appeal when serving guests. Here are some presentation tips:
1. Platter Selection: Use a beautiful cake stand or platter that complements the cake’s colors. A simple white or wooden board can make the honeyed hues stand out.
2. Garnishing: Top your cake with crushed walnuts or almonds for a delightful crunch. A drizzle of honey can add an elegant touch and enhance the visual appeal.
3. Edible Flowers: For an extra touch of sophistication, consider adding edible flowers such as pansies or violets around the base of the cake.
4. Slicing: After chilling, slice your cake into even pieces. A clean cut will show off the beautiful layers and filling, enhancing the overall presentation.
—
Variations
While the classic Medovik cake is delicious on its own, you can experiment with variations to suit your taste:
1. Nut Variations: Incorporate different nuts such as hazelnuts or pecans into the cream filling or as a topping for added texture and flavor.
2. Fruit Flavors: Add layers of fresh fruit like strawberries or raspberries between the cake layers or fold fruit puree into the cream filling for a fruity twist.
3. Spiced Medovik: Enhance the flavor by adding spices such as cinnamon or cardamom to the dough for a warming touch.
4. Chocolate Medovik: For chocolate lovers, you can add cocoa powder to the dough or create a chocolate cream filling by folding in melted chocolate with the mascarpone.
—
Storage Guidelines
Proper storage is essential to maintain the freshness and flavor of your Medovik cake:
1. Refrigeration: Store the cake in the refrigerator, covered with plastic wrap or in an airtight container to prevent it from absorbing odors from other foods.
2. Duration: The Medovik cake can be kept in the refrigerator for up to 5 days. The flavors continue to develop as it sits, making it even tastier on the second or third day.
3. Freezing: If you want to make the cake ahead of time, you can freeze the layers separately without the cream filling. Wrap each layer tightly in plastic wrap and aluminum foil. The layers can be frozen for up to 2 months. To serve, thaw them in the refrigerator overnight, assemble with the cream filling, and let it chill before serving.
—
FAQ
1. Can I use regular cream cheese instead of mascarpone?
Yes, you can substitute regular cream cheese for mascarpone, but the texture may be slightly denser. To achieve a creamier consistency, blend the cream cheese with a bit of heavy cream.
2. What can I use instead of honey?
While honey is traditional, you can substitute it with maple syrup or agave nectar for a different flavor profile. Keep in mind that this will alter the taste of the cake slightly.
3. How do I prevent the cake layers from sticking?
Ensure your baking sheets are lined with parchment paper, and use flour on your rolling surface to prevent sticking. Also, allow the layers to cool completely before attempting to remove them from the baking sheets.
4. Is it necessary to chill the cake overnight?
While it’s not strictly necessary, chilling the cake overnight allows the flavors to meld beautifully, resulting in a more cohesive taste and easier slicing.
5. Can I make Medovik cake gluten-free?
Yes, you can use a gluten-free flour blend in place of all-purpose flour. Just ensure that it’s suitable for baking to achieve the right texture.
With these step-by-step instructions and tips, you are well on your way to creating a delectable Russian Medovik cake. This honeyed delicacy is sure to impress your family and friends alike!