Introduction
Easter is a time for celebration, family gatherings, and, of course, delightful treats. One dessert that captures the whimsical spirit of the holiday is the Easter Bunny Dirt Cake. This no-bake treat combines rich chocolate flavors with playful decorations, making it a hit at any Easter festivity. The Easter Bunny Dirt Cake is not just a dessert; it’s a centerpiece that sparks joy and creativity, especially for children and adults alike.
This cake is perfect for those who want to indulge in a delicious dessert without spending hours in the kitchen. Its layers of chocolate cake, creamy pudding, and fluffy frosting create a delightful combination of textures and flavors. Plus, with the addition of gummy worms and edible grass, it transforms into a fun, interactive treat that invites everyone to dig in!
In this article, we will explore the step-by-step process of making this delightful dessert, with insights into each ingredient and technique, ensuring even novice bakers can create a stunning centerpiece for their celebration.
Understanding the Ingredients
The foundation of any great recipe lies in its ingredients. Let’s delve into each component that makes up the Easter Bunny Dirt Cake.
Chocolate Cake Mix
Using a chocolate cake mix is one of the easiest ways to create a moist and flavorful base for your Easter Bunny Dirt Cake. The beauty of cake mixes lies in their convenience—they save time and effort while still delivering delicious results. When choosing a chocolate cake mix, look for one that specifies “moist” or “rich” to ensure your cake layer is delectable.
The chocolate cake layer plays a crucial role in the overall flavor profile of the dirt cake. It provides a rich, chocolatey foundation that complements the creamy pudding and frosting layers. To enhance the cake’s moisture, consider adding an extra egg or substituting water with milk when preparing the cake mix. This small adjustment can make a significant difference in achieving a soft and fluffy texture.
Instant Chocolate Pudding Mix
Instant chocolate pudding mix is essential for creating the creamy layer of the Easter Bunny Dirt Cake. This ingredient not only adds a rich chocolate flavor but also contributes to a smooth, velvety texture that contrasts beautifully with the cake.
To prepare the pudding, simply follow the instructions on the package, typically requiring you to combine the mix with milk and whisk until thickened. For the best consistency, it’s important to let the pudding set in the refrigerator for a short period before layering it in the cake. This allows it to thicken properly, ensuring a luscious layer that holds its shape.
Whipped Cream Cheese Frosting
The choice of frosting can elevate your dessert to new heights, and for the Easter Bunny Dirt Cake, whipped cream cheese frosting works wonders. This frosting strikes the perfect balance between sweetness and tanginess. The cream cheese adds a subtle depth of flavor that complements the chocolate cake and pudding layers beautifully.
To make the frosting, simply whip together cream cheese, powdered sugar, and heavy cream until light and fluffy. The heavy cream not only adds richness but also helps to achieve a smooth and spreadable consistency. If you prefer a sweeter frosting, feel free to adjust the amount of powdered sugar to your liking.
Oreo Cookies
One of the most iconic elements of the Easter Bunny Dirt Cake is the use of Oreo cookies, which contribute to the “dirt” aesthetic. When crushed, these cookies create a texture that mimics dirt, making the cake visually appealing and fun for kids.
To crush the Oreos, you can use a food processor for a fine crumb, or place them in a zip-top bag and crush them with a rolling pin for a more hands-on approach. If you’re looking for alternatives due to dietary restrictions, consider using gluten-free chocolate cookies or other brands that cater to specific dietary needs.
Gummy Worms and Edible Grass
To bring the Easter Bunny Dirt Cake to life, gummy worms and edible grass make for delightful decorations. These fun toppings add a playful element that enhances the overall theme and makes the cake even more appealing to children.
You can find edible grass, often made from coconut or green-colored sugar, at baking supply stores or in the baking aisle of your local supermarket. If you’re looking for alternatives, consider using shredded coconut dyed green with food coloring or even chopped pistachios for a unique texture.
Step-by-Step Instructions
Now, let’s walk through the process of creating this Easter Bunny Dirt Cake, ensuring each step is clear and easy to follow.
Preparing the Cake
1. Gather Your Ingredients: Start by preheating your oven to 350°F (175°C). Make sure you have all your ingredients ready, including the chocolate cake mix, eggs, water or milk, and any additional ingredients specified on the box.
2. Mix the Cake Batter: In a large mixing bowl, combine the chocolate cake mix, eggs, and water or milk. Using an electric mixer, beat the mixture for about 2 minutes until well combined and smooth. The batter should be thick yet pourable.
3. Bake the Cake: Pour the batter into a greased 9×13 inch baking pan. Bake in the preheated oven for 25 to 30 minutes, or until a toothpick inserted into the center comes out clean.
4. Cool Completely: Once baked, remove the cake from the oven and allow it to cool in the pan for about 10 minutes. Then, transfer it to a wire rack to cool completely. This step is crucial, as layering the cake while it’s still warm can cause the pudding layer to melt and lose its structure.
Making the Pudding Layer
1. Prepare the Pudding: While the cake is cooling, you can prepare the instant chocolate pudding. In a medium bowl, whisk together the pudding mix and cold milk. Beat until the mixture is smooth and starts to thicken, typically around 2 minutes.
2. Chill the Pudding: Once mixed, cover the bowl with plastic wrap and place it in the refrigerator for about 5 to 10 minutes to ensure it thickens properly. This step is important for creating a stable layer in your dirt cake.
3. Layer the Ingredients: After the chocolate cake has cooled completely, crumble it into bite-sized pieces and spread half of the crumbled cake evenly across the bottom of a large serving dish or trifle bowl. Pour half of the prepared pudding over the cake layer, spreading it evenly to cover.
(Continue with additional layers and instructions in subsequent sections of the article.)
Mixing the Frosting
Creating a light and fluffy frosting is an essential step in making the Easter Bunny Dirt Cake. For the frosting, you will need to combine cream cheese and whipped topping. Start by placing softened cream cheese in a mixing bowl. Using an electric mixer, beat the cream cheese on medium speed until it becomes smooth and creamy, which typically takes about 2 minutes. Next, gradually add in powdered sugar, beating continuously until fully incorporated.
Once the sugar is well mixed, gently fold in the whipped topping using a spatula. This is where the folding technique becomes crucial. Rather than stirring vigorously, which could deflate the mixture, use a gentle folding motion. This technique helps maintain the airiness of the whipped topping, resulting in a light and fluffy frosting that perfectly complements the rich chocolate flavors of the cake.
Combining Mixtures for the Dirt Layer
Now that your frosting is ready, it’s time to integrate the pudding. This step involves folding the chocolate pudding into the frosting mixture. Begin by preparing the chocolate pudding according to the package instructions, allowing it to thicken. Once it’s set, add the pudding to the frosting mixture in small increments.
The art of folding—gently incorporating the pudding into the frosting—ensures that your dirt layer maintains a creamy texture. This step is crucial for achieving the right flavor balance in the final product. The combination of the creamy frosting and rich chocolate pudding creates a delightful layer that will form the base of your dirt cake. Be sure to mix until just combined, as over-mixing can lead to a denser texture.
Crushing the Oreos
To create the “dirt” layer of your cake, you will need to crush Oreos into fine crumbs. There are several effective methods to do this. One of the simplest is to place the Oreos in a resealable plastic bag, seal it tightly, and then use a rolling pin or your hands to crush them into fine crumbs. This method keeps the mess contained and allows for easy cleanup.
Alternatively, you can also use a food processor. Simply place the Oreos in the processor and pulse until they reach a fine crumb consistency. This method is quick and efficient, making it a great option if you’re preparing a large batch. Regardless of the method you choose, ensure that there are no large chunks remaining, as this could impact the texture of your cake.
Assembling the Cake
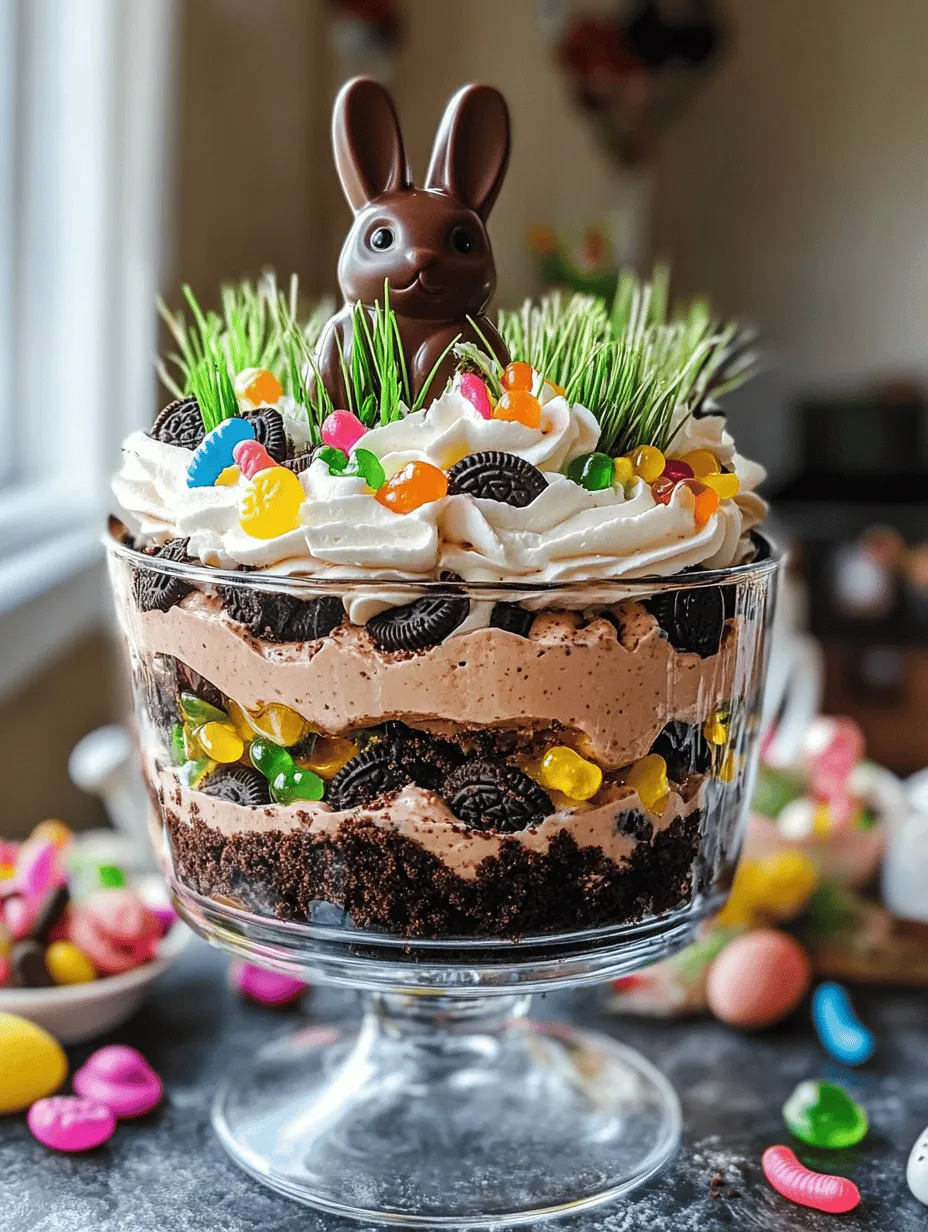
Assembling the Easter Bunny Dirt Cake is where your creativity can shine. Start by selecting a suitable serving dish or cake pan. If you’re using a clear glass bowl or trifle dish, the layers will be beautifully visible, enhancing the presentation. Begin with a layer of the pudding-frosting mixture at the bottom, smoothing it out evenly.
Next, sprinkle a generous layer of crushed Oreo crumbs over the pudding mixture. Repeat this layering process — alternating between the creamy mixture and the Oreo crumbs. As you build the layers, aim for a balanced distribution to ensure each slice has a lovely combination of flavors. A typical assembly might consist of two to three layers, but feel free to adjust based on your preferences.
Decorating the Cake
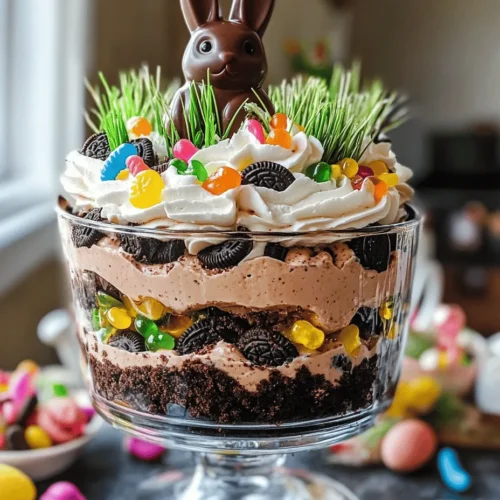
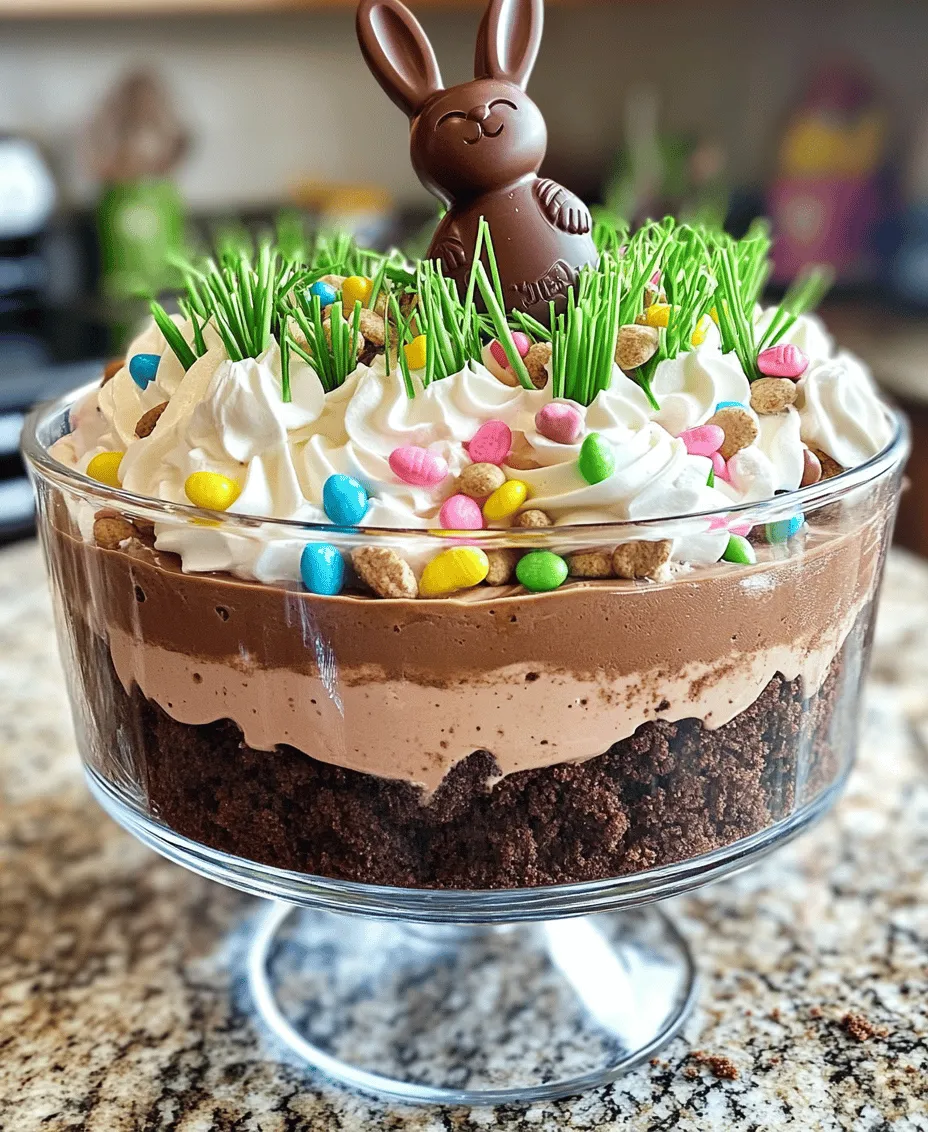
Once your cake is assembled, it’s time for the fun part: decorating! This is where you can let your imagination run wild. Start by spreading a final layer of the frosting mixture on top of the cake, smoothing it out with a spatula. Next, take the remaining crushed Oreos and sprinkle them on top to create the dirt effect.
To add a playful touch, arrange gummy worms on the surface, letting some dangle over the edges for a whimsical appearance. You can also use edible grass, which can be found in most baking aisles or made from shredded coconut dyed green, to enhance the Easter theme. Finally, place a chocolate bunny in the center of the cake as a delightful focal point. This will not only make your dessert visually appealing but will also serve as a charming centerpiece for your Easter celebration.
The Chilling Process
Understanding the importance of the chilling process is crucial for achieving the best flavor and texture in your Easter Bunny Dirt Cake. After you’ve finished assembling and decorating, cover the cake with plastic wrap or aluminum foil and place it in the refrigerator.
Why Chilling is Essential
Chilling allows all the flavors to meld together beautifully, resulting in a richer taste. Additionally, it helps the layers firm up, making it easier to slice the cake without it falling apart. For the best results, aim to chill your cake for at least 4 hours, although overnight chilling is ideal for maximum flavor infusion.
Serving Suggestions
Once your Easter Bunny Dirt Cake has chilled and is ready to serve, it’s time to impress your guests with a beautiful presentation.
Presentation Ideas
Consider serving the cake in the dish it was assembled in, as the layers are visually appealing. If you prefer individual servings, you can use a cookie cutter to cut out portions and place them on dessert plates. This adds an elegant touch to your presentation.
Pair your Easter Bunny Dirt Cake with other Easter-themed desserts, such as pastel-colored cupcakes, fruit tarts, or even a light lemon sorbet. These complementary flavors will enhance the overall dessert experience and provide your guests with a delightful variety.
Conclusion
The Easter Bunny Dirt Cake is not just a dessert; it’s a celebration of flavors and creativity that brings joy to any Easter gathering. With its rich chocolate layers, fun decorations, and creamy textures, this dessert is sure to be a favorite among both children and adults alike. By following the steps outlined in this guide, you can create a stunning centerpiece that delights the senses and embodies the spirit of Easter. Enjoy your baking journey and the smiles that come with serving this delicious treat!