Follow Me On Pinterest!


Imagine the warm, spicy aroma of autumn filling your kitchen without the stress of chilling and rolling a temperamental pie crust. These Easy Pumpkin Pie Bars take the classic holiday dessert and turn it into a stress-free experience. You get all the silky, custard-like texture of a traditional pumpkin pie but with a buttery, shortbread-style crust that you simply press into the pan. Whether you are hosting a large Thanksgiving dinner or just need a cozy weekend treat, these bars are the ultimate shortcut to bakery-quality results right in your own home. Forget the struggle of crimping edges; these bars are designed for simplicity and maximum flavor.
Recipe Information
- Prep Time: 15 minutes
- Cook Time: 45 minutes
- Total Time: 60 minutes
- Servings: 16 bars
- Difficulty: Easy
Nutrition values
- Calories: 245 kcal
- Protein: 4g
- Carbs: 32g
Why Make This Easy Pumpkin Pie Bars No Rolling Bakery Easy
Traditional pumpkin pie is delicious, but it often comes with the headache of making a perfect crust. This recipe eliminates the need for a rolling pin entirely. By using a press-in shortbread crust, you save time and ensure a consistent, buttery base every single time. These bars are also much easier to transport than a round pie, making them the perfect addition to potlucks and office parties. Plus, the square shape gives you a better ratio of crust to filling in every bite, satisfying both the pumpkin lovers and the crust enthusiasts in your life.
Ingredients
For the Shortbread Crust:
- 1 ½ cups all-purpose flour
- ½ cup unsalted butter, melted
- 1/3 cup granulated sugar
- ¼ teaspoon salt
For the Pumpkin Filling:
- 1 can (15 oz) pure pumpkin puree
- 1 can (12 oz) evaporated milk
- 2 large eggs
- ¾ cup granulated sugar
- 1 teaspoon vanilla extract
- 2 teaspoons pumpkin pie spice
- ½ teaspoon salt
Directions
Step 1: Preparation
Preheat your oven to 350°F (175°C). Line an 8×8 or 9×9 inch baking pan with parchment paper, leaving a slight overhang on the sides. This allows you to lift the bars out easily once they have cooled. Lightly grease any exposed parts of the pan with non-stick spray or butter.
Step 2: Create the Press-In Crust
In a medium bowl, combine the flour, melted butter, 1/3 cup sugar, and salt. Mix with a fork until the dough becomes crumbly and moist. Transfer the mixture to your prepared baking pan. Use your fingers or the bottom of a flat measuring cup to press the dough firmly into an even layer across the bottom of the pan. Bake the crust for 10 minutes, then remove it from the oven.
Step 3: Mix the Pumpkin Filling
While the crust pre-bakes, prepare the filling. In a large mixing bowl, whisk the eggs until lightly beaten. Add the pumpkin puree, evaporated milk, sugar, vanilla, pumpkin pie spice, and salt. Whisk vigorously until the mixture is completely smooth and no lumps remain. Pour the filling over the hot, pre-baked crust.
Step 4: Bake to Perfection
Return the pan to the oven and bake for 35 to 40 minutes. The bars are done when the edges are set and the center has a slight, uniform jiggle. Avoid overbaking, as this can cause the top to crack. Remove the pan from the oven and place it on a wire rack.
Step 5: Cool and Serve
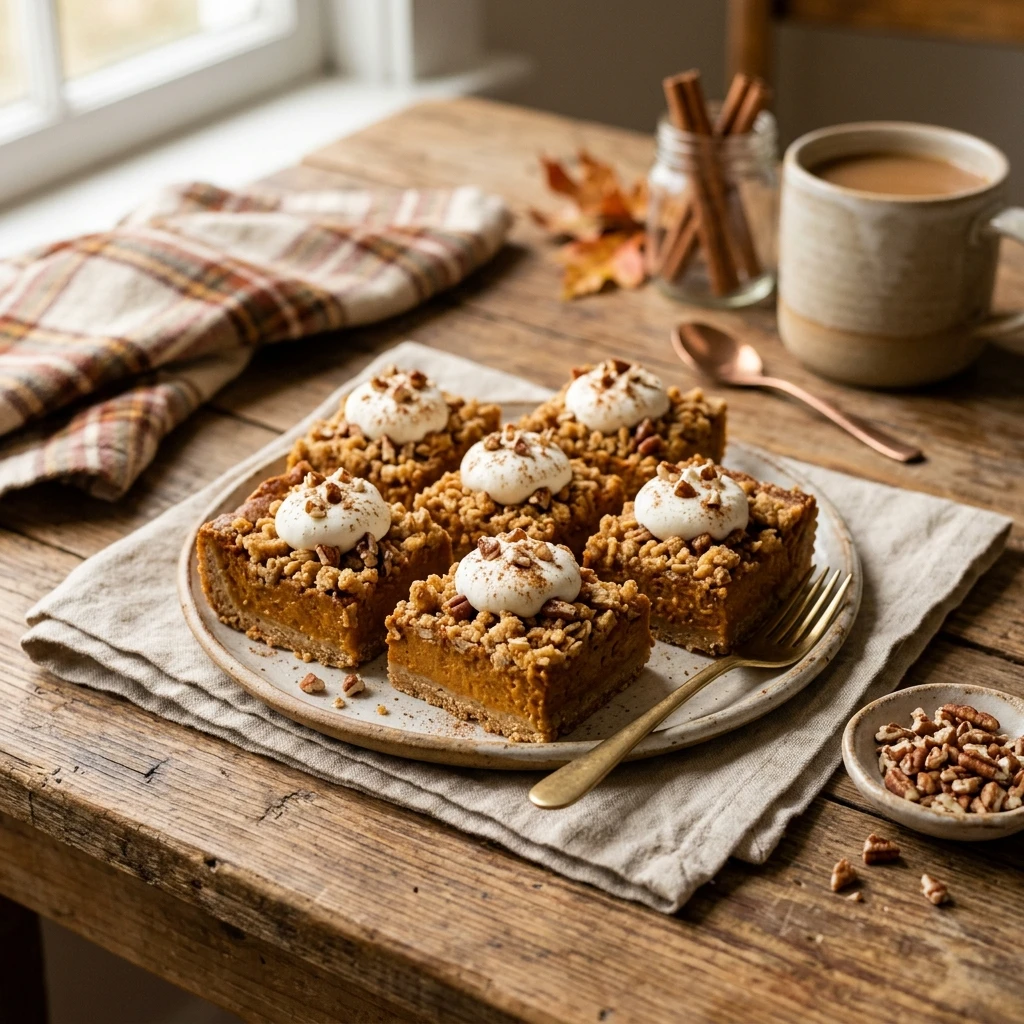
Allow the bars to cool completely at room temperature for at least one hour. For the best texture, refrigerate the bars for an additional two hours before slicing. Use the parchment paper handles to lift the block out of the pan. Slice into 16 squares and top with whipped cream if desired.
Expert Tips for Perfect Easy Pumpkin Pie Bars No Rolling Bakery Easy
To achieve the best results, always use pure pumpkin puree rather than canned pumpkin pie filling, which already contains sugar and spices. For a perfectly flat crust, ensure you press the dough firmly into the corners of the pan. If you notice the top of your bars browning too quickly, loosely tent the pan with aluminum foil for the last 10 minutes of baking. Most importantly, do not skip the chilling step. Cold bars slice much cleaner and the flavor develops significantly as they sit in the refrigerator.
Delicious Variations
You can easily customize these bars to suit your taste. For a “Pecan Pie” twist, sprinkle a half-cup of chopped pecans over the filling before baking. If you prefer a warmer spice profile, swap the shortbread crust for a gingersnap crust by using crushed gingersnap cookies and melted butter. For a more decadent dessert, drizzle the cooled bars with a simple maple glaze or salted caramel sauce. You can even add a layer of cheesecake swirl by mixing a little sweetened cream cheese and dolloping it into the pumpkin batter before swirling with a knife.
Frequently Asked Questions
Can I use fresh pumpkin instead of canned?
Yes, you can use fresh pumpkin puree, but make sure it is well-strained. Fresh puree often contains more water than canned versions, which can lead to a soggy crust or a filling that doesn’t set properly.
How do I know when the bars are finished baking?
Look for the “jiggle test.” The edges should look firm and slightly puffed, while the very center should still move slightly when the pan is gently shaken. It will firm up completely as it cools.
Do I need to refrigerate these bars?
Yes, because the filling is a custard made with eggs and milk, these bars must be stored in the refrigerator. They will stay fresh in an airtight container for up to 4 days.
Can I make these bars gluten-free?
You can substitute the all-purpose flour in the crust with a 1:1 gluten-free flour blend. The filling is naturally gluten-free, but always check your spice labels to ensure no cross-contamination.
Why did my pumpkin bars crack on top?
Cracking is usually caused by overbaking or cooling the bars too quickly. Ensure you remove them while the center still jiggles, and let them cool at room temperature before moving them to the fridge.
Conclusion
These Easy Pumpkin Pie Bars No Rolling Bakery Easy are the ultimate solution for anyone who loves the flavors of fall but wants to avoid the labor-intensive process of traditional pie making. With a buttery crust and a velvety filling, they deliver everything you want in a holiday dessert with half the effort. Give this recipe a try for your next gathering, and don’t be surprised when everyone asks for the recipe. They are simple, delicious, and perfectly portable!
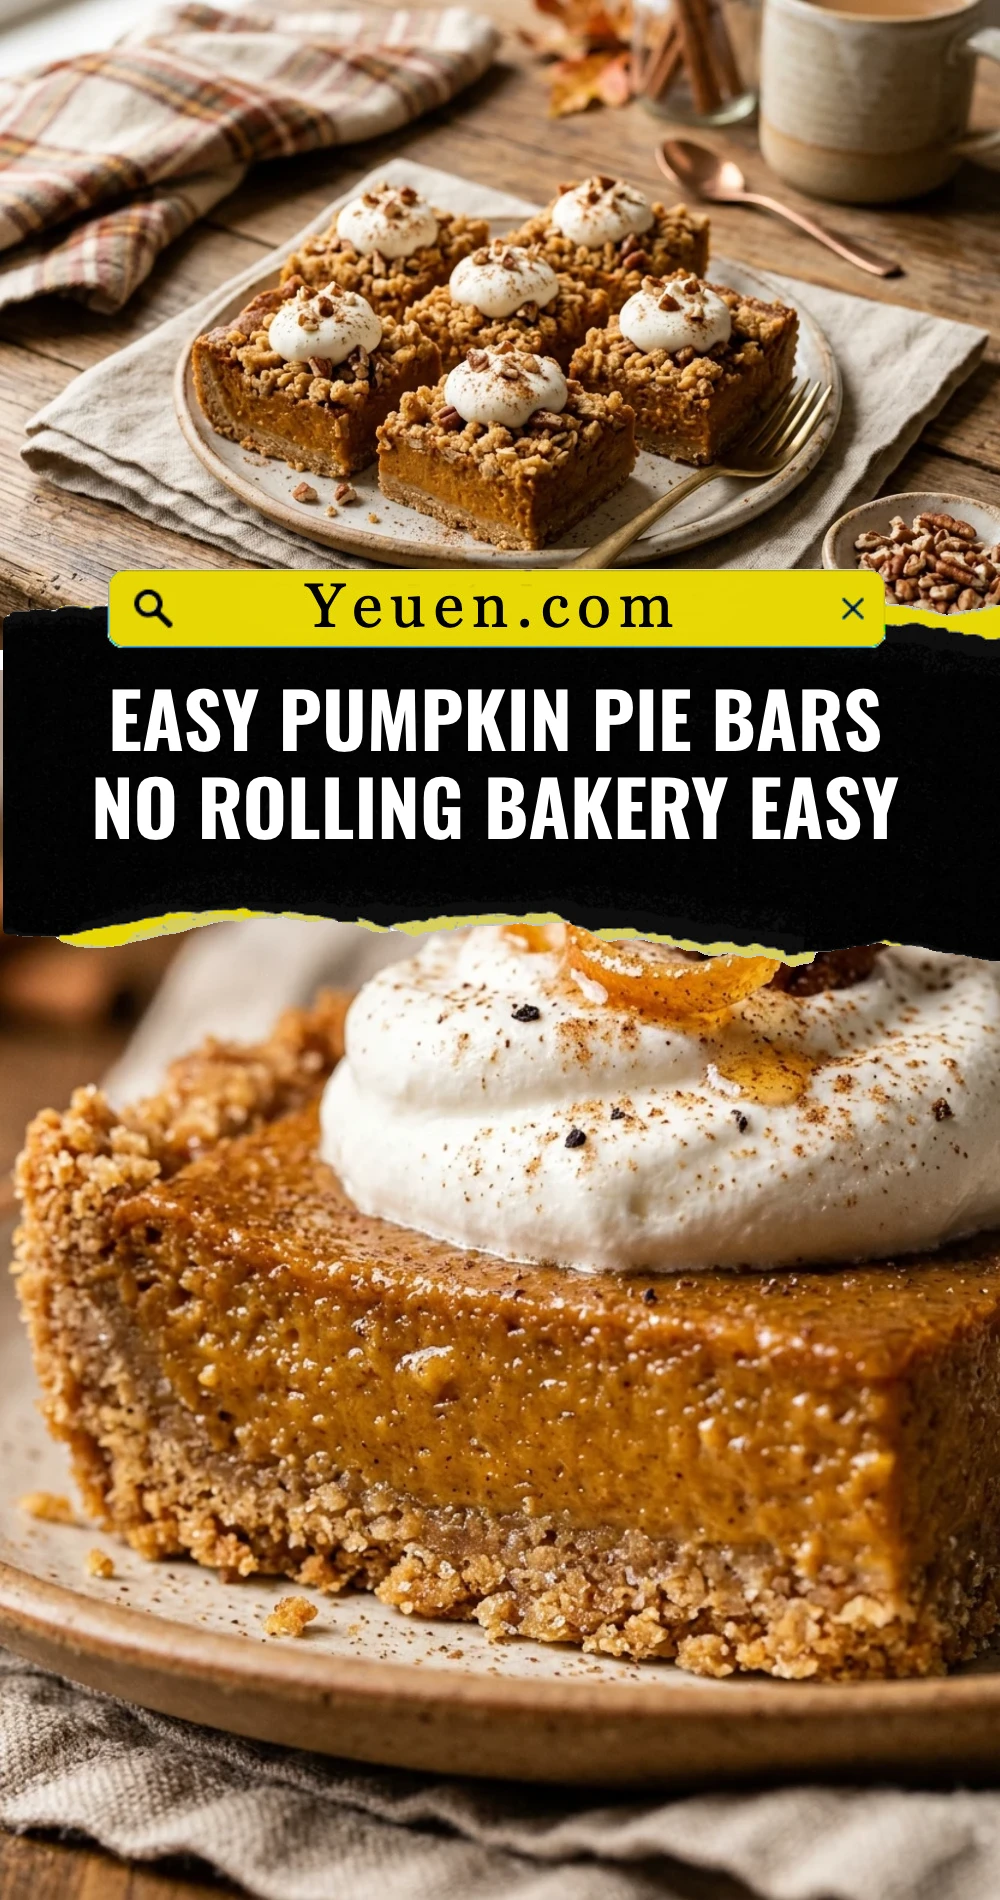
Easy Pumpkin Pie Bars No Rolling Bakery Easy
- Total Time: 1 hour
- Diet: Vegetarian
Ingredients
Scale
- For the Shortbread Crust:
- 1 ½ cups all-purpose flour
- ½ cup unsalted butter, melted
- 1/3 cup granulated sugar
- ¼ teaspoon salt
- For the Pumpkin Filling:
- 1 can (15 oz) pure pumpkin puree
- 1 can (12 oz) evaporated milk
- 2 large eggs
- ¾ cup granulated sugar
- 1 teaspoon vanilla extract
- 2 teaspoons pumpkin pie spice
- ½ teaspoon salt
Instructions
- Preheat your oven to 350°F (175°C). Line an 8×8 or 9×9 inch baking pan with parchment paper, leaving a slight overhang on the sides. Lightly grease any exposed parts of the pan with non-stick spray or butter.
- In a medium bowl, combine the flour, melted butter, 1/3 cup sugar, and salt. Mix with a fork until the dough becomes crumbly and moist. Transfer the mixture to your prepared baking pan. Use your fingers or the bottom of a flat measuring cup to press the dough firmly into an even layer across the bottom of the pan. Bake the crust for 10 minutes, then remove it from the oven.
- While the crust pre-bakes, prepare the filling. In a large mixing bowl, whisk the eggs until lightly beaten. Add the pumpkin puree, evaporated milk, sugar, vanilla, pumpkin pie spice, and salt. Whisk vigorously until the mixture is completely smooth and no lumps remain. Pour the filling over the hot, pre-baked crust.
- Return the pan to the oven and bake for 35 to 40 minutes. The bars are done when the edges are set and the center has a slight, uniform jiggle. Avoid overbaking, as this can cause the top to crack. Remove the pan from the oven and place it on a wire rack.
- Allow the bars to cool completely at room temperature for at least one hour. For the best texture, refrigerate the bars for an additional two hours before slicing. Use the parchment paper handles to lift the block out of the pan. Slice into 16 squares and top with whipped cream if desired.
- Cook Time: 60 minutes