Introduction
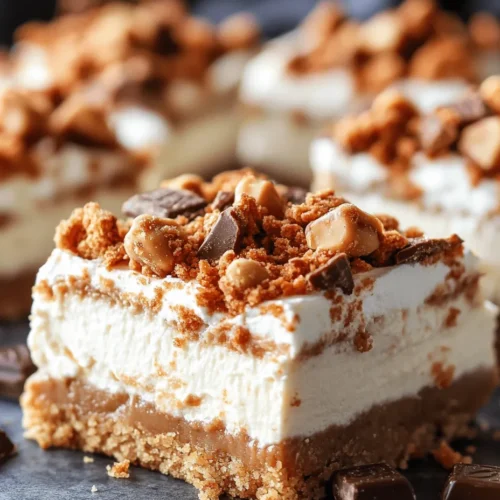
If you’re on the lookout for a dessert that perfectly balances the rich creaminess of cheesecake with the delightful crunch of candy bars, look no further than Reese’s Butterfinger Cheesecake Bars. This indulgent treat brings together the velvety smoothness of traditional cheesecake, the nutty flavor of peanut butter, and the satisfying crunch of Butterfinger candies, creating a mouthwatering experience that is hard to resist. Perfect for celebrations, potlucks, or simply satisfying your sweet tooth, these cheesecake bars are a guaranteed crowd-pleaser.
Cheesecake bars have surged in popularity in recent years, and for good reason. They offer all the deliciousness of traditional cheesecake but with a more manageable serving size and easier preparation. The ease of slicing and serving makes them ideal for gatherings, allowing guests to indulge without the fuss of traditional cheesecake. In this article, we aim to provide you with a detailed, step-by-step recipe for creating these delectable Reese’s Butterfinger Cheesecake Bars right in your own kitchen.
The Allure of Cheesecake Bars
Cheesecake bars have become a beloved dessert choice among home bakers and dessert enthusiasts alike. One of the primary reasons for their popularity is their versatility. Unlike traditional cheesecakes, which can be intimidating to make and serve, cheesecake bars offer a more straightforward approach. They can be flavored in countless ways, allowing for creativity and personalization in the kitchen. Whether you prefer classic flavors like strawberry and blueberry or more adventurous combinations, the possibilities are endless.
What makes our Reese’s Butterfinger Cheesecake Bars stand out is the unique twist of combining two iconic candy flavors. The creamy, peanut buttery richness of Reese’s pairs beautifully with the crispy, caramelized crunch of Butterfinger bars, creating a decadent dessert that satisfies all types of cravings. This fusion of flavors not only elevates the cheesecake experience but also creates a visual feast that will impress your guests.
Ingredient Breakdown
To create these delightful cheesecake bars, you’ll need to gather a few essential ingredients. Each component plays a vital role in achieving the perfect balance of texture and flavor.
Crust Ingredients
The base of our cheesecake bars is a graham cracker crust, which provides a deliciously sweet and slightly crunchy foundation. Here’s what you’ll need:
– Graham crackers: The classic choice for cheesecake crusts, graham crackers add a hint of sweetness and a delightful crunch to the bars.
– Granulated sugar: Just a touch of sugar enhances the sweetness of the crust and helps it caramelize during baking.
– Unsalted butter: Melted butter binds the graham cracker crumbs together and adds richness to the crust.
The combination of these ingredients will create a firm, flavorful base that holds the cheesecake filling beautifully.
Cheesecake Filling Ingredients
The heart of our dessert lies in the creamy cheesecake filling. Each ingredient contributes to the rich, luscious texture we love in cheesecake:
– Cream cheese: The star of the filling, cream cheese brings the classic cheesecake flavor and creamy texture.
– Granulated sugar: Added to sweeten the filling and balance the richness of the cream cheese.
– Eggs: They provide structure and help the filling set perfectly.
– Peanut butter: The nutty flavor of peanut butter complements the cream cheese, creating a deliciously rich filling.
– Butterfinger candies: Chopped into small pieces, these will add a delightful crunch and a sweet burst of flavor.
These ingredients work together harmoniously to create a filling that is both creamy and rich, with the added excitement of candy throughout.
Topping Ingredients
To finish off these cheesecake bars, we’ll add a light and fluffy topping that enhances the overall experience:
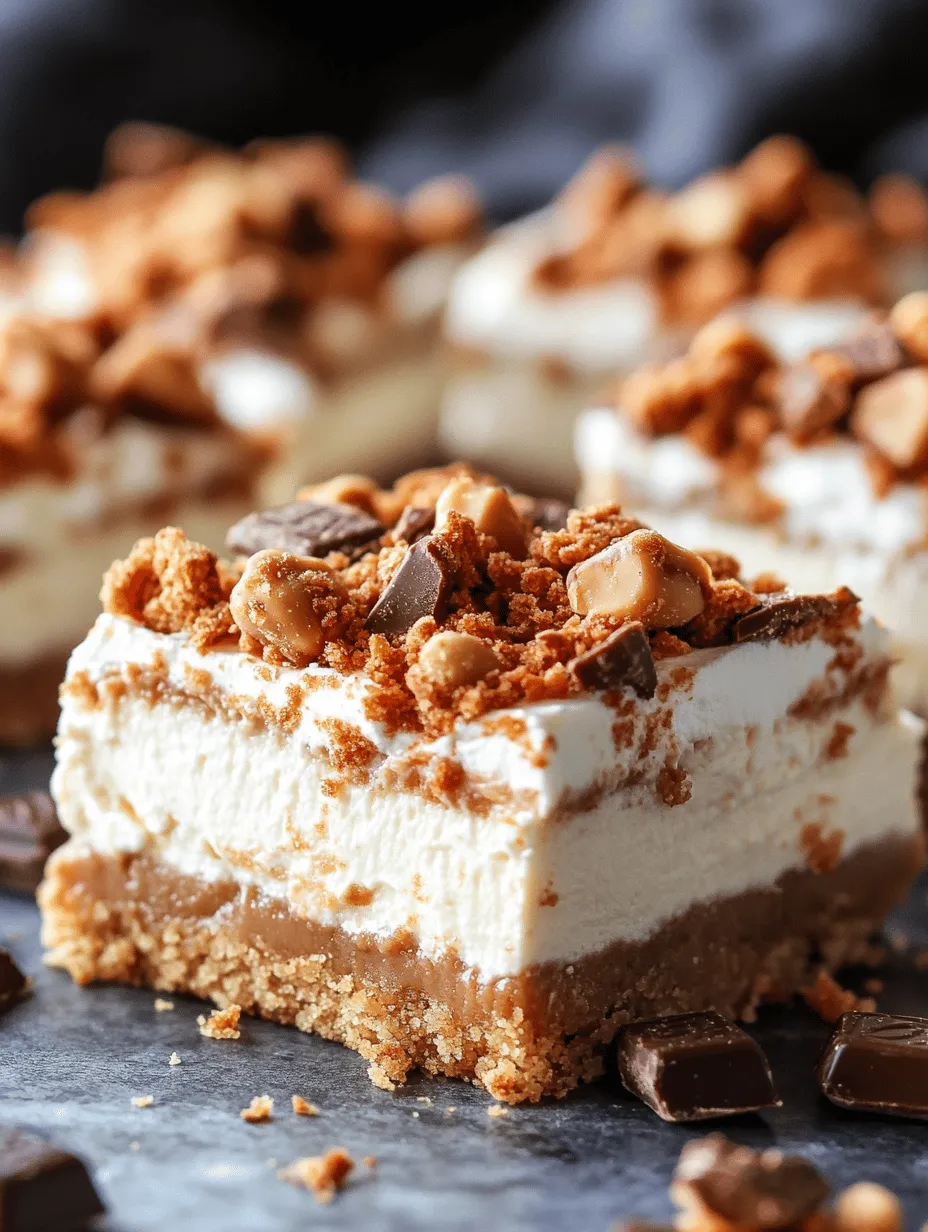
– Whipped cream: Light and airy, whipped cream adds a touch of sweetness and creaminess that balances the rich filling.
– More Butterfinger candies: Chopped and sprinkled on top, they add a final layer of crunch and flavor, making each bite a delightful surprise.
This combination of ingredients ensures that your Reese’s Butterfinger Cheesecake Bars will have an irresistible presentation and taste.
Step-by-Step Instructions
Now that we have gathered our ingredients, let’s dive into the step-by-step instructions for creating these mouthwatering cheesecake bars.
Preparing the Crust
1. Preheat the Oven: Start by preheating your oven to 325°F (160°C). This temperature is ideal for baking the crust and ensuring it has the perfect texture.
2. Mix the Dry Ingredients: In a mixing bowl, combine the graham cracker crumbs and granulated sugar. This mixture will form the base of your crust.
3. Add Melted Butter: Pour in the melted unsalted butter and mix thoroughly until all the crumbs are well coated and the mixture resembles wet sand. This step is crucial as it binds the crust together.
4. Press the Mixture into a Pan: Line a 9×13-inch baking dish with parchment paper for easy removal later. Pour the graham cracker mixture into the prepared dish and press it firmly into an even layer on the bottom. Use the back of a measuring cup or your hands to pack it down tightly.
5. Bake the Crust: Place the crust in the preheated oven and bake for 10-12 minutes until it is lightly golden and fragrant. Once done, remove it from the oven and allow it to cool slightly while you prepare the cheesecake filling.
Creating the Cheesecake Filling
1. Beat the Cream Cheese: In a large mixing bowl, add the softened cream cheese. Using an electric mixer, beat it on medium speed until smooth and creamy, about 2-3 minutes. Make sure there are no lumps for a silky filling.
2. Add Sugar and Peanut Butter: Gradually add granulated sugar and peanut butter to the cream cheese mixture. Beat until well combined and smooth, ensuring everything is fully incorporated.
3. Incorporate the Eggs: Add the eggs, one at a time, mixing on low speed after each addition. Be careful not to overmix; just blend until the eggs are fully incorporated. This will help prevent cracks in your cheesecake.
4. Fold in Butterfinger Pieces: Gently fold in the chopped Butterfinger candies, being careful not to overmix. This will ensure that the pieces are evenly distributed throughout the filling, adding delightful bursts of flavor and texture.
Incorporating the Butterfinger
1. Pour the Filling onto the Crust: Once your filling is ready, pour it over the cooled graham cracker crust, spreading it evenly with a spatula.
2. Bake the Cheesecake Bars: Return the baking dish to the oven and bake at 325°F (160°C) for 25-30 minutes, or until the edges are set, and the center is slightly jiggly. The residual heat will continue to cook the filling as it cools.
3. Cool and Chill: Once baked, remove the bars from the oven and let them cool at room temperature for about an hour. Then, cover them with plastic wrap and refrigerate for at least 4 hours, or overnight if possible. Chilling allows the flavors to meld and the bars to set properly.
Stay tuned for the next section where we will discuss how to prepare the whipped cream topping and the final presentation tips for these delicious Reese’s Butterfinger Cheesecake Bars!
Folding in the Crushed Butterfinger Candies
To achieve the ultimate Reese’s Butterfinger Cheesecake Bars, folding in the crushed Butterfinger candies is a crucial step that enhances both flavor and texture. Start by saving a portion of the crushed candies for topping. With the remaining Butterfinger pieces, use a rubber spatula to gently fold them into the cheesecake batter. The key here is to be gentle; you want to incorporate the candies without deflating the airiness of the cheesecake mixture. As you fold, rotate the bowl, ensuring all the creamy filling gets mixed thoroughly with the crunchy candy. This method will ensure that every bite of the cheesecake bars has that delightful Butterfinger flavor interspersed throughout.
Baking the Cheesecake
Once your batter is mixed and ready, it’s time to bake the cheesecake bars. Preheat your oven to 325°F (163°C). Pour the cheesecake batter over the prepared crust, smoothing the top with a spatula. To ensure even baking, place the pan in the center of the oven. A water bath can be beneficial for preventing cracks; simply wrap the bottom of your pan in aluminum foil and place it in a larger baking dish filled with water.
Bake for approximately 40-45 minutes. The cheesecake is done when the edges are set but the center remains slightly jiggly; it will firm up as it cools. To check doneness, gently shake the pan; if the center wiggles like jello, it’s perfect. Avoid overbaking, as this can lead to a dry texture. Once baked, turn off the oven and crack the oven door, allowing the cheesecake to cool gradually. This will also help prevent any cracking on the surface.
Making the Whipped Topping
While your cheesecake is cooling, prepare the whipped topping. Start with cold heavy cream; using a stand mixer or electric hand mixer, whip the cream on medium speed until it begins to thicken. Gradually add in powdered sugar and a splash of vanilla extract. Continue whipping until stiff peaks form. This should take about 3-5 minutes.
Once whipped, carefully spread the topping over the cooled cheesecake layer, smoothing it out evenly. For a more decorative touch, you can use a piping bag fitted with a star tip to create swirls or rosettes on top of the cheesecake.
Finishing Touches
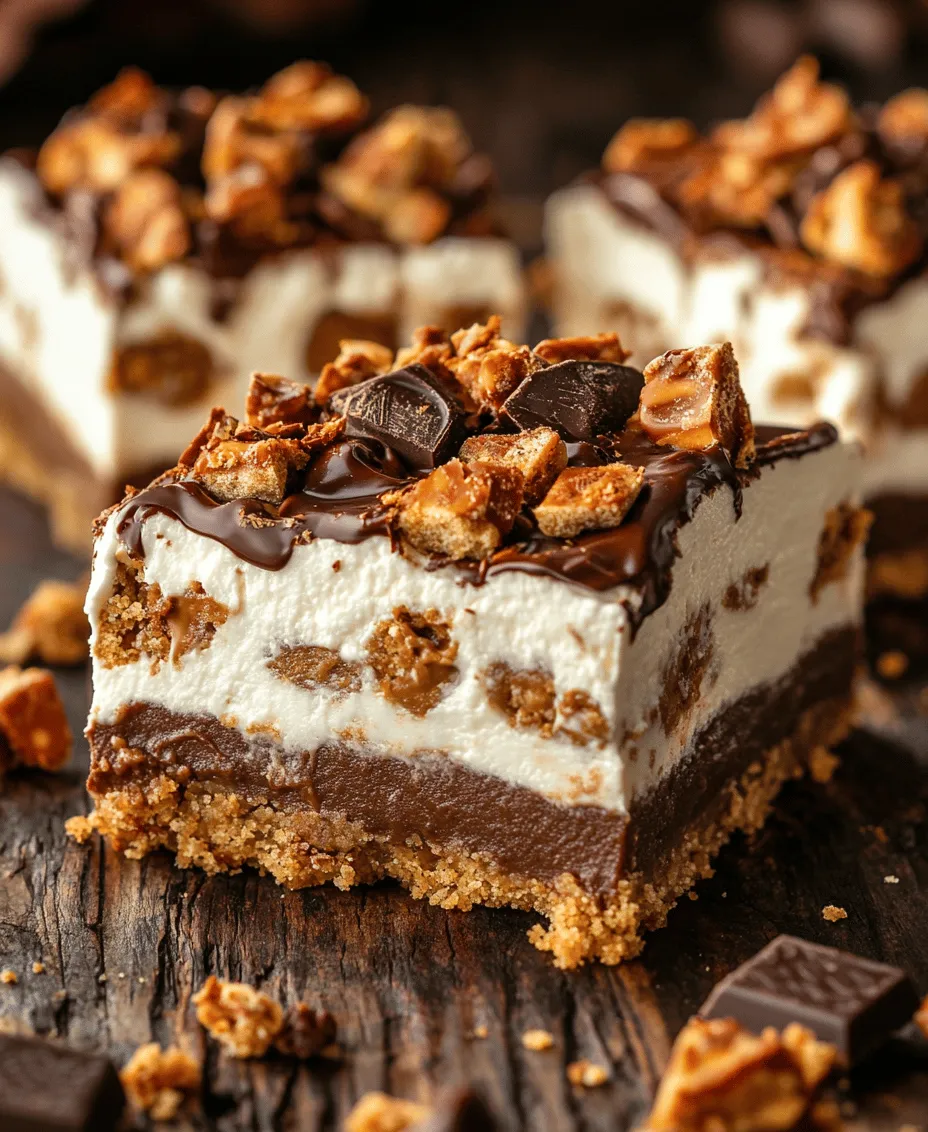
The finishing touches are what elevate these cheesecake bars to a whole new level. Sprinkle the reserved crushed Butterfinger candies generously over the whipped topping. For an extra indulgent finish, consider drizzling melted chocolate over the top. To do this, melt some chocolate chips in the microwave or over a double boiler, then use a fork to drizzle the melted chocolate in a zigzag pattern across the bars. This not only adds a beautiful visual contrast but also enhances the overall flavor profile.
Chilling and Serving the Bars
Chilling is essential to ensure your cheesecake bars set properly. Cover the pan with plastic wrap or aluminum foil and refrigerate for at least 4 hours, or ideally overnight. This will help the flavors meld together and result in a firmer texture.
When it’s time to serve, carefully lift the cheesecake out of the pan using the parchment paper edges. For clean cuts, use a sharp knife dipped in hot water; wipe the blade between cuts to maintain a neat appearance. Cut into squares or rectangles, depending on your preference.
Flavor Profile and Texture
The flavor experience of Reese’s Butterfinger Cheesecake Bars is nothing short of delightful. The creamy cheesecake base provides a rich and smooth texture that contrasts beautifully with the crunchy crust and the added Butterfinger pieces. The balance of sweet and salty notes from the candy pieces melds perfectly with the rich creaminess of the cheesecake, creating an irresistible treat that will keep everyone coming back for more.
The combination of textures is equally appealing; the buttery crust provides a solid foundation, while the airy whipped cream topping adds a lightness that complements the dense cheesecake. Each bite delivers a satisfying crunch from the Butterfinger, making these bars a true indulgence.
Storage and Shelf Life
To maintain the freshness of your cheesecake bars, store them in an airtight container in the refrigerator. Properly stored, they should last for up to a week. If you want to keep them longer, consider freezing them. Wrap individual bars in plastic wrap and place them in a freezer-safe container or bag. When stored correctly in the freezer, they can last up to three months. To enjoy, simply thaw in the refrigerator overnight before serving.
Ideal Occasions for Serving
Reese’s Butterfinger Cheesecake Bars are versatile treats perfect for a variety of occasions. They make a fantastic addition to potlucks, birthday parties, and holiday gatherings. Their rich, indulgent flavors are sure to impress guests and make them the highlight of any dessert table.
These bars are also an excellent choice for movie nights or casual family gatherings. The fun combination of flavors and textures makes them a hit with both kids and adults alike. Whenever you need a sweet treat to brighten someone’s day, these bars are a guaranteed crowd-pleaser.
Conclusion
Making and sharing Reese’s Butterfinger Cheesecake Bars is a delightful experience that brings joy to both bakers and those who indulge in them. The rich flavors, creamy texture, and satisfying crunch create a memorable dessert that is sure to impress. Embrace the process of baking these bars as an opportunity to create special moments with family and friends. So grab your mixing bowl, gather your ingredients, and get ready to create something truly delicious!