Introduction
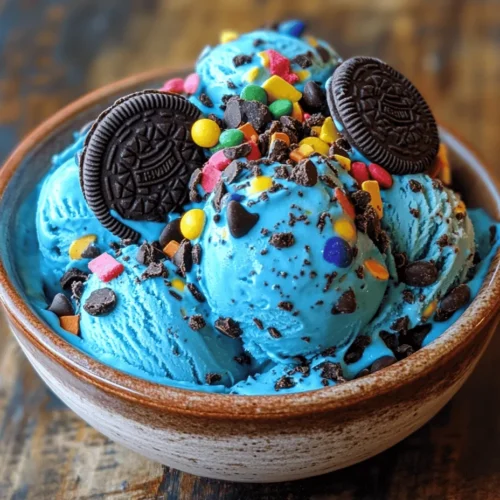
Imagine a dessert that captures the joy of childhood while delivering a delightful mix of textures and flavors—welcome to Cookie Monster Ice Cream. This whimsical treat, inspired by the beloved character from Sesame Street, is not just for kids; its vibrant blue hue and chunks of cookie goodness make it a favorite among adults as well. Whether you’re hosting a summer gathering, celebrating a birthday, or simply indulging in a sweet craving at home, Cookie Monster Ice Cream is sure to bring smiles and laughter to your table.
The fun doesn’t stop at its appearance; this ice cream is a delicious blend of creamy vanilla, crunchy chocolate chip cookies, and rich Oreo pieces, all enhanced by a playful splash of blue food coloring. The result is a dessert that’s not only visually stunning but also a feast for the taste buds. Let’s dive deeper into the origins of this delightful concoction and explore how to create this treat in your own kitchen.
Understanding Cookie Monster Ice Cream
Cookie Monster Ice Cream is a playful tribute to a character that has been a staple of children’s television since the 1960s. The character, known for his insatiable love for cookies, has inspired a multitude of culinary creations, with Cookie Monster Ice Cream standing out as one of the most popular. The dessert first gained traction in ice cream parlors, where its vibrant color and unique flavor profile caught the attention of both young and old customers alike.
As social media platforms exploded with photos of this whimsical treat, its popularity surged, encouraging home bakers and ice cream enthusiasts to recreate it in their kitchens. The beauty of Cookie Monster Ice Cream lies not just in its appearance but also in the nostalgia it evokes. It’s a perfect blend of childhood memories and modern dessert trends, making it an ideal choice for celebrations or even a casual treat at home.
Ingredients Breakdown
To create the ultimate Cookie Monster Ice Cream, it is essential to understand the role of each ingredient that contributes to its unique flavor and texture. Here’s a detailed overview of what you’ll need:
– Heavy Cream: The foundation of any great ice cream, heavy cream is crucial for achieving a rich and creamy base. Its high fat content not only provides a luxurious mouthfeel but also allows the ice cream to churn into a smooth and velvety texture.
– Whole Milk: While heavy cream brings richness, whole milk balances it out, preventing the ice cream from becoming too heavy. It adds a lightness to the mixture, ensuring that each scoop remains easy to enjoy without overwhelming the palate.
– Granulated Sugar: This ingredient is essential for sweetness and plays a pivotal role in the churning process. Sugar lowers the freezing point of the mixture, preventing it from becoming too hard and ensuring a softer, scoopable texture.
– Vanilla Extract: A staple in ice cream recipes, vanilla extract enhances the overall flavor profile. It adds depth to the sweetness and complements the other ingredients without overpowering them.
– Sea Salt: Often overlooked, a pinch of sea salt is vital for balancing the sweetness of the ice cream. It enhances the flavors and adds a subtle complexity, making each bite more enjoyable.
– Chocolate Chip Cookies: The inclusion of chocolate chip cookies adds a delightful crunch and a classic cookie flavor. They provide texture and a familiar taste that many love, making the ice cream even more enjoyable.
– Oreo Cookies: Known for their distinct taste and crunchy texture, Oreos contribute an additional layer of flavor. Their chocolatey richness pairs perfectly with the vanilla base, creating a harmonious blend of tastes.
– Blue Food Coloring: The signature blue hue of Cookie Monster Ice Cream is achieved with food coloring. While it’s primarily for visual appeal, you can adjust the amount to achieve your desired shade. It’s a fun way to engage kids and add a playful element to your dessert.
– Cookie Dough Pieces: While optional, adding cookie dough pieces enhances the texture and brings even more cookie flavor to the mix. They provide a chewy contrast to the creamy base, making each bite an exciting adventure.
Step-by-Step Guide to Making Cookie Monster Ice Cream
Now that you have a comprehensive understanding of the ingredients, let’s walk through the process of making your very own Cookie Monster Ice Cream. Follow these steps to create a delicious batch that will impress friends and family alike.
Step 1: Prepare Your Ice Cream Base
Begin by gathering all your ingredients. In a mixing bowl, combine the heavy cream, whole milk, granulated sugar, and vanilla extract. Whisk the mixture until the sugar is fully dissolved. This step is crucial as it ensures a smooth base without any graininess.
Step 2: Add the Blue Food Coloring
Once your base is ready, it’s time to add the blue food coloring. Start with a few drops and mix well. Assess the color and add more if necessary until you achieve the vibrant blue hue reminiscent of Cookie Monster. Remember, the color will lighten slightly once frozen, so aim for a shade that’s a bit more intense than what you want the final product to be.
Step 3: Incorporate the Crunchy Elements
After reaching your desired color, gently fold in the chopped chocolate chip cookies and Oreo pieces. Make sure they are evenly distributed throughout the mixture. If you’re using cookie dough pieces, this is the perfect time to add them in as well. The goal is to ensure that every scoop is packed with delightful chunks.
Step 4: Chill the Mixture
Cover the bowl with plastic wrap and place it in the refrigerator for at least 1 to 2 hours. Chilling the mixture before churning helps improve the texture and flavor, allowing the ingredients to meld together. This step is essential for achieving that creamy consistency you desire.
Step 5: Churn the Ice Cream
Once your mixture has chilled sufficiently, pour it into your ice cream maker and churn according to the manufacturer’s instructions. This process typically takes about 20 to 25 minutes, depending on your machine. As the ice cream churns, it will become thicker and creamier.
Step 6: Freeze the Ice Cream
After churning, transfer the ice cream to an airtight container. Smooth the top with a spatula and seal it tightly. Place the container in the freezer for at least 4 hours to allow the ice cream to firm up. This step is crucial for achieving the perfect scoopable texture.
Enjoying Your Creation
Once the ice cream has set, scoop it into bowls or cones and enjoy this delightful treat. Cookie Monster Ice Cream is perfect for summer gatherings, birthday parties, or simply as a fun dessert to enjoy on a cozy night in.
Stay tuned for the second part of this article, where we will explore tips and tricks for achieving the best results with your Cookie Monster Ice Cream, as well as answering some common questions about this whimsical dessert.
Preparing the Base
The foundation of any great ice cream is its base, and making Cookie Monster Ice Cream is no exception. To start, you’ll want to whisk together your mixture of heavy cream, whole milk, sugar, and vanilla extract. This step is crucial; ensure that you whisk thoroughly until the sugar is completely dissolved. This not only helps in achieving a smooth texture but also ensures a balanced sweetness throughout your ice cream. If there are any sugar granules left, they can lead to a gritty texture, which is not ideal for this creamy dessert. Whisk until the mixture is uniform and the sugar feels fully integrated.
Once the base is well combined, it’s time to infuse it with that iconic blue color. This is where the fun begins, as you prepare to create an eye-popping, vibrant ice cream that will delight both kids and adults alike.
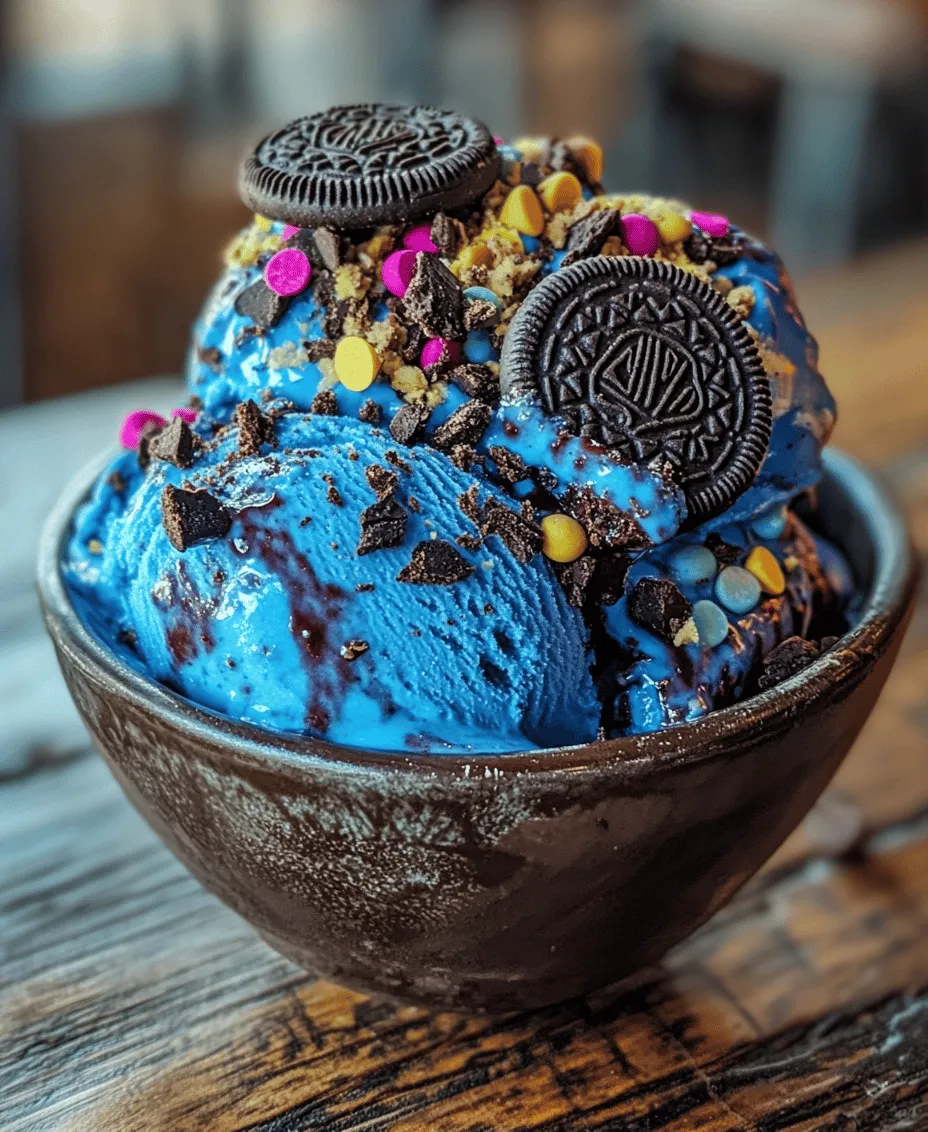
Achieving the Perfect Blue
To get that signature Cookie Monster blue, you’ll need to carefully mix in blue food coloring. Start with just a few drops of gel food coloring, as it’s potent and can quickly turn your ice cream from a soft blue to a deep, dark hue. Use a spatula to fold the coloring into the base, checking the color as you go. If you desire a more vibrant result, gradually add more coloring, mixing thoroughly after each addition. Aim for a bright, cheerful blue that evokes the playful spirit of Cookie Monster himself. Just remember, a little goes a long way!
Folding in Cookies
Now that your base is perfectly colored, it’s time to add the cookies. This is a delicate process that requires folding rather than stirring. Crumble your favorite chocolate chip cookies (or the cookies of your choice) into bite-sized pieces, ensuring they are not too fine—chunks are essential for that delightful crunch against the creamy backdrop of the ice cream.
To fold, use a large spatula and gently lift the base over the cookie pieces, turning the mixture over itself. This technique prevents over-mixing, which can lead to a denser ice cream. You want to maintain the airy quality of your base while ensuring the cookie pieces are evenly distributed throughout. Take your time with this step; the goal is to achieve a harmonious blend where each scoop offers an equal share of ice cream and cookie goodness.
Churning Process
With your mix now ready, it’s time to churn! If you have an ice cream maker, this is where the magic happens. Pour your mixture into the ice cream maker according to the manufacturer’s instructions. The churning process incorporates air into the mixture, giving the ice cream its light, fluffy texture.
Churn for about 20-30 minutes, or until the ice cream reaches a soft-serve consistency. You’ll know it’s ready when it starts to pull away from the sides of the bowl and becomes thick enough to hold its shape. Keep an eye on the consistency; if it’s too soft, it may need a bit more time, but be careful not to over-churn, as this can lead to a grainy texture.
If you don’t have an ice cream maker, you can still make this treat! Pour the mixture into a freezer-safe container and stir every 30 minutes for about 3-4 hours to break up ice crystals, ensuring a smooth final product.
Freezing for Perfection
After churning, transfer the ice cream to an airtight container, smoothing the top with a spatula. To achieve that perfect scoopable texture, it’s essential to freeze the ice cream for at least 4-6 hours, or overnight if possible. This allows the flavors to meld together and the ice cream to firm up, resulting in an indulgent treat that’s ready to be served. The freezing stage is crucial as it will solidify the mixture into a delightful creamy dessert that holds its shape.
The Joy of Customization
One of the most exciting aspects of making Cookie Monster Ice Cream is the opportunity for customization. This recipe serves as a delightful base, but you can easily make it your own with a few simple tweaks.
Swapping Cookies
While classic chocolate chip cookies are a must-have for Cookie Monster Ice Cream, feel free to explore other cookie varieties. Consider using Oreos for a cookies-and-cream twist, or even peanut butter cookies for a nutty flavor explosion. You could also incorporate funfetti cookies for an extra festive touch or use homemade cookies to add a personal flair. The possibilities are endless!
Different Mix-ins
In addition to cookies, you can experiment with various mix-ins to elevate your ice cream experience. Mini chocolate chips, sprinkles, or even crushed candy bars can add different textures and flavors. If you’re feeling adventurous, consider adding some crushed pretzels for a salty-sweet combination or colorful M&Ms for a playful crunch. The best part of making your own ice cream is that you can tailor it to suit your tastes!
Dietary Adjustments
For those with dietary restrictions, there are several adjustments you can make. For a dairy-free version, substitute the heavy cream and whole milk with coconut cream and almond milk, respectively. You can also find dairy-free cookie options to ensure everyone can enjoy this delightful treat. If you’re looking to reduce sugar, consider using a sugar substitute or natural sweeteners like agave or maple syrup. Just be mindful of the different sweetness levels, as some substitutes may require adjusting the quantity used.
Serving Suggestions
Now that your Cookie Monster Ice Cream is made and frozen, it’s time to serve it up in style! Presentation can elevate your dessert experience, so consider these fun serving suggestions.
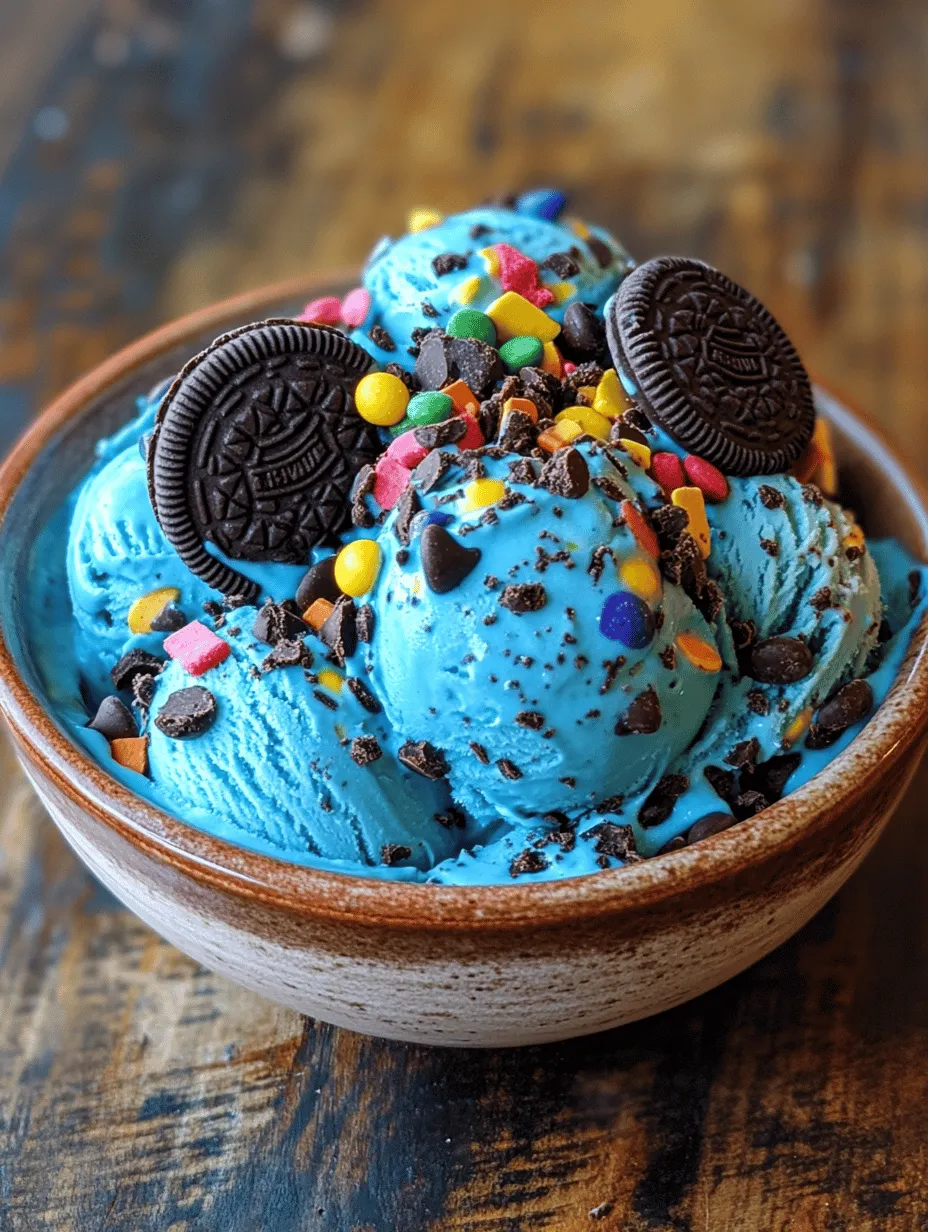
Bowl Presentations
Choose creative serving vessels to enhance the visual appeal of your Cookie Monster Ice Cream. Consider using waffle bowls, mason jars, or even clear cups to showcase the vibrant blue color and cookie chunks. You can create a layered dessert by adding a scoop of ice cream over a layer of crushed cookies or chocolate sauce at the bottom of the bowl. This not only looks impressive but also adds a delightful surprise at the first bite.
Toppings
Toppings can take your Cookie Monster Ice Cream to the next level. Whipped cream is a classic choice, adding a light, fluffy texture. You can also drizzle chocolate or caramel sauce over the top for an indulgent touch. For an extra crunch, sprinkle some additional cookie crumbles or colorful sprinkles to create a festive finish. If you’re feeling adventurous, try adding a scoop of peanut butter or chocolate fudge on top for a decadent treat.
Pairing Options
To complement your Cookie Monster Ice Cream, consider pairing it with a selection of beverages or other desserts. A glass of cold milk is a traditional favorite, enhancing the cookie flavors. Alternatively, a hot cup of coffee can create a delightful contrast to the cold, creamy ice cream. For a fun twist, serve it alongside a slice of chocolate cake or brownies for a double dessert experience that will impress your guests.
Nutritional Information
As with any indulgent treat, it’s essential to enjoy Cookie Monster Ice Cream in moderation. Approximately, each serving (1/2 cup) contains around 250 calories, 15 grams of fat, and 20 grams of sugar. Keep in mind that these values can vary based on the specific ingredients and cookies used. Additionally, always check for potential allergens, as this recipe contains dairy and may include nuts depending on your cookie choices. Being mindful of portion sizes can help you savor this delightful treat while keeping your indulgence in check.
Conclusion
Making Cookie Monster Ice Cream at home is not only a fun and creative endeavor but also a delightful way to bring joy to any gathering. The whimsical blue color and delicious cookie chunks make it an instant hit for both kids and adults alike. This recipe allows for endless customization, enabling you to experiment with different cookies, mix-ins, and dietary adjustments to suit your preferences.
Whether you’re serving it at a birthday party, enjoying a casual summer evening, or simply treating yourself after a long day, Cookie Monster Ice Cream is sure to create memorable moments. So gather your ingredients, unleash your creativity in the kitchen, and enjoy the sweet satisfaction of making this delightful treat from scratch. Happy ice cream making!