Follow Me On Pinterest!


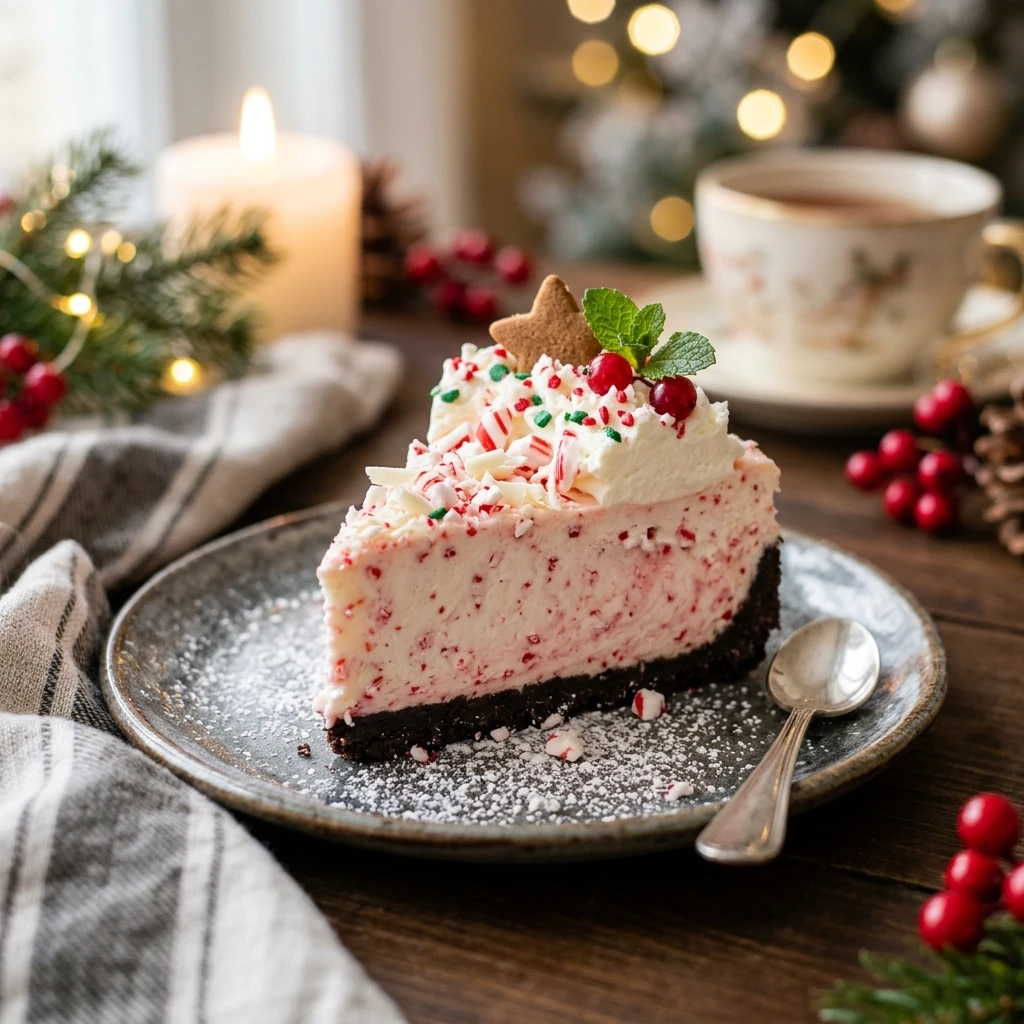
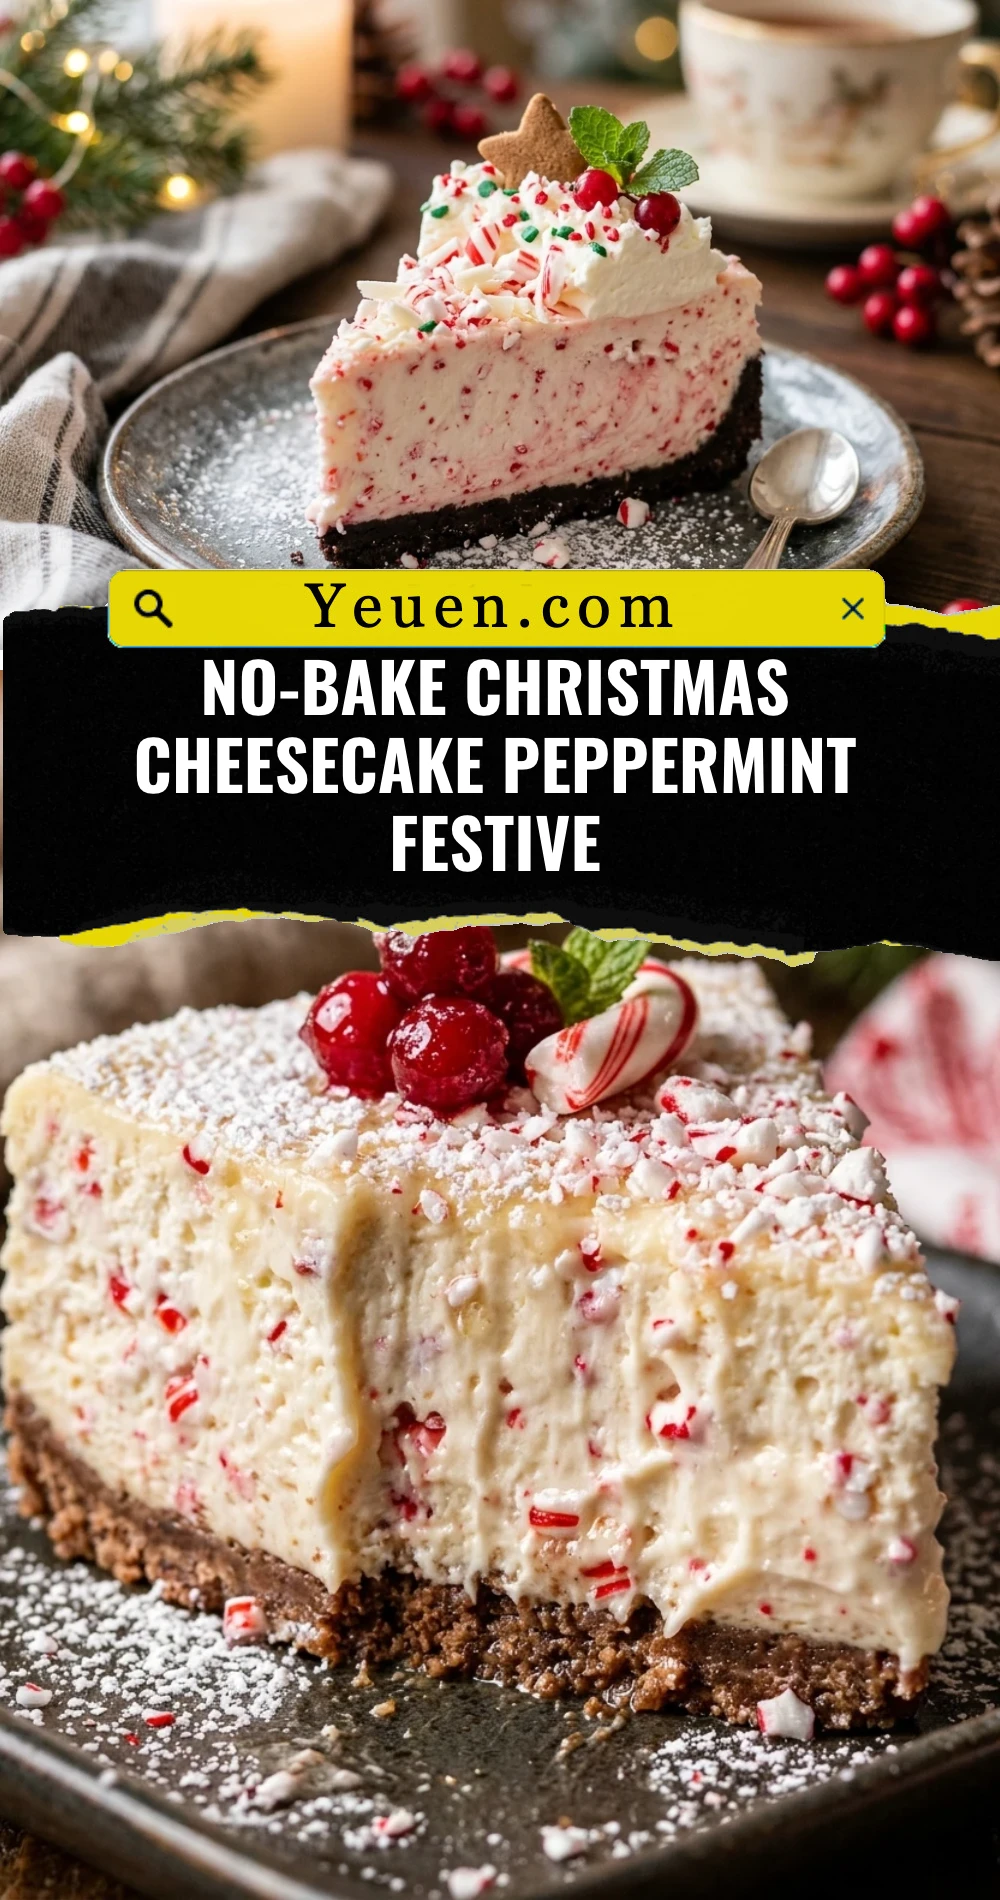
The holiday season is often a whirlwind of oven timers and crowded stovetops, which is why this No-Bake Christmas Cheesecake Peppermint Festive is the absolute hero of the dessert table. Imagine a buttery, chocolatey crust topped with a cloud-like peppermint filling that melts in your mouth with every bite. It captures the essence of a winter wonderland without requiring you to turn on your oven once. Whether you are hosting a grand Christmas dinner or a cozy family gathering, this vibrant, minty treat provides a refreshing finish that everyone will crave. It is festive, effortless, and looks like it came straight from a professional bakery.
Recipe Information
- Prep Time: 30 minutes
- Cook Time: 0 minutes
- Total Time: 30 minutes (plus 6 hours chilling)
- Servings: 12 servings
- Difficulty: Easy
Nutrition values
- Calories: 445 kcal
- Protein: 5g
- Carbs: 42g
Why Make This No-Bake Christmas Cheesecake Peppermint Festive
This recipe is a game-changer for holiday entertaining. First, it saves you precious oven space when you are busy roasting turkey or baking cookies. Second, the combination of cool peppermint and rich cream cheese is incredibly refreshing after a heavy holiday meal. It is also a visually stunning dessert; the contrast between the dark chocolate crust and the pink-tinted, candy-cane-topped filling screams Christmas. Best of all, you can make it a day in advance, leaving you more time to enjoy the festivities with your loved ones.
Ingredients
- 24 chocolate sandwich cookies (like Oreos)
- 5 tablespoons unsalted butter, melted
- 24 ounces cream cheese, softened to room temperature
- 1 cup granulated sugar
- 1 teaspoon peppermint extract
- 1 teaspoon vanilla extract
- 2 cups heavy whipping cream, cold
- 1/2 cup crushed candy canes
- Red gel food coloring (optional for swirling)
- Whipped cream and extra candy canes for garnish
Directions
Step 1: Prepare the Chocolate Crust
Place the chocolate sandwich cookies into a food processor and pulse until they become fine crumbs. Pour the crumbs into a medium bowl and stir in the melted butter until the mixture looks like wet sand. Press the mixture firmly into the bottom and one inch up the sides of a 9-inch springform pan. Use the bottom of a measuring cup to ensure the crust is even and packed tightly. Place the pan in the freezer to set while you prepare the filling.
Step 2: Cream the Base Ingredients
In a large mixing bowl, beat the softened cream cheese and granulated sugar together using a hand mixer or stand mixer. Continue beating on medium-high speed for about 3 to 4 minutes until the mixture is completely smooth and fluffy with no lumps. Scrape down the sides of the bowl often. Mix in the peppermint extract and vanilla extract until well combined.
Step 3: Whip the Cream
In a separate chilled bowl, pour in the cold heavy whipping cream. Beat on high speed until stiff peaks form. Be careful not to overbeat, or it will turn into butter. Gently fold about one-third of the whipped cream into the cream cheese mixture using a spatula to lighten it up. Then, gently fold in the remaining whipped cream and the crushed candy canes until the filling is uniform and airy.
Step 4: Fill and Chill
Remove the crust from the freezer. Pour the cheesecake filling over the crust and smooth the top with an offset spatula. If you want a festive swirl, drop a few small dots of red food coloring on top and use a toothpick to marble the colors. Cover the pan loosely with plastic wrap or foil. Refrigerate the cheesecake for at least 6 hours, though overnight is best, to allow it to set firmly.
Step 5: Garnish and Serve
When you are ready to serve, carefully run a thin knife around the edge of the springform pan before releasing the sides. Top the cheesecake with dollops of whipped cream around the border and sprinkle with extra crushed candy canes. Slice with a sharp knife dipped in hot water for the cleanest cuts. Serve immediately while cold.
Expert Tips for Perfect No-Bake Christmas Cheesecake Peppermint Festive
To ensure your cheesecake sets properly, always use full-fat cream cheese bricks, not the spreadable kind from a tub. It is also vital that your cream cheese is truly at room temperature before mixing to avoid a lumpy texture. For the whipped cream, make sure it is very cold before you start beating it; this helps it achieve the volume needed to hold the cheesecake together. If you want a more intense peppermint flavor, you can add an extra half-teaspoon of extract, but be careful as it can quickly become overwhelming.
Delicious Variations
If you want to switch things up, try a White Chocolate Peppermint version by folding in 1/2 cup of melted and cooled white chocolate into the filling. You can also swap the chocolate cookie crust for a Graham Cracker Crust if you prefer a more traditional flavor. For a fun individual serving idea, press the crust and filling into miniature mason jars or cupcake liners. Another popular twist is the Mocha Peppermint cheesecake, where you add a tablespoon of instant espresso powder to the crust mixture for a sophisticated coffee kick.
Frequently Asked Questions
Can I make this cheesecake ahead of time?
Yes, this is the perfect make-ahead dessert. You can prepare the cheesecake up to two days in advance and keep it in the refrigerator. In fact, the flavor develops and the texture becomes even better after sitting overnight.
How do I store leftovers?
Store any leftover cheesecake in an airtight container in the refrigerator for up to 5 days. Keep it away from strong-smelling foods like onions or garlic, as the cream cheese can absorb those odors.
Can I freeze this no-bake cheesecake?
Absolutely! This cheesecake freezes beautifully. Wrap the set cheesecake tightly in plastic wrap and then foil. It will last in the freezer for up to 3 months. Thaw it in the refrigerator for a few hours before serving.
Why is my no-bake cheesecake runny?
A runny cheesecake usually happens if the whipped cream wasn’t beaten to stiff peaks or if the cream cheese wasn’t beaten enough with the sugar. Ensure you chill the cake for the full 6 hours to give it enough time to firm up.
What can I use instead of candy canes?
If candy canes aren’t available, you can use peppermint bark pieces, red and white sprinkles, or even crushed mint chocolate candies. The goal is to provide that signature minty crunch and festive color.
Conclusion
The No-Bake Christmas Cheesecake Peppermint Festive is a stunning addition to any holiday celebration. It combines the ease of a no-bake recipe with the sophisticated flavors of peppermint and chocolate. With its creamy texture and festive appearance, it is guaranteed to become a new family tradition. Give this recipe a try this December and watch it disappear from the plate in record time!
No-Bake Christmas Cheesecake Peppermint Festive
- Total Time: 30 minutes
- Diet: Vegetarian
Ingredients
Scale
- 24 chocolate sandwich cookies (like Oreos)
- 5 tablespoons unsalted butter, melted
- 24 ounces cream cheese, softened to room temperature
- 1 cup granulated sugar
- 1 teaspoon peppermint extract
- 1 teaspoon vanilla extract
- 2 cups heavy whipping cream, cold
- 1/2 cup crushed candy canes
- Red gel food coloring (optional for swirling)
- Whipped cream and extra candy canes for garnish
Instructions
- Step 1: Prepare the Chocolate Crust
Place the chocolate sandwich cookies into a food processor and pulse until they become fine crumbs. Pour the crumbs into a medium bowl and stir in the melted butter until the mixture looks like wet sand. Press the mixture firmly into the bottom and one inch up the sides of a 9-inch springform pan. Use the bottom of a measuring cup to ensure the crust is even and packed tightly. Place the pan in the freezer to set while you prepare the filling. - Step 2: Cream the Base Ingredients
In a large mixing bowl, beat the softened cream cheese and granulated sugar together using a hand mixer or stand mixer. Continue beating on medium-high speed for about 3 to 4 minutes until the mixture is completely smooth and fluffy with no lumps. Scrape down the sides of the bowl often. Mix in the peppermint extract and vanilla extract until well combined. - Step 3: Whip the Cream
In a separate chilled bowl, pour in the cold heavy whipping cream. Beat on high speed until stiff peaks form. Be careful not to overbeat, or it will turn into butter. Gently fold about one-third of the whipped cream into the cream cheese mixture using a spatula to lighten it up. Then, gently fold in the remaining whipped cream and the crushed candy canes until the filling is uniform and airy. - Step 4: Fill and Chill
Remove the crust from the freezer. Pour the cheesecake filling over the crust and smooth the top with an offset spatula. If you want a festive swirl, drop a few small dots of red food coloring on top and use a toothpick to marble the colors. Cover the pan loosely with plastic wrap or foil. Refrigerate the cheesecake for at least 6 hours, though overnight is best, to allow it to set firmly. - Step 5: Garnish and Serve
When you are ready to serve, carefully run a thin knife around the edge of the springform pan before releasing the sides. Top the cheesecake with dollops of whipped cream around the border and sprinkle with extra crushed candy canes. Slice with a sharp knife dipped in hot water for the cleanest cuts. Serve immediately while cold.
- Cook Time: 30 minutes (plus 6 hours chilling)