Follow Me On Pinterest!


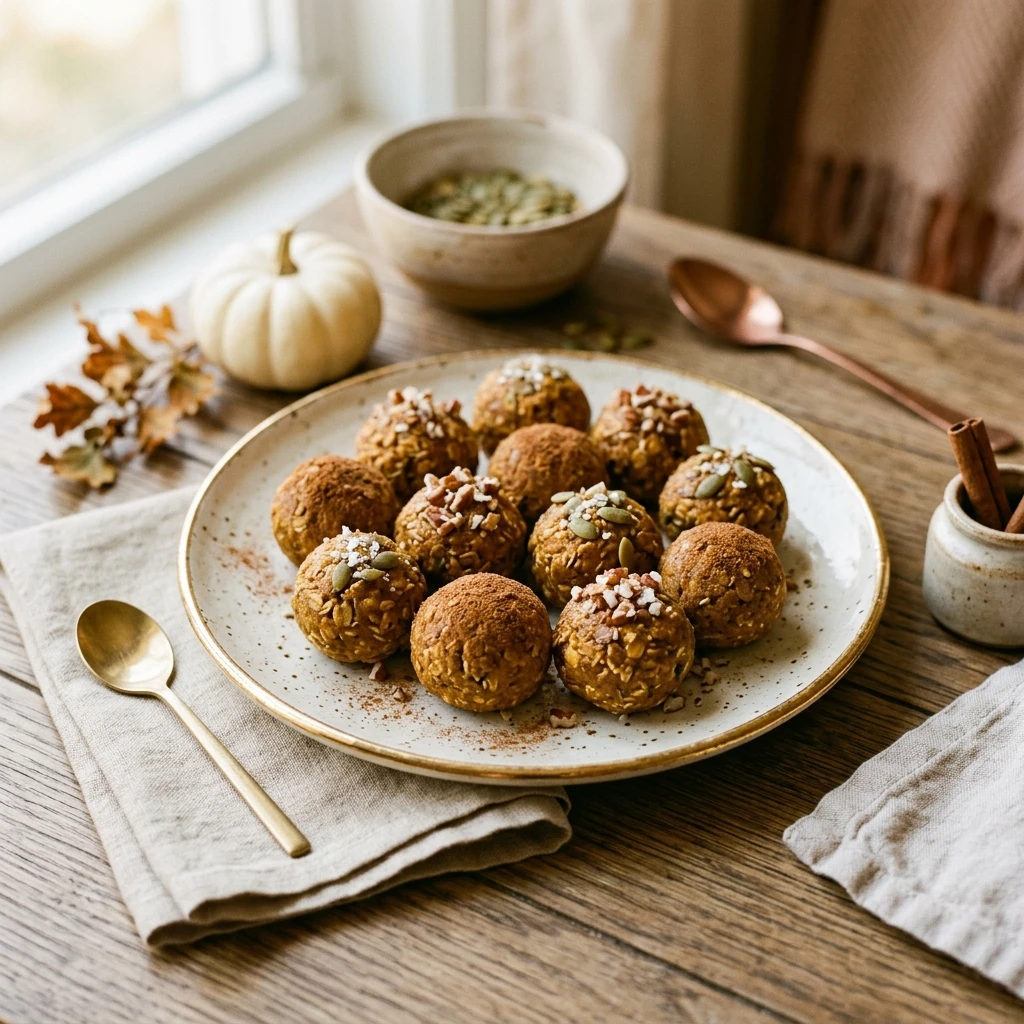
Fall is finally here, and that means pumpkin season has officially arrived! If you are looking for a snack that tastes like a treat but fuels your body like a powerhouse, these Pumpkin Protein Balls are your new best friend. They are completely no-bake, come together in minutes, and pack all the cozy spices of autumn into one bite-sized ball. Whether you need a quick pre-workout boost or a healthy afternoon pick-me-up, these little gems are the perfect solution for busy days when you want something sweet without the sugar crash.
Recipe Information
- Prep Time: 15 minutes
- Cook Time: 0 minutes
- Total Time: 15 minutes
- Servings: 14 balls
- Difficulty: Easy
Nutrition values
- Calories: 115 kcal per ball
- Protein: 6g per ball
- Carbs: 12g per ball
Why Make This Pumpkin Protein Balls No Bake Healthy Fall Snack
These pumpkin protein balls are a nutritional powerhouse that satisfies your sweet tooth. Unlike store-bought snacks, you control every ingredient, ensuring there are no hidden preservatives or excessive refined sugars. They provide a balanced mix of complex carbohydrates from oats, healthy fats from nut butter, and a significant protein punch to keep you full longer. Plus, the aromatic blend of pumpkin pie spice provides that nostalgic fall flavor without the need for a high-calorie latte or pastry. They are also incredibly meal-prep friendly, staying fresh in the fridge for a full week of easy snacking.
Ingredients
- 1 ½ cups rolled oats (certified gluten-free if needed)
- ½ cup vanilla protein powder (whey or plant-based)
- ½ teaspoon pumpkin pie spice
- 1 tablespoon ground flaxseed or chia seeds
- ½ cup pumpkin puree (not pumpkin pie filling)
- 1/3 cup creamy almond butter or peanut butter
- 2 tablespoons maple syrup or honey
- 1 teaspoon vanilla extract
- ¼ cup mini dark chocolate chips (optional)
Directions
Step 1: Combine Dry Ingredients
In a large mixing bowl, whisk together the rolled oats, vanilla protein powder, pumpkin pie spice, and ground flaxseed. Ensure the protein powder is evenly distributed through the oats to prevent clumps. If your oats are very large, you can pulse them in a blender for a few seconds for a smoother texture.
Step 2: Add Wet Ingredients
Add the pumpkin puree, almond butter, maple syrup, and vanilla extract to the bowl with the dry ingredients. Use a sturdy spatula or a wooden spoon to mix everything together. Stir until a thick, sticky dough forms and all the dry bits are fully incorporated. If the mixture seems too dry, add a teaspoon of water; if it is too wet, add another tablespoon of oats.
Step 3: Fold in Extras
Once the base dough is ready, gently fold in the mini dark chocolate chips or any other mix-ins you prefer. Use your spatula to distribute them evenly throughout the mixture so every bite has a bit of chocolatey goodness.
Step 4: Roll and Chill
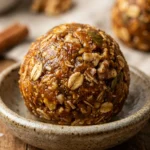
Scoop about one tablespoon of dough at a time and roll it between your palms to form a smooth ball. Place the finished balls on a parchment-lined tray or plate. While you can eat them immediately, chilling them in the refrigerator for at least 30 minutes helps them firm up and allows the flavors to meld together perfectly.
Expert Tips for Perfect Pumpkin Protein Balls No Bake Healthy Fall Snack
Always use plain pumpkin puree rather than pumpkin pie filling, as the latter contains added sugars and spices that will throw off the recipe’s balance. If the dough sticks to your hands while rolling, lightly dampen your palms with water or a tiny bit of coconut oil. For the best texture, use creamy nut butter that is well-stirred; if your nut butter is too dry or crunchy, the balls may crumble. Finally, choose a protein powder you actually enjoy the taste of, as it provides a primary flavor component for this snack.
Delicious Variations
- Double Chocolate: Swap the vanilla protein powder for chocolate protein powder and add a tablespoon of cocoa powder.
- Nut-Free: Use sunflower seed butter or tahini instead of almond butter to make these school-safe.
- Extra Crunch: Add chopped pecans or pumpkin seeds (pepitas) to the mix for added texture and healthy fats.
- Vegan: Ensure you use a plant-based protein powder and maple syrup instead of honey.
- Grain-Free: Replace the oats with a mixture of almond flour and shredded coconut for a lower-carb, grain-free version.
Frequently Asked Questions
How long do these protein balls last in the fridge?
These pumpkin protein balls stay fresh for up to 7 days when stored in an airtight container in the refrigerator. Their texture actually improves after the first few hours as the oats soak up the moisture from the pumpkin.
Can I freeze pumpkin protein balls?
Yes! These freeze beautifully. Place them in a single layer on a tray to freeze initially, then transfer them to a freezer-safe bag. They will last for up to 3 months. Thaw them in the fridge overnight or for 15 minutes at room temperature before eating.
What if my dough is too sticky to roll?
If the dough feels too wet, it is likely because the pumpkin puree had extra moisture. Simply add more rolled oats, one tablespoon at a time, or place the bowl in the fridge for 20 minutes to let the mixture firm up before rolling.
Can I use steel-cut oats instead of rolled oats?
No, steel-cut oats are too hard and gritty for no-bake recipes. Quick oats work well as a substitute for rolled oats, though they will result in a softer, less chewy texture.
Do I have to use protein powder?
While protein powder adds nutrition and helps bind the dough, you can replace it with an equal amount of almond flour or oat flour. You may need to add a bit more sweetener or spice since you will lose the flavor provided by the vanilla protein powder.
Conclusion
These Pumpkin Protein Balls are the ultimate no-bake snack for the autumn season. They bridge the gap between a healthy supplement and a decadent treat, making it easier than ever to stick to your wellness goals while enjoying the flavors of the season. Simple to make, easy to customize, and perfectly portable, they are sure to become a staple in your fall recipe rotation. Whip up a batch this weekend and enjoy a boost of pumpkin spice energy all week long!
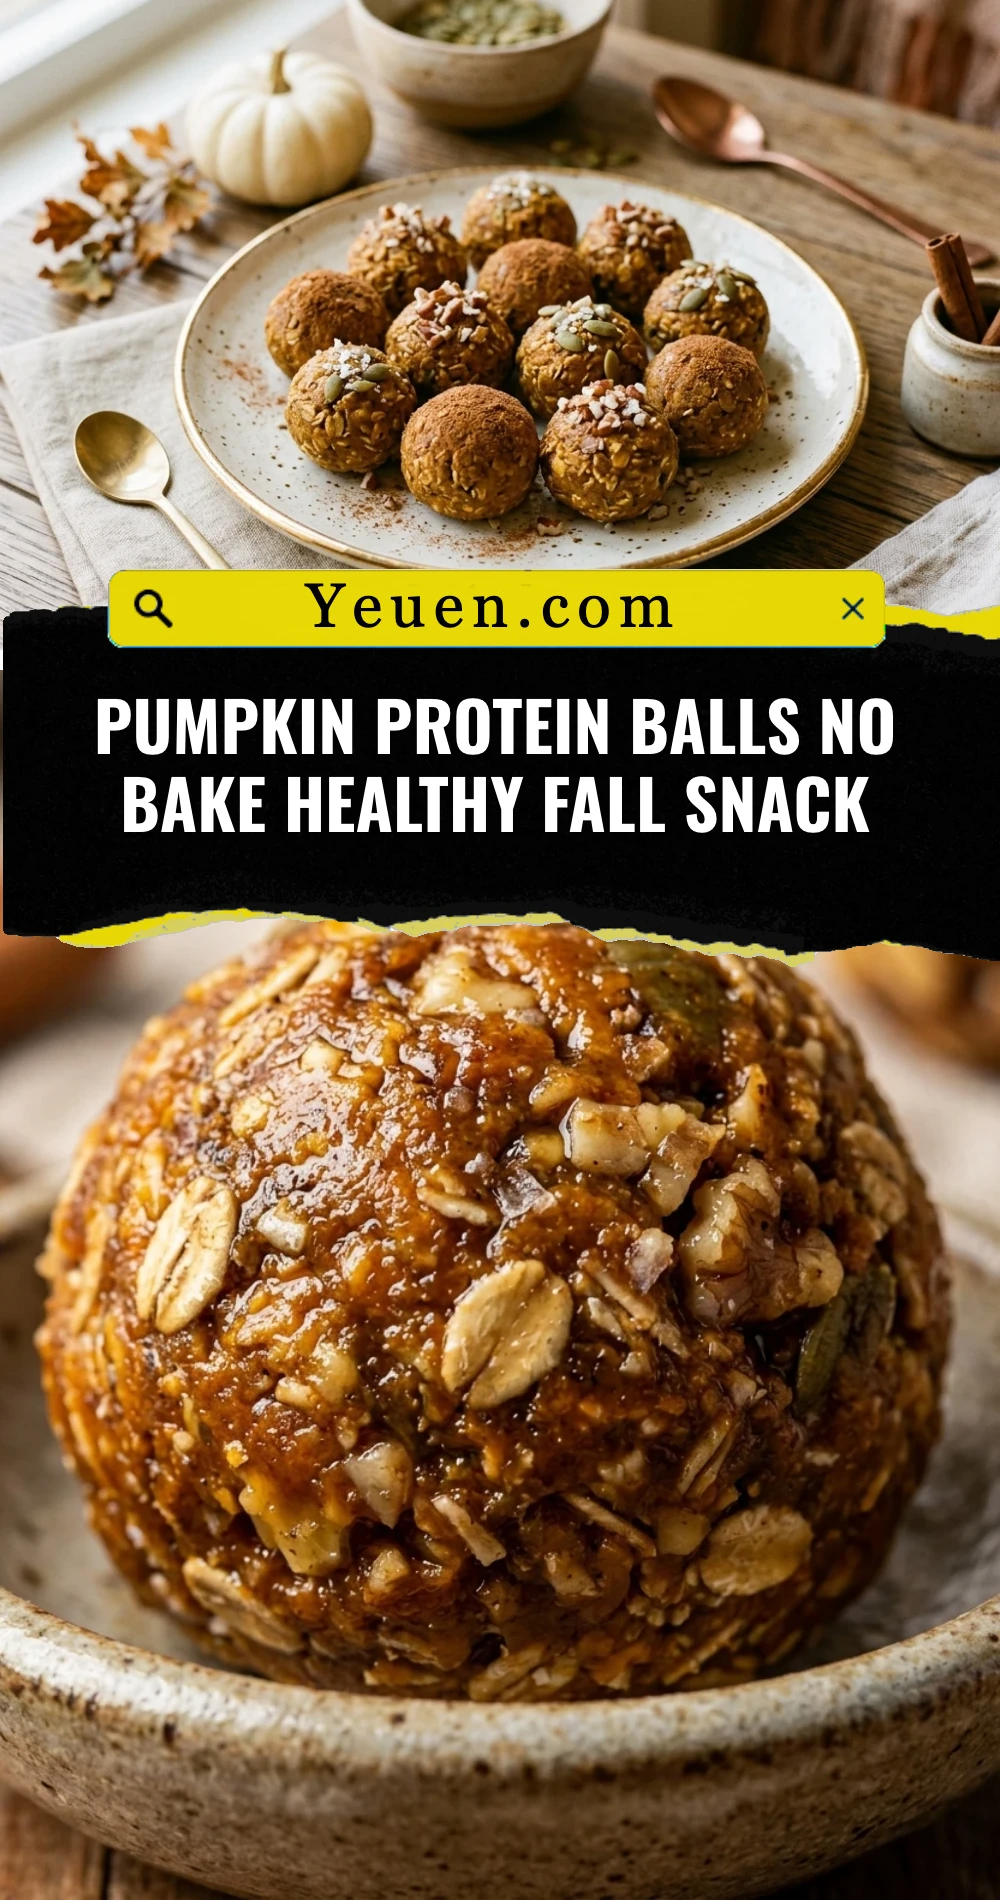
Pumpkin Protein Balls No Bake Healthy Fall Snack
- Total Time: 15 minutes
- Diet: Vegetarian, Gluten-Free
Ingredients
Scale
- 1 ½ cups rolled oats (certified gluten-free if needed)
- ½ cup vanilla protein powder (whey or plant-based)
- ½ teaspoon pumpkin pie spice
- 1 tablespoon ground flaxseed or chia seeds
- ½ cup pumpkin puree (not pumpkin pie filling)
- 1/3 cup creamy almond butter or peanut butter
- 2 tablespoons maple syrup or honey
- 1 teaspoon vanilla extract
- ¼ cup mini dark chocolate chips (optional)
Instructions
- In a large mixing bowl, whisk together the rolled oats, vanilla protein powder, pumpkin pie spice, and ground flaxseed. Ensure the protein powder is evenly distributed through the oats to prevent clumps. If your oats are very large, you can pulse them in a blender for a few seconds for a smoother texture.
- Add the pumpkin puree, almond butter, maple syrup, and vanilla extract to the bowl with the dry ingredients. Use a sturdy spatula or a wooden spoon to mix everything together. Stir until a thick, sticky dough forms and all the dry bits are fully incorporated. If the mixture seems too dry, add a teaspoon of water; if it is too wet, add another tablespoon of oats.
- Once the base dough is ready, gently fold in the mini dark chocolate chips or any other mix-ins you prefer. Use your spatula to distribute them evenly throughout the mixture so every bite has a bit of chocolatey goodness.
- Scoop about one tablespoon of dough at a time and roll it between your palms to form a smooth ball. Place the finished balls on a parchment-lined tray or plate. While you can eat them immediately, chilling them in the refrigerator for at least 30 minutes helps them firm up and allows the flavors to meld together perfectly.
- Cook Time: 15 minutes