Follow Me On Pinterest!


Feeding a hungry crowd for breakfast usually means standing over a hot stove flipping eggs one by one while your guests eat without you. But what if you could cook twelve eggs at once with zero flipping and almost no cleanup? This Sheet Pan Fried Eggs method is the ultimate breakfast hack for hosting brunches, family reunions, or even meal prepping for the week. You get perfectly cooked whites and tender yolks every single time, all on a single baking sheet. Say goodbye to grease splatters and hello to your new favorite kitchen shortcut that lets you enjoy the party as much as your guests do.
Recipe Information
- Prep Time: 5 minutes
- Cook Time: 12 minutes
- Total Time: 17 minutes
- Servings: 12 servings
- Difficulty: Easy
Nutrition values
- Calories: 95 kcal
- Protein: 7g
- Carbs: 1g
Why Make This Sheet Pan Fried Eggs Breakfast Feeds 12 No Mess
This recipe is a game-changer for anyone who loves a big breakfast but hates the labor-intensive process of individual frying. It eliminates the need for multiple pans and constant monitoring. By using the oven, you ensure that every egg cooks evenly at the exact same temperature. It is also a fantastic way to prepare eggs for breakfast sandwiches or sliders, as the eggs naturally take on a uniform shape that fits perfectly on a bun or English muffin. Best of all, using parchment paper means you can literally slide the eggs off the pan and toss the mess in the trash.
Ingredients
- 12 Large Eggs (fresh and at room temperature)
- 2 Tablespoons Unsalted Butter (melted) or high-quality Olive Oil
- 1/2 Teaspoon Sea Salt
- 1/4 Teaspoon Freshly Ground Black Pepper
- 1 Tablespoon Fresh Chives, finely chopped (optional garnish)
- Non-stick cooking spray or parchment paper
Directions
Step 1: Prep the Pan and Preheat
Preheat your oven to 425°F (220°C). This high temperature mimics the heat of a frying pan to give the eggs those slightly crisp edges. Line a large, rimmed 13×18 inch baking sheet with parchment paper or grease it generously with non-stick spray or melted butter. If using butter, brush it evenly across the entire surface and up the sides of the rim to ensure the eggs don’t stick.
Step 2: Arrange and Bake the Eggs
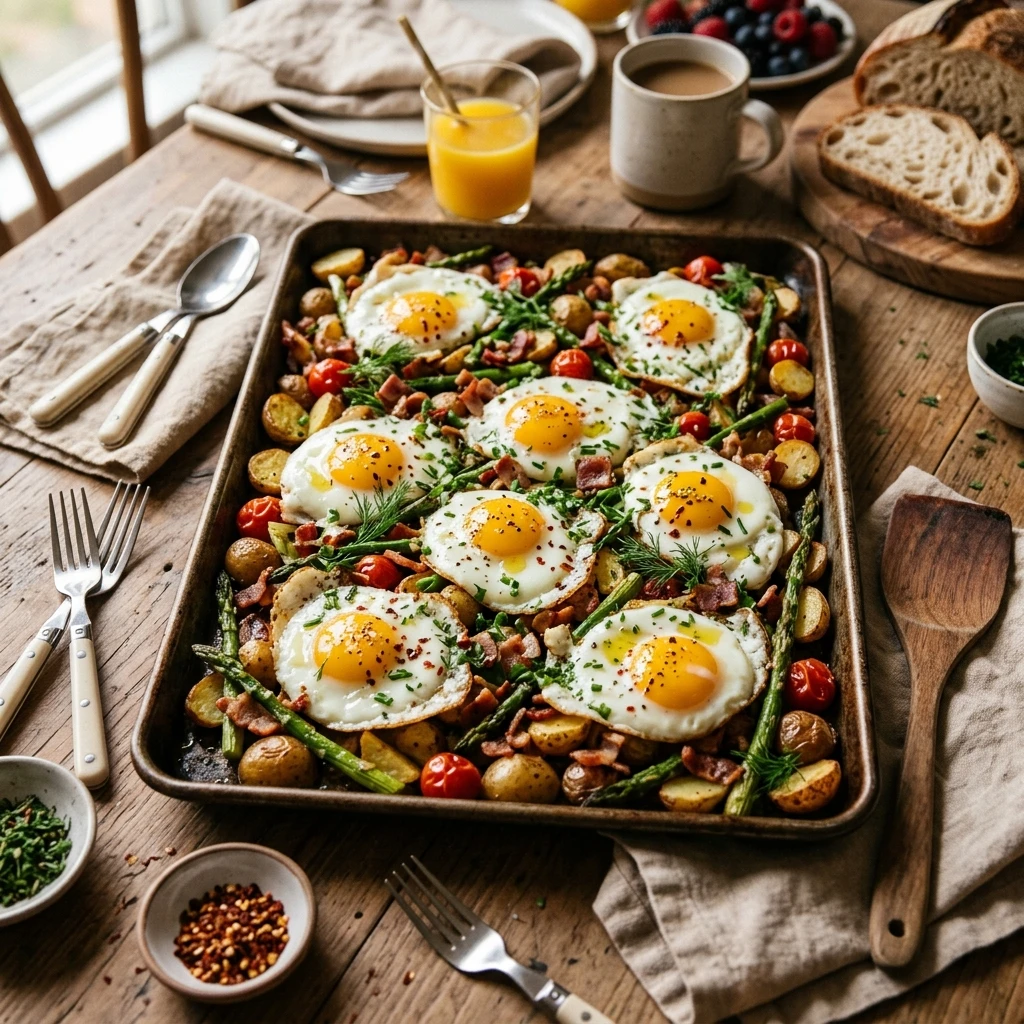
Carefully crack each egg onto the prepared sheet pan. Space them evenly in four rows of three. To prevent broken yolks, you can crack each egg into a small ramekin first before sliding it onto the pan. Sprinkle the salt and pepper over the tops of the eggs. Place the pan in the center rack of the oven. Bake for 8 to 10 minutes if you prefer runny yolks, or 12 to 15 minutes if you want the yolks fully set and firm.
Step 3: Slice, Garnish, and Serve
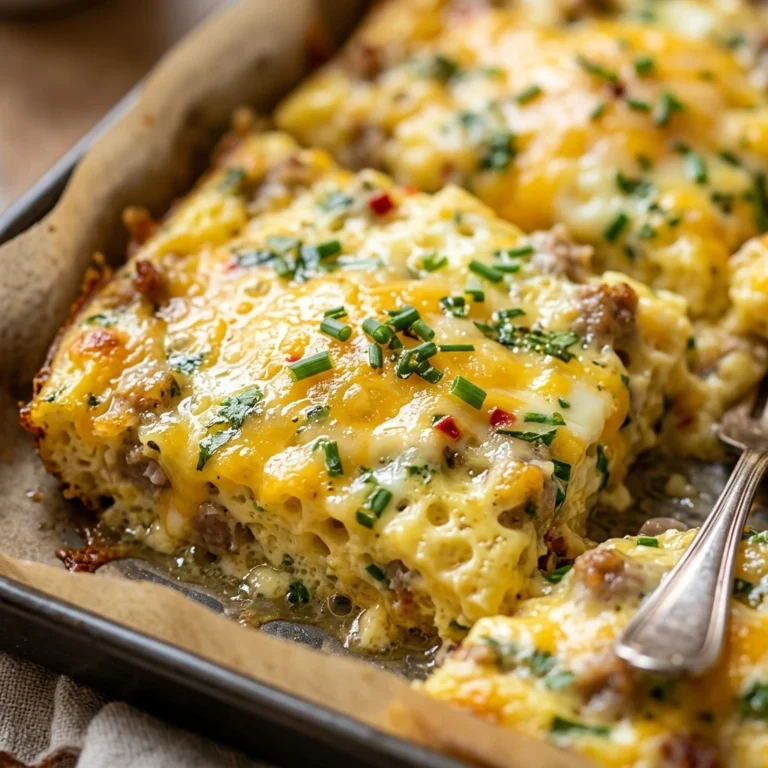
Remove the pan from the oven once the whites are opaque and set. Use a knife or a pizza cutter to slice between the eggs, creating 12 individual squares. Sprinkle the fresh chives or any additional garnishes over the top. Use a flat spatula to lift each egg square from the pan. Serve immediately alongside toast, bacon, or inside a breakfast biscuit.
Expert Tips for Perfect Sheet Pan Fried Eggs Breakfast Feeds 12 No Mess
To get the best results, always use a rimmed baking sheet. This prevents any egg whites from spilling over into your oven. If you want “sunny side up” style eggs with very bright yolks, try cracking the eggs into the pan and then placing a second sheet pan or a piece of foil loosely over the top for the first 5 minutes of baking. This traps steam and cooks the whites faster without clouding the yolks. Additionally, make sure your oven is fully preheated before the eggs go in; a cold oven will result in rubbery whites and overcooked yolks.
Delicious Variations
You can easily customize these eggs to suit your taste. For Cheesy Sheet Pan Eggs, sprinkle shredded cheddar or Monterey Jack over the eggs during the last 2 minutes of baking. If you like a kick, add sliced jalapeños or a drizzle of sriracha before serving to create Spicy Morning Eggs. For a Mediterranean twist, add crumbled feta and dried oregano to the pan before baking. You can also lay thin slices of Canadian bacon or deli ham on the pan first, then crack the eggs directly on top of the meat for an “all-in-one” protein square.
Frequently Asked Questions
1. How do I prevent the yolks from breaking when I crack them onto the pan?
The best way is to crack each egg into a small bowl or ramekin first. This allows you to check for shells and ensures the yolk is intact before you gently slide it onto the baking sheet.
2. Can I make these ahead of time for meal prep?
Yes! These eggs stay fresh in the refrigerator for up to 4 days. Store them in an airtight container with pieces of parchment paper between the layers to prevent sticking. Reheat them in the microwave for 30 seconds or in a toaster oven.
3. What if I want the yolks to be completely runny?
Check the eggs at the 7-minute mark. Every oven runs differently, so keep a close eye on them. As soon as the whites are white and no longer translucent, pull them out immediately.
4. Do I have to use 12 eggs?
No, you can adjust the number of eggs based on your needs. However, keep them spaced out so the whites don’t run into one giant sheet, unless you prefer to cut them into squares later.
5. Why did my eggs stick even though I greased the pan?
High-protein foods like eggs can be stubborn. For a truly “no mess” experience, using high-quality parchment paper is more effective than grease alone. If you must use a bare pan, ensure it is a non-stick variety and use a generous amount of fat.
Conclusion
Sheet Pan Fried Eggs are the ultimate solution for stress-free morning hosting. This method delivers a dozen perfectly portioned eggs in under twenty minutes, leaving your kitchen clean and your guests satisfied. Whether you are building a massive breakfast spread or just prepping your sandwiches for a busy work week, this “no mess” technique is a kitchen skill you will use again and again. Give it a try this weekend and reclaim your morning!
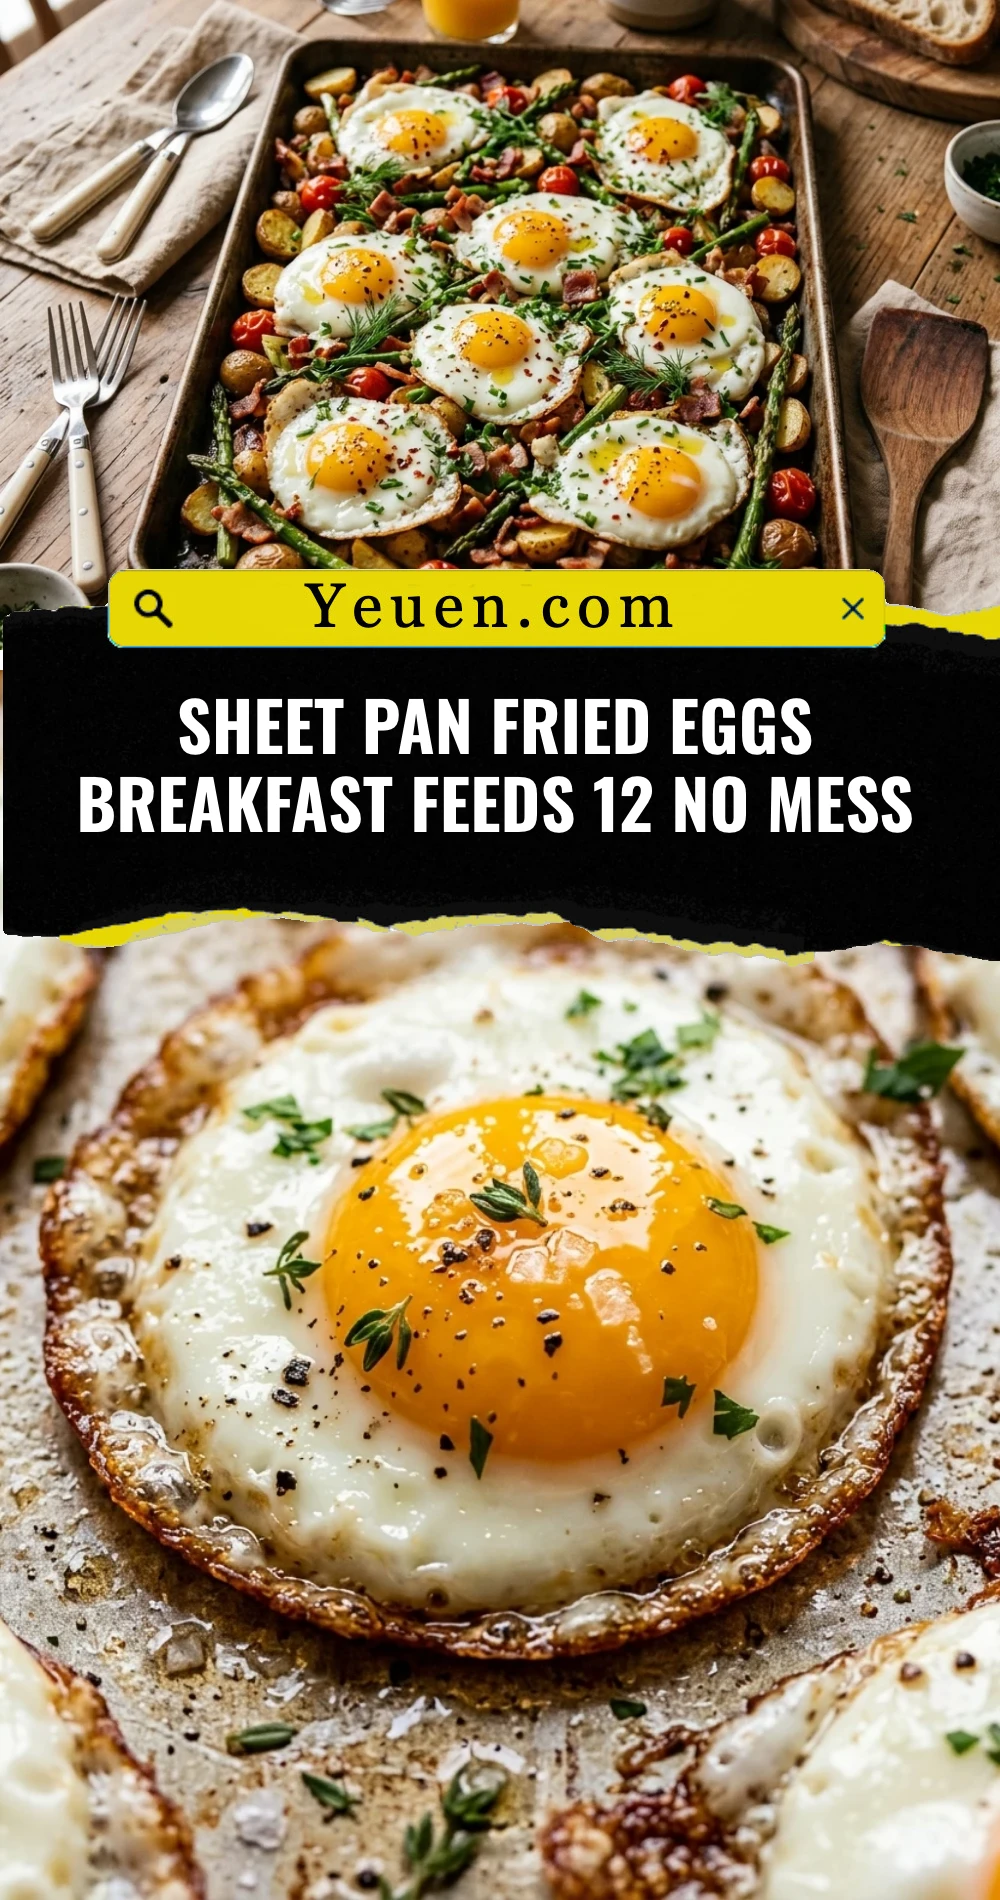
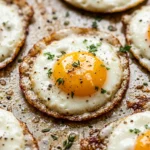
Sheet Pan Fried Eggs Breakfast Feeds 12 No Mess
- Total Time: 17 minutes
- Diet: Vegetarian, Gluten-Free, Keto, Low-Carb
Ingredients
Scale
- 12 Large Eggs (fresh and at room temperature)
- 2 Tablespoons Unsalted Butter (melted) or high-quality Olive Oil
- 1/2 Teaspoon Sea Salt
- 1/4 Teaspoon Freshly Ground Black Pepper
- 1 Tablespoon Fresh Chives, finely chopped (optional garnish)
- Non-stick cooking spray or parchment paper
Instructions
- Step 1: Prep the Pan and Preheat. Preheat your oven to 425°F (220°C). This high temperature mimics the heat of a frying pan to give the eggs those slightly crisp edges. Line a large, rimmed 13×18 inch baking sheet with parchment paper or grease it generously with non-stick spray or melted butter. If using butter, brush it evenly across the entire surface and up the sides of the rim to ensure the eggs don’t stick.
- Step 2: Arrange and Bake the Eggs. Carefully crack each egg onto the prepared sheet pan. Space them evenly in four rows of three. To prevent broken yolks, you can crack each egg into a small ramekin first before sliding it onto the pan. Sprinkle the salt and pepper over the tops of the eggs. Place the pan in the center rack of the oven. Bake for 8 to 10 minutes if you prefer runny yolks, or 12 to 15 minutes if you want the yolks fully set and firm.
- Step 3: Slice, Garnish, and Serve. Remove the pan from the oven once the whites are opaque and set. Use a knife or a pizza cutter to slice between the eggs, creating 12 individual squares. Sprinkle the fresh chives or any additional garnishes over the top. Use a flat spatula to lift each egg square from the pan. Serve immediately alongside toast, bacon, or inside a breakfast biscuit.
- Cook Time: 17 minutes