Introduction
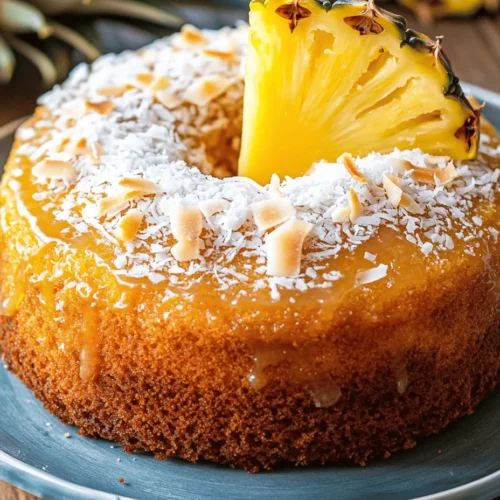
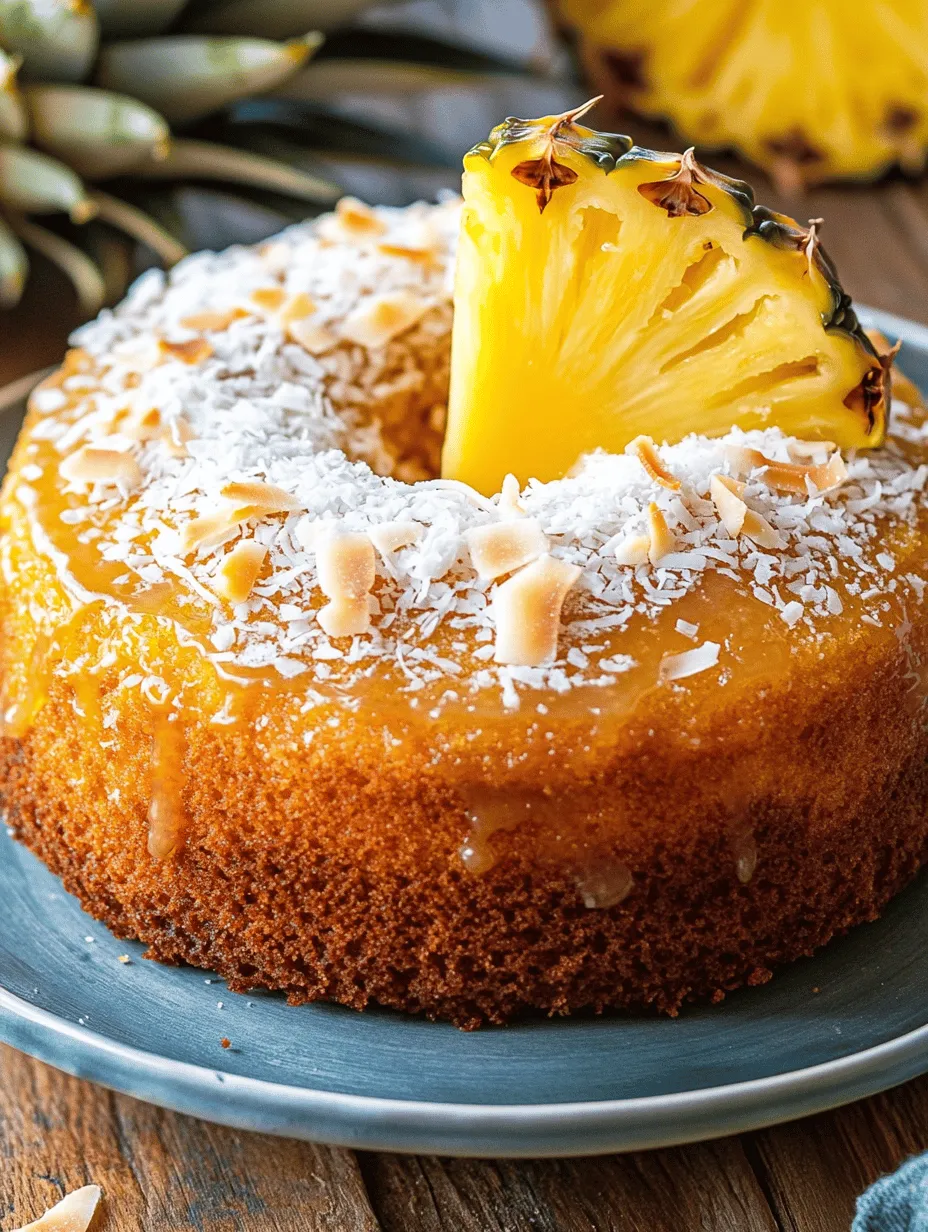
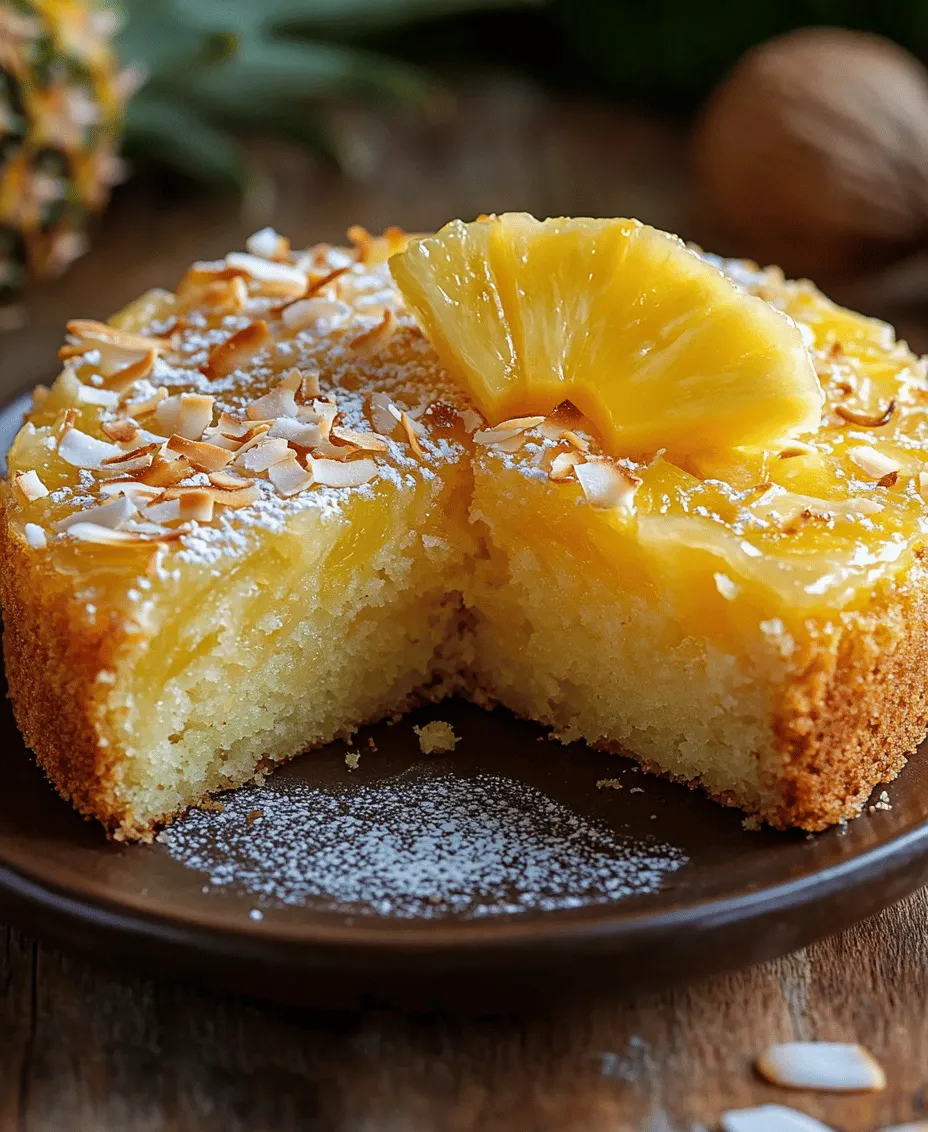
When it comes to desserts that evoke the essence of paradise, few can compete with the vibrant and tropical flavors of pineapple cake. The Tropical Bliss Juicy Pineapple Cake is a delightful homage to sun-soaked beaches and tropical getaways, bringing a taste of the tropics right into your kitchen. This cake is not only visually appealing with its golden hue, but it also boasts a moist texture that melts in your mouth, thanks to the star ingredient: fresh crushed pineapple.
The addition of coconut enhances the cake’s flavor profile, creating a quintessential tropical experience that transports you to a serene island setting with every bite. Whether you’re planning a summer gathering, celebrating a birthday, or simply treating yourself to a slice of paradise, this cake is sure to impress. Its light and refreshing qualities make it the perfect dessert for warm weather, while its rich flavors ensure it satisfies any sweet tooth.
In this article, we will delve into the detailed recipe for the Tropical Bliss Juicy Pineapple Cake, guiding you through each step of the baking process. Get ready to gather your ingredients as we embark on this tropical baking adventure!
Understanding the Ingredients
Before we dive into the preparation process, let’s take a closer look at the key ingredients that make this cake sing with flavor and moisture.
Fresh Crushed Pineapple
The heart of the Tropical Bliss Juicy Pineapple Cake lies in the use of fresh crushed pineapple. This ingredient is crucial not only for flavor but also for the cake’s moisture content. Fresh pineapple is naturally juicy and sweet, providing the cake with a burst of tropical flavor that enhances its overall taste. When using fresh pineapple, make sure to drain it well to avoid excess liquid in the batter. The freshness of the pineapple also contributes to the cake’s vibrant color, making it visually appealing when served.
Unsalted Butter
Next, we have unsalted butter, an essential ingredient in baking that plays a significant role in the cake’s texture. Using unsalted butter allows you to control the amount of salt in your recipe, ensuring a balanced flavor. Butter adds richness and depth to the cake, contributing to its moist and fluffy consistency. It is important to let the butter come to room temperature before creaming it with sugar, as this will lead to better incorporation of air, resulting in a light and airy cake.
Buttermilk
Another key ingredient is buttermilk, which is renowned for its ability to enhance the fluffiness of baked goods. The acidity in buttermilk reacts with the baking soda in the recipe, creating a tender crumb structure that elevates the overall texture. If you don’t have buttermilk on hand, you can easily make a substitute by mixing regular milk with a splash of vinegar or lemon juice, allowing it to sit for a few minutes until it thickens slightly.
Shredded Coconut (Optional)
While not mandatory, shredded coconut is an optional ingredient that adds an extra layer of tropical flavor to the cake. Coconut complements the pineapple beautifully, enhancing the cake’s overall taste and providing a delightful texture contrast. If you love coconut, consider using unsweetened shredded coconut for a more authentic flavor, or sweetened coconut for a richer sweetness. Regardless of your choice, the addition of coconut will elevate your Tropical Bliss Juicy Pineapple Cake to new heights.
Step-by-Step Preparation Process
Now that we’ve covered the essential ingredients, it’s time to roll up our sleeves and dive into the preparation process for this tantalizing cake.
Preheating the Oven
Before you begin mixing your ingredients, the first step is to preheat your oven to the correct temperature, usually around 350°F (175°C). Preheating your oven is crucial for baking success, as it ensures that your cake bakes evenly throughout. An adequately heated oven allows the batter to rise properly, creating that desirable fluffy texture. While the oven is warming up, you can prepare your baking pans and gather the remaining ingredients.
Mixing the Dry Ingredients
Once your oven is preheated, the next step involves mixing the dry ingredients. In a large mixing bowl, combine all-purpose flour, baking powder, baking soda, and a pinch of salt. Whisking these ingredients together thoroughly before adding them to the wet ingredients is essential for ensuring even distribution of the leavening agents. This step prevents clumping and promotes uniform rising during baking, resulting in a consistently fluffy cake.
Creaming Butter and Sugar
With your dry ingredients ready, it’s time to cream the unsalted butter and granulated sugar together in a separate mixing bowl. Using an electric mixer, beat the butter and sugar on medium speed until the mixture becomes light and fluffy, which typically takes about 3-5 minutes. This step is critical, as incorporating air into the butter and sugar mixture is what gives the cake its light texture. Be sure to scrape down the sides of the bowl occasionally to ensure all ingredients are well combined.
Incorporating Eggs and Vanilla
After achieving the perfect fluffy consistency, it’s time to add the eggs, one at a time, mixing well after each addition. Eggs serve as a binding agent in the batter, enriching the flavor and contributing to the overall structure of the cake. Along with the eggs, stir in pure vanilla extract for an aromatic touch that complements the tropical flavors beautifully. The vanilla will enhance the cake’s sweetness and add depth to its flavor profile.
Alternating Dry Ingredients and Buttermilk
Now, it’s time to bring the wet and dry ingredients together. Start by adding approximately one-third of the dry ingredients to the butter-sugar-egg mixture, gently mixing until just combined. Follow this with half of the buttermilk, mixing until smooth. Repeat this process, alternating between the dry ingredients and buttermilk until everything is well incorporated. It’s crucial to avoid overmixing at this stage, as this can lead to a dense cake. The goal is to mix just until no flour streaks remain visible, resulting in a light and airy batter.
With these steps completed, you’re well on your way to creating a delicious Tropical Bliss Juicy Pineapple Cake. Continue to follow the detailed instructions, and you’ll soon be enjoying a slice of this delightful tropical confection. Stay tuned for the next part of the article, where we will cover the baking, cooling, and frosting processes that will take this cake from batter to a stunning centerpiece on your dessert table.
Folding in Pineapple and Coconut
Once you’ve prepared your cake batter, it’s time to fold in the star ingredients that give the Tropical Bliss Juicy Pineapple Cake its delightful flavor—fresh pineapple and shredded coconut. To ensure that these delicate ingredients are incorporated without deflating the batter, use a gentle folding technique.
Techniques for Gently Incorporating Delicate Ingredients
1. Using a Rubber Spatula: A rubber spatula is ideal for this task. It allows you to scrape the bowl effectively while being gentle on the batter.
2. Cutting and Folding: Instead of stirring, use a method of cutting through the batter with the spatula and folding it over the pineapple and coconut. Rotate the bowl as you go to evenly distribute the ingredients.
3. Incorporate Gradually: Add the pineapple and coconut in stages, folding a little at a time. This helps to maintain the airiness of the batter, resulting in a light and fluffy cake.
By following these techniques, you’ll ensure that your cake is both flavorful and airy, with every bite bursting with tropical goodness.
Baking Instructions
With the batter prepared, it’s now time to bake your cake. Preheat your oven to 350°F (175°C) and prepare your baking pan by greasing it and lining the bottom with parchment paper. This not only prevents sticking but also makes for a smoother cake release.
Guidelines on How to Tell When the Cake is Done
To check if the cake is properly baked, use the following methods:
1. Toothpick Test: Insert a toothpick into the center of the cake. If it comes out clean or with a few moist crumbs attached, the cake is done. If wet batter clings to the toothpick, continue baking for a few more minutes.
2. Visual Cues: Look for a golden-brown top and gentle spring back when lightly pressed. The edges may start to pull away from the sides of the pan, indicating that the cake is ready to be removed from the oven.
Cooling and Glazing the Cake
Once your cake has finished baking, it’s crucial to cool it correctly before applying the glaze. Proper cooling affects both the texture of the cake and the glaze’s adherence.
Importance of Cooling the Cake Correctly
Allowing the cake to cool in the pan for about 10-15 minutes before transferring it to a wire rack is essential. This helps the cake to set and makes it easier to remove without breaking. If you glaze a cake while it is still warm, the glaze may melt and run off, leaving you with a less appealing finish.
Preparing the Glaze
The glaze is what elevates this cake from delicious to decadent. To create the perfect glaze, combine powdered sugar with fresh pineapple juice.
Detailed Instructions for Achieving the Ideal Glaze Consistency
1. In a medium bowl, start with 1 cup of powdered sugar.
2. Gradually add 2-3 tablespoons of pineapple juice, mixing until smooth. Adjust the consistency as needed; add more juice if it’s too thick or more powdered sugar if it’s too runny. The glaze should be thick enough to coat the back of a spoon but thin enough to drizzle.
Techniques for Drizzling the Glaze
To achieve an appealing glaze finish, follow these best practices:
1. Use a Squeeze Bottle or Spoon: For an even drizzle, transfer the glaze into a squeeze bottle or use a spoon for a more free-form application.
2. Drizzle from a Height: Hold the bottle or spoon a few inches above the cake while drizzling. This creates a beautiful cascading effect and helps the glaze to set nicely.
3. Glaze After Cooling: Ensure your cake is completely cool before applying the glaze to achieve the best results.
Serving Suggestions
Now that your Tropical Bliss Juicy Pineapple Cake is beautifully glazed and ready to serve, it’s time to think about presentation and pairings.
Presentation Ideas for Serving the Cake
Consider using a cake stand to elevate your presentation. A simple slice of cake can be garnished with fresh pineapple slices or a sprinkle of toasted coconut flakes for an extra touch of tropical flair.
Pairing the Cake with Beverages
This cake pairs wonderfully with beverages that complement its tropical flavors. Consider serving it with:
– Tropical Smoothies: A blend of mango, banana, and coconut milk enhances the cake’s flavors.
– Iced Tea: A refreshing iced tea, perhaps flavored with lemon or mint, balances the sweetness of the cake.
Suggestions for Garnishing
For a truly tropical presentation, garnish your cake with:
– Fresh pineapple slices arranged artfully on the plate.
– A sprinkle of toasted coconut flakes on top of the glaze for added texture and flavor.
Nutritional Insights
Understanding the nutritional aspects of your ingredients can enhance your cooking experience and help you make informed choices.
Analyzing the Nutritional Aspects of the Cake Ingredients
The Tropical Bliss Juicy Pineapple Cake includes ingredients that offer nutritional benefits. Fresh pineapple is an excellent source of vitamins C and B6, manganese, and dietary fiber. Coconut adds healthy fats and may provide additional fiber.
Discussing Potential Modifications for Dietary Preferences
If you have dietary restrictions, consider these modifications:
– Gluten-Free: Substitute all-purpose flour with a gluten-free flour blend to make this cake gluten-free.
– Vegan Alternatives: Replace eggs with flax eggs (1 tablespoon of ground flaxseed mixed with 2.5 tablespoons of water for each egg) and use coconut oil instead of butter.
The Balance of Sweetness and Tropical Flavors in Moderation
While this cake is undeniably sweet, enjoying it in moderation allows you to indulge without overdoing it. The natural sweetness from the pineapple balances the sugars in the batter, providing a rich yet refreshing taste.
Conclusion
Baking the Tropical Bliss Juicy Pineapple Cake is not just about creating a dessert; it’s about crafting an experience filled with tropical flavors and delightful textures. From the moment you mix the batter to the final glaze drizzling, this cake is a celebration of creativity in the kitchen.
Its versatility makes it suitable for various occasions, whether it’s a summer barbecue, a birthday celebration, or simply a treat for yourself. The appeal of this cake lies in its ability to bring people together, inviting them to savor each slice filled with the essence of the tropics.
As you embark on your baking journey, embrace your creativity. Experiment with serving suggestions, garnishes, and flavor pairings to make this cake truly your own. The joy it brings to gatherings and celebrations is a testament to the magic of baking. Enjoy every moment as you share this delicious Tropical Bliss Juicy Pineapple Cake with family and friends.