

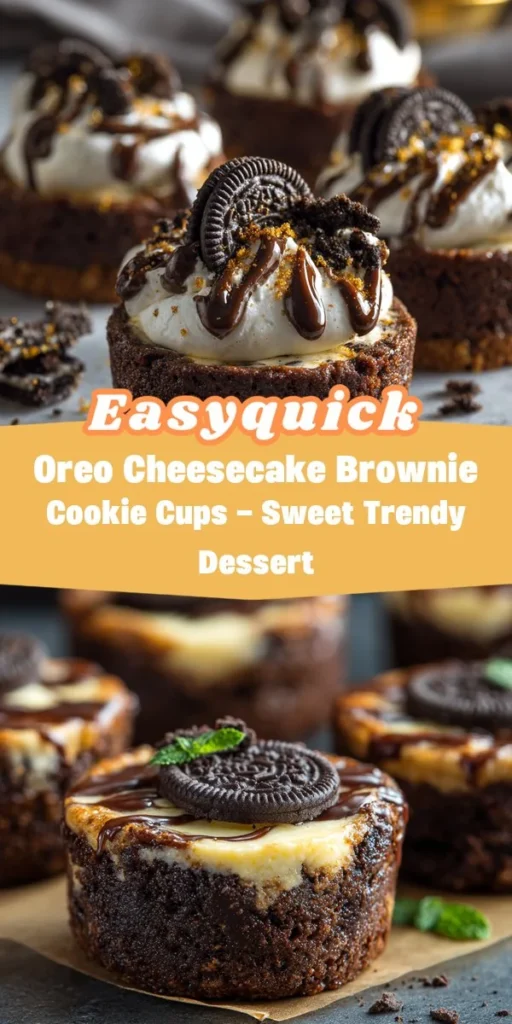
Oreo Cheesecake Brownie Cookie Cups: A Decadent Treat for All Occasions
About This Recipe
Oreo Cheesecake Brownie Cookie Cups are a delightful fusion of three beloved desserts: brownies, cheesecake, and Oreos. This treat combines the rich, fudgy goodness of brownies with the creamy, tangy flavor of cheesecake, all nestled into a whole Oreo cookie base. These cookie cups are not just visually appealing; they provide a fantastic taste experience that marries chocolate and cream cheese in every bite.
Whether you’re hosting a party, celebrating a special occasion, or just indulging yourself, these cookie cups are a perfect choice. They cater to both chocolate lovers and cheesecake fans, making them a versatile dessert that can satisfy various cravings. Plus, their bite-sized format makes them easy to share (or keep all to yourself)!
Why You’ll Love This
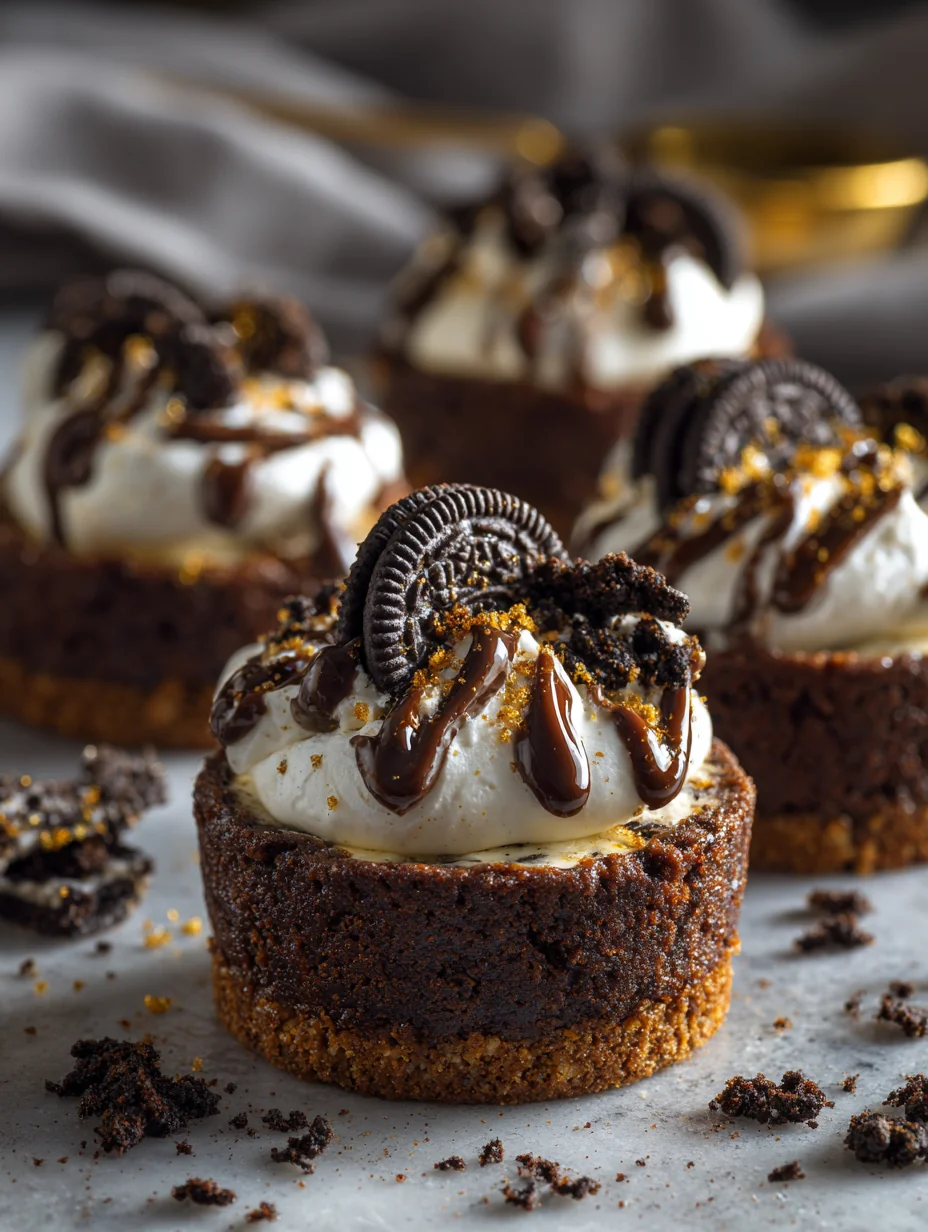
There are countless reasons to fall in love with Oreo Cheesecake Brownie Cookie Cups. For starters, the rich flavors are an absolute delight, combining the decadence of chocolate brownies with the smoothness of cheesecake and the crunch of Oreos. The creamy texture of the cheesecake layer contrasts beautifully with the dense brownie base, creating a mouthwatering experience.
Additionally, these cookie cups evoke a sense of nostalgia for many people who grew up enjoying Oreos. They are not only delicious but also visually striking, making them an impressive addition to any dessert table. Best of all, they’re surprisingly easy to make, even for beginners. With just a few simple steps, you can create a show-stopping dessert that will leave your friends and family raving.
Ingredient Breakdown
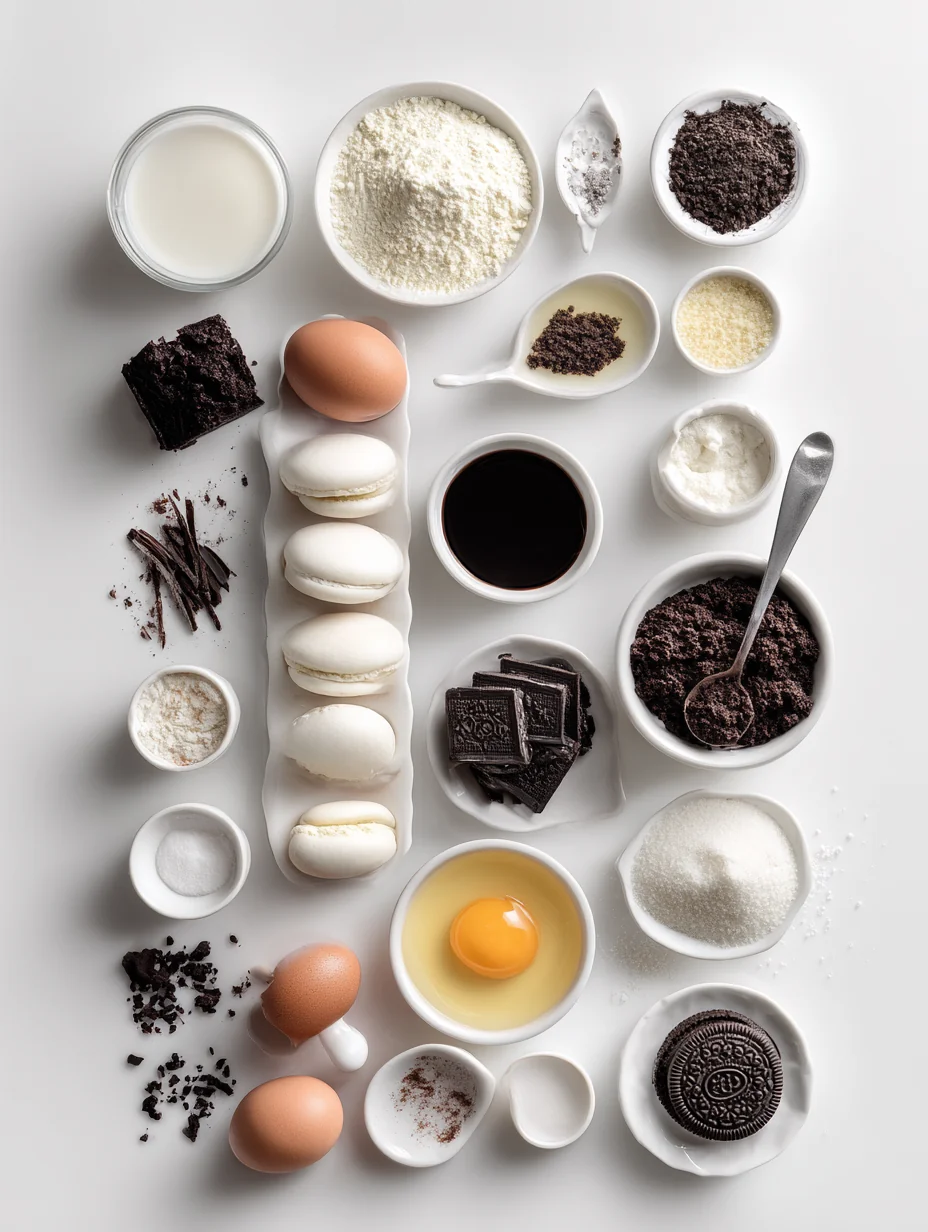
Understanding the ingredients you will use is essential for any beginner baker. Here’s a detailed breakdown of what you’ll need for Oreo Cheesecake Brownie Cookie Cups:
For the Brownie Layer:
- Semi-sweet Chocolate Chips: These chocolate chips bring a rich and deep chocolate flavor to your brownie layer. They melt beautifully, adding moisture and a fudgy texture that is essential for a perfect brownie.
- Unsalted Butter: Butter plays a crucial role in achieving the ideal texture for brownies. It adds richness and helps create a moist and tender crumb. Using unsalted butter allows you to control the salt content in your recipe.
- Granulated Sugar: This is the sweetener for your brownies, contributing both sweetness and moisture. Sugar also helps create a shiny top layer on your brownies as they bake.
- Eggs: Eggs are essential for binding the ingredients together, providing structure to your brownies. They also add moisture and richness to the batter.
- Vanilla Extract: A splash of vanilla enhances the overall flavor of the brownies, adding depth to the chocolate taste. It’s a simple addition that makes a big difference.
- All-purpose Flour: This ingredient provides structure to the brownies. It helps form the base, giving the brownies their characteristic chewy texture.
- Cocoa Powder: Cocoa powder intensifies the chocolate flavor of your brownies. It adds richness and contributes to the overall brownie structure.
- Salt: A pinch of salt balances the sweetness of the sugar, enhancing the overall flavor of the brownies. It’s a vital ingredient that should never be overlooked.
For the Cheesecake Layer:
- Cream Cheese: The star ingredient in the cheesecake layer, cream cheese provides a creamy texture and tangy flavor that complements the sweetness of the brownies and Oreos.
- Granulated Sugar: Just like in the brownie layer, sugar sweetens the cheesecake mixture and helps balance the tanginess of the cream cheese.
- Egg: The egg binds the cheesecake ingredients together, ensuring a smooth and cohesive filling. It also helps the cheesecake set while baking.
- Vanilla Extract: Adding vanilla extract to the cheesecake layer enhances its flavor, making it more delicious and aromatic.
- Crushed Oreo Cookies: These add an extra layer of flavor and texture to the cheesecake layer. The crushed cookies provide a delightful crunch and a familiar Oreo taste.
For Assembly:
- Whole Oreo Cookies: These serve as the base layer for each cookie cup. Their crisp texture holds up well against the brownie and cheesecake layers, providing a perfect foundation.
- Whipped Cream: While optional, whipped cream makes for a lovely topping that adds lightness and an extra touch of indulgence to your cookie cups.
Step-by-Step Preparation
Now that you know your ingredients, let’s dive into the preparation process. Follow these simple steps to create your Oreo Cheesecake Brownie Cookie Cups:
1. Preheat the Oven and Prepare the Muffin Tin
Start by preheating your oven to 350 degreesF (175 degreesC). While the oven is heating, prepare your muffin tin by greasing it lightly with cooking spray or lining it with cupcake liners. This will help prevent sticking and make it easier to remove the cookie cups once they are baked.
2. Make the Brownie Batter
1. In a microwave-safe bowl, combine 1 cup of semi-sweet chocolate chips and 1/2 cup of unsalted butter. Microwave in 30-second intervals, stirring in between, until the chocolate and butter are completely melted and smooth.
2. Once melted, remove the bowl from the microwave and stir in 1 cup of granulated sugar until well combined.
3. Add 2 large eggs, one at a time, mixing well after each addition. Then, stir in 1 teaspoon of vanilla extract.
4. In a separate bowl, whisk together 1/2 cup of all-purpose flour, 1/4 cup of cocoa powder, and a pinch of salt. Gradually add this dry mixture to the wet ingredients, stirring until just combined. Be careful not to overmix.
3. Make the Cheesecake Batter
1. In a mixing bowl, beat 8 ounces of cream cheese until smooth and creamy. You can use a hand mixer or a stand mixer for this step.
2. Add 1/3 cup of granulated sugar and mix until well combined.
3. Beat in 1 large egg and 1 teaspoon of vanilla extract until smooth.
4. Finally, fold in 1 cup of crushed Oreo cookies, mixing gently until evenly distributed.
4. Assemble the Cookie Cups
1. Place a whole Oreo cookie at the bottom of each muffin tin cavity.
2. Spoon approximately 1 tablespoon of brownie batter over each Oreo, filling the cups about halfway.
3. Next, carefully layer the cheesecake batter on top of the brownie layer, filling each cup to the top.
5. Baking Instructions
1. Place the muffin tin in the preheated oven and bake for about 20-25 minutes. Keep an eye on them; they are done when the edges are set but the centers may still look slightly soft.
2. To check for doneness, gently shake the muffin tin. If the centers jiggle slightly but the edges are firm, they are ready.
Now that you have prepared your brownie cookie cups and baked them to perfection, let them cool in the tin for about 10 minutes before transferring them to a wire rack to cool completely.
Stay tuned for the next section, where we will explore finishing touches and serving suggestions to make your Oreo Cheesecake Brownie Cookie Cups truly irresistible!
Component Preparation
Melting Chocolate and Butter
To create a rich and fudgy brownie base, melting chocolate and butter properly is crucial. Here are some best practices:
1. Double Boiler Method: Fill a pot with a few inches of water and bring it to a gentle simmer. Place a heatproof bowl on top (ensure it doesn’t touch the water) and add your chopped chocolate and butter. Stir continuously until melted and smooth. This method prevents burning.
2. Microwave Method: If you prefer using a microwave, chop the chocolate and butter into small pieces and place them in a microwave-safe bowl. Heat in 30-second intervals at medium power, stirring in between until fully melted. Be cautious, as chocolate can easily burn in the microwave.
Achieving the Perfect Cheesecake Batter Consistency
For a creamy cheesecake layer, it’s essential to mix the ingredients properly:
1. Softened Cream Cheese: Make sure your cream cheese is at room temperature. This helps in achieving a smooth batter without lumps. If it’s too hard, microwave it for about 10-15 seconds to soften.
2. Mixing Order: Start by beating the cream cheese alone until smooth, then gradually add sugar, eggs, and flavorings. Mix until just combined; overmixing can lead to cracks in the cheesecake layer.
3. Testing Consistency: The batter should be thick but pourable. If it’s too thick, you can add a tablespoon of milk to reach the desired consistency.
Crushing Oreo Cookies
To achieve the perfect cookie crumb for your brownie cups:
1. Use a Food Processor: This is the quickest method. Just pulse the Oreos until they resemble fine crumbs. If you don’t have one, you can use the following method.
2. Ziploc Bag Method: Place Oreos in a large Ziploc bag, seal it tightly, and use a rolling pin to crush them. This prevents any mess and keeps everything contained.
3. Avoid Over-Crushing: You want crumbs, not dust. Stop when the pieces are small but still have some texture.
Assembly & Serving Tips
Layering Techniques
1. Brownie Base First: Start by spooning your brownie batter into the muffin liners, filling them about 2/3 full. This ensures there’s enough room for the cheesecake layer without overflowing.
2. Cheesecake Layer: After adding the brownie layer, spoon the cheesecake batter gently on top. For a visually appealing look, you can use a piping bag to ensure neatness.
3. Swirling: For added aesthetic, use a toothpick to swirl the brownie batter and cheesecake batter together slightly before baking.
Filling Muffin Liners
1. Avoid Overfilling: Ensure you don’t exceed the 3/4 mark of the muffin liners. The cookie cups will rise slightly while baking.
2. Even Distribution: Use a cookie scoop or two spoons to ensure a uniform amount of batter in each liner.
Serving Suggestions
1. Portion Sizes: Each cookie cup is rich and indulgent. Depending on your serving size, consider cutting them in half for smaller portions.
2. Pairing Ideas: These cookie cups pair wonderfully with a scoop of vanilla ice cream or a dollop of whipped cream. A drizzle of chocolate sauce or caramel can elevate the flavors even further.
Presentation
Using Decorative Liners
1. Colorful Liners: Enhance the visual appeal by using decorative cupcake liners. Choose colors that complement the chocolate and cream cheese for a festive look.
2. Layering: If serving at a party, consider placing the cookie cups in muffin tins for a tiered effect.
Topping Ideas
1. Crushed Oreos: Sprinkle crushed Oreos on top of the cheesecake layer for added texture and visual interest.
2. Chocolate Drizzle: Melt some chocolate and drizzle it over the top of the cookie cups for an elegant touch.
3. Fresh Fruit: Add fresh berries or slices of fruit to lighten the dessert and introduce a fresh flavor contrast.
Serving on Platters
1. Dessert Cups: For a chic presentation, serve individual cookie cups in clear dessert cups, showcasing the layers.
2. Platter Display: Arrange the cookie cups on a decorative platter, garnishing with mint leaves or edible flowers for an eye-catching display.
Variations
Flavor Twists
1. Different Oreos: Experiment with various flavored Oreos, such as mint, peanut butter, or birthday cake. Each variety adds a unique twist to the classic recipe.
2. Flavored Cream Cheese: Swap regular cream cheese for flavored options like strawberry or vanilla to enhance the cheesecake layer.
3. Dietary Adaptations: For gluten-free versions, use gluten-free Oreos and substitute regular flour with a gluten-free blend. For vegan adaptations, consider using a plant-based cream cheese and a vegan brownie mix.
Storage Guidelines
Cooling and Storing
1. Cooling: Allow the cookie cups to cool completely in the muffin tin before removing them. This helps them maintain their shape.
2. Refrigeration: Store the cooled cookie cups in an airtight container in the fridge for up to five days.
3. Freezing: For longer storage, these cookie cups can be frozen. Place them in a single layer in a freezer-safe container. They will keep well for up to three months.
Reheating
1. Thawing: If frozen, allow the cookie cups to thaw in the refrigerator overnight before serving.
2. Microwave Method: Reheat individual cups in the microwave for about 10-15 seconds, just until warmed through, being careful not to overheat.
FAQ
Can I make these cookie cups ahead of time?
Yes, you can prepare the cookie cups a day in advance. Store them in the refrigerator until you’re ready to serve.
How do I know when they are fully baked?
The cookie cups are done when the edges look set, and the center is slightly jiggly. They will continue to firm up as they cool.
Can I substitute ingredients for allergies or dietary restrictions?
Absolutely! You can use gluten-free Oreos, dairy-free cream cheese, and other substitutes to cater to dietary needs.
What should I do if the cheesecake layer cracks?
If the cheesecake layer cracks while baking, it’s usually due to overmixing or overbaking. To prevent this, mix just until combined and check for doneness a few minutes early.
Conclusion
Oreo Cheesecake Brownie Cookie Cups are a delightful blend of textures and flavors that are sure to impress. With easy-to-follow steps and creative variations, this recipe is perfect for both beginners and seasoned bakers alike. So why not gather your ingredients and indulge in making these delicious treats? You’ll be rewarded with a dessert that’s not only visually stunning but also a hit at any gathering. Enjoy the process and the scrumptious outcome!