Follow Me On Pinterest!


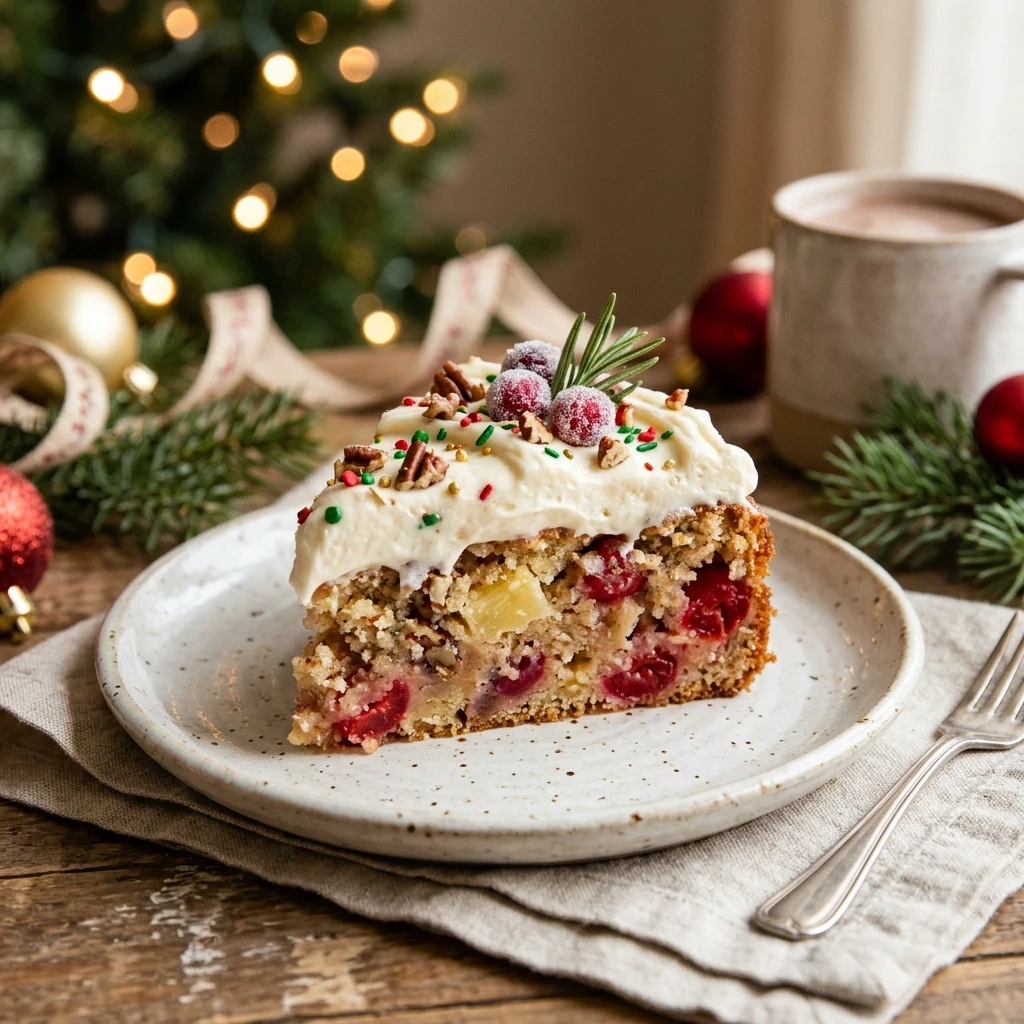
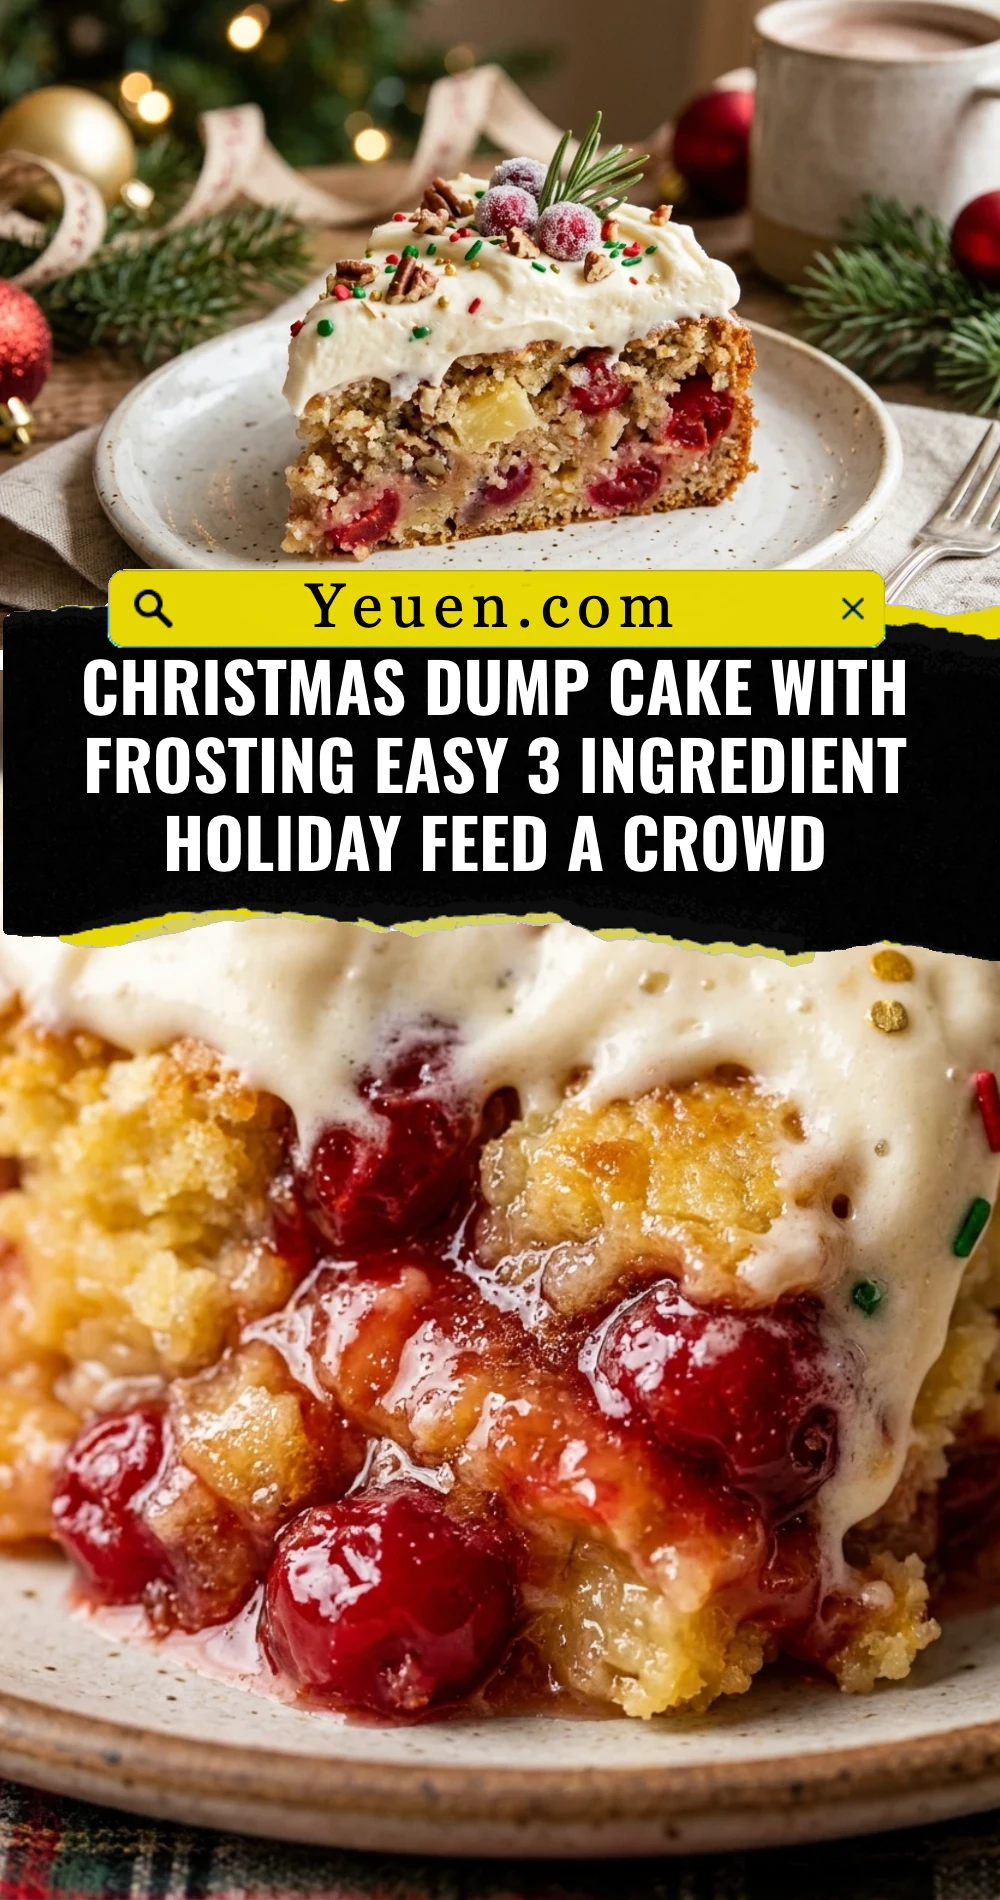
The holiday season often feels like a whirlwind of gift wrapping, decorating, and endless social gatherings. When you are tasked with bringing a dessert to a festive potluck or hosting a large family dinner, the last thing you want is a complicated recipe that keeps you in the kitchen for hours. This Christmas Dump Cake with frosting is the ultimate holiday “cheat code.” It uses just three simple ingredients to create a warm, bubbly, and decadent dessert that looks like you spent all afternoon baking. With its vibrant red filling and snowy white topping, it perfectly captures the spirit of Christmas while feeding a hungry crowd with minimal effort.
Recipe Information
- Prep Time: 5 minutes
- Cook Time: 45 minutes
- Total Time: 50 minutes
- Servings: 15 servings
- Difficulty: Easy
Nutrition values
- Calories: 285 kcal
- Protein: 2g
- Carbs: 52g
Why Make This Christmas Dump Cake With Frosting Easy 3 Ingredient Holiday Feed A Crowd
This recipe is a lifesaver for busy hosts. First, the prep work is practically non-existent; you literally “dump” the ingredients into a pan and walk away. Second, it is incredibly cost-effective. You don’t need a pantry full of spices or expensive extracts—just three shelf-stable items. The combination of tart fruit and sweet frosting creates a balanced flavor profile that appeals to both kids and adults. Plus, it is highly customizable. Whether you want to add a dash of cinnamon or some festive sprinkles, the base recipe is a blank canvas for your holiday creativity. Most importantly, it makes a large portion, ensuring there is enough for everyone at the table to have seconds.
Ingredients
- 2 cans (21 oz each) Cherry Pie Filling
- 1 box (15.25 oz) White Cake Mix
- 1 container (16 oz) Vanilla or Cream Cheese Frosting
Directions
Step 1: Preparation
Preheat your oven to 350°F (175°C). Take a 9×13-inch baking dish and lightly grease it with non-stick cooking spray. Open your two cans of cherry pie filling and pour them directly into the bottom of the pan. Use a spatula to spread the cherries into an even layer, ensuring they cover the entire bottom surface. This red layer provides the festive base for your Christmas dessert.
Step 2: Layering and Baking
Sprinkle the dry white cake mix evenly over the top of the cherry filling. Do not stir the layers! You want the cake mix to sit right on top. Now, take your frosting container and remove the foil seal. Microwave the frosting for about 30 seconds until it reaches a liquid, pourable consistency. Drizzle the melted frosting over the cake mix as evenly as possible. The moisture from the frosting and the fruit will hydrate the cake mix as it bakes. Place the dish in the oven and bake for 40 to 45 minutes until the top is golden brown and the edges are bubbling.
Step 3: Plating
Remove the cake from the oven and let it sit for at least 10 to 15 minutes before serving. This resting period allows the juices to thicken slightly so it isn’t too runny. Scoop warm portions into bowls or onto plates. For an extra festive touch, you can add red and green sprinkles or a dollop of whipped cream on top. Serve it warm to your guests and watch it disappear!
Expert Tips for Perfect Christmas Dump Cake With Frosting Easy 3 Ingredient Holiday Feed A Crowd
To get the best results, make sure you spread the dry cake mix very evenly. If you see large clumps of dry powder, use a fork to gently break them up before adding the melted frosting. If you want a bit more texture, you can sprinkle half a cup of chopped walnuts or pecans over the cake mix layer before baking. Another great tip is to use a clear glass baking dish; the beautiful layers of red fruit and golden cake look stunning from the side, making it a great centerpiece for your dessert table.
Delicious Variations
While cherry and white cake is a classic Christmas combo, you can mix things up. Try using apple pie filling with a spice cake mix for a warm, autumnal vibe. For a “Grinch” themed cake, use apple filling and add a few drops of green food coloring to the vanilla frosting before drizzling it. If you are a chocolate lover, swap the white cake mix for a dark chocolate mix and keep the cherry filling for a Black Forest dump cake experience. You can also mix in white chocolate chips between the fruit and cake layers for added richness.
Frequently Asked Questions
Can I make this dump cake ahead of time?
Yes, you can bake this cake a day in advance. Store it in the refrigerator once it has cooled. When you are ready to serve, you can reheat individual portions in the microwave or place the entire dish back in the oven at 300°F for about 15 minutes to warm it through.
Do I need to mix the cake mix with water or eggs?
No, that is the beauty of a dump cake! You use the dry cake mix straight from the box. The liquid from the fruit filling and the melted frosting provides all the moisture needed to transform the powder into a delicious, cobbler-like topping.
Is this recipe gluten-free?
You can easily make this gluten-free by using a certified gluten-free white cake mix. Most canned pie fillings and frostings are naturally gluten-free, but always check the labels to be sure.
How should I store leftovers?
Keep any leftovers in an airtight container in the refrigerator for up to 4 days. It actually tastes great cold, though most people prefer it warm.
Can I freeze Christmas dump cake?
Yes, you can freeze the baked cake. Wrap it tightly in plastic wrap and aluminum foil. It will stay fresh in the freezer for up to 3 months. Thaw it in the refrigerator overnight before reheating.
Conclusion
The Christmas Dump Cake With Frosting is proof that you don’t need a long list of ingredients to create a memorable holiday dessert. It is sweet, comforting, and incredibly easy to scale up if you are feeding a massive crowd. By spending less time measuring flour and more time enjoying the company of your loved ones, you can truly embrace the joy of the season. Give this 3-ingredient wonder a try this year, and it just might become your new favorite holiday tradition.
Christmas Dump Cake With Frosting Easy 3 Ingredient Holiday Feed A Crowd
- Total Time: 50 minutes
- Diet: Vegetarian, Gluten-Free (option mentioned)
Ingredients
Scale
- 2 cans (21 oz each) Cherry Pie Filling
- 1 box (15.25 oz) White Cake Mix
- 1 container (16 oz) Vanilla or Cream Cheese Frosting
Instructions
- Preheat your oven to 350°F (175°C). Take a 9×13-inch baking dish and lightly grease it with non-stick cooking spray. Open your two cans of cherry pie filling and pour them directly into the bottom of the pan. Use a spatula to spread the cherries into an even layer, ensuring they cover the entire bottom surface.
- Sprinkle the dry white cake mix evenly over the top of the cherry filling. Do not stir the layers! You want the cake mix to sit right on top. Now, take your frosting container and remove the foil seal. Microwave the frosting for about 30 seconds until it reaches a liquid, pourable consistency. Drizzle the melted frosting over the cake mix as evenly as possible. The moisture from the frosting and the fruit will hydrate the cake mix as it bakes. Place the dish in the oven and bake for 40 to 45 minutes until the top is golden brown and the edges are bubbling.
- Remove the cake from the oven and let it sit for at least 10 to 15 minutes before serving. This resting period allows the juices to thicken slightly so it isn’t too runny. Scoop warm portions into bowls or onto plates. For an extra festive touch, you can add red and green sprinkles or a dollop of whipped cream on top. Serve it warm to your guests and watch it disappear!
- Cook Time: 50 minutes