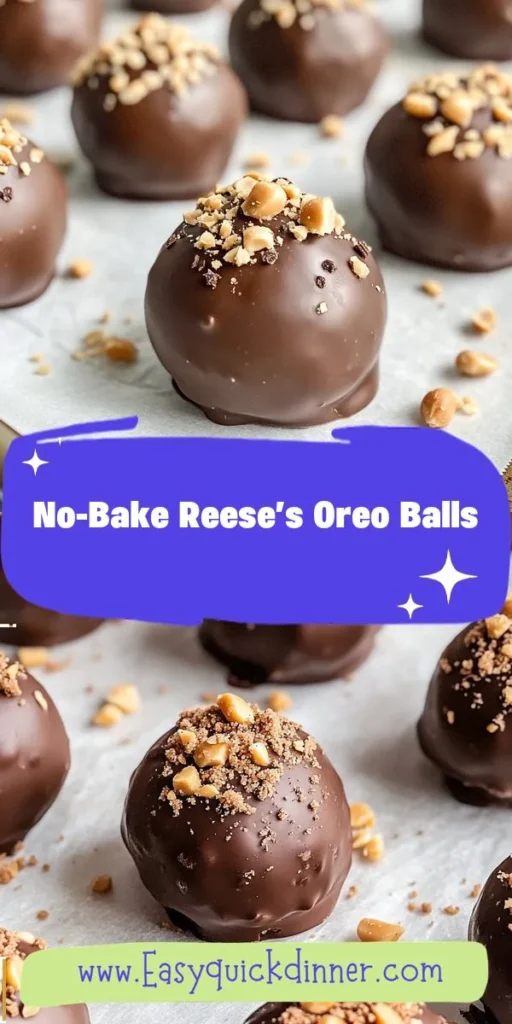
Introduction
In the world of desserts, no-bake recipes have carved a niche for themselves, becoming increasingly popular for their simplicity and delicious outcomes. These delightful treats eliminate the hassle of preheating ovens and monitoring baking times, making them an ideal choice for both novice bakers and experienced culinary enthusiasts. Among the many no-bake options available, No-Bake Reese’s Oreo Balls stand out as a particularly enticing blend of flavors that tantalizes the taste buds. This recipe combines the rich, creamy notes of peanut butter and cream cheese with the unmistakable crunch and sweetness of Oreo cookies, all enrobed in a decadent layer of chocolate.
What sets Reese’s Oreo Balls apart is not only their indulgent flavor but also their ease of preparation. With just a handful of ingredients and minimal kitchen equipment required, these treats can be whipped up in no time. Whether you’re preparing for a special occasion, looking for a quick dessert to enjoy at home, or simply craving something sweet, these no-bake balls are sure to satisfy your sweet tooth and impress your guests.
The Appeal of No-Bake Desserts
No-bake desserts offer several advantages that make them a go-to choice for many home bakers. Firstly, they save time. With no need to bake or cool anything, you can go from kitchen to table in a matter of minutes. This is particularly beneficial when unexpected guests arrive or when you want to whip up a dessert in a hurry.
Additionally, the minimal requirement for kitchen equipment makes no-bake recipes highly accessible. You won’t need to pull out mixing bowls, measuring cups, or an oven; often, a simple mixing bowl and a spatula are all you need. This simplicity encourages a wider audience to experiment with dessert-making, even if they lack extensive cooking experience.
Versatility is another hallmark of no-bake desserts. They can be tailored to suit various occasions, from holiday gatherings to casual family dinners, or simply as a delightful snack to enjoy throughout the week. No-bake Reese’s Oreo Balls, in particular, are perfect for potlucks, birthday parties, and holidays, making them a favorite among dessert lovers of all ages.
Ingredients Breakdown
Creating the perfect batch of No-Bake Reese’s Oreo Balls requires a few key ingredients, each contributing to the overall flavor and texture of the final product. Here’s a closer look at what you’ll need:
Oreo Cookies
Oreo cookies serve as the base of this recipe, providing a rich chocolate flavor and a satisfying crunch. The classic Oreo—a combination of two chocolate wafers with a sweet cream filling—adds a delightful contrast to the creaminess of the other ingredients. When crushed, the cookies create a crumbly texture that binds the mixture together and enhances the overall flavor profile.
Cream Cheese
Next, we have cream cheese, which plays a crucial role in adding creaminess and richness to the Oreo balls. Its smooth texture helps to bind the crushed Oreo cookies and peanut butter, resulting in a cohesive mixture that is easy to roll into balls. The mild tang of cream cheese also balances the sweetness of the other ingredients, creating a well-rounded flavor that is hard to resist.
Peanut Butter
Peanut butter is the star ingredient in this recipe, imparting a rich, nutty flavor that pairs beautifully with both the chocolate and the Oreos. When choosing peanut butter, you can opt for creamy or crunchy varieties depending on your texture preference. Creamy peanut butter creates a smooth filling, while crunchy peanut butter adds delightful pieces of nuts, enhancing the overall texture of the Oreo balls.
Powdered Sugar
To achieve the right sweetness and consistency, powdered sugar is incorporated into the mixture. Unlike granulated sugar, powdered sugar dissolves easily, ensuring a smooth and uniform sweetness throughout the Oreo balls. It also helps to thicken the mixture, making it easier to shape into balls.
Semi-Sweet Chocolate Chips
For the outer coating, semi-sweet chocolate chips are used. Their rich flavor complements the creamy filling, creating a compelling contrast between the sweet chocolate exterior and the creamy, peanut buttery center. Semi-sweet chocolate has a balanced level of sweetness that pairs well with the other ingredients, resulting in a decadent treat.
Coconut Oil
Coconut oil plays a dual role in this recipe. Not only does it help to achieve a smooth and glossy chocolate coating, but it also adds a hint of tropical flavor. When melted and combined with the chocolate chips, coconut oil helps to thin out the chocolate, making it easier to dip the Oreo balls for a flawless finish.
Optional Toppings
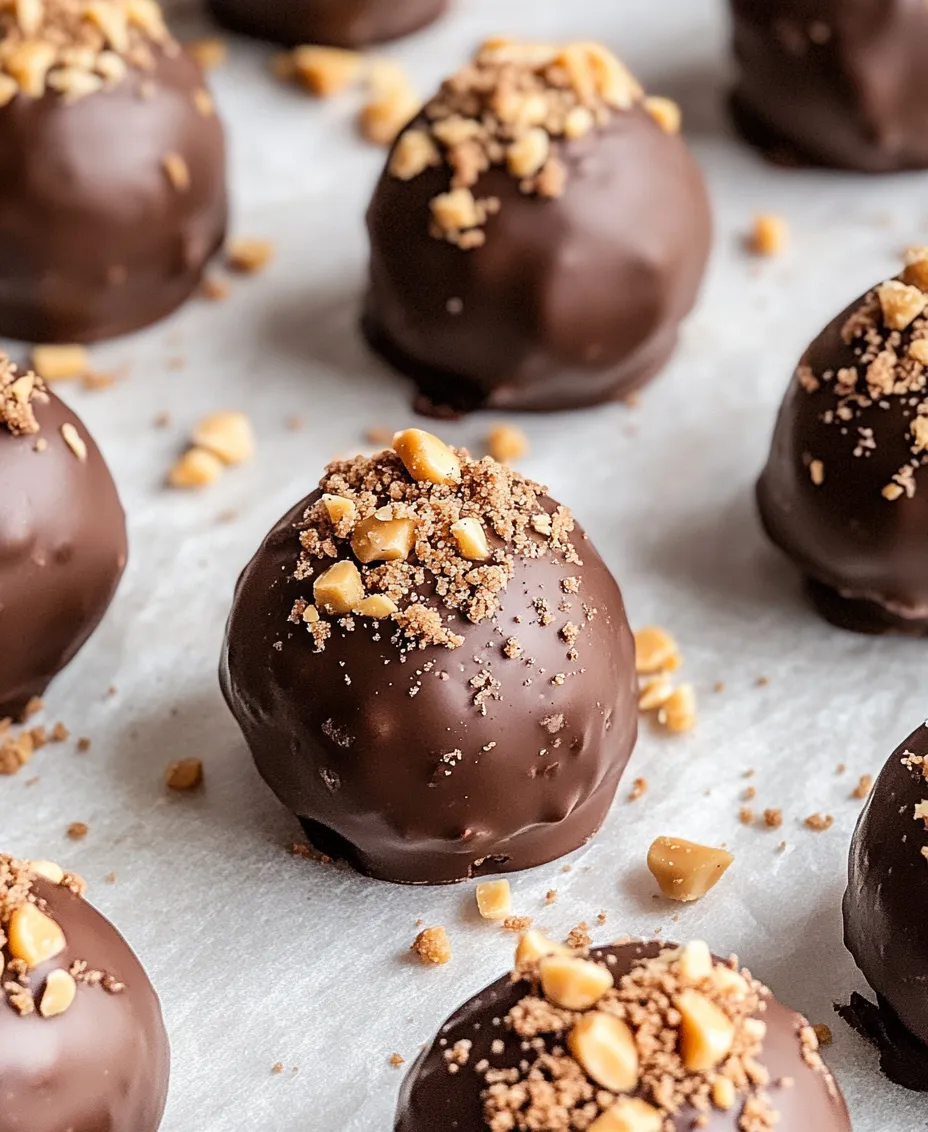
To elevate the presentation and add extra texture, consider using optional toppings such as crushed peanuts or additional crushed Oreos. These toppings provide a delightful crunch and visual appeal, making your No-Bake Reese’s Oreo Balls even more enticing.
Step-by-Step Instructions
Now that we’ve covered the ingredients, let’s dive into the step-by-step instructions for creating these decadent treats. With just a few simple steps, you’ll have a batch of No-Bake Reese’s Oreo Balls ready to impress your family and friends.
Step 1: Prepare Your Ingredients
Begin by gathering all your ingredients and measuring them out. This will streamline the preparation process and ensure you have everything you need within reach.
Step 2: Crush the Oreo Cookies
Using a food processor or a rolling pin, crush the Oreo cookies into fine crumbs. If using a food processor, pulse the cookies until they resemble sand. If using a rolling pin, place the cookies in a zip-top bag and crush them until finely ground. Set the crumbs aside in a mixing bowl.
Step 3: Combine the Filling Ingredients
In the same mixing bowl, add the softened cream cheese and peanut butter to the crushed Oreo cookies. Using a spatula or your hands, mix the ingredients together until well combined. The mixture should be thick and easy to work with. If you find it too crumbly, add a bit more peanut butter or cream cheese until it reaches the desired consistency.
Step 4: Shape the Mixture into Balls
Once the filling is well mixed, it’s time to shape it into balls. Using a small cookie scoop or your hands, take a spoonful of the mixture and roll it into a ball about 1 inch in diameter. Place each ball on a baking sheet lined with parchment paper. Continue this process until all the mixture is shaped into balls.
Step 5: Chill the Balls
To help the balls firm up, place the baking sheet in the refrigerator for about 30 minutes. Chilling the balls will make them easier to coat in chocolate later on.
Step 6: Melt the Chocolate
While the Oreo balls are chilling, prepare the chocolate coating. In a microwave-safe bowl, combine the semi-sweet chocolate chips and coconut oil. Microwave the mixture in 30-second intervals, stirring in between, until the chocolate is fully melted and smooth.
Step 7: Coat the Oreo Balls
Once the Oreo balls are chilled and the chocolate is melted, it’s time to coat the balls. Using a fork or a toothpick, dip each ball into the melted chocolate, ensuring it’s fully coated. Allow any excess chocolate to drip back into the bowl before placing the coated ball back on the parchment-lined baking sheet.
Step 8: Add Optional Toppings
If you’re using optional toppings like crushed peanuts or crushed Oreos, sprinkle them over the chocolate coating while it’s still wet. This will help the toppings adhere to the chocolate and enhance the visual appeal of your treats.
Step 9: Chill Again
After all the balls are coated and topped, return them to the refrigerator for an additional 15-20 minutes to allow the chocolate coating to set completely.
With these steps completed, you’ll have a beautiful batch of No-Bake Reese’s Oreo Balls, ready to be enjoyed!
This delectable dessert recipe not only satisfies your sweet cravings but also showcases the joy of no-bake desserts. The combination of flavors and textures creates a treat that is sure to become a favorite among friends and family alike. Stay tuned for the next part of the article, where we will explore tips for achieving the best results and answer some common questions about this delightful recipe!