Introduction
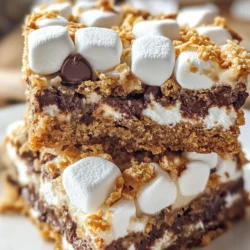
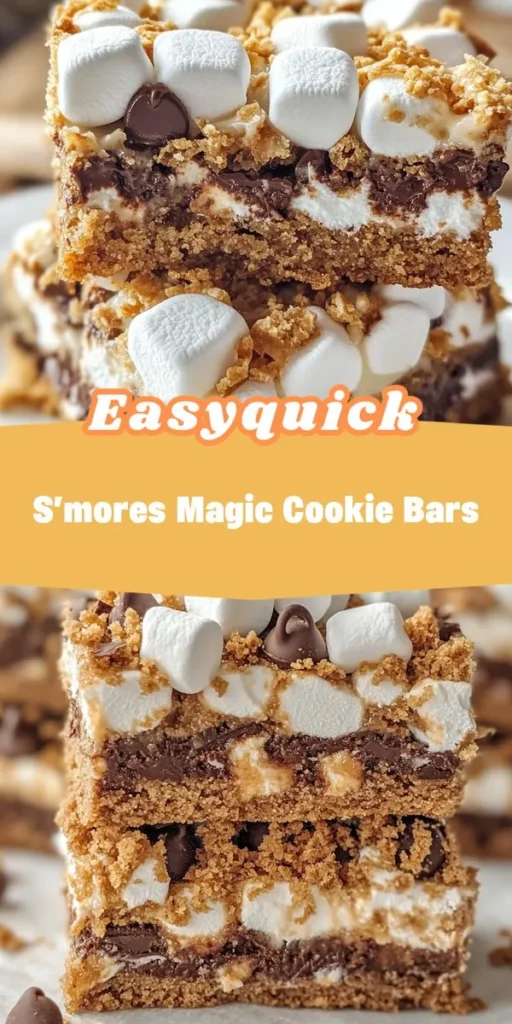
S’mores Magic Cookie Bars are a delightful twist on the classic campfire treat that many of us have enjoyed during summer nights under the stars. These bars encapsulate the nostalgic flavors of graham crackers, gooey marshmallows, and rich chocolate in a convenient, portable form that can be enjoyed year-round. With their enticing layers and harmonious blend of textures, S’mores Magic Cookie Bars are not only a feast for the palate but also a treat for the eyes, making them a perfect addition to any dessert table or potluck.
One of the biggest appeals of this recipe is its simplicity. Unlike traditional S’mores, which require a campfire and a certain level of outdoor expertise, these cookie bars can be whipped up in your kitchen in less time than it takes to gather your friends around a campfire. Whether you’re a seasoned baker or a novice cook, you’ll find that the straightforward preparation process allows you to create a treat that looks and tastes like it took hours of effort. This makes S’mores Magic Cookie Bars a must-try for anyone looking to satisfy their sweet tooth with minimal fuss.
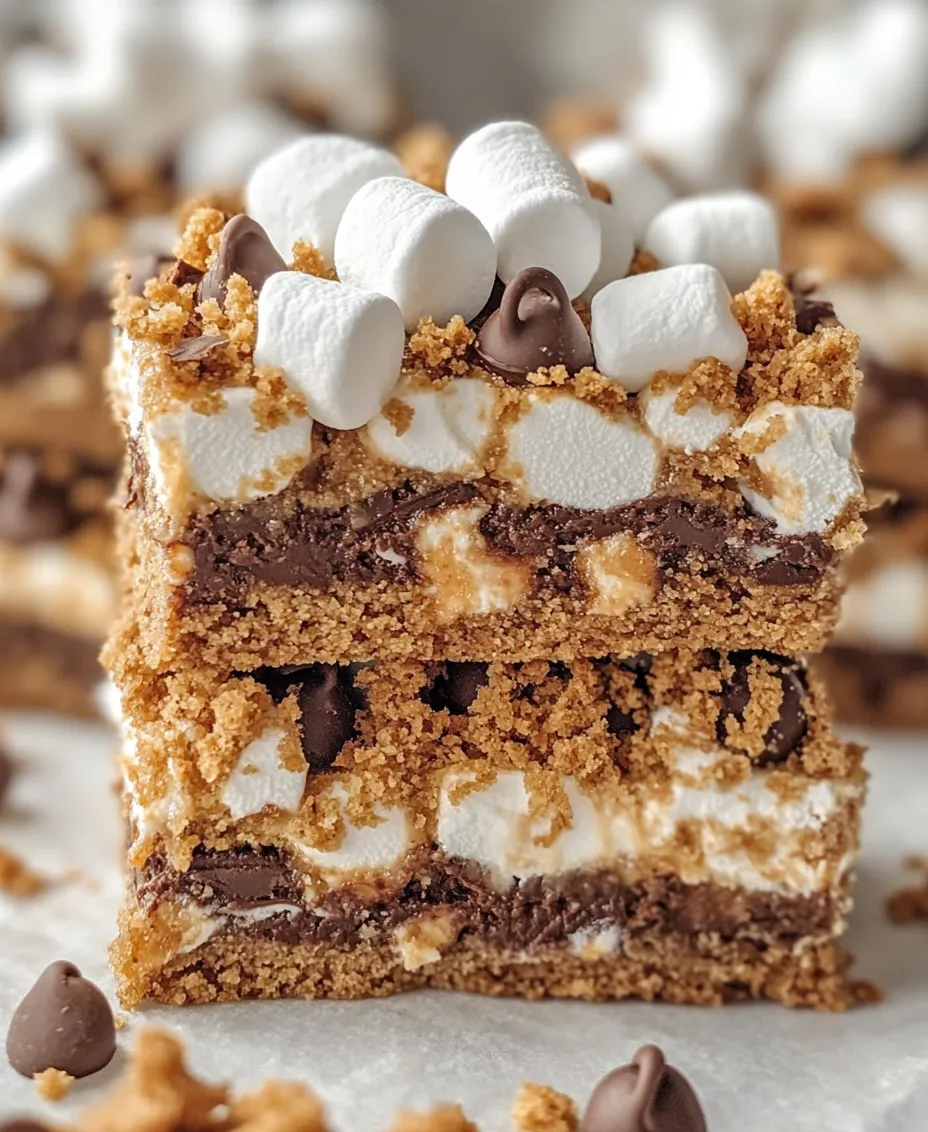
The unique combination of textures— the crunchy base, the gooey chocolate, and the fluffy marshmallows— along with the explosion of flavors will surely make them a crowd-pleaser at any gathering. Imagine sinking your teeth into a slice of these bars, where the buttery crust gives way to a sweet, chewy center bursting with chocolatey goodness. If you’re ready to indulge in a dessert that brings back fond memories while simultaneously creating new ones, let’s dive into the world of S’mores Magic Cookie Bars.
The Allure of S’mores
S’mores have a rich history that dates back to the early 20th century, with the first known recipe appearing in a Girl Scouts manual in 1927. The name “S’mores” is a contraction of “some more,” a fitting title for a treat that leaves you wanting just one more bite. Traditionally made with roasted marshmallows, chocolate bars, and graham crackers, S’mores capture the essence of childhood adventures—campfires, family gatherings, and late-night storytelling. They evoke a sense of warmth and nostalgia, reminding us of days spent outdoors, surrounded by friends and family.
However, S’mores Magic Cookie Bars take this beloved treat and reinvent it in a way that makes it accessible regardless of the season or location. No longer do you need to brave the elements or lug around a portable fire pit to enjoy the delightful combination of flavors that S’mores offer. With these cookie bars, you can recreate that campfire experience right in your kitchen, making them an ideal choice for parties, picnics, or even a cozy night in.
Additionally, these cookie bars allow for a creative twist on the classic S’mores recipe. You can easily customize them to suit your taste preferences, whether that means adding your favorite nuts, experimenting with different types of chocolate, or incorporating fun mix-ins like peanut butter or caramel. The versatility of this recipe ensures that each batch can be a unique creation, leaving everyone eager to discover what delicious surprise lies within.
Ingredient Breakdown
To create the perfect S’mores Magic Cookie Bars, it’s essential to understand the role of each ingredient. This will not only enhance your appreciation of the recipe but also give you the confidence to experiment and adapt it to your liking. Let’s take a closer look at each component:
Graham Cracker Crumbs
Graham cracker crumbs form the foundation of these cookie bars, creating a delightful and crunchy base. Their slightly sweet and nutty flavor is reminiscent of the original S’mores, providing a familiar taste that sets the tone for the dessert. When combined with melted butter, the crumbs bind together, forming a sturdy crust that supports the layers above. You can use store-bought graham cracker crumbs for convenience, or crush whole graham crackers in a food processor for a fresher taste.
Unsalted Butter
Butter is a key player in achieving the right texture and richness in these cookie bars. Using unsalted butter allows you to control the saltiness of the final product, ensuring a perfect balance of flavors. As the butter melts and integrates with the graham cracker crumbs, it adds moisture and creates a luscious crust that contrasts beautifully with the gooey filling. For the best results, make sure your butter is at room temperature before mixing, which will help it blend more smoothly with the other ingredients.
Sweetened Shredded Coconut
Sweetened shredded coconut adds a chewy texture and a hint of tropical flavor that elevates the overall taste of the cookie bars. While it may not be a traditional component of classic S’mores, the addition of coconut brings a delightful twist that many find irresistible. If you’re not a fan of coconut, you can easily omit it or substitute it with another ingredient, such as crushed cookies or additional nuts.
Semi-Sweet Chocolate Chips
Chocolate is undoubtedly the star of the show when it comes to S’mores, and semi-sweet chocolate chips provide the perfect balance of sweetness and richness. Their melting quality ensures that every bite of the cookie bars is infused with chocolatey goodness. Feel free to use milk chocolate for a creamier flavor, or dark chocolate for a more intense taste. For an added touch, consider mixing in some white chocolate chips or caramel bits to create a more dynamic flavor profile.
Mini Marshmallows
No S’mores treat would be complete without marshmallows, and in this recipe, mini marshmallows provide that signature fluffiness and sweetness. As they bake, the marshmallows become wonderfully gooey, creating pockets of softness throughout the cookie bars. Their presence not only enhances the flavor but also brings a nostalgic feeling of sitting around a campfire, making these bars a true homage to the classic treat.
Sweetened Condensed Milk
Sweetened condensed milk acts as a binding agent in this recipe, helping to hold all the ingredients together while adding moisture and sweetness. This rich and creamy ingredient is essential for achieving the perfect texture, ensuring that the cookie bars are chewy and satisfying. As it bakes, the condensed milk caramelizes slightly, contributing to the overall flavor and creating a deliciously gooey center.
Chopped Nuts
While chopped nuts are optional, they can add an excellent crunch and nutty flavor to the S’mores Magic Cookie Bars. Walnuts, pecans, or almonds are popular choices, but feel free to use whatever nuts you prefer or have on hand. If you’re looking for a nut-free option, simply leave them out and enjoy the bars as is.
Vanilla Extract and Salt
Finally, a splash of vanilla extract enhances the overall flavor profile of the cookie bars, adding depth and richness. The addition of a pinch of salt balances the sweetness of the dessert, ensuring that all the flavors shine through. Using high-quality vanilla extract can elevate the taste significantly, so it’s worth investing in for your baking endeavors.
With these ingredients in mind, you’re well on your way to creating a batch of S’mores Magic Cookie Bars that are sure to impress family and friends. The combination of flavors and textures creates an indulgent dessert that is both comforting and irresistible. Let’s move on to the next steps in preparing these delightful treats!
Step-by-Step Instructions for S’mores Magic Cookie Bars
Creating S’mores Magic Cookie Bars is a delightful journey that combines nostalgia and indulgence. Follow these detailed steps to ensure your bars come out perfectly every time.
Preparing the Oven and Baking Dish
Start by preheating your oven to 350°F (175°C). Preheating is crucial as it ensures your bars bake evenly from the start. While the oven is warming up, prepare your baking dish—typically a 9×13 inch pan works best for this recipe. Grease the dish generously with non-stick cooking spray or line it with parchment paper for easy removal after baking. If using parchment, allow some overhang on the sides to help lift the bars out after cooling.
Creating the Crust
To create the perfect crust, you’ll need to combine the graham cracker crumbs, melted butter, and a bit of sugar in a medium bowl. Stir until the mixture resembles wet sand. This combination not only provides a sturdy base but also infuses the bars with that classic graham cracker flavor. Once mixed, evenly press this crust mixture into the bottom of your prepared baking dish. Use the back of a measuring cup or your fingers to press firmly, ensuring that the crust is compact and uniform. This step is essential as it will hold the layers together during baking.
Layering the Ingredients
Now comes the fun part—layering! Start by evenly spreading the sweetened shredded coconut over the crust. Follow this with a generous layer of chocolate chips, ensuring they are distributed evenly for maximum chocolatey goodness. Next, add a layer of mini marshmallows, again spreading them out to cover the entire surface. The combination of coconut, chocolate, and marshmallows is key to achieving that s’mores flavor profile in every bite. The layering should be done carefully to maintain balance and ensure that each bite contains all three key ingredients.
Drizzling the Sweetened Condensed Milk
Once your layers are in place, it’s time to drizzle the sweetened condensed milk. This ingredient is what makes the bars deliciously gooey. Pour the condensed milk evenly over the top of the layered ingredients, ensuring that all layers are well-coated. A light back-and-forth motion as you drizzle will help distribute the milk evenly. This step is crucial as it binds the layers together while baking and adds a rich sweetness to the bars.
Baking to Perfection
Place your baking dish in the preheated oven and bake for approximately 25-30 minutes. Keep an eye on the bars during this time. You’ll know they are done when the marshmallows are golden brown and the edges of the bars are bubbling. The center might still be slightly soft, but it will firm up as they cool. Be cautious not to overbake, as this can lead to a dry texture instead of the desired gooey finish.
Cooling and Cutting Techniques
Once baked, remove the dish from the oven and allow it to cool completely on a wire rack. This step is vital; cooling helps set the bars and makes cutting easier. For best results, let the bars cool at room temperature for at least 30-45 minutes. If you’re in a hurry, you can place the dish in the refrigerator for about 15-20 minutes. When ready to cut, use a sharp knife to slice into squares or rectangles. If you’ve used parchment paper, lifting the bars out of the dish can help achieve cleaner cuts.
Serving Suggestions
S’mores Magic Cookie Bars can be enjoyed warm or at room temperature. For a decadent experience, serve them warm with a scoop of vanilla ice cream on the side. The contrast of warm bars with cool ice cream is simply divine. Alternatively, a dollop of whipped cream can add an airy touch. These bars also make excellent additions to parties, potlucks, or family gatherings, where they can easily be cut into bite-sized pieces for sharing. Don’t hesitate to sprinkle some extra chocolate chips or crushed graham crackers on top for added flair!
Storage Tips
To keep your S’mores Magic Cookie Bars fresh, store them in an airtight container at room temperature for up to 3 days. If you wish to prolong their freshness, you can refrigerate them, which can extend their life to about a week. For longer storage, consider freezing the bars. To freeze, wrap them tightly in plastic wrap and then place them in a freezer-safe container. They can be frozen for up to 3 months. When you’re ready to enjoy them, simply remove them from the freezer and let them thaw in the refrigerator overnight or at room temperature for a few hours.
Nutritional Information
While S’mores Magic Cookie Bars are undeniably indulgent, they offer a delightful combination of flavors and textures. A single bar (based on a 24-bar yield) contains approximately 200 calories, along with 10 grams of fat, 28 grams of carbohydrates, and 2 grams of protein. Given the sugary and buttery nature of the ingredients, it’s advisable to enjoy these bars in moderation. They can be a sweet treat for special occasions or a nostalgic reminder of campfire nights, but mindful consumption is key for a balanced diet.
Conclusion
S’mores Magic Cookie Bars are a simple yet satisfying dessert that brings the joy of campfire s’mores right into your kitchen. The ease of preparation combined with the nostalgic flavors makes these bars a must-try for anyone looking to indulge their sweet tooth. Whether you’re whipping them up for a special occasion or just treating yourself after a long day, these bars are sure to delight. So gather your ingredients and get ready to create a treat that will bring smiles to everyone who gets a taste! Enjoy the process and the delicious rewards that come with making S’mores Magic Cookie Bars.