Follow Me On Pinterest!


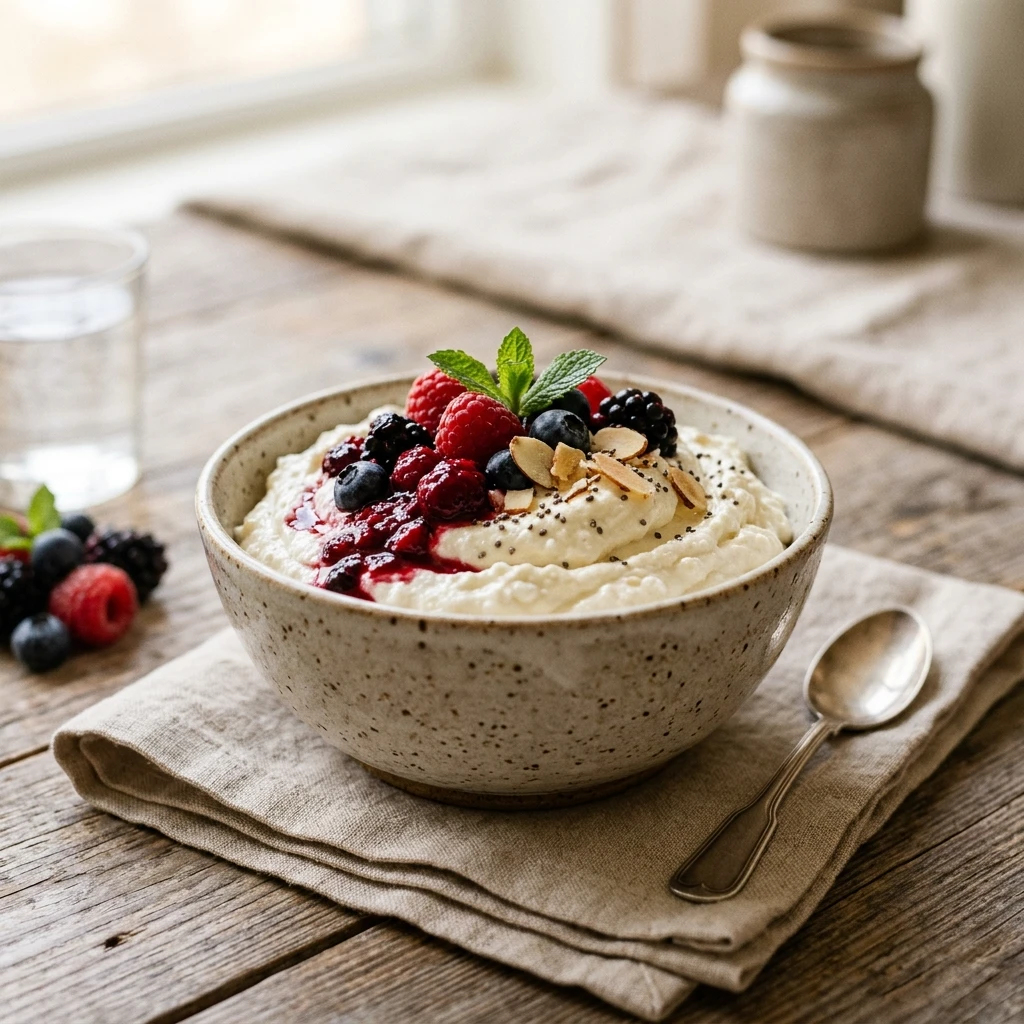
If you have been looking for a way to hit your protein goals without eating another chicken breast, this Cottage Cheese Mousse is your new secret weapon. It transforms the humble, chunky texture of cottage cheese into a decadent, silky-smooth dessert that tastes exactly like chocolate pudding. With over 30 grams of protein per serving, this low-carb treat works perfectly as a post-workout snack, a quick breakfast, or a guilt-free late-night dessert. You only need a few simple ingredients and a blender to create a high-protein masterpiece that actually satisfies your sweet tooth.
Recipe Information
- Prep Time: 5 minutes
- Cook Time: 0 minutes
- Total Time: 5 minutes
- Servings: 1 serving
- Difficulty: Easy
Nutrition values
- Calories: 265 kcal
- Protein: 32g
- Carbs: 8g
Why Make This Cottage Cheese Mousse High Protein 30g+ Easy Meal Prep Low Carb
This recipe is a game-changer for anyone following a high-protein or low-carb lifestyle. First, it requires zero actual cooking, making it perfect for busy schedules. The cottage cheese provides a massive protein punch and a creamy base that mimics expensive gourmet mousses. Because it is naturally low in carbohydrates, it won’t cause a blood sugar spike. It is also incredibly versatile; you can prep five jars on a Sunday and have your snacks ready for the entire work week. Most importantly, once it is blended, the “curd” texture completely disappears, leaving you with a sophisticated dessert that even cottage cheese skeptics will love.
Ingredients
- 1 cup low-fat or 2% cottage cheese
- 2 tablespoons unsweetened cocoa powder
- 1-2 tablespoons sweetener of choice (monk fruit, erythritol, or maple syrup)
- 1/2 teaspoon pure vanilla extract
- 1 pinch of sea salt
- Optional: 1 tablespoon almond milk (if needed for blending)
- Optional toppings: Fresh raspberries, sugar-free chocolate chips, or crushed walnuts
Directions
Step 1: Combine Ingredients
Place the cottage cheese, cocoa powder, sweetener, vanilla extract, and a pinch of salt into a high-speed blender or a food processor. Ensure the blender blade is positioned correctly to handle a thick mixture.
Step 2: Blend Until Smooth
Turn the blender on high and process the mixture for 45 to 60 seconds. Stop halfway through to scrape down the sides with a rubber spatula. Continue blending until the texture is completely smooth and no lumps remain. If the mixture is too thick to move, add a tiny splash of almond milk and pulse again.
Step 3: Chill and Serve
Transfer the mousse into a small glass jar or bowl. While you can eat it immediately, the texture improves significantly if you let it chill in the refrigerator for at least 30 minutes. This allows the cocoa to fully hydrate and the mousse to firm up. Garnish with your favorite toppings before serving.
Expert Tips for Perfect Cottage Cheese Mousse High Protein 30g+ Easy Meal Prep Low Carb
For the best results, use a high-speed blender rather than a standard one to ensure every single curd is pulverized. If you prefer a richer flavor, use full-fat cottage cheese (4%), which adds a buttery mouthfeel but will increase the calorie count slightly. Don’t skip the pinch of salt! Salt acts as a flavor enhancer that cuts through the tanginess of the cheese and makes the chocolate taste more intense. If you are meal prepping, store the mousse in airtight Mason jars to keep it fresh for up to 4 days.
Delicious Variations
You can easily customize this base recipe to suit your cravings. For a Peanut Butter Chocolate version, add one tablespoon of PB2 or creamy peanut butter to the blender. If you want a Cheesecake Mousse, omit the cocoa powder and add an extra teaspoon of vanilla plus a teaspoon of lemon zest. For a Mocha Mousse, dissolve half a teaspoon of instant espresso powder into the vanilla extract before blending. You can also mix in a scoop of your favorite chocolate protein powder to boost the protein even higher, though you may need a bit more liquid to maintain the creamy texture.
Frequently Asked Questions
Can I taste the cottage cheese?
Once blended with the cocoa and sweetener, the “tangy” cheese flavor is neutralized. It tastes remarkably like a rich chocolate pudding or a light cheesecake filling.
How long does this mousse last in the fridge?
You can store this mousse in an airtight container for up to 4 days. It is a fantastic option for meal prepping your snacks for the week.
What sweetener works best for low carb?
Granulated monk fruit or stevia drops work perfectly. If you aren’t strictly low carb, honey or maple syrup adds a lovely floral note to the chocolate.
Can I make this dairy-free?
This specific recipe relies on cottage cheese for its protein and texture. For a dairy-free version, you would need to use a silken tofu base, though the nutritional profile will change.
Why is my mousse grainy?
Graininess usually happens if the blender isn’t powerful enough or if you didn’t blend it long enough. Try blending for an extra 30 seconds or using a food processor for a smoother finish.
Conclusion
Eating healthy doesn’t have to mean sacrificing dessert. This Cottage Cheese Mousse proves that with just five minutes and a few pantry staples, you can create a high-protein, low-carb treat that feels like an indulgence. It is easy to make, easy to store, and guaranteed to help you reach your daily protein goals. Give this recipe a try today and transform your view of cottage cheese forever!
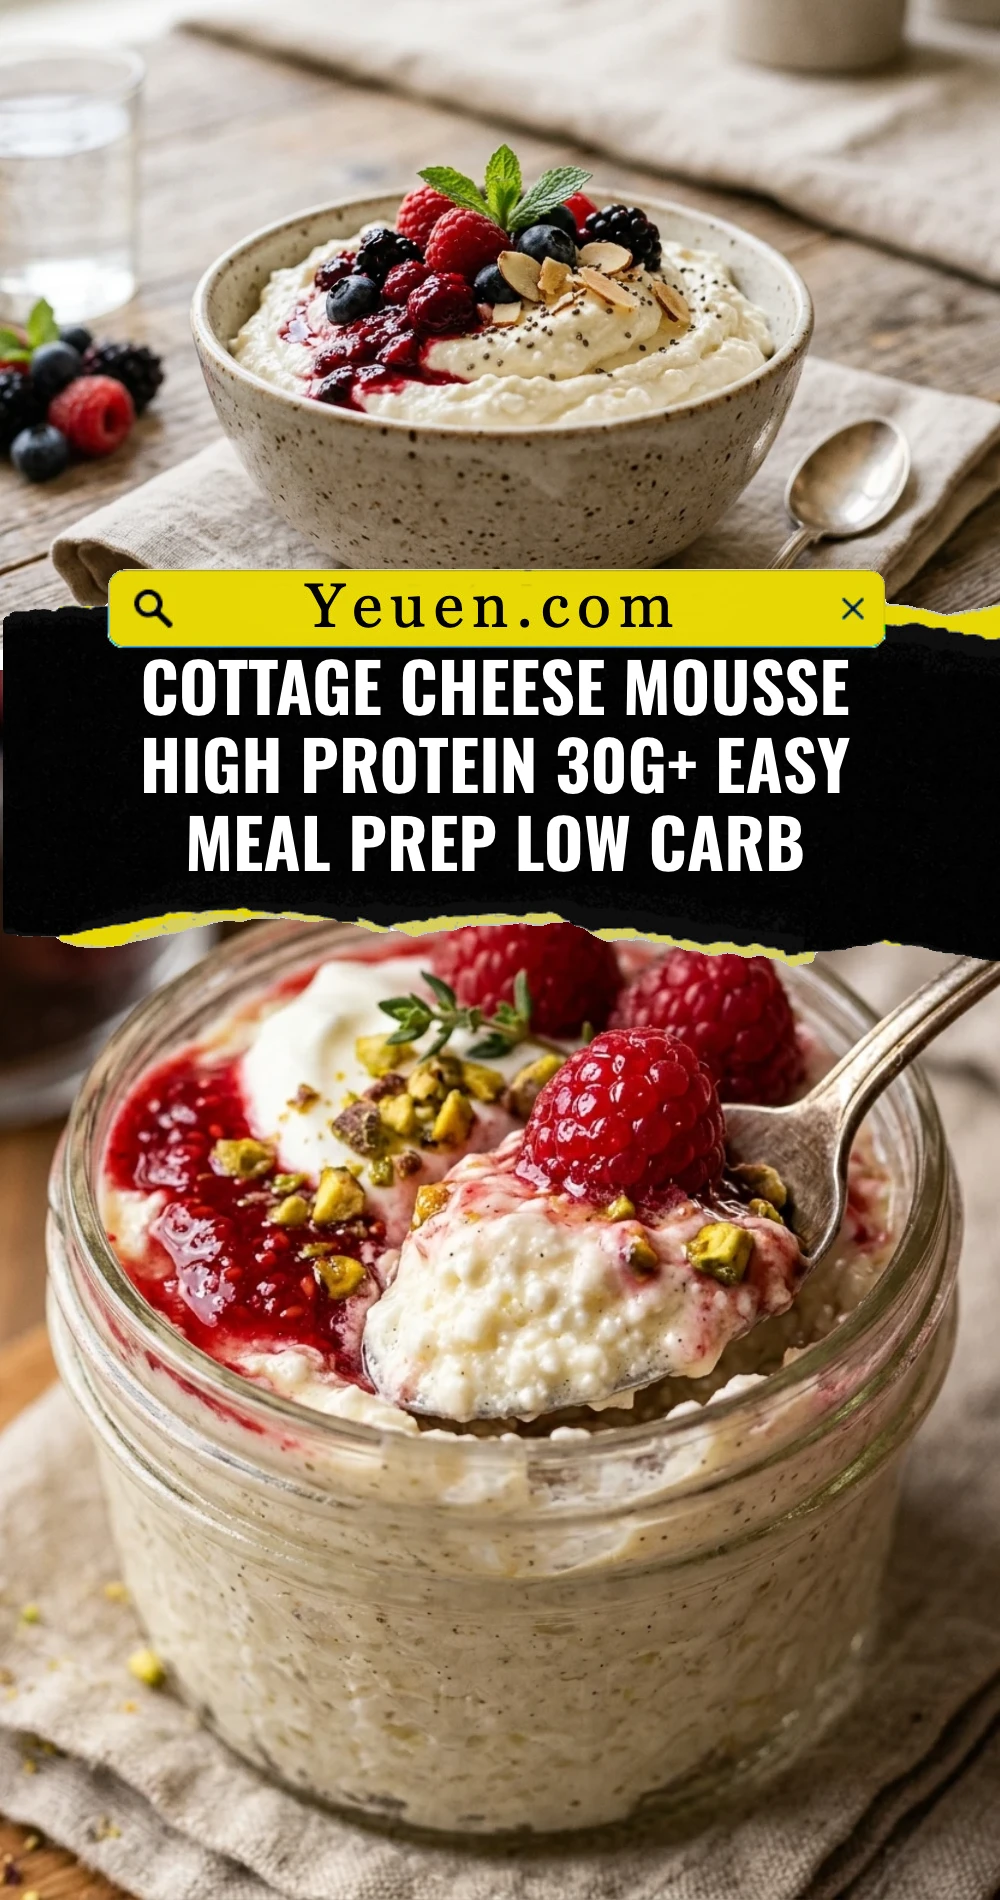

Cottage Cheese Mousse High Protein 30g+ Easy Meal Prep Low Carb
- Total Time: 5 minutes
- Diet: Low-Carb, High-Protein
Ingredients
Scale
- 1 cup low-fat or 2% cottage cheese
- 2 tablespoons unsweetened cocoa powder
- 1–2 tablespoons sweetener of choice (monk fruit, erythritol, or maple syrup)
- 1/2 teaspoon pure vanilla extract
- 1 pinch of sea salt
- Optional: 1 tablespoon almond milk (if needed for blending)
- Optional toppings: Fresh raspberries, sugar-free chocolate chips, or crushed walnuts
Instructions
- Step 1: Combine Ingredients – Place the cottage cheese, cocoa powder, sweetener, vanilla extract, and a pinch of salt into a high-speed blender or a food processor. Ensure the blender blade is positioned correctly to handle a thick mixture.
- Step 2: Blend Until Smooth – Turn the blender on high and process the mixture for 45 to 60 seconds. Stop halfway through to scrape down the sides with a rubber spatula. Continue blending until the texture is completely smooth and no lumps remain. If the mixture is too thick to move, add a tiny splash of almond milk and pulse again.
- Step 3: Chill and Serve – Transfer the mousse into a small glass jar or bowl. While you can eat it immediately, the texture improves significantly if you let it chill in the refrigerator for at least 30 minutes. This allows the cocoa to fully hydrate and the mousse to firm up. Garnish with your favorite toppings before serving.
- Cook Time: 5 minutes