Follow Me On Pinterest!


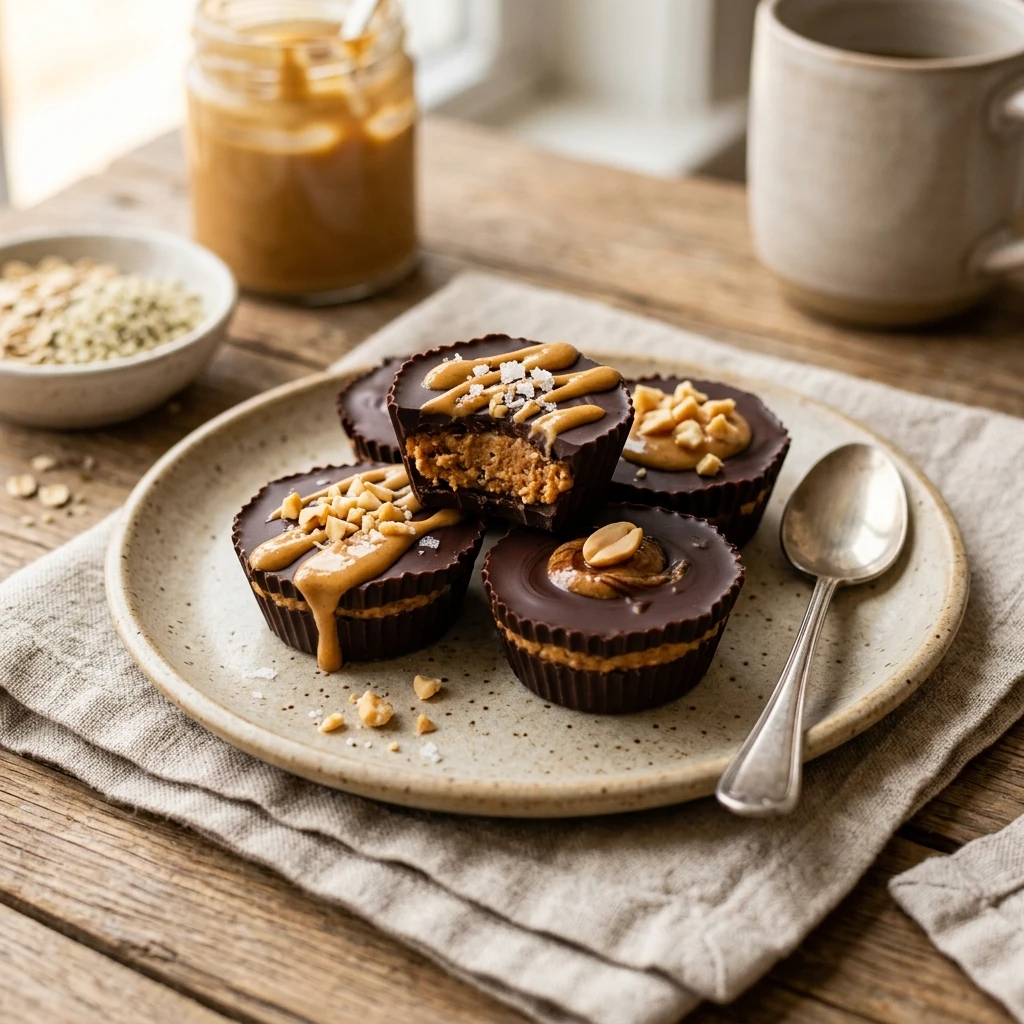
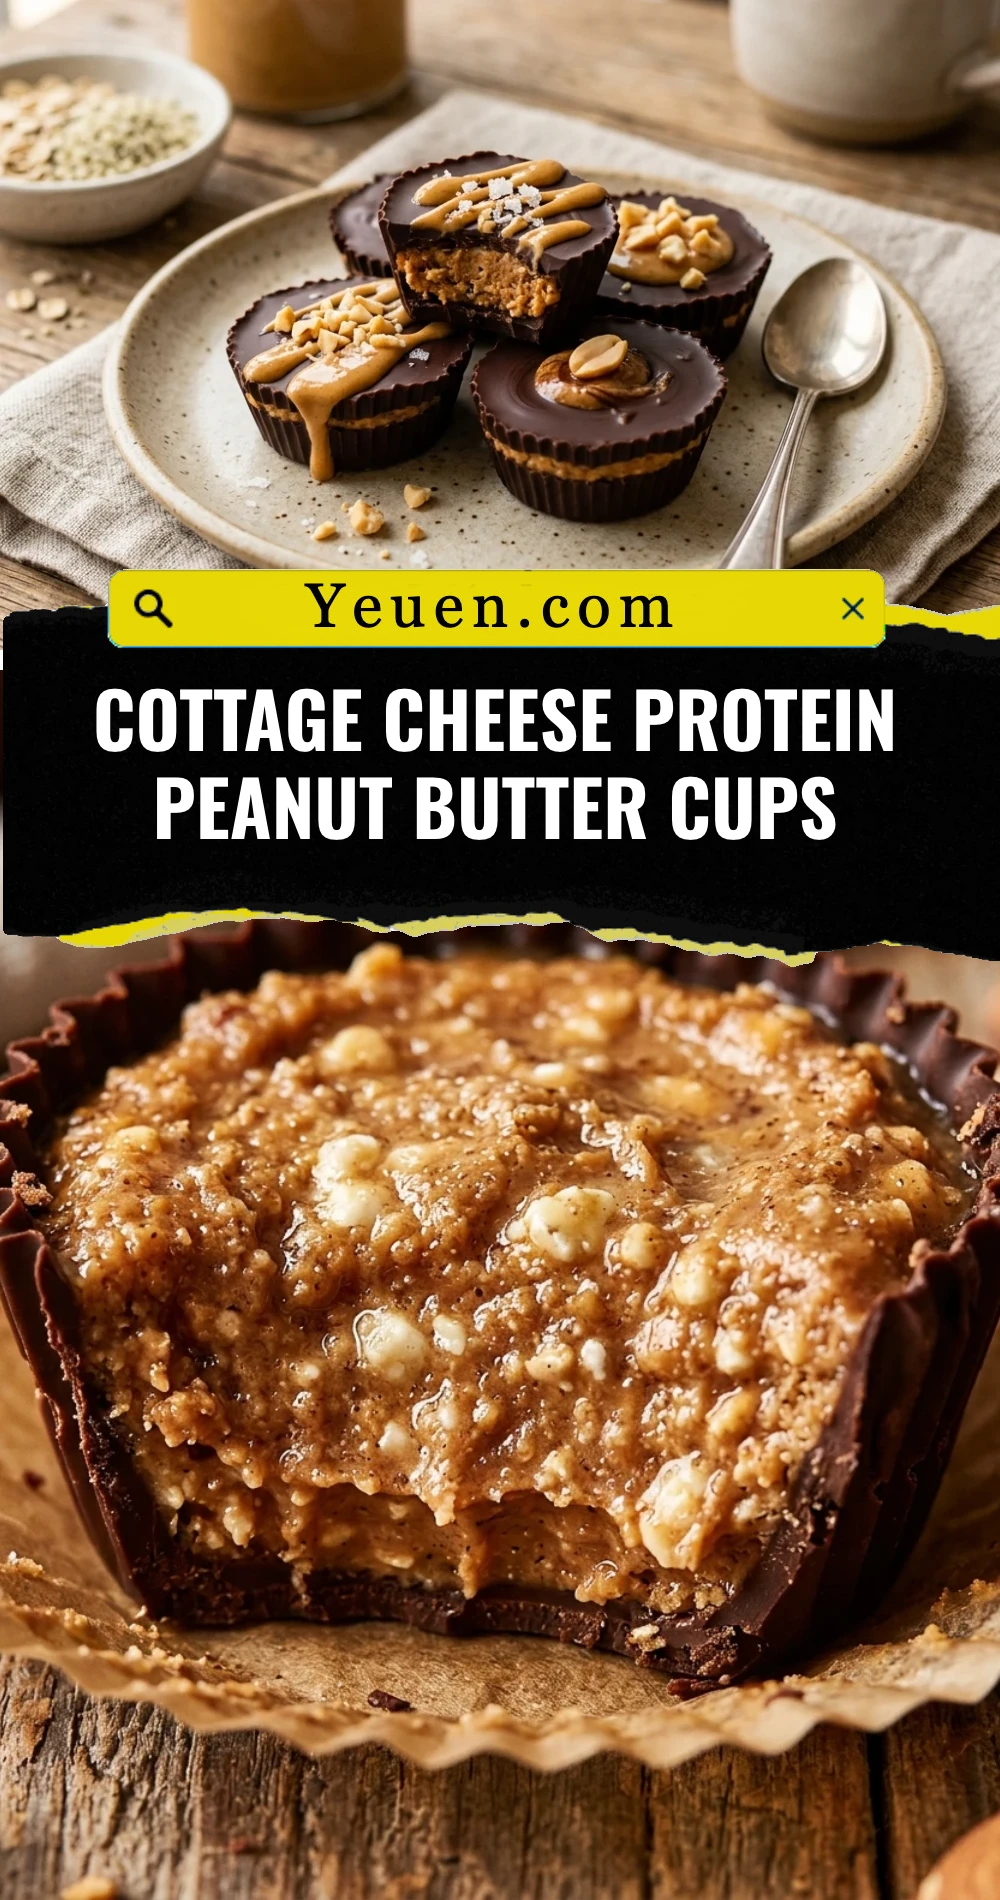
If you have been scrolling through social media lately, you have probably noticed that cottage cheese is having a major moment. It is no longer just a side dish for your grandma’s fruit salad; it is the secret weapon for making high-protein, creamy desserts that actually taste indulgent. These Cottage Cheese Protein Peanut Butter Cups are a total game-changer for anyone with a sweet tooth who wants to stay on track with their fitness goals. They offer that iconic salty-sweet chocolate and peanut butter combination we all love, but with a massive protein boost and a velvety texture that mimics a rich cheesecake filling. Forget the sugary store-bought versions; these homemade treats are about to become your new favorite meal-prep snack.
Recipe Information
- Prep Time: 15 minutes
- Cook Time: 0 minutes (plus 2 hours freezing time)
- Total Time: 15 minutes
- Servings: 12 cups
- Difficulty: Easy
Nutrition values
(Per serving/cup)
- Calories: 145 kcal
- Protein: 9g
- Carbs: 11g
Why Make This Cottage Cheese Protein Peanut Butter Cups
Most protein snacks can feel dry or chalky, but using blended cottage cheese ensures these cups are incredibly moist and creamy. They are packed with slow-digesting casein protein, making them the perfect evening snack to keep you full through the night. You only need a few simple ingredients, most of which are likely already in your pantry. Plus, they are naturally gluten-free and can easily be made low-carb or keto-friendly depending on your choice of sweetener and chocolate. These cups are essentially a healthy hack that feels like a “cheat meal” without any of the sugar crashes later.
Ingredients
- 1 cup low-fat or whole milk cottage cheese
- 1/2 cup creamy natural peanut butter
- 1 scoop (30g) vanilla or chocolate whey protein powder
- 2 tablespoons maple syrup or honey (adjust to taste)
- 1 teaspoon vanilla extract
- 1/2 cup dark chocolate chips
- 1 teaspoon coconut oil (to help the chocolate melt smoothly)
- Flaky sea salt for topping (optional)
Directions
Step 1: Blend the Filling
Place the cottage cheese, peanut butter, protein powder, maple syrup, and vanilla extract into a high-speed blender or food processor. Blend on high until the mixture is completely smooth and creamy. You want to ensure there are no cottage cheese curds left, as the goal is a silky, cheesecake-like consistency.
Step 2: Prepare the Muffin Tin
Line a standard 12-cup muffin tin with silicone or paper liners. Silicone liners work best because they allow the cups to pop out easily once frozen. Spoon the peanut butter and cottage cheese mixture evenly into the 12 liners, smoothing the tops with the back of a spoon or a small spatula.
Step 3: Melt the Chocolate
In a small microwave-safe bowl, combine the dark chocolate chips and coconut oil. Microwave in 30-second intervals, stirring in between, until the chocolate is fully melted and glossy. Be careful not to burn the chocolate; it usually takes about 60 to 90 seconds in total.
Step 4: Top and Freeze
Pour a spoonful of the melted chocolate over each peanut butter cup, spreading it to the edges to seal the filling. If you like a little extra flavor, sprinkle a tiny pinch of flaky sea salt on top of the wet chocolate. Place the muffin tin in the freezer for at least 2 hours, or until the cups are firm and the chocolate is set.
Step 5: Thaw and Serve
Once frozen, remove the cups from the liners. For the best texture, let them sit at room temperature for about 5 minutes before eating. This allows the center to soften slightly while the chocolate stays crisp. Store any leftovers in an airtight container in the freezer.
Expert Tips for Perfect Cottage Cheese Protein Peanut Butter Cups
To get the best results, always use a high-quality cottage cheese. If your cottage cheese is very watery, you might want to drain it slightly through a fine-mesh sieve before blending to ensure the filling stays thick. Using natural peanut butter (the kind you have to stir) provides a better flavor, but make sure it is well-mixed so the oil doesn’t separate in the cups. If your protein powder is very sweet, you can reduce or omit the maple syrup entirely. Finally, don’t skip the coconut oil in the chocolate layer; it prevents the chocolate from cracking when you bite into it after it has been frozen.
Delicious Variations
If you want to mix things up, try using almond butter or cashew butter instead of peanut butter for a different nutty profile. For a “Double Chocolate” version, use chocolate protein powder and add a teaspoon of cocoa powder to the blender. You can also add a “crunch” factor by stirring in some crushed peanuts or cacao nibs to the filling after blending. If you are following a ketogenic diet, swap the maple syrup for a liquid monk fruit sweetener and use sugar-free chocolate chips.
Frequently Asked Questions
Can I taste the cottage cheese?
Not at all! Once blended with the peanut butter, protein powder, and sweetener, the cottage cheese loses its distinct flavor and simply provides a creamy, tangy base that tastes remarkably like cheesecake or a thick pudding.
Do I have to keep these in the freezer?
Yes, because of the moisture content in the cottage cheese, these cups will become too soft if left at room temperature or in the fridge for too long. They are best stored in the freezer and enjoyed as a frozen treat.
What kind of protein powder works best?
Whey protein or a whey-casein blend works best for texture. Plant-based proteins can sometimes make the mixture a bit grainier or thicker, so you may need to add a splash of almond milk if the blender struggles.
Can I make these nut-free?
Absolutely. You can substitute the peanut butter with sunflower seed butter or soy nut butter for a school-safe and allergy-friendly version that still tastes delicious.
How long do these last in the freezer?
These Cottage Cheese Protein Peanut Butter Cups will stay fresh in an airtight container in the freezer for up to one month. Just make sure they are sealed well to prevent freezer burn.
Conclusion
Making healthy snacks doesn’t have to be complicated or boring. These Cottage Cheese Protein Peanut Butter Cups prove that you can enjoy a decadent, chocolatey treat while fueling your body with high-quality protein. They are easy to make, require no baking, and satisfy those intense peanut butter cravings instantly. Give this recipe a try during your next meal prep session, and you will always have a delicious, guilt-free dessert waiting for you in the freezer!
Cottage Cheese Protein Peanut Butter Cups
- Total Time: 15 minutes
- Diet: High-protein, Gluten-free, Low-carb, Keto-friendly
Ingredients
Scale
- 1 cup low-fat or whole milk cottage cheese
- 1/2 cup creamy natural peanut butter
- 1 scoop (30g) vanilla or chocolate whey protein powder
- 2 tablespoons maple syrup or honey (adjust to taste)
- 1 teaspoon vanilla extract
- 1/2 cup dark chocolate chips
- 1 teaspoon coconut oil (to help the chocolate melt smoothly)
- Flaky sea salt for topping (optional)
Instructions
- Place the cottage cheese, peanut butter, protein powder, maple syrup, and vanilla extract into a high-speed blender or food processor. Blend on high until the mixture is completely smooth and creamy. You want to ensure there are no cottage cheese curds left, as the goal is a silky, cheesecake-like consistency.
- Line a standard 12-cup muffin tin with silicone or paper liners. Silicone liners work best because they allow the cups to pop out easily once frozen. Spoon the peanut butter and cottage cheese mixture evenly into the 12 liners, smoothing the tops with the back of a spoon or a small spatula.
- In a small microwave-safe bowl, combine the dark chocolate chips and coconut oil. Microwave in 30-second intervals, stirring in between, until the chocolate is fully melted and glossy. Be careful not to burn the chocolate; it usually takes about 60 to 90 seconds in total.
- Pour a spoonful of the melted chocolate over each peanut butter cup, spreading it to the edges to seal the filling. If you like a little extra flavor, sprinkle a tiny pinch of flaky sea salt on top of the wet chocolate. Place the muffin tin in the freezer for at least 2 hours, or until the cups are firm and the chocolate is set.
- Once frozen, remove the cups from the liners. For the best texture, let them sit at room temperature for about 5 minutes before eating. This allows the center to soften slightly while the chocolate stays crisp. Store any leftovers in an airtight container in the freezer.
- Cook Time: 15 minutes