Introduction
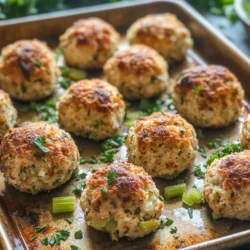
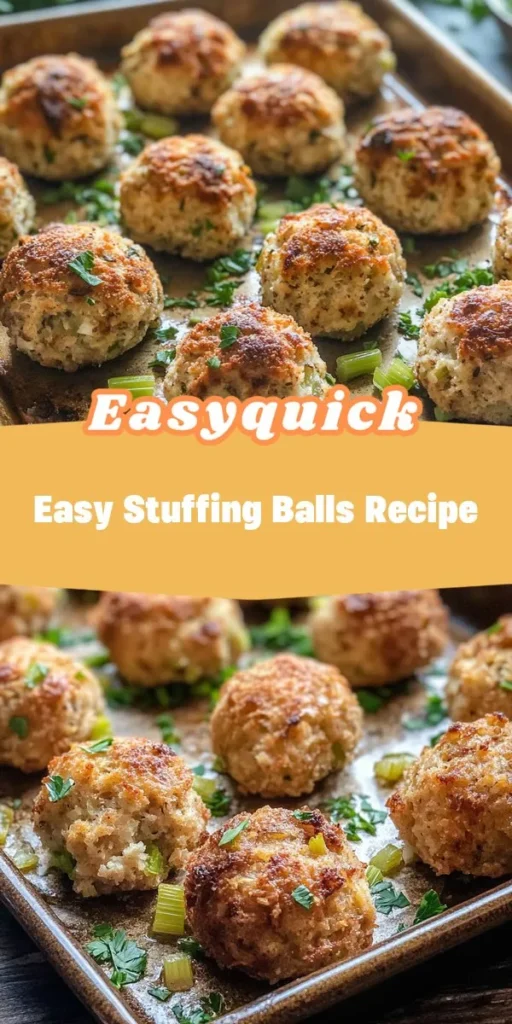
In the realm of comfort food, few dishes evoke the same warmth and nostalgia as stuffing. Traditionally associated with festive meals, particularly Thanksgiving, stuffing has a special place in many hearts and homes. While classic stuffing is often cooked inside the cavity of a turkey, today, we’re introducing a delightful twist with our easy stuffing balls recipe. These stuffing balls are perfectly crispy on the outside and fluffy on the inside, making them an ideal side dish for any occasion, whether it be a holiday feast or a weeknight dinner.
What makes these stuffing balls particularly appealing is their versatility. You can customize them to suit your palate or the ingredients you have on hand. With a blend of day-old bread, fresh herbs, and optional dried fruits, this recipe is not only easy to prepare but also offers an opportunity for creativity in the kitchen. As we walk through the details of making these scrumptious stuffing balls, you’ll find step-by-step instructions, variations to explore, and serving suggestions to elevate your meal.
Understanding the Ingredients
Creating the perfect stuffing balls starts with understanding the key components that contribute to their flavor and texture. Each ingredient plays a vital role, so let’s explore what makes each of them essential to this comforting dish.
Day-Old Bread: Importance and Best Types
The cornerstone of any stuffing recipe is bread, and for stuffing balls, day-old bread is ideal. Stale bread has a firmer texture, which helps it absorb moisture without becoming overly soggy. The best types of bread for stuffing include French bread, sourdough, or even whole wheat varieties. These breads not only add a rich flavor but also provide a sturdy base for the stuffing mixture.
If you don’t have day-old bread, you can quickly make fresh bread stale by cutting it into cubes and toasting it in a 300°F oven for about 15-20 minutes, or until it’s dry but not browned. This trick ensures that your stuffing balls have the right texture and absorb the flavorful broth beautifully.
Broth Selection: Vegetable vs. Chicken for Flavor
The next crucial ingredient is broth. The choice between vegetable or chicken broth can significantly impact the flavor of your stuffing balls. Vegetable broth is a great option for those seeking a lighter flavor profile or accommodating vegetarian diets. On the other hand, chicken broth will impart a deeper, richer flavor that many find comforting.
You may also consider using low-sodium broth to control the saltiness of your dish, allowing you to better manage the seasoning as you mix your ingredients. Regardless of your choice, the broth is essential for moistening the bread and infusing it with flavor.
Fresh Vegetables: The Role of Celery and Onion
No stuffing recipe is complete without the addition of fresh vegetables, and in our stuffing balls, celery and onion are the stars. Sautéing these vegetables enhances their natural sweetness and adds depth to the stuffing mixture.
Celery brings a refreshing crunch and a subtle earthiness, while onions introduce a savory sweetness that complements the other flavors. To achieve the perfect balance, finely chop the vegetables and sauté them until they are soft and translucent, allowing their flavors to meld beautifully with the bread.
Herbs and Spices: Enhancing Flavor with Sage and Thyme
Herbs and spices are the soul of any stuffing, and for our stuffing balls, fresh sage and thyme are traditional favorites. These herbs offer aromatic and earthy notes that elevate the flavor profile of the dish.
Sage, with its slightly peppery flavor, is often associated with Thanksgiving and pairs wonderfully with the richness of the bread and broth. Thyme adds a subtle herbal freshness that rounds out the flavors beautifully. Feel free to experiment with other herbs like rosemary or parsley, depending on your taste preferences.
Optional Additions: Dried Cranberries or Raisins for a Sweet Touch
For an unexpected twist, consider adding optional ingredients like dried cranberries or raisins. These dried fruits introduce a delightful sweetness that contrasts nicely with the savory elements of the stuffing.
Dried cranberries are particularly popular during the fall and holiday seasons, adding a festive touch to the dish. If you prefer a more subdued sweetness, raisins or even chopped dried apricots can be great alternatives. Just be sure to chop them finely to ensure they are evenly distributed throughout the stuffing balls.
Preparing for Success: Step-by-Step Instructions
Creating delicious stuffing balls involves a straightforward process, and with the right preparation, you can ensure a flavorful outcome. Here’s how to get started:
Preheating the Oven and Preparing the Baking Sheet
Before diving into the mixing and molding of your stuffing balls, it’s essential to preheat your oven to 375°F (190°C). This temperature is perfect for achieving a golden brown exterior while keeping the inside fluffy and moist.
While the oven is heating up, prepare your baking sheet. Line it with parchment paper or lightly grease it to prevent the stuffing balls from sticking. This simple step will make cleanup easier and ensure that your stuffing balls cook evenly.
Soaking the Bread: Techniques for Optimal Moisture Absorption
Once your bread is prepared (whether it’s day-old or toasted), cut it into small cubes. The size of the cubes can affect the texture of your stuffing balls, so aim for uniform pieces around ½ inch. In a large mixing bowl, combine the bread cubes with your chosen broth.
Let the bread soak in the broth for about 10-15 minutes, stirring occasionally to ensure even absorption. This is a crucial step, as it allows the bread to soak up the flavors of the broth, resulting in a moist and flavorful stuffing mixture. If the bread seems too dry after soaking, feel free to add a splash more broth to achieve the desired consistency.
Sautéing Vegetables: Tips for Perfectly Softened Celery and Onion
While the bread is soaking, it’s time to sauté your vegetables. Heat a tablespoon of olive oil or butter in a skillet over medium heat. Once hot, add the finely chopped celery and onion. Sauté the mixture until the vegetables are softened and translucent, typically around 5-7 minutes.
This step not only enhances the flavor of the vegetables but also ensures they blend seamlessly into the stuffing mixture. You want them to be soft enough to incorporate easily into the bread mixture without adding excess moisture.
Mixing the Ingredients: Ensuring Even Distribution of Flavors
Once your bread has soaked and your vegetables are sautéed, it’s time to combine everything. In the large mixing bowl with the soaked bread, add the sautéed vegetables, chopped fresh herbs, and any optional additions like dried fruits.
Gently mix the ingredients together using your hands or a large wooden spoon, being careful not to overwork the bread. The goal is to evenly distribute all the flavors without breaking down the bread cubes too much. The mixture should hold together but still have a bit of texture, allowing for light and fluffy stuffing balls.
The Art of Forming Stuffing Balls
Now that you have a flavorful mixture ready, it’s time to shape your stuffing balls. This step is both fun and essential for achieving the perfect texture.
Using your hands, take a portion of the mixture (about 1-2 tablespoons) and roll it into a ball. Aim for a size that is easy to manage but not too small, as larger balls will create a delightful contrast between the crispy outside and the soft inside. Place each formed ball onto your prepared baking sheet, leaving a little space between each one to allow for even cooking.
Once all the stuffing balls are formed, you can consider giving them a light brush of melted butter or olive oil before baking. This will help them achieve an even more golden and crispy exterior.
With your oven preheated and baking sheet ready, you can now bake the stuffing balls for 25-30 minutes or until they are golden brown and crispy on the outside.
Ideal Size: Achieving the Right Ball Size for Even Cooking
When crafting your stuffing balls, the size of each ball plays a crucial role in ensuring even cooking and optimal texture. Aim for a size that is roughly the diameter of a golf ball, about 1.5 to 2 inches. This size strikes the perfect balance, allowing the stuffing balls to cook thoroughly without drying out. Smaller balls may cook too quickly, leading to a dry interior, while larger ones may remain undercooked in the center.
To achieve this ideal size, use a cookie scoop or your hands to portion out the mixture. If you find that the mixture is too loose, let it rest for a few minutes to allow the breadcrumbs to absorb moisture, which will make it easier to handle.
Tips for Keeping Mixture from Sticking
A common challenge when forming stuffing balls is the mixture sticking to your hands. To prevent this, lightly coat your hands with oil or cooking spray before working with the mixture. This will create a barrier and make it easier to shape the balls without them adhering to your skin.
Additionally, if the mixture is too wet, you can add a bit more breadcrumbs or flour to help bind it together. Make sure to mix thoroughly, ensuring that the added ingredients are well integrated before shaping.
Baking to Perfection: Achieving the Right Texture
Once your stuffing balls are shaped and ready for baking, it’s time to focus on the oven settings and timing to achieve that perfect crunchy exterior and soft, flavorful interior.
Understanding Oven Settings and Timing
Preheat your oven to 375°F (190°C). This temperature is optimal for baking stuffing balls, allowing them to develop a golden-brown crust while ensuring the insides are cooked through. Place the stuffing balls on a baking sheet lined with parchment paper to promote even cooking and easy cleanup.
Bake for approximately 25-30 minutes, turning them halfway through to ensure even browning. Keep a close eye on them as baking times can vary based on the size of the balls and your specific oven.
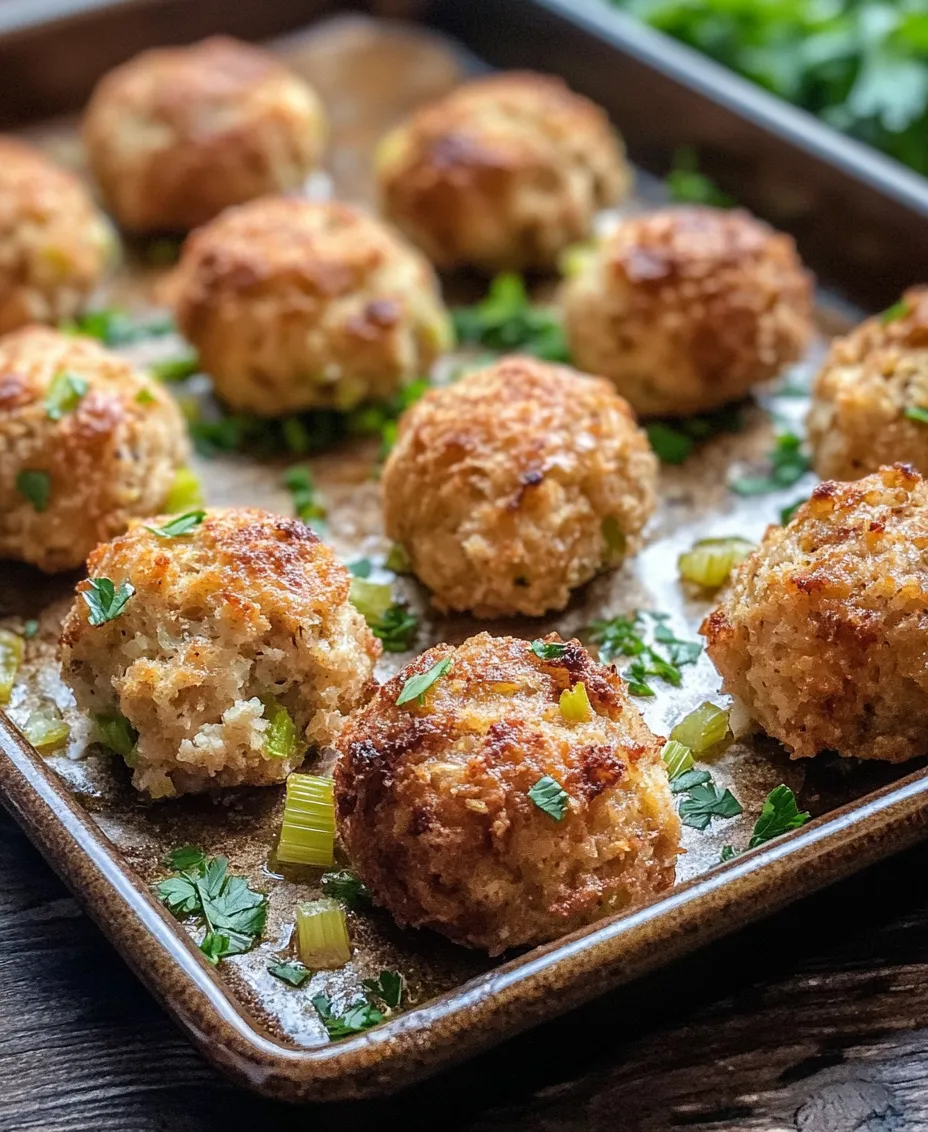
Recognizing When Stuffing Balls Are Done: Color and Texture Indicators
The stuffing balls are done when they are golden brown on the outside, showcasing a delightful crunch. To check for the right texture, insert a toothpick into the center of one ball; it should come out clean and hot. The internal temperature should reach at least 165°F (74°C) for optimal safety and flavor.
Cooling Tips: Enhancing Flavor After Baking
Once baked, allow your stuffing balls to cool on the baking sheet for about 5-10 minutes. This cooling period helps the flavors meld further and makes them easier to handle. Avoid serving them immediately as the flavors continue to develop while they cool, creating a richer taste experience.
Serving Suggestions
Stuffing balls are incredibly versatile and can be enjoyed in various ways, whether as a side dish, appetizer, or even a meal prep staple.
Creative Ways to Enjoy Your Stuffing Balls
– As a Side Dish: Pairing with Main Courses
Stuffing balls make an excellent accompaniment to a variety of main dishes. They pair beautifully with roasted meats, such as turkey, chicken, or pork, and can also complement vegetarian dishes like stuffed peppers or mushroom risotto. Serve them alongside gravy or a savory sauce to enhance their flavor.
– As an Appetizer: Serving with Dips or Sauces
Transform your stuffing balls into a crowd-pleasing appetizer by serving them with an array of dips. A rich garlic aioli, tangy cranberry sauce, or zesty marinara can elevate the experience. Arrange them on a platter and encourage guests to dip and enjoy.
– Meal Prepping: Storing and Reheating for Future Enjoyment
To make meal preparation easy, batch cook your stuffing balls. Store them in an airtight container in the refrigerator for up to 4 days, or freeze them for longer storage. When ready to enjoy, reheat them in the oven at 350°F (175°C) for about 10-15 minutes until heated through.
Variations to Explore
One of the best aspects of stuffing balls is their adaptability. Here are some customization ideas to cater to various tastes and dietary preferences.
Customization Ideas for Every Palate
– Vegetarian and Vegan Substitutes: Making It Suitable for All Diets
To create a vegetarian or vegan version, substitute the chicken broth with vegetable broth and omit any animal products. Incorporating plant-based ingredients like sautéed mushrooms, spinach, or nuts can add depth and flavor while maintaining the delightful texture.
– Adding Protein: Incorporating Sausage or Bacon
For meat lovers, adding cooked sausage or crispy bacon to the mixture can take your stuffing balls to the next level. Simply crumble the cooked meat and fold it into the mixture before forming the balls. This addition not only enhances flavor but also adds a satisfying heartiness.
– International Flavors: Infusing with Different Herbs and Spices
Experimenting with herbs and spices allows for endless flavor combinations. Consider adding Italian herbs like oregano and basil for a Mediterranean twist, or try using cumin and coriander for a Middle Eastern flair. Feel free to play around with flavors that resonate with your taste buds, making each batch uniquely yours.
Conclusion
The easy stuffing balls recipe is not just a great addition to your holiday table; it’s a versatile dish that can be enjoyed year-round. With its simple preparation and the ability to customize ingredients, this recipe invites creativity in the kitchen while delivering on flavor and comfort. Whether you’re celebrating a special occasion or just craving a hearty side, these stuffing balls are sure to please everyone at the table. Embrace the joy of cooking and indulge in the deliciousness of homemade stuffing balls that bring warmth and satisfaction to every bite.