Follow Me On Pinterest!


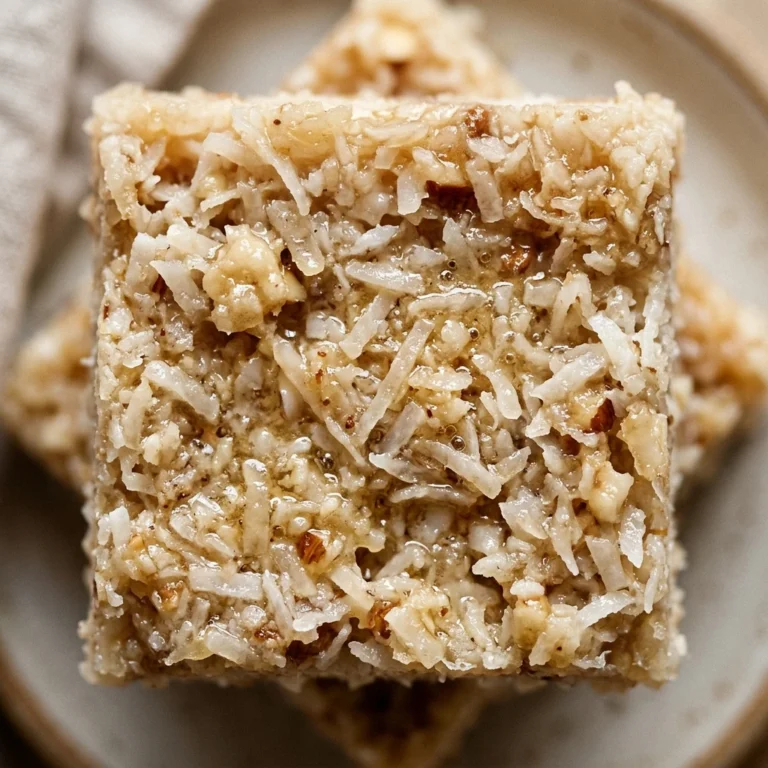
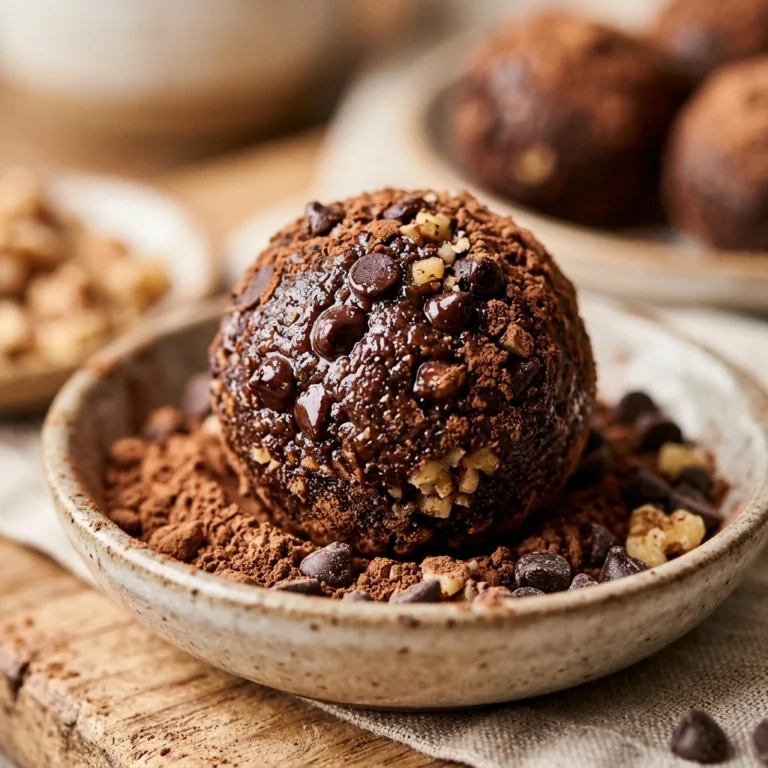
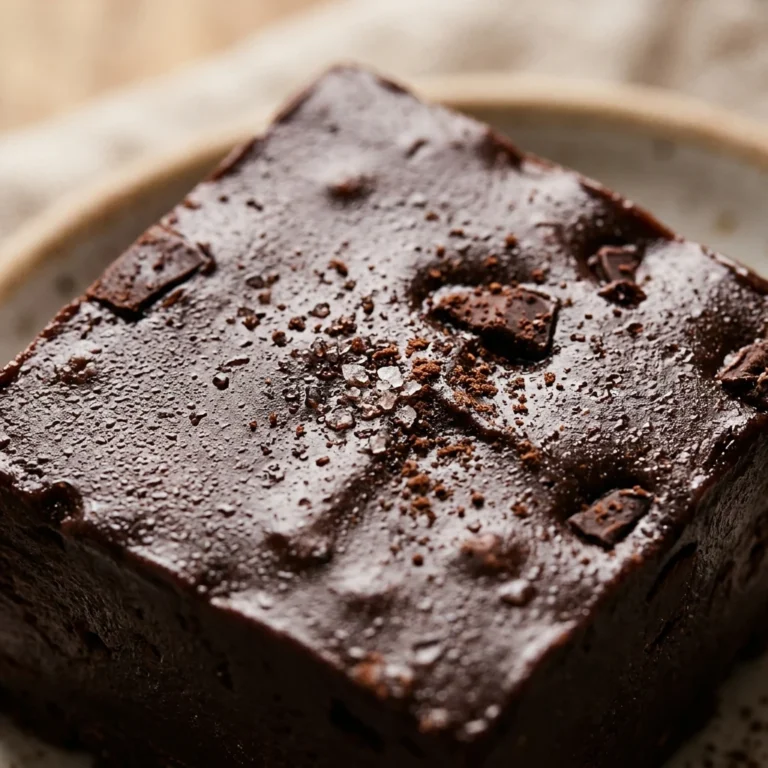
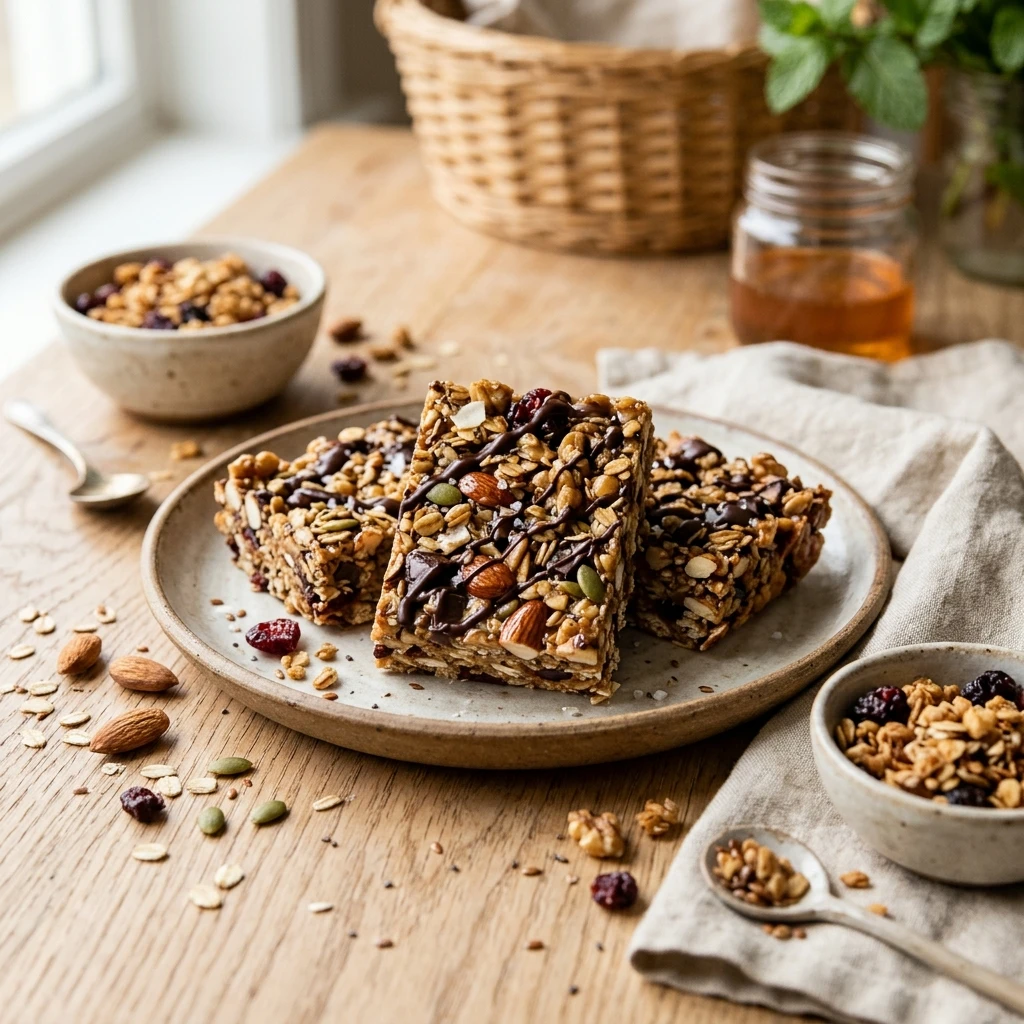
Searching for a snack that hits the sweet spot without turning on the oven? These No Bake Granola Bars are your new kitchen best friend. Whether you need a quick energy boost before a workout or a wholesome treat for the kids’ lunchboxes, this recipe delivers maximum flavor with zero heat required. You can whip these up in minutes using pantry staples, and the result is a chewy, chocolatey bar that rivals any store-bought version. Say goodbye to processed preservatives and hello to a fresh, homemade dessert that keeps your kitchen cool and your cravings satisfied.
Recipe Information
- Prep Time: 15 minutes
- Cook Time: 0 minutes
- Total Time: 15 minutes (plus 2 hours chilling)
- Servings: 12 bars
- Difficulty: Easy
Nutrition values
- Calories: 210 kcal
- Protein: 5g
- Carbs: 26g
Why Make This No Bake Granola Bars Easy No Bake Dessert Zero Heat
This recipe is a game-changer for busy households and heat-sensitive summer days. Since it requires no baking, you save on energy costs and keep your house cool. These bars are incredibly versatile; you can swap ingredients based on what you have in your cupboard. They are also significantly healthier than commercial granola bars because you control the sugar content and quality of the fats. Most importantly, the texture is perfectly chewy—never crumbly—making them the ideal grab-and-go snack for school, work, or hiking trips.
Ingredients
- 2 cups Old-fashioned rolled oats (do not use instant oats)
- 1/2 cup Creamy peanut butter (or almond butter)
- 1/3 cup Honey or pure maple syrup
- 1/2 cup Semi-sweet mini chocolate chips
- 1 teaspoon Pure vanilla extract
- 1/4 teaspoon Sea salt
- 2 tablespoons Ground flaxseeds or chia seeds (optional for extra fiber)
- 1/4 cup Toasted shredded coconut (optional)
Directions
Step 1: Prepare the Pan
Line an 8×8-inch baking pan with parchment paper. Leave a little bit of paper hanging over the edges. This “overhang” acts as a handle, allowing you to lift the entire block of granola bars out easily once they have set. This ensures your bars don’t stick and stay perfectly rectangular when sliced.
Step 2: Mix the Liquid Base
In a large mixing bowl, combine the creamy peanut butter, honey, vanilla extract, and sea salt. Stir these together until the mixture is completely smooth and well-incorporated. If your peanut butter is too stiff, you can microwave the mixture for 20 seconds to soften it, but it should not be hot.
Step 3: Incorporate Dry Ingredients
Add the rolled oats and the flax or chia seeds to the peanut butter mixture. Use a sturdy spatula to fold everything together. Ensure every single oat is coated in the sticky base. Once the mixture has cooled slightly (if you warmed the peanut butter), fold in the mini chocolate chips and coconut. Adding the chips last prevents them from melting completely.
Step 4: Press and Compress
Transfer the mixture into your prepared baking pan. Spread it out evenly to the corners. Now, use the back of a spoon or a flat-bottomed measuring cup to press the mixture down firmly. This is the most important step; the harder you press, the better the bars will hold together without crumbling.
Step 5: Chill and Slice
Place the pan in the refrigerator for at least 2 hours, or until the mixture feels very firm to the touch. Once set, lift the bars out of the pan using the parchment paper handles. Place them on a cutting board and use a sharp knife to slice them into 12 even bars. Store them in the fridge until you are ready to eat.
Expert Tips for Perfect No Bake Granola Bars Easy No Bake Dessert Zero Heat
For the best results, always use old-fashioned rolled oats. Quick oats are too powdery and will make the bars dry, while steel-cut oats are too hard to eat raw. If you find your bars are falling apart, it usually means they weren’t pressed down hard enough into the pan or the honey-to-oat ratio was off. You can also add a tablespoon of melted coconut oil to the wet mixture to help them firm up even more in the fridge. If you want a professional look, drizzle a little extra melted chocolate over the top before chilling.
Delicious Variations
You can easily customize these bars to suit your dietary needs. For a Vegan Version, substitute the honey for maple syrup and use dairy-free chocolate chips. If you have a Nut Allergy, use sunflower seed butter (SunButter) instead of peanut butter. For a Fruity Twist, replace the chocolate chips with dried cranberries, raisins, or chopped dried apricots. You can also boost the protein by adding a scoop of your favorite vanilla or chocolate protein powder, though you may need to add an extra tablespoon of honey to keep the moisture balance correct.
Frequently Asked Questions
Can I use steel-cut oats for this recipe?
No, steel-cut oats are much too dense and crunchy to be eaten without cooking. They will not soften enough in the refrigerator, resulting in a very unpleasant texture. Stick to old-fashioned rolled oats for the perfect chew.
How should I store these granola bars?
These bars are best kept in an airtight container in the refrigerator. Because they use natural binders like honey and peanut butter, they can soften and become sticky if left at room temperature for too long. They will stay fresh in the fridge for up to two weeks.
Can I freeze these bars for later?
Yes! These bars freeze beautifully. Wrap individual bars in plastic wrap or parchment paper and store them in a freezer-safe bag. They will last for up to 3 months. You can eat them straight from the freezer or let them thaw for 5 minutes.
Why are my granola bars crumbling when I cut them?
Crumbling usually happens for two reasons: either the mixture wasn’t pressed firmly enough into the pan, or the bars haven’t chilled long enough. Make sure to use significant pressure when flattening them in the pan and give them at least 2 full hours in the fridge before slicing.
Can I make these without honey?
You can use maple syrup or agave nectar as a substitute for honey. However, honey is slightly stickier and acts as a better “glue” for no-bake recipes. If you use maple syrup, you might find the bars are slightly softer, so keep them chilled until the moment you eat them.
Conclusion
These No Bake Granola Bars prove that you don’t need an oven to create a delicious, satisfying dessert. They are the perfect solution for busy mornings or afternoon slumps when you need a nutritious pick-me-up. By making them at home, you avoid the artificial additives found in boxed snacks and gain the freedom to experiment with your favorite flavors. Give this recipe a try today and enjoy the simplicity of a zero-heat treat that everyone in the family will love.


No Bake Granola Bars Easy No Bake Dessert Zero Heat
- Total Time: 15 minutes
- Diet: Vegetarian, Vegan (optional)
Ingredients
Scale
- 2 cups Old-fashioned rolled oats (do not use instant oats)
- 1/2 cup Creamy peanut butter (or almond butter)
- 1/3 cup Honey or pure maple syrup
- 1/2 cup Semi-sweet mini chocolate chips
- 1 teaspoon Pure vanilla extract
- 1/4 teaspoon Sea salt
- 2 tablespoons Ground flaxseeds or chia seeds (optional for extra fiber)
- 1/4 cup Toasted shredded coconut (optional)
Instructions
- Line an 8×8-inch baking pan with parchment paper. Leave a little bit of paper hanging over the edges. This “overhang” acts as a handle, allowing you to lift the entire block of granola bars out easily once they have set. This ensures your bars don’t stick and stay perfectly rectangular when sliced.
- In a large mixing bowl, combine the creamy peanut butter, honey, vanilla extract, and sea salt. Stir these together until the mixture is completely smooth and well-incorporated. If your peanut butter is too stiff, you can microwave the mixture for 20 seconds to soften it, but it should not be hot.
- Add the rolled oats and the flax or chia seeds to the peanut butter mixture. Use a sturdy spatula to fold everything together. Ensure every single oat is coated in the sticky base. Once the mixture has cooled slightly (if you warmed the peanut butter), fold in the mini chocolate chips and coconut. Adding the chips last prevents them from melting completely.
- Transfer the mixture into your prepared baking pan. Spread it out evenly to the corners. Now, use the back of a spoon or a flat-bottomed measuring cup to press the mixture down firmly. This is the most important step; the harder you press, the better the bars will hold together without crumbling.
- Place the pan in the refrigerator for at least 2 hours, or until the mixture feels very firm to the touch. Once set, lift the bars out of the pan using the parchment paper handles. Place them on a cutting board and use a sharp knife to slice them into 12 even bars. Store them in the fridge until you are ready to eat.
- Cook Time: 15 minutes (plus 2 hours chilling)