Follow Me On Pinterest!


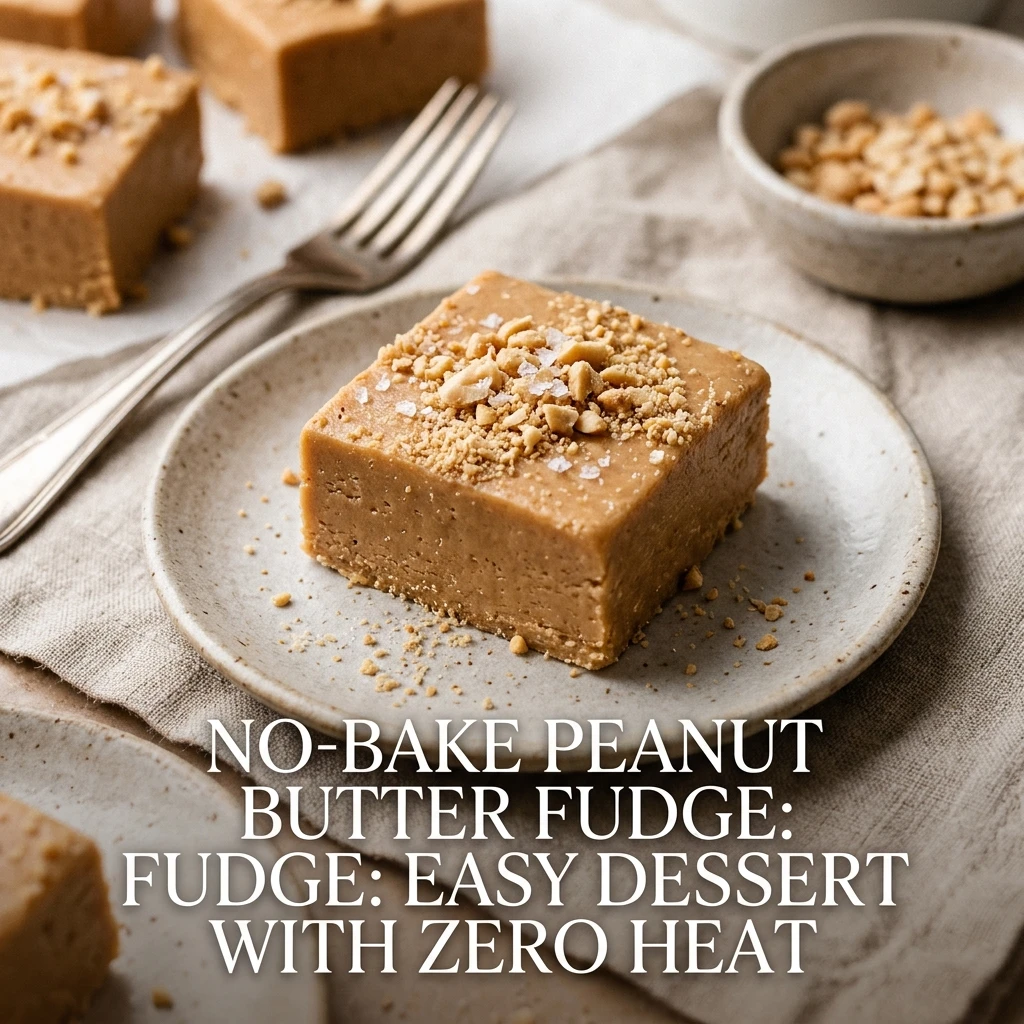
Finding a dessert that satisfies a massive sweet tooth without turning on the oven is like finding a hidden treasure. This No Bake Peanut Butter Fudge Easy No Bake Dessert Zero Heat recipe is your shortcut to candy shop results right in your own kitchen. You only need a few pantry staples and about ten minutes of effort to create a rich, creamy, and melt-in-your-mouth treat. It is the perfect solution for hot summer days, last-minute potlucks, or those late-night cravings when you want something decadent without the labor of traditional fudge making.
Recipe Information
- Prep Time: 10 minutes
- Cook Time: 0 minutes
- Total Time: 10 minutes (plus 2 hours chilling time)
- Servings: 24 squares
- Difficulty: Easy
Nutrition values
- Calories: 165 kcal per serving
- Protein: 3g
- Carbs: 18g
Why Make This No Bake Peanut Butter Fudge Easy No Bake Dessert Zero Heat
This recipe eliminates the stress of traditional fudge. You do not need a candy thermometer, and you do not have to worry about the sugar reaching a “soft ball” stage. It is incredibly consistent and forgiving. Because it requires zero heat, it is a fantastic recipe to make with children. It delivers a dense, velvety texture that rivals any gourmet confectionery. Plus, it stores beautifully in the fridge for weeks, making it a great make-ahead snack.
Ingredients
- 1 cup creamy peanut butter (standard commercial brands work best)
- 1/2 cup unsalted butter, softened to room temperature
- 1 teaspoon pure vanilla extract
- 3 cups powdered sugar (confectioners’ sugar), sifted
- 1/4 teaspoon salt (omit if using salted butter)
Directions
Step 1: Prepare the Pan
Line an 8×8-inch square baking pan with parchment paper or aluminum foil. Leave a little bit of overhang on the sides so you can easily lift the fudge out later. Lightly grease the paper with a tiny bit of butter or non-stick spray to ensure a clean release.
Step 2: Cream the Base
In a large mixing bowl, combine the softened butter and the creamy peanut butter. Use a sturdy spatula or an electric hand mixer to blend them until the mixture is completely smooth and uniform in color. Stir in the vanilla extract and salt until well incorporated.
Step 3: Incorporate the Sugar
Gradually add the powdered sugar one cup at a time. Mix thoroughly after each addition. The mixture will become very thick and slightly stiff as you add more sugar. Continue mixing until no white streaks remain and the “dough” is smooth and pliable.
Step 4: Press and Chill
Transfer the peanut butter mixture into your prepared pan. Use the back of a spoon or an offset spatula to press the fudge firmly into the corners and smooth out the top. Place the pan in the refrigerator for at least two hours, or until the fudge is firm to the touch. Once set, lift it out by the parchment paper, slice into squares, and serve.
Expert Tips for Perfect No Bake Peanut Butter Fudge Easy No Bake Dessert Zero Heat
- Avoid Natural Peanut Butter: While delicious, natural peanut butters that require stirring often contain too much oil. For the most stable fudge, use a standard brand like Jif or Skippy.
- Sift Your Sugar: Powdered sugar often has small clumps. Sifting ensures your fudge has a professional, silky-smooth texture without any gritty bites.
- Use a Sharp Knife: To get clean, perfect squares, run a sharp knife under hot water and wipe it dry between each cut.
- Room Temp Butter: Make sure your butter is truly soft. If it is too cold, it won’t emulsify with the peanut butter, leading to a lumpy texture.
Delicious Variations
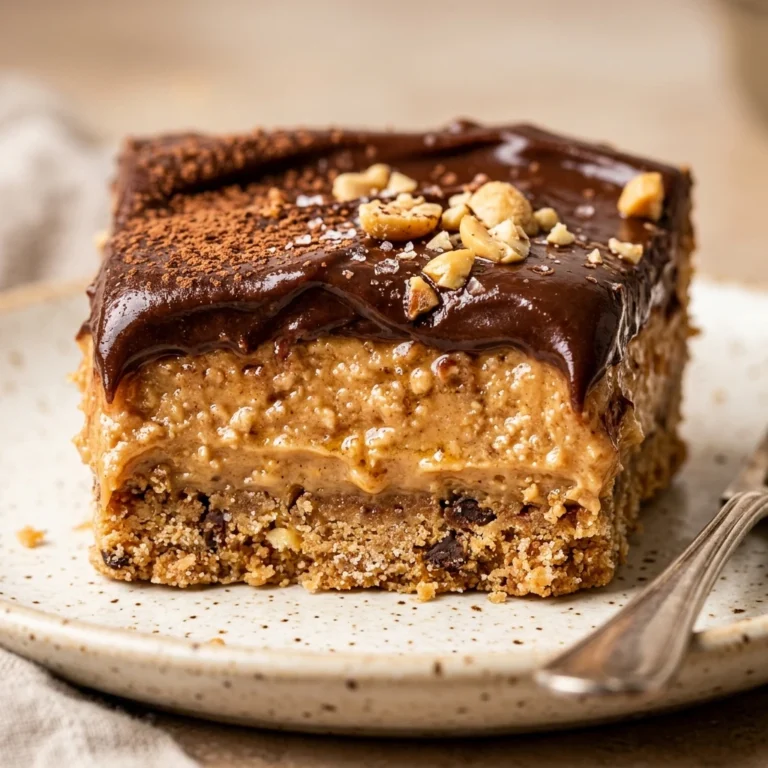
- Chocolate Top: Melt 1 cup of semi-sweet chocolate chips with a tablespoon of peanut butter and spread it over the chilled fudge for a Reese’s-style treat.
- Crunchy Version: Swap the creamy peanut butter for extra crunchy peanut butter to add a satisfying texture.
- Sea Salt Garnish: Sprinkle a pinch of flaky sea salt over the top before chilling to balance the sweetness.
- Loaded Fudge: Fold in half a cup of chopped peanuts, pretzels, or mini chocolate chips before pressing the mixture into the pan.
Frequently Asked Questions
Can I make this fudge vegan?
Yes, you can easily substitute the butter with a vegan butter stick and ensure your powdered sugar is vegan-friendly. The results remain creamy and delicious.
How should I store this fudge?
Store the fudge in an airtight container in the refrigerator for up to two weeks. It is best served cold, as it will soften if left at room temperature for too long.
Can I freeze No Bake Peanut Butter Fudge?
Absolutely. Wrap the individual squares or the whole block tightly in plastic wrap and place in a freezer-safe bag. It will last for up to three months in the freezer.
Why is my fudge too crumbly?
If the mixture is crumbly, you may have added too much powdered sugar or your peanut butter was too dry. You can fix this by mixing in a teaspoon of melted butter or a tiny bit more peanut butter until it holds together.
Is this recipe gluten-free?
The core ingredients are naturally gluten-free. However, always check your labels on the peanut butter and vanilla extract to ensure they were processed in a gluten-free facility if you have a severe allergy.
Conclusion
This No Bake Peanut Butter Fudge Easy No Bake Dessert Zero Heat is the ultimate “cheat code” for dessert lovers. It proves that you don’t need complicated techniques or high heat to create something truly spectacular. Whether you need a quick gift for a neighbor or a simple sweet treat for movie night, this recipe delivers every single time. Try it today and enjoy the rich, nutty goodness with minimal effort!
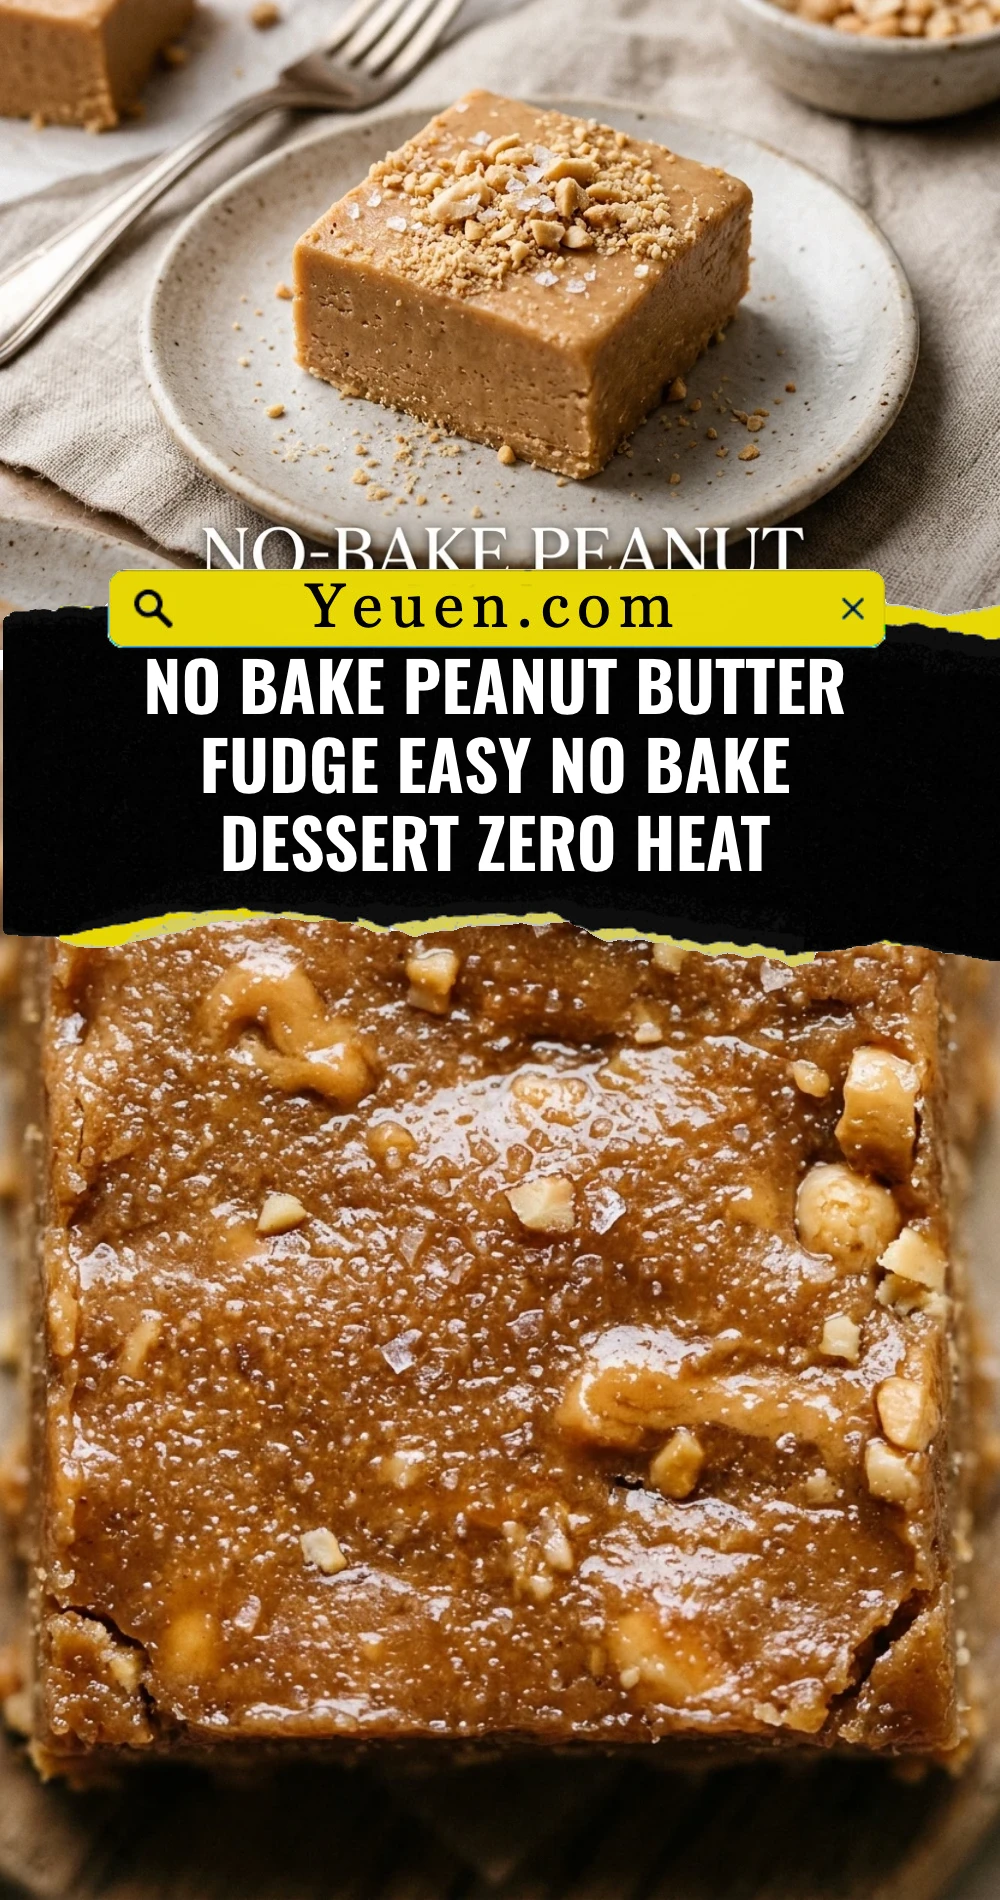

No Bake Peanut Butter Fudge Easy No Bake Dessert Zero Heat
- Total Time: 10 minutes
- Diet: Gluten-Free, Vegetarian
Ingredients
Scale
- 1 cup creamy peanut butter (standard commercial brands work best)
- 1/2 cup unsalted butter, softened to room temperature
- 1 teaspoon pure vanilla extract
- 3 cups powdered sugar (confectioners’ sugar), sifted
- 1/4 teaspoon salt (omit if using salted butter)
Instructions
- Step 1: Prepare the Pan
Line an 8×8-inch square baking pan with parchment paper or aluminum foil. Leave a little bit of overhang on the sides so you can easily lift the fudge out later. Lightly grease the paper with a tiny bit of butter or non-stick spray to ensure a clean release.
- Step 2: Cream the Base
In a large mixing bowl, combine the softened butter and the creamy peanut butter. Use a sturdy spatula or an electric hand mixer to blend them until the mixture is completely smooth and uniform in color. Stir in the vanilla extract and salt until well incorporated.
- Step 3: Incorporate the Sugar
Gradually add the powdered sugar one cup at a time. Mix thoroughly after each addition. The mixture will become very thick and slightly stiff as you add more sugar. Continue mixing until no white streaks remain and the “dough” is smooth and pliable.
- Step 4: Press and Chill
Transfer the peanut butter mixture into your prepared pan. Use the back of a spoon or an offset spatula to press the fudge firmly into the corners and smooth out the top. Place the pan in the refrigerator for at least two hours, or until the fudge is firm to the touch. Once set, lift it out by the parchment paper, slice into squares, and serve.
- Cook Time: 10 minutes (plus 2 hours chilling time)