Follow Me On Pinterest!


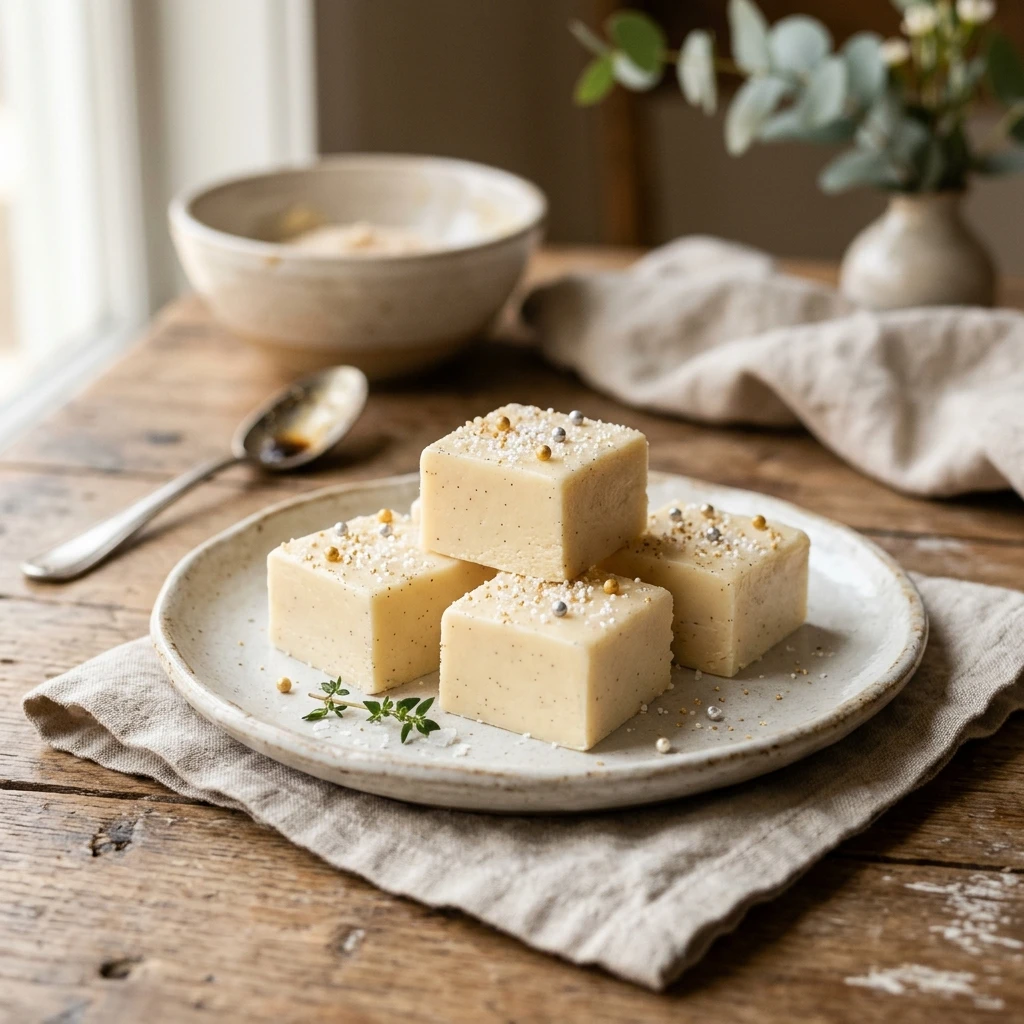
Imagine a dessert that requires absolutely no stovetop stirring, no candy thermometer, and zero chance of burning your sugar. This No Bake Vanilla Fudge is the ultimate shortcut for anyone who loves creamy, melt-in-your-mouth treats but hates the complexity of traditional candy making. It takes less than ten minutes of active work to produce a professional-grade fudge that is rich, buttery, and bursting with aromatic vanilla. Whether you are craving a late-night snack or need a quick gift for a friend, this recipe delivers maximum flavor with minimal effort.
Recipe Information
- Prep Time: 10 minutes
- Cook Time: 0 minutes
- Total Time: 2 hours 10 minutes (includes chilling)
- Servings: 24 squares
- Difficulty: Easy
Nutrition values
- Calories: 165 kcal
- Protein: 2g
- Carbs: 22g
Why Make This No Bake Vanilla Fudge Easy No Bake Dessert Zero Heat
This recipe is a game-changer for busy bakers and beginners alike. First, it requires “zero heat” in the traditional sense—no slaving over a hot stove or worrying about sugar stages. It is the perfect recipe for hot summer days when you do not want to turn on the oven. The texture is consistently smooth and creamy, avoiding the grittiness that often plagues traditional fudge. Plus, you likely already have the ingredients in your pantry. It is incredibly versatile, serving as a blank canvas for any toppings or mix-ins you can imagine.
Ingredients
- 3 cups high-quality white chocolate chips
- 1 can (14 ounces) sweetened condensed milk
- 1/4 cup unsalted butter, softened
- 1 tablespoon pure vanilla extract
- 1/4 teaspoon salt
- Optional: Sprinkles or sea salt for topping
Directions
Step 1: Prepare Your Pan
Line an 8×8-inch square baking pan with parchment paper. Make sure to leave an overhang on the sides so you can easily lift the fudge out later. This “sling” method ensures your fudge doesn’t stick and results in perfectly clean edges when you slice it.
Step 2: Combine and Melt Ingredients
In a large microwave-safe bowl, combine the white chocolate chips, sweetened condensed milk, and softened butter. Heat the mixture in the microwave in 30-second intervals. After each interval, stir the mixture thoroughly with a rubber spatula. Continue this process until the white chocolate is completely melted and the mixture is smooth and glossy. This usually takes about 1.5 to 2 minutes total.
Step 3: Flavor and Set
Remove the bowl from the microwave and immediately stir in the vanilla extract and salt. Mix until the vanilla is fully incorporated. Pour the fudge mixture into your prepared pan and spread it into an even layer using an offset spatula. If you are using sprinkles or sea salt, add them now while the surface is still tacky. Place the pan in the refrigerator for at least 2 hours, or until the fudge is firm to the touch.
Step 4: Slice and Serve
Once the fudge is fully set, use the parchment paper overhang to lift the entire block out of the pan. Place it on a cutting board and use a sharp knife to cut it into 24 even squares. For the cleanest cuts, wipe the knife with a warm, damp cloth between each slice.
Expert Tips for Perfect No Bake Vanilla Fudge Easy No Bake Dessert Zero Heat
For the best results, use a high-quality brand of white chocolate chips. Since white chocolate is the main flavor, the quality of the cocoa butter makes a huge difference in the final taste and texture. Do not overcook the mixture in the microwave; stop as soon as the last few lumps can be stirred away by hand. If the fudge feels too soft, let it chill for an extra hour. To get perfectly straight lines, you can use a ruler as a guide while cutting.
Delicious Variations
You can easily customize this base recipe to suit your cravings. Add a cup of chopped walnuts or pecans for a delightful crunch. For a “Cookies and Cream” version, fold in crushed chocolate sandwich cookies before pouring the mix into the pan. You can also swap the vanilla extract for almond or peppermint extract to create entirely different flavor profiles. If you want a “Funfetti” look, fold in a handful of rainbow sprinkles just before the mixture sets.
Frequently Asked Questions
How should I store this fudge?
Store the fudge in an airtight container in the refrigerator for up to two weeks. You can also keep it at room temperature for a few days, but it may soften if the room is warm.
Can I freeze this No Bake Vanilla Fudge?
Yes, this fudge freezes beautifully. Wrap the individual squares or the whole block tightly in plastic wrap and then place it in a freezer-safe bag. It will last for up to three months. Thaw it in the fridge before serving.
Why did my fudge turn out oily?
Oily fudge usually happens if the white chocolate was overheated or if the mixture was stirred too vigorously while very hot. If this happens, try stirring in a teaspoon of room-temperature milk to help emulsify the fats back into the mixture.
Do I have to use sweetened condensed milk?
Yes, for this specific “no-bake” method, sweetened condensed milk is essential. It provides the necessary sugar and moisture to create the right fudge consistency without needing a stove. Evaporated milk will not work as a substitute.
Can I make this on the stove instead of the microwave?
Absolutely. Use a double boiler or a heat-proof bowl set over a pot of simmering water. Stir the chocolate, milk, and butter constantly until melted, then proceed with the vanilla and salt as directed.
Conclusion
This No Bake Vanilla Fudge is proof that you do not need a lot of time or equipment to create something truly spectacular. Its creamy texture and rich vanilla flavor make it a crowd-pleasing favorite for holidays, parties, or simple weeknight treats. By following these simple steps, you can master the art of zero-heat candy making and enjoy a delicious dessert that tastes like it came straight from an old-fashioned confectionery. Give it a try today and see how easy homemade fudge can be!
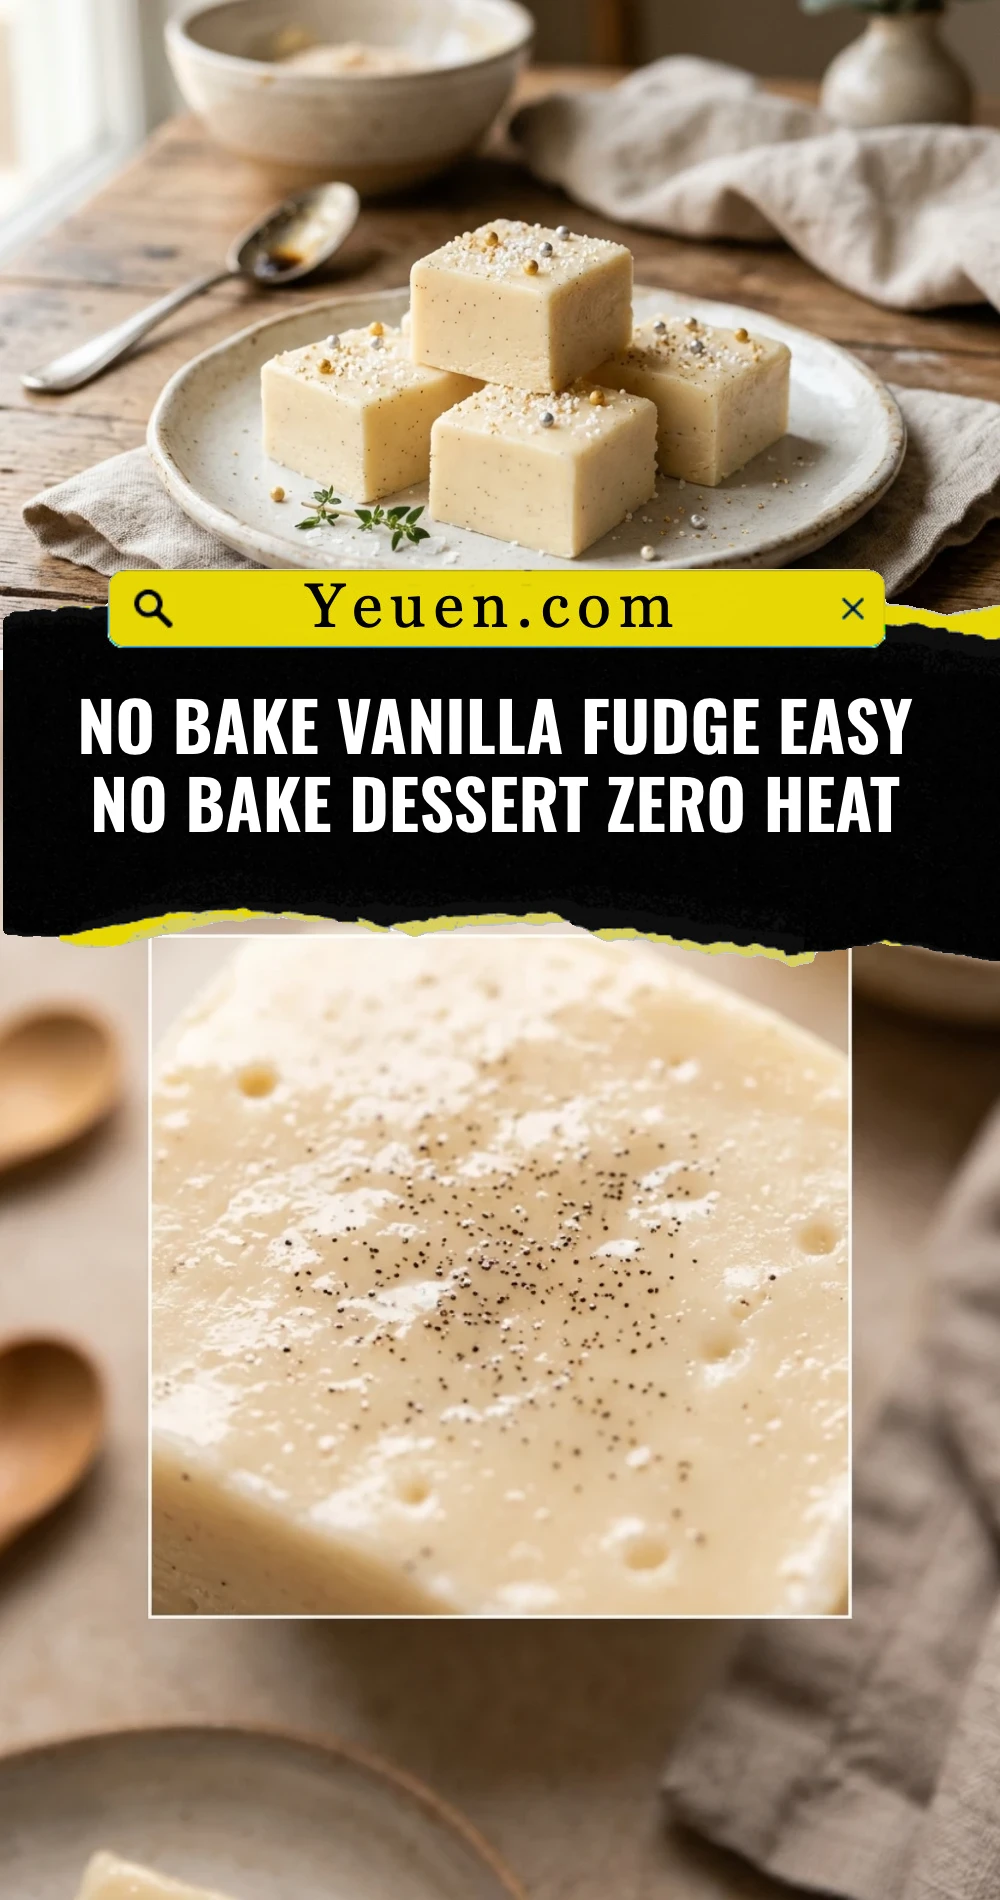
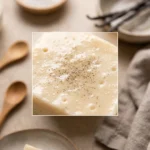
No Bake Vanilla Fudge Easy No Bake Dessert Zero Heat
- Total Time: 2 hours 10 minutes
- Diet: Vegetarian
Ingredients
Scale
- 3 cups high-quality white chocolate chips
- 1 can (14 ounces) sweetened condensed milk
- 1/4 cup unsalted butter, softened
- 1 tablespoon pure vanilla extract
- 1/4 teaspoon salt
- Optional: Sprinkles or sea salt for topping
Instructions
- Line an 8×8-inch square baking pan with parchment paper. Make sure to leave an overhang on the sides so you can easily lift the fudge out later. This “sling” method ensures your fudge doesn’t stick and results in perfectly clean edges when you slice it.
- In a large microwave-safe bowl, combine the white chocolate chips, sweetened condensed milk, and softened butter. Heat the mixture in the microwave in 30-second intervals. After each interval, stir the mixture thoroughly with a rubber spatula. Continue this process until the white chocolate is completely melted and the mixture is smooth and glossy. This usually takes about 1.5 to 2 minutes total.
- Remove the bowl from the microwave and immediately stir in the vanilla extract and salt. Mix until the vanilla is fully incorporated. Pour the fudge mixture into your prepared pan and spread it into an even layer using an offset spatula. If you are using sprinkles or sea salt, add them now while the surface is still tacky. Place the pan in the refrigerator for at least 2 hours, or until the fudge is firm to the touch.
- Once the fudge is fully set, use the parchment paper overhang to lift the entire block out of the pan. Place it on a cutting board and use a sharp knife to cut it into 24 even squares. For the cleanest cuts, wipe the knife with a warm, damp cloth between each slice.
- Cook Time: 2 hours 10 minutes (includes chilling)