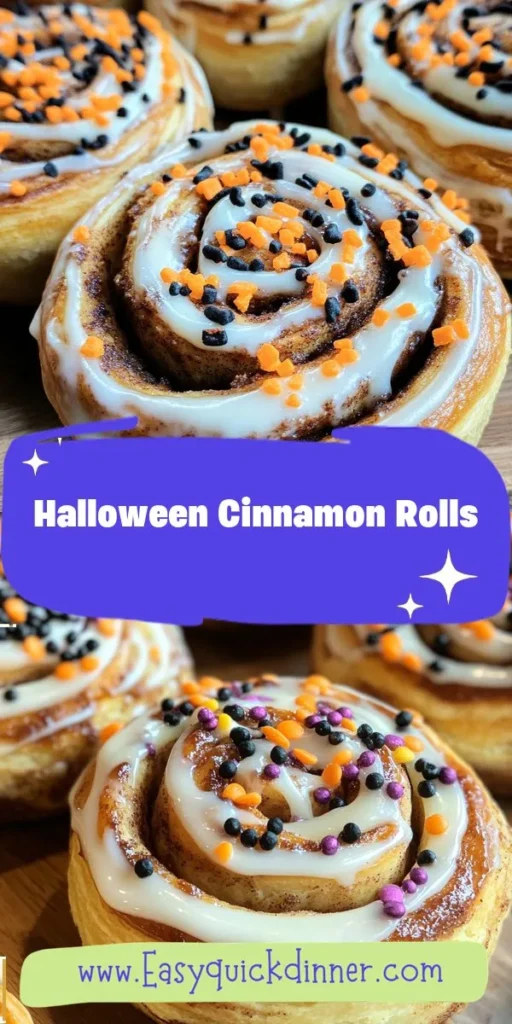
As the leaves turn vibrant shades of orange and red, and the air fills with a hint of crispness, the excitement of Halloween creeps in. This festive occasion is not just about costumes and trick-or-treating; it’s also a time to indulge in delightful treats that capture the spirit of the season. Among the most beloved of these festive goodies are cinnamon rolls—soft, pillowy, and infused with warm spices. When you infuse these classic rolls with a spooky twist, they become the perfect Halloween treat that is sure to enchant both children and adults alike.
The Significance of Halloween Treats
Halloween is synonymous with a bounty of sweets and treats. From candy corn to caramel apples, the holiday offers a plethora of indulgences that celebrate the playful side of autumn. However, there’s something uniquely comforting about homemade treats. The act of baking during Halloween not only fills your home with delightful aromas but also creates lasting memories with family and friends. Whether it’s a cozy gathering around the kitchen counter or a fun-filled evening decorating spooky snacks, baking enhances the festive spirit and brings everyone together.
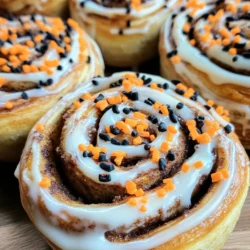
Cinnamon rolls stand out as a quintessential treat that marries the warmth of spices with the comfort of freshly baked goods. Their gooey, sweet center and soft, fluffy exterior make them an irresistible snack. By adding a spooky twist—think ghostly icing, pumpkin spice flavors, and decorative toppings—you can transform these traditional rolls into a festive feast that fits perfectly within the Halloween theme.
The Joy of Baking for Halloween
Baking during Halloween is a cherished tradition in many households. It provides an opportunity to engage with loved ones while crafting delicious treats. Unlike store-bought options, homemade snacks bring a personal touch, allowing you to control the ingredients and flavors while incorporating fun decorations. The joy of creating something from scratch is amplified during this time of year, as families come together to share their favorite recipes and perhaps even invent new ones.
Moreover, baking allows for creativity; it’s a chance to let your imagination run wild. From the dough’s flavors to the toppings and decorations, each step can reflect the spooky theme of Halloween. This not only enhances the festive atmosphere but also makes the treats more exciting to enjoy, especially when shared with loved ones.
Ingredients Breakdown
To create your Spooky Halloween Cinnamon Rolls, you’ll need a selection of ingredients that contribute to their delicious flavor and texture. Here’s a detailed overview of each component:
1. All-Purpose Flour: The backbone of your cinnamon rolls, all-purpose flour provides the structure and texture. Opt for high-quality flour to ensure a light and fluffy result.
2. Fresh Yeast: This is crucial for achieving the perfect rise in your rolls. Fresh yeast, or active dry yeast, activates during the baking process, creating air bubbles that expand the dough. Make sure your yeast is fresh for the best results—check the expiration date before using.
3. Granulated Sugar: Not only does sugar sweeten your rolls, but it also feeds the yeast, helping it activate and rise. This ingredient is essential to achieving the right balance of sweetness in the dough and the filling.
4. Butter: Quality butter is vital for adding richness and flavor to your rolls. It also contributes to the dough’s tenderness. Unsalted butter is recommended, as it allows you to control the overall saltiness of the recipe.
5. Milk: Warm milk helps to activate the yeast while providing moisture to the dough. Using whole milk will yield a richer flavor, but you can also use alternatives like almond or oat milk if you prefer.
6. Eggs: Eggs enrich the dough, providing moisture and contributing to its structure. They also help the rolls achieve a beautiful golden color when baked.
7. Cinnamon: This is the star of the filling! Ground cinnamon adds warmth and flavor, creating that classic cinnamon roll taste that we all know and love.
8. Brown Sugar: Adding brown sugar to the filling enhances the sweetness and gives a deeper flavor profile with its molasses undertones. It also helps create a gooey filling that complements the spiced dough.
9. Optional Decorations: For the spooky Halloween theme, consider adding food coloring to your icing to create ghostly white rolls or vibrant orange for a pumpkin spice flavor. Decorative toppings like edible eyes, candy spiders, or orange sprinkles can turn your cinnamon rolls into a fun Halloween masterpiece.
Step-by-Step Guide to Making Spooky Halloween Cinnamon Rolls
Now that you have a clear understanding of the ingredients, let’s dive into the step-by-step process of making your Spooky Halloween Cinnamon Rolls. This guide will ensure you achieve the best results, creating rolls that are not only delicious but also visually appealing.
Activating the Yeast
The first step in creating fluffy cinnamon rolls is activating the yeast. Yeast is a living organism that ferments sugars, producing carbon dioxide gas that causes the dough to rise.
– Importance of Yeast: Without properly activated yeast, your rolls will be dense and unappetizing. Take care to ensure your yeast is active and ready to work.
– Tips for Activation:
– Start by warming your milk to about 110°F (43°C)—this is the ideal temperature for yeast activation. Too hot, and you risk killing the yeast; too cold, and it won’t activate properly.
– Mix the warm milk with the sugar and then sprinkle the yeast on top. Allow it to sit for about 5-10 minutes until it becomes frothy. This indicates that your yeast is alive and ready to help your dough rise.
Preparing the Dough
Once your yeast is activated, it’s time to prepare the dough.
– Combining Ingredients: In a large mixing bowl, combine the activated yeast mixture with melted butter, eggs, and a pinch of salt. Gradually add in the flour, one cup at a time, mixing until a dough forms.
– Optimal Texture: The dough should be slightly sticky but manageable. If it feels too wet, add a little more flour, but be cautious not to add too much, as this can lead to tough rolls.
Kneading the Dough
Once the ingredients are combined, it’s time to knead the dough.
– Explanation of Kneading: Kneading develops the gluten in the flour, which provides structure and chewiness to the rolls. When kneading, push the dough with the heel of your hand, fold it over, and repeat.
– Signs of Readiness: Knead the dough for about 5-10 minutes until it’s smooth and elastic. You should be able to stretch it without tearing easily. When it springs back after being poked, it’s ready for the first rise.
First Rise: The Magic of Dough Expansion
After kneading, the dough needs to rise. This is where the magic happens!
– What Happens During Fermentation: As the dough sits in a warm place, the yeast ferments, producing carbon dioxide gas that causes the dough to expand.
– Ideal Conditions: Place your dough in a greased bowl, cover it with a clean kitchen towel, and let it rise in a warm, draft-free area for about 1 to 1.5 hours, or until it has doubled in size.
Rolling Out the Dough
Once your dough has risen, it’s time to roll it out.
– Techniques for Thickness: On a lightly floured surface, gently punch down the dough to release excess air. Roll it out into a rectangle about ¼ inch thick.
– Importance of Even Spreading: Ensure the dough is rolled evenly to achieve balanced cinnamon rolls. If one end is thicker than the other, the rolls will bake unevenly.
Following these initial steps will set the foundation for your Spooky Halloween Cinnamon Rolls. The next part of the recipe will cover the filling, decorating, and baking process that will transform your rolls into a festive masterpiece that is sure to impress.
Stay tuned for the next section, where we’ll delve into crafting that delicious filling, glazing, and adding those spooky decorations that will make your Halloween celebration truly special!
Filling the Rolls
Creating the perfect filling for your spooky Halloween cinnamon rolls is crucial for achieving that delightful flavor that makes them irresistible. The filling typically consists of a mixture of cinnamon, brown sugar, and softened butter, all of which meld beautifully to create a deliciously sweet experience.
Crafting the Perfect Cinnamon and Brown Sugar Mixture
To make your filling, start by combining 1 cup of brown sugar with 2 tablespoons of ground cinnamon in a medium bowl. The dark, moist brown sugar adds depth and richness to the flavor profile, while cinnamon gives it that warm, inviting aroma. Mix these ingredients well with a fork to ensure the cinnamon is evenly distributed throughout the sugar.
Next, take 1/2 cup of unsalted butter (softened to room temperature) and spread it evenly over the rolled-out dough. This will help the sugar and cinnamon mixture adhere properly. Once the butter is spread, generously sprinkle the cinnamon-sugar mixture over the butter, making sure to cover every inch of the dough for maximum flavor in every bite.
Tips for Spreading Butter Evenly
To achieve an even spread of butter, use a flexible spatula or the back of a spoon. Start from the center of the dough and work your way outwards. This technique helps prevent tearing the dough while ensuring that the butter reaches the edges. If you find the butter is too firm to spread easily, you can microwave it for about 10 seconds to soften it further.
Shaping the Rolls
Once your dough is filled with that heavenly cinnamon-sugar mixture, it’s time to shape your rolls.
How to Roll the Dough to Create Uniform Pieces
Begin by carefully rolling the dough from one end to the other, ensuring you keep the roll tight but not so tight that the filling oozes out. Aim for a log shape that is about 12 to 14 inches long. To get uniform rolls, you can use a sharp knife or a bench scraper to cut the log into 12 equal pieces. This will ensure that each roll bakes evenly and provides the same delightful experience.
Placement in the Baking Dish for Even Cooking
When placing the rolls in the baking dish, opt for a lightly greased 9×13 inch baking pan. Arrange the rolls close together, but not touching, as they will expand during baking. If you prefer a more pull-apart style, you can place them touching. Either way, make sure they have enough room to rise and expand without overcrowding.
Second Rise: Building Flavor and Texture
The second rise is an essential step in the cinnamon roll-making process, allowing the dough to develop flavor and create a light, airy texture.
Explanation of the Second Rise and Its Benefits
After shaping your rolls, cover them with a clean kitchen towel and let them rise in a warm, draft-free area for about 30 to 45 minutes. This second rise is important because it allows the yeast to work its magic, producing carbon dioxide bubbles that give the rolls their fluffy texture. Skipping this step can lead to denser rolls that lack the desired soft, pillowy quality.
Timing and Environmental Factors for Best Results
If your kitchen is cooler, you may need to allow for a slightly longer rise time. Conversely, if it’s warm, keep an eye on the rolls to prevent over-proofing. A good indicator that your rolls are ready to bake is when they have doubled in size and spring back slowly when gently pressed with your finger.
Baking the Rolls
Now that your rolls have risen beautifully, it’s time to bake them to perfection.
Perfect Baking Temperature and Time for Optimal Results
Preheat your oven to 375°F (190°C). This temperature is ideal for baking cinnamon rolls, allowing them to cook through while developing a beautiful golden-brown exterior. Place the baking dish in the oven and bake the rolls for 20 to 25 minutes.
Knowing When the Rolls are Done: Color and Texture Indicators
The rolls are done when they are golden brown on top and the edges start to pull away from the sides of the pan. A quick internal temperature check should read around 190°F (88°C). If you want extra assurance, you can insert a toothpick into the center of one of the rolls. If it comes out clean or with just a few crumbs, your cinnamon rolls are ready to be removed from the oven.
Creating the Glaze and Decoration
No cinnamon roll is complete without a delicious glaze and festive decorations to match the Halloween spirit.
Preparing the Glaze
For the glaze, combine 1 cup of powdered sugar with 2 tablespoons of milk and 1/2 teaspoon of vanilla extract in a small bowl. Whisk until smooth, adjusting the consistency with more milk if necessary for a drizzle that is thick yet pourable.
Achieving the Right Consistency for Drizzle
The right glaze should be thick enough to coat the back of a spoon but thin enough to drizzle over the rolls seamlessly. For a more intense flavor, consider adding a splash of almond extract or swapping in maple syrup for the vanilla to create a unique twist.
Variations on Glaze Flavors
Feel free to experiment with different glaze flavors! A touch of orange zest can add a refreshing citrus note that pairs well with the cinnamon and sugar. Alternatively, a dash of cocoa powder mixed into the glaze can create a rich chocolate flavor that adds an extra layer of indulgence.
Decorating for Halloween
When it comes to decorations, let your creativity shine through.
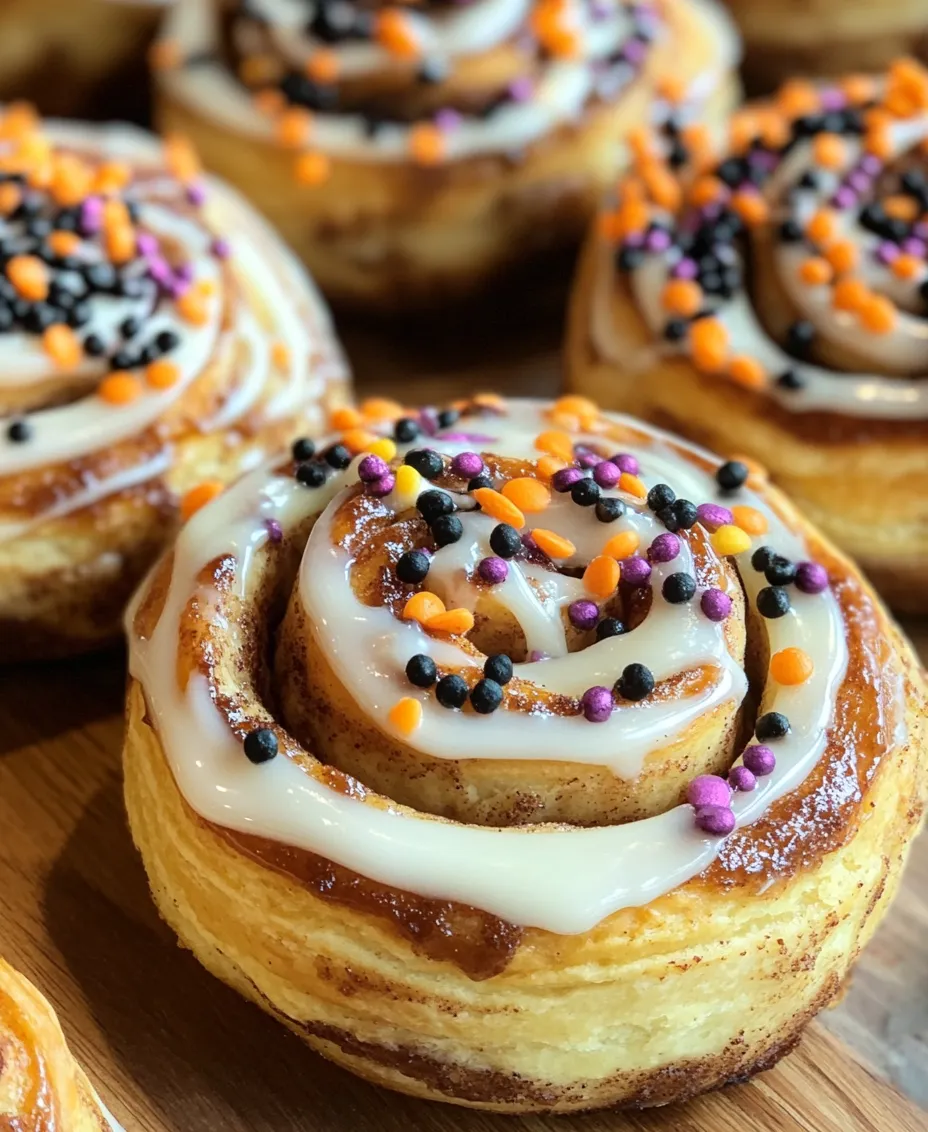
Ideas for Using Black and Orange Sprinkles
After glazing your rolls, sprinkle them with black and orange sprinkles for a festive touch. These can be found at any baking supply store, particularly around Halloween, and they immediately add a fun, playful element to your treats.
Other Spooky Decoration Ideas to Enhance Presentation
Consider using candy eyes to give your rolls a spooky look, transforming them into little monster faces. You can also use edible markers to draw spooky designs or ghost faces on the glaze once it has set. For an extra creepy effect, drizzle with a contrasting glaze (like a dark chocolate glaze) to create “spider webs” over the top.
Serving and Enjoying Your Spooky Cinnamon Rolls
To truly enjoy the fruits of your labor, serving your cinnamon rolls warm is essential.
Best Practices for Serving Warm Rolls
Allow the rolls to cool in the pan for about 10 minutes before serving. This short cooling period helps the glaze set slightly while keeping the rolls warm and gooey inside.
Pairing Suggestions
These cinnamon rolls pair wonderfully with a warm cup of coffee, spiced apple cider, or even a glass of cold milk. The warm spices in the rolls complement the flavors of fall beverages perfectly, creating a comforting experience.
Ideas for Sharing with Family and Friends During Halloween Gatherings
These spooky cinnamon rolls are perfect for sharing at Halloween parties or family gatherings. Serve them on a festive platter adorned with additional themed decorations or alongside other Halloween treats. They make for an ideal centerpiece at your holiday dessert table, delighting guests of all ages.
Nutritional Information
Understanding the nutritional profile of your delicious treats can help you appreciate them even more.
Overview of Calories, Fats, Sugars, and Protein Per Serving
Each cinnamon roll, when made according to the recipe, contains approximately 250 calories, 10 grams of fat, 30 grams of carbohydrates, and 2 grams of protein. The sugar content is about 15 grams per roll, primarily from the filling and glaze.
Discussion of Potential Dietary Modifications
For those looking to modify the recipe for dietary restrictions, gluten-free flour can be substituted for traditional flour, and plant-based butter can replace regular butter for a vegan option. Always ensure that the other ingredients, including the baking powder, are gluten-free as well.
Conclusion
Creating festive treats like spooky Halloween cinnamon rolls is a joyous experience that combines baking skills with creativity. Not only do these cinnamon rolls taste incredible, but they also bring a sense of celebration to your Halloween festivities.
As you experiment with flavors and decorations, remember that the essence of baking lies in the memories created with family and friends. Whether you’re hosting a gathering or simply indulging on your own, these cinnamon rolls are sure to bring a smile to your face. So roll up your sleeves, embrace the spirit of the season, and enjoy the delightful process of baking and sharing these spooky treats!