Follow Me On Pinterest!


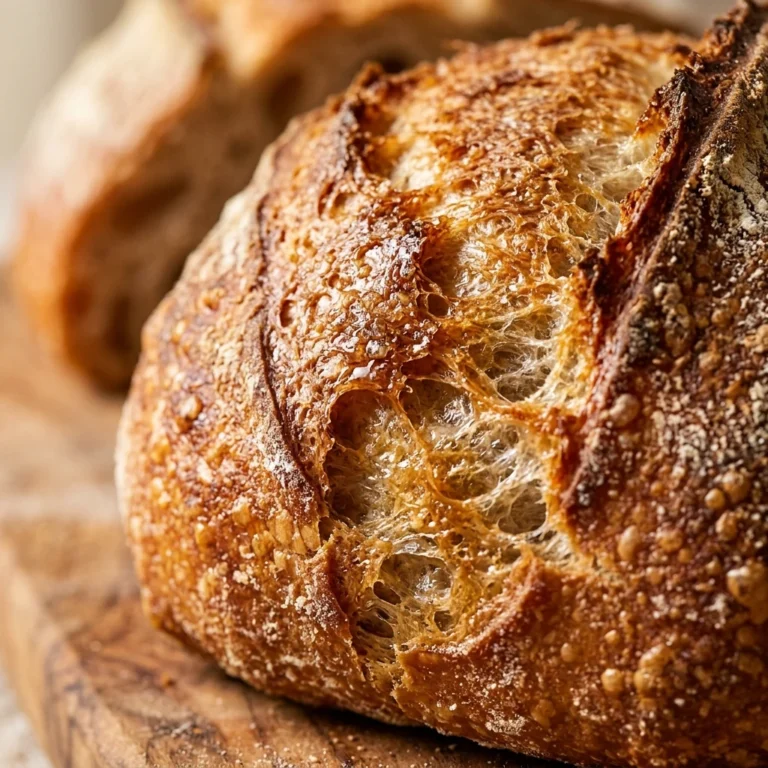
January is the month of fresh starts, and nothing says “wholesome reset” like the smell of fresh bread wafting through your home. If you have ever been intimidated by yeast or the physical workout of kneading dough, this No-Knead Dutch Oven bread is your new best friend. It requires just four basic ingredients and about ten minutes of actual work. By letting time do the heavy lifting, you create a loaf with a crackly, professional-grade crust and a soft, airy interior. It is the perfect addition to your Sunday meal prep routine, providing healthy, preservative-free slices for your avocado toast, soups, and sandwiches all week long.
Recipe Information
- Prep Time: 10 minutes (plus 12-18 hours rising time)
- Cook Time: 45 minutes
- Total Time: 18 hours 55 minutes
- Servings: 1 loaf (approximately 12 slices)
- Difficulty: Easy
Nutrition values
(Per serving/slice)
- Calories: 155 kcal
- Protein: 5g
- Carbs: 31g
Why Make This No-Knead Dutch Oven January Meal Prep Bread Easy Healthy
This recipe is a game-changer for anyone looking to eat cleaner in the new year. Commercial breads are often packed with sugar and stabilizers, but this homemade version gives you total control over the ingredients. It is incredibly budget-friendly, costing only pennies per loaf. The long fermentation process not only develops a complex flavor but also makes the grains easier to digest. Plus, because it requires zero kneading, it fits perfectly into a busy lifestyle. You can mix the dough before bed and bake it the next afternoon with almost no effort.
Ingredients
- 3 cups Bread Flour (or a mix of 2 cups bread flour and 1 cup whole wheat flour)
- 1 ½ cups Warm Water (about 100°F)
- 1 ½ teaspoons Salt
- ½ teaspoon Active Dry Yeast or Instant Yeast
- Optional: 1 tablespoon Honey or Maple Syrup for a touch of sweetness
Directions
Step 1: Mix the Dough
In a large glass bowl, whisk together the flour, salt, and yeast. Pour in the warm water and the sweetener if you are using it. Use a sturdy spatula or wooden spoon to stir the mixture until a shaggy, sticky ball forms and no dry flour remains. Do not worry about the texture; it should look messy and unrefined at this stage.
Step 2: The Long Rise
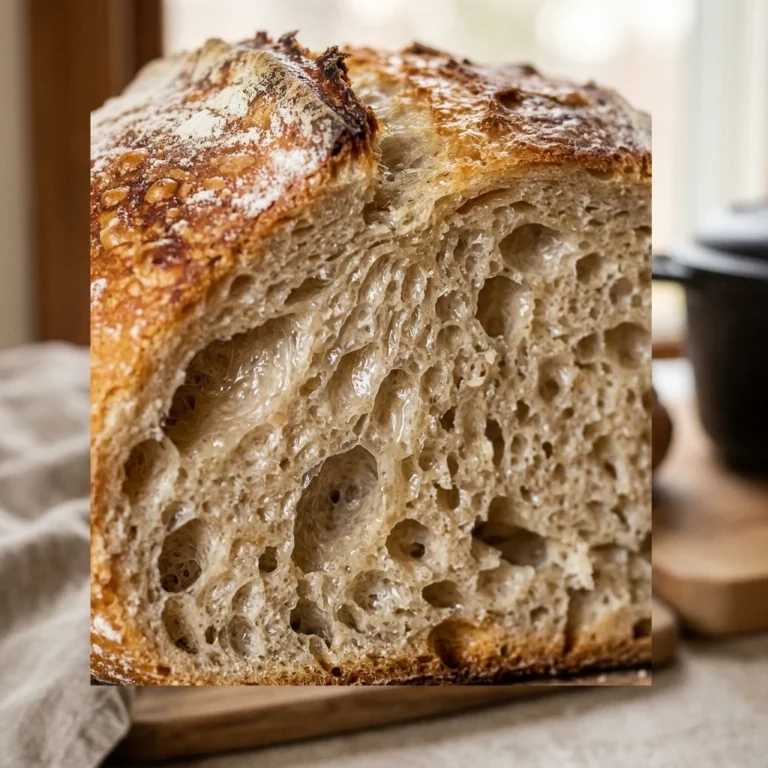
Cover the bowl tightly with plastic wrap or a reusable beeswax wrap. Place the bowl in a draft-free spot at room temperature. Let the dough rest for at least 12 hours, though 18 hours is ideal for the best flavor. During this time, the dough will double in size and become dotted with tiny bubbles.
Step 3: Preheat and Prep
Place your empty 6-quart Dutch oven (with the lid) into the oven. Preheat the oven to 450°F (230°C). Let the pot heat up for at least 30 minutes while the oven reaches temperature. While the pot heats, turn the dough out onto a well-floured piece of parchment paper. Gently shape it into a round ball using floured hands. Cover it loosely and let it rest for 30 minutes.
Step 4: The Baking Process
Carefully remove the hot Dutch oven from the oven. Lift the parchment paper by the edges and drop the dough (paper and all) into the pot. Cover with the lid and bake for 30 minutes. This creates a steam chamber that gives the bread its signature crust. After 30 minutes, remove the lid and bake for another 12 to 15 minutes until the crust is deep golden brown.
Step 5: Cool and Slice
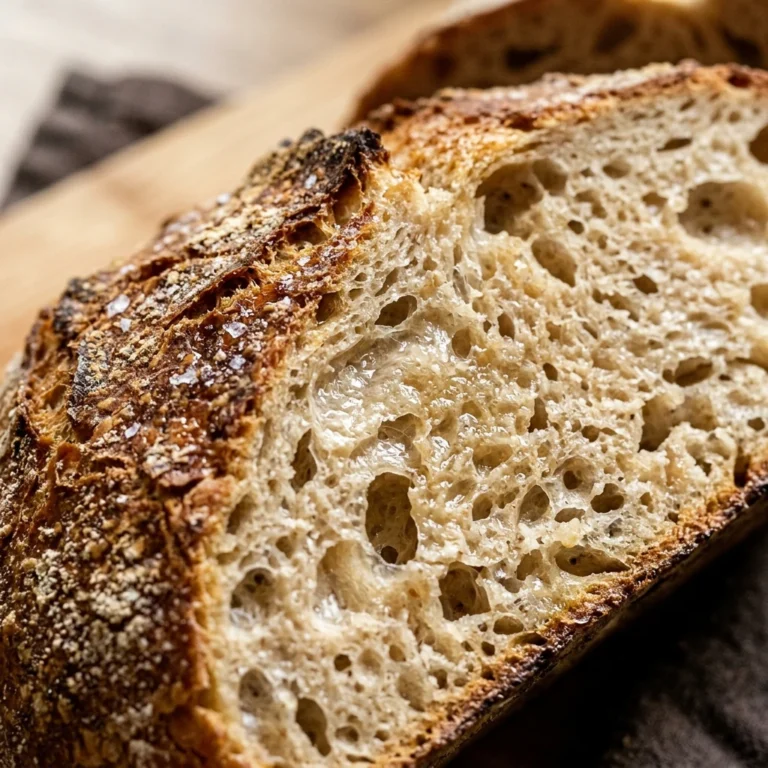
Lift the bread out of the Dutch oven and place it on a wire cooling rack. Resist the urge to cut into it immediately! The bread continues to cook inside as it cools. Wait at least 30 to 60 minutes before slicing to ensure the interior texture is perfect.
Expert Tips for Perfect No-Knead Dutch Oven January Meal Prep Bread Easy Healthy
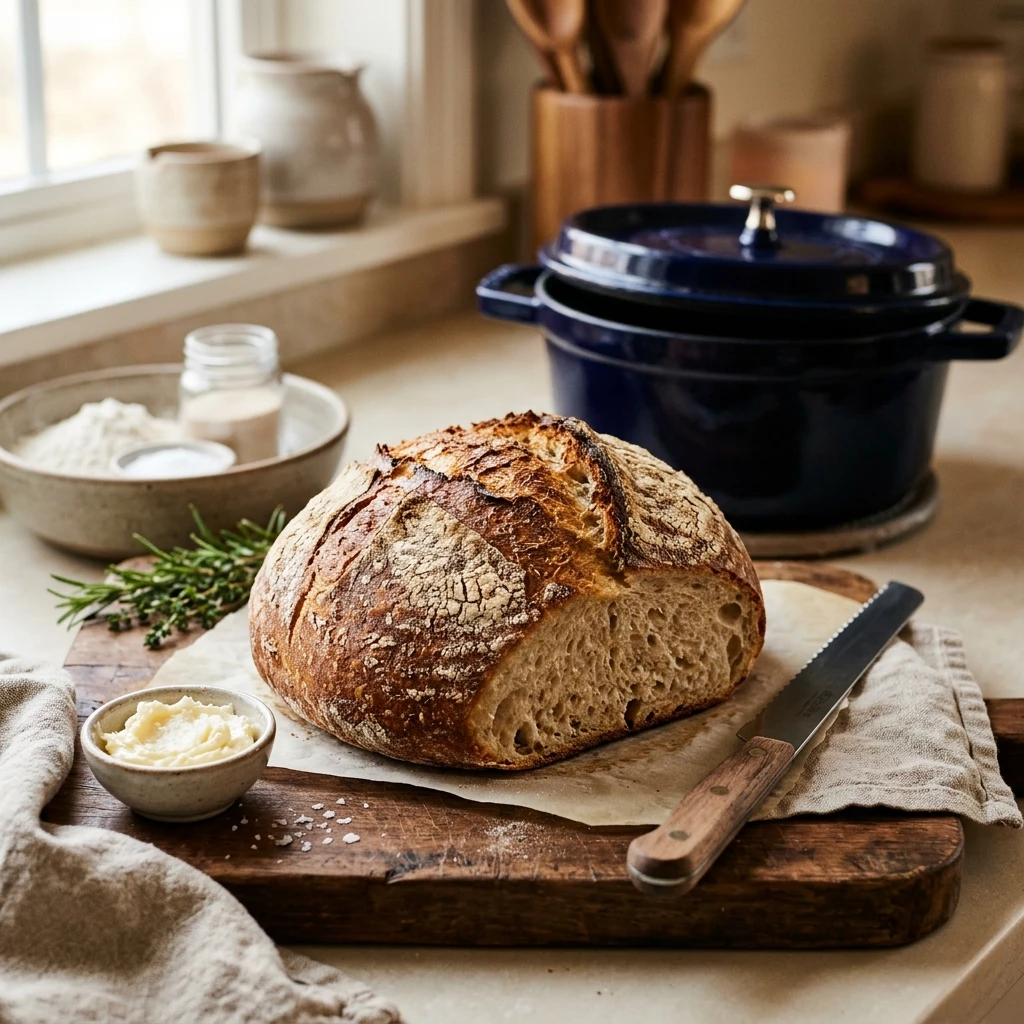
To get the best results, always measure your flour using the “spoon and level” method rather than scooping directly with the measuring cup, which packs the flour too tightly. Use a Dutch oven with a tight-fitting lid to trap the steam effectively. If your house is particularly cold in January, you can let the dough rise inside the oven with the light turned on (but the heat turned off). Finally, make sure your yeast is fresh; if it doesn’t foam when mixed with a little warm water, it’s time to buy a new jar.
Delicious Variations
Once you master the base recipe, try adding 1 tablespoon of dried rosemary and 2 cloves of minced garlic to the dry ingredients. For a nutritional boost, fold in ¼ cup of flax seeds or pumpkin seeds during the initial mixing phase. You can also make a “Everything Bagel” version by topping the dough with seasoning right before you put the lid on to bake. If you prefer a heartier loaf, swap one cup of white flour for rye or spelt flour.
Frequently Asked Questions
Can I use All-Purpose flour instead of Bread flour?
Yes, you can use All-Purpose flour. However, Bread flour has a higher protein content, which results in a better chew and a stronger structure. If using All-Purpose, your loaf might be slightly less airy but still delicious.
What if I don’t have a Dutch oven?
A Dutch oven is ideal because it mimics a professional steam oven. If you don’t have one, you can use a heavy ceramic pot with a lid or a deep oven-safe skillet covered tightly with aluminum foil, though the crust may not be as crispy.
How do I store this bread for meal prep?
Store the bread in a paper bag at room temperature for up to two days. For longer storage, slice the loaf completely, place the slices in a freezer-safe bag, and freeze. You can pop a frozen slice directly into the toaster for a fresh-baked taste anytime.
Why is my dough so sticky?
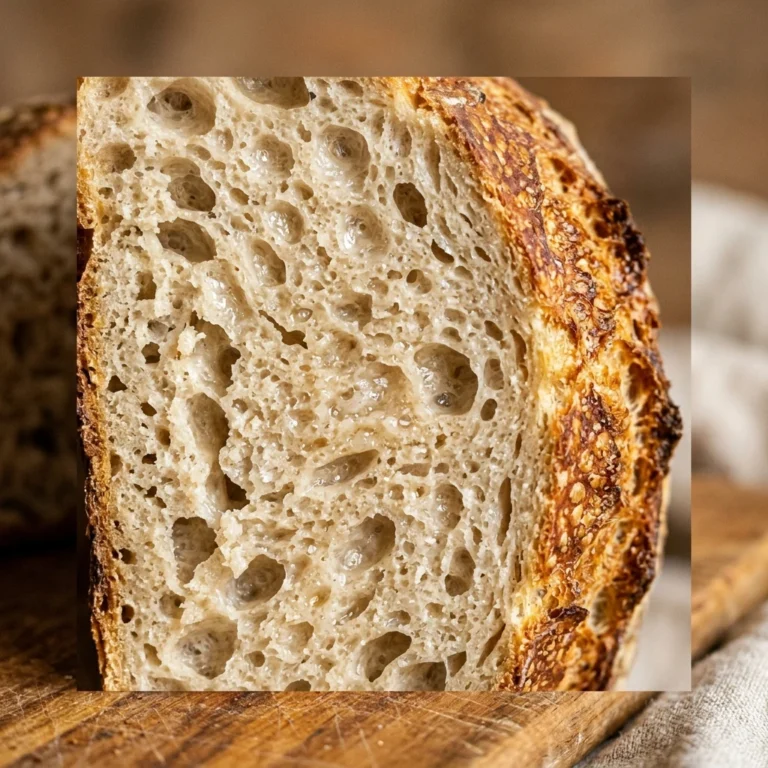
This recipe is designed to be a “high hydration” dough. The stickiness is exactly what allows the bread to develop those beautiful air pockets without kneading. Just use plenty of flour on your hands when shaping the final loaf.
Can I speed up the rising time?
If you are in a hurry, you can increase the yeast to 2 teaspoons and let the dough rise in a warm spot for 2 to 3 hours. However, you will lose the complex “sourdough-like” flavor that comes from the slow overnight fermentation.
Conclusion
Making your own bread is one of the most rewarding skills you can bring into the new year. This No-Knead Dutch Oven recipe proves that you don’t need fancy equipment or hours of labor to enjoy healthy, artisanal loaves. By incorporating this into your January meal prep, you ensure your kitchen is always stocked with wholesome fuel for your busy days. Give it a try this weekend, and you may never go back to store-bought bread again!
No-Knead Dutch Oven January Meal Prep Bread Easy Healthy
- Total Time: 18 hours 55 minutes
- Diet: Vegetarian
Ingredients
Scale
- 3 cups Bread Flour (or a mix of 2 cups bread flour and 1 cup whole wheat flour)
- 1 ½ cups Warm Water (about 100°F)
- 1 ½ teaspoons Salt
- ½ teaspoon Active Dry Yeast or Instant Yeast
- Optional: 1 tablespoon Honey or Maple Syrup for a touch of sweetness
Instructions
- In a large glass bowl, whisk together the flour, salt, and yeast. Pour in the warm water and the sweetener if you are using it. Use a sturdy spatula or wooden spoon to stir the mixture until a shaggy, sticky ball forms and no dry flour remains. Do not worry about the texture; it should look messy and unrefined at this stage.
- Cover the bowl tightly with plastic wrap or a reusable beeswax wrap. Place the bowl in a draft-free spot at room temperature. Let the dough rest for at least 12 hours, though 18 hours is ideal for the best flavor. During this time, the dough will double in size and become dotted with tiny bubbles.
- Place your empty 6-quart Dutch oven (with the lid) into the oven. Preheat the oven to 450°F (230°C). Let the pot heat up for at least 30 minutes while the oven reaches temperature. While the pot heats, turn the dough out onto a well-floured piece of parchment paper. Gently shape it into a round ball using floured hands. Cover it loosely and let it rest for 30 minutes.
- Carefully remove the hot Dutch oven from the oven. Lift the parchment paper by the edges and drop the dough (paper and all) into the pot. Cover with the lid and bake for 30 minutes. This creates a steam chamber that gives the bread its signature crust. After 30 minutes, remove the lid and bake for another 12 to 15 minutes until the crust is deep golden brown.
- Lift the bread out of the Dutch oven and place it on a wire cooling rack. Resist the urge to cut into it immediately! The bread continues to cook inside as it cools. Wait at least 30 to 60 minutes before slicing to ensure the interior texture is perfect.
- Cook Time: 18 hours 55 minutes