Follow Me On Pinterest!


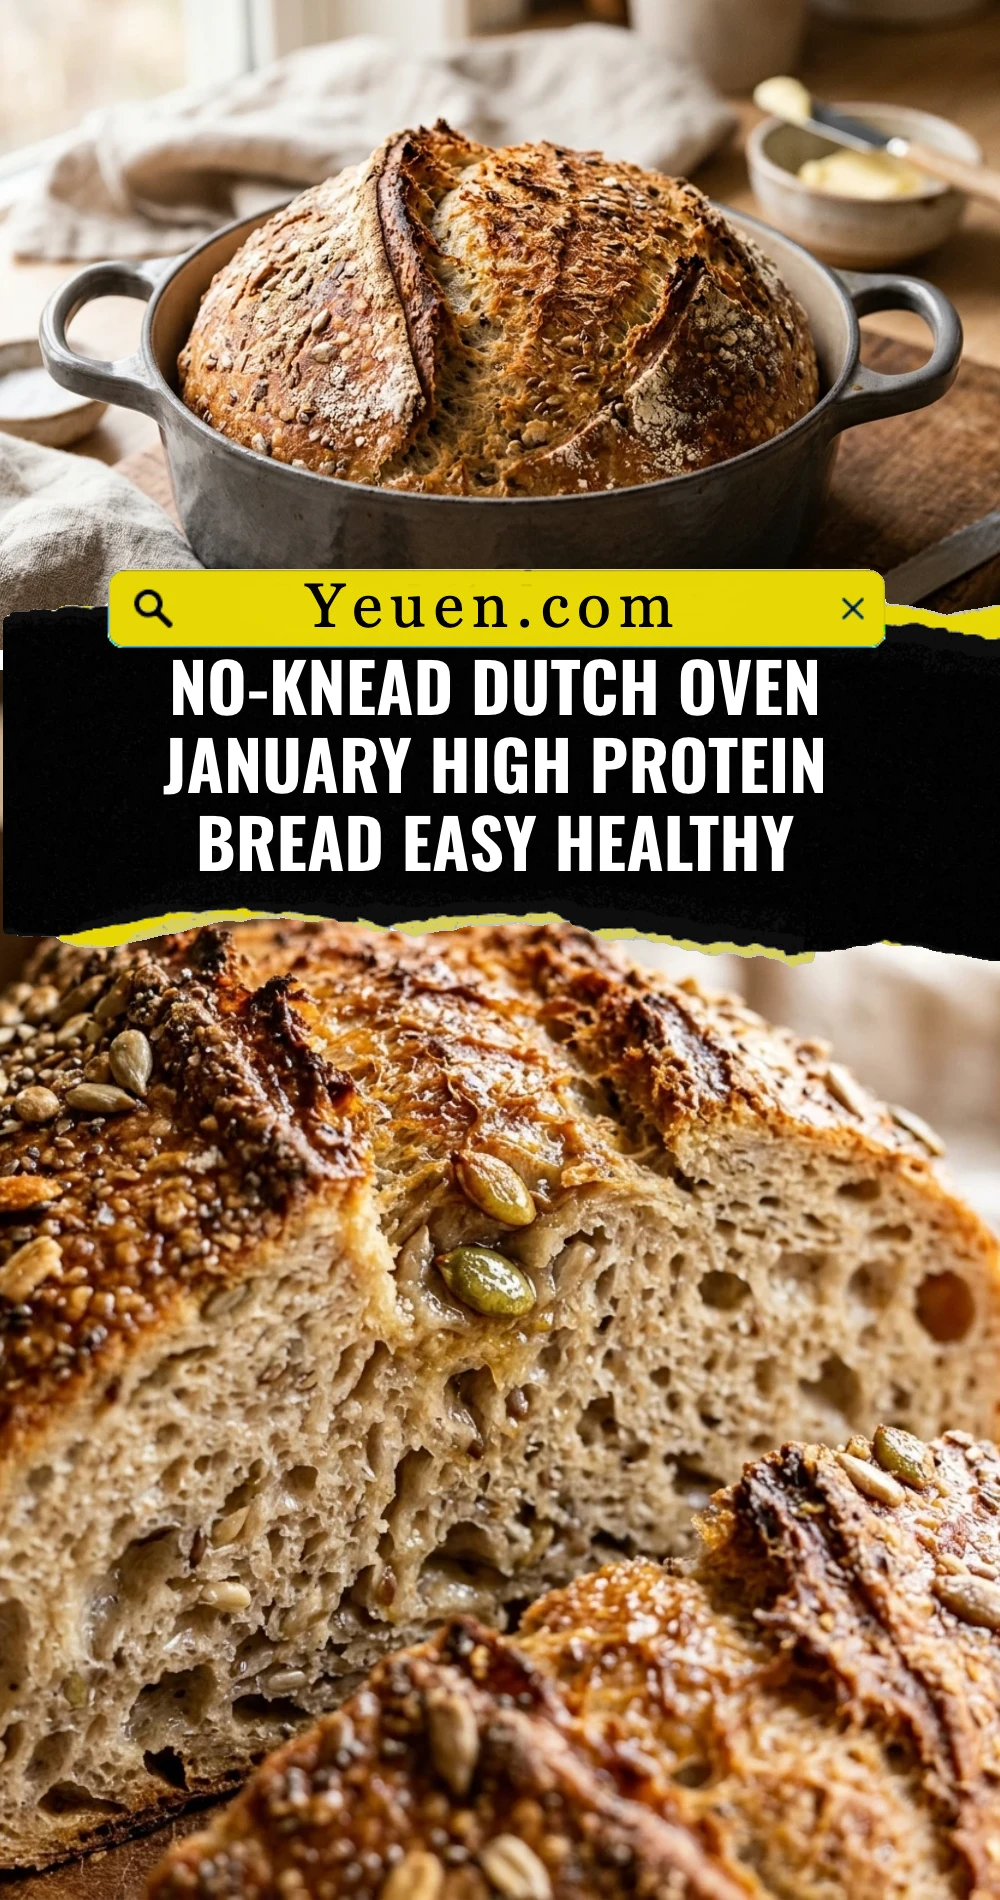
January is the perfect time to reset your kitchen habits, but that doesn’t mean you have to sacrifice the simple joy of warm, crusty bread. This No-Knead Dutch Oven January High Protein Bread is the ultimate solution for anyone craving a bakery-style loaf that fits a healthy, active lifestyle. By incorporating high-protein flour and nutrient-dense seeds, we’ve transformed a classic staple into a muscle-building powerhouse. The best part? You don’t need any fancy equipment or advanced baking skills. Just mix, wait, and bake. Your kitchen will smell like a professional boulangerie, and your body will thank you for the extra nutrients to fuel your New Year’s resolutions.
Recipe Information
- Prep Time: 15 minutes (plus 12-18 hours rising time)
- Cook Time: 45 minutes
- Total Time: 19 hours 0 minutes
- Servings: 10 slices
- Difficulty: Easy
Nutrition values
- Calories: 185 kcal
- Protein: 10g
- Carbs: 32g
Why Make This No-Knead Dutch Oven January High Protein Bread Easy Healthy
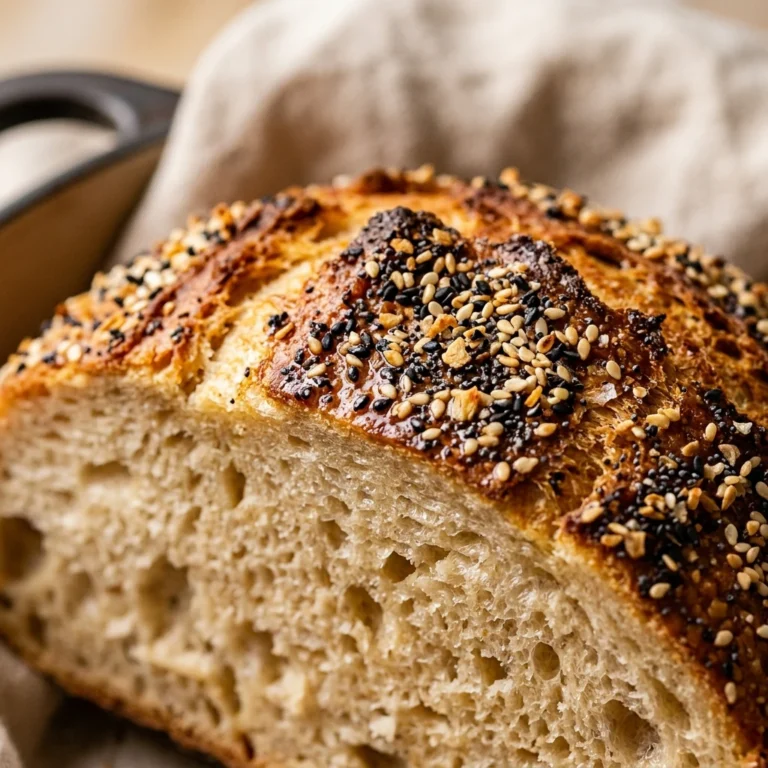
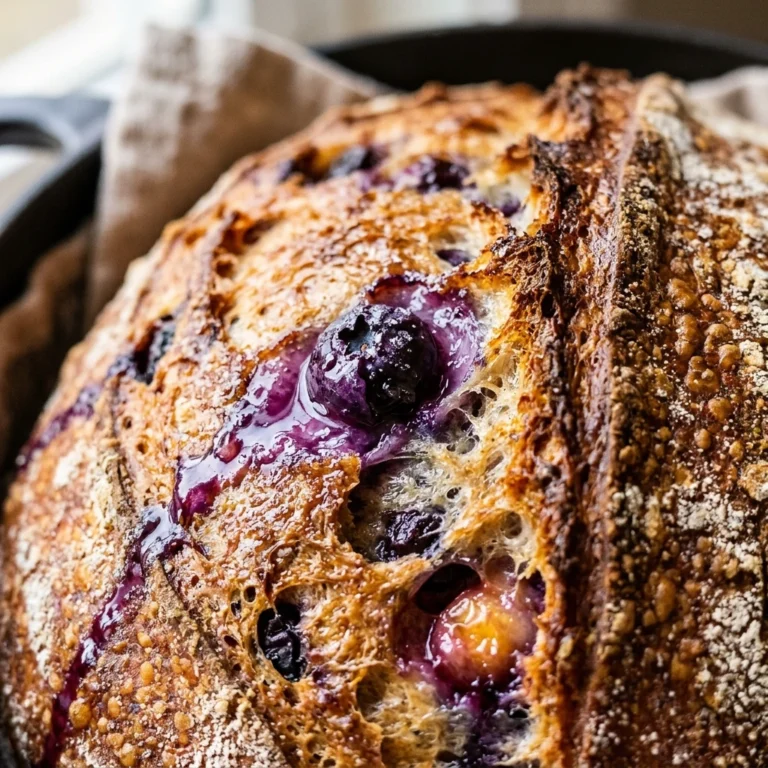
Making bread at home can feel intimidating, but this recipe removes all the stress. The “no-knead” method uses a long fermentation process to develop gluten naturally, resulting in a complex flavor and a perfect airy texture. In the cold month of January, a warm oven brings cozy vibes to your home while the added protein helps keep you satiated longer than standard white bread. It is budget-friendly, contains no hidden preservatives, and yields a satisfyingly crunchy crust that you simply can’t find in a grocery store plastic bag. Plus, using a Dutch oven creates a steam-filled environment that ensures a golden-brown, professional finish every single time.
Ingredients
- 3 cups Bread Flour (or High-Protein Flour blend)
- 1/4 cup Vital Wheat Gluten (for extra protein boost)
- 1/4 cup Hemp Hearts or Chia Seeds
- 1 1/2 teaspoons Sea Salt
- 1/2 teaspoon Active Dry Yeast
- 1 1/2 cups Warm Water (approx. 105°F)
- 1 tablespoon Honey or Maple Syrup (optional)
- Cornmeal or parchment paper (for the pot)
Directions
Step 1: Mix the Dough
In a large glass bowl, whisk together the bread flour, vital wheat gluten, seeds, salt, and active dry yeast. Ensure the dry ingredients are thoroughly combined. Pour in the warm water and the honey. Use a sturdy wooden spoon or a spatula to stir the mixture until a shaggy, sticky dough forms. There is no need to knead; just make sure all the flour is hydrated and no dry pockets remain.
Step 2: The Long Rise
Cover the bowl tightly with plastic wrap or a damp kitchen towel. Place it in a draft-free, warm spot in your kitchen. Let the dough rest for at least 12 hours, though 18 hours is ideal for the best flavor. During this time, the dough will double in size and small bubbles will appear on the surface. This slow fermentation is the secret to the bread’s incredible texture.
Step 3: Preheat the Dutch Oven
When you are ready to bake, place an empty 4-to-6-quart Dutch oven (with the lid) into your oven. Preheat the oven to 450°F (230°C). Let the pot heat up for at least 30 minutes. This ensures that the dough hits a screaming-hot surface, which creates that iconic “oven spring” and a thick, crispy crust.
Step 4: Shape and Transfer
While the pot is heating, turn the dough out onto a well-floured surface. It will be very sticky. Gently fold the edges toward the center to form a rough ball. Place the dough on a piece of parchment paper. Carefully remove the hot Dutch oven from the oven. Lift the parchment paper with the dough and drop it directly into the hot pot. Cover with the lid immediately.
Step 5: The Two-Stage Bake
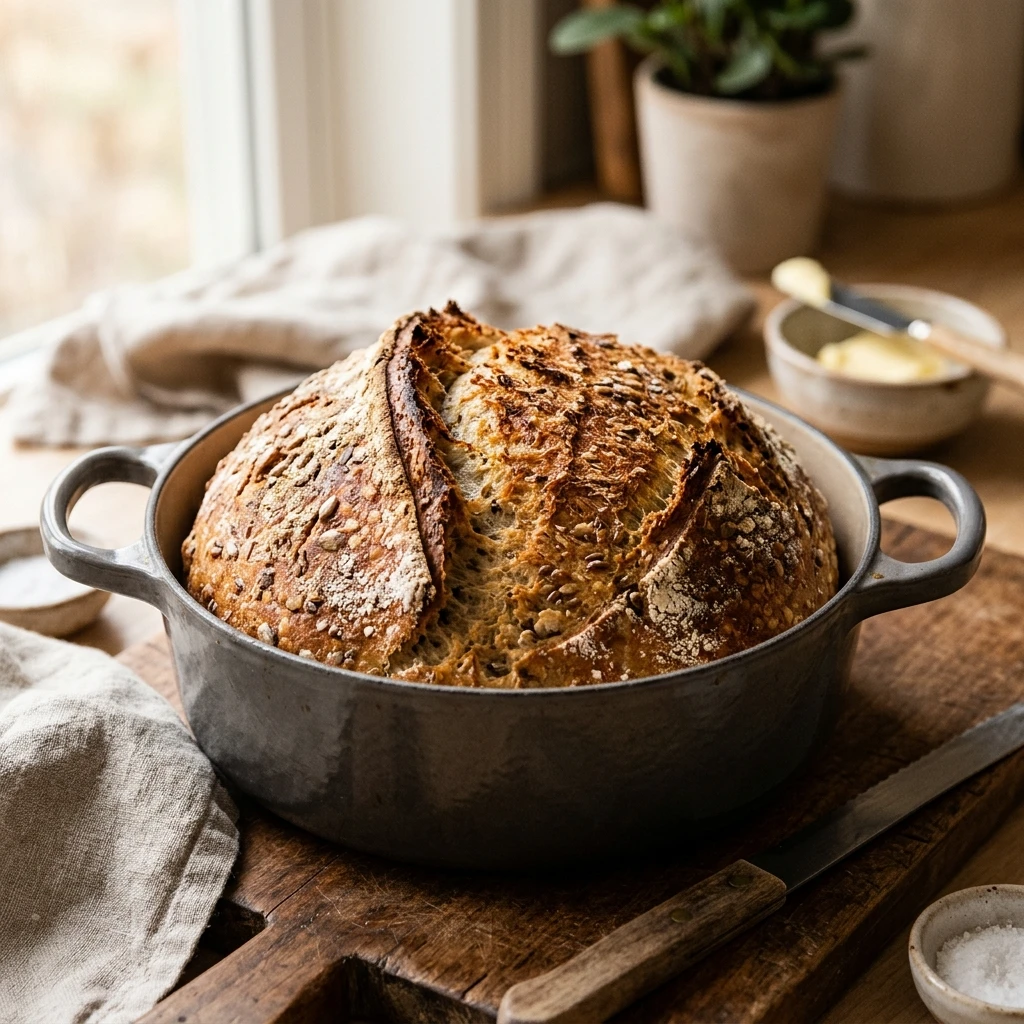
Place the Dutch oven back into the oven. Bake for 30 minutes with the lid on; this traps the steam escaping from the dough to keep the crust soft while it expands. After 30 minutes, remove the lid and bake for an additional 12 to 15 minutes. The bread should be deep golden brown and sound hollow when you tap the bottom. Remove from the oven and let it cool on a wire rack for at least 1 hour before slicing.
Expert Tips for Perfect No-Knead Dutch Oven January High Protein Bread Easy Healthy
Temperature is key when working with yeast. If your water is too hot, you will kill the yeast; if it is too cold, the dough won’t rise. Aim for “baby bath” temperature. Additionally, do not skip the cooling process. Slicing into hot bread allows the internal steam to escape too quickly, which can make the inside of your loaf gummy. For an even higher protein count, you can substitute 1/2 cup of flour for unflavored pea protein powder, though you may need an extra tablespoon of water to compensate for the absorption.
Delicious Variations
- Rosemary and Garlic: Add 2 tablespoons of dried rosemary and 1 tablespoon of garlic powder to the dry mix.
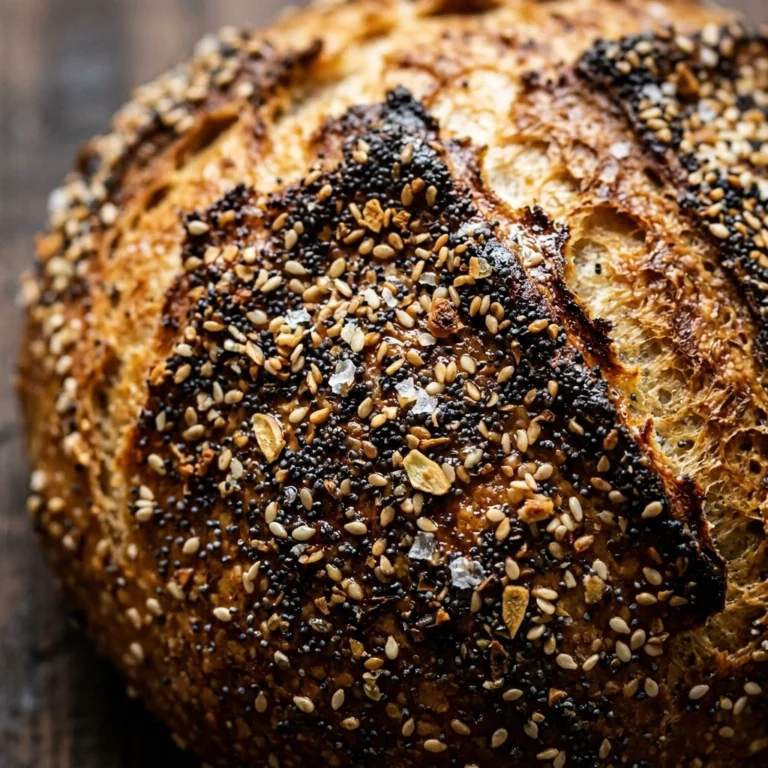
- Everything Bagel: Sprinkle the top of the dough with everything bagel seasoning right before putting the lid on.
- Seeded Power Loaf: Increase the hemp and chia seeds, and add pumpkin seeds or sunflower seeds to the crust.
- Spicy Cheddar: Fold in 1/2 cup of cubed sharp cheddar and a diced jalapeño during the mixing stage.
Frequently Asked Questions
Do I really have to wait 12 hours for the dough to rise?
Yes, for the best results. Since we use very little yeast, the long rise time allows the gluten to develop and the flavor to deepen. If you are in a rush, you can double the yeast and let it rise in a very warm spot for 3 hours, but the texture will be slightly denser.
What if I don’t have a Dutch oven?
You can use a heavy ceramic pot or a cast-iron skillet, but you must find a way to create steam. Placing a pan of water on the bottom rack of the oven can help mimic the effects of a sealed Dutch oven.
Can I use 100% whole wheat flour?
You can, but the bread will be much heavier and denser. We recommend a 50/50 split between whole wheat and bread flour to ensure the bread still rises well while providing extra fiber and nutrients.
How should I store this bread?
Store the bread at room temperature in a paper bag for up to two days to maintain the crust. For longer storage, slice the bread and freeze it in a zip-top bag. Toasting the frozen slices makes them taste just like they were freshly baked.
Why is my dough so sticky?
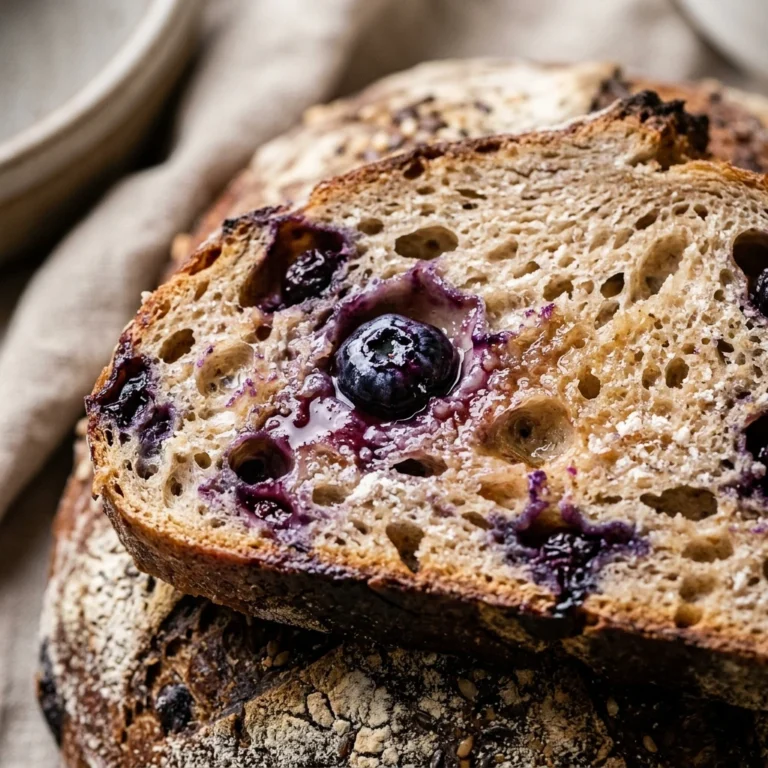
No-knead dough is naturally higher in hydration than traditional dough. Do not be tempted to add too much extra flour. Use well-floured hands or a bench scraper to handle it, but remember that the stickiness is what creates those beautiful air pockets inside.
Conclusion
The No-Knead Dutch Oven January High Protein Bread is proof that eating healthy doesn’t have to be complicated or boring. This recipe fits perfectly into a busy lifestyle, requiring only a few minutes of active work to produce a loaf that rivals any high-end bakery. Whether you are fueling up for a winter hike or simply enjoying a quiet morning at home, this bread provides the perfect balance of protein, comfort, and nutrition. Give it a try this week and experience how easy it is to bake your way to a healthier January.
No-Knead Dutch Oven January High Protein Bread Easy Healthy
- Total Time: 19 hours
- Diet: High-Protein, Vegetarian
Ingredients
Scale
- 3 cups Bread Flour (or High-Protein Flour blend)
- 1/4 cup Vital Wheat Gluten (for extra protein boost)
- 1/4 cup Hemp Hearts or Chia Seeds
- 1 1/2 teaspoons Sea Salt
- 1/2 teaspoon Active Dry Yeast
- 1 1/2 cups Warm Water (approx. 105°F)
- 1 tablespoon Honey or Maple Syrup (optional)
- Cornmeal or parchment paper (for the pot)
Instructions
- In a large glass bowl, whisk together the bread flour, vital wheat gluten, seeds, salt, and active dry yeast. Ensure the dry ingredients are thoroughly combined. Pour in the warm water and the honey. Use a sturdy wooden spoon or a spatula to stir the mixture until a shaggy, sticky dough forms. There is no need to knead; just make sure all the flour is hydrated and no dry pockets remain.
- Cover the bowl tightly with plastic wrap or a damp kitchen towel. Place it in a draft-free, warm spot in your kitchen. Let the dough rest for at least 12 hours, though 18 hours is ideal for the best flavor. During this time, the dough will double in size and small bubbles will appear on the surface. This slow fermentation is the secret to the bread’s incredible texture.
- When you are ready to bake, place an empty 4-to-6-quart Dutch oven (with the lid) into your oven. Preheat the oven to 450°F (230°C). Let the pot heat up for at least 30 minutes. This ensures that the dough hits a screaming-hot surface, which creates that iconic “oven spring” and a thick, crispy crust.
- While the pot is heating, turn the dough out onto a well-floured surface. It will be very sticky. Gently fold the edges toward the center to form a rough ball. Place the dough on a piece of parchment paper. Carefully remove the hot Dutch oven from the oven. Lift the parchment paper with the dough and drop it directly into the hot pot. Cover with the lid immediately.
- Place the Dutch oven back into the oven. Bake for 30 minutes with the lid on; this traps the steam escaping from the dough to keep the crust soft while it expands. After 30 minutes, remove the lid and bake for an additional 12 to 15 minutes. The bread should be deep golden brown and sound hollow when you tap the bottom. Remove from the oven and let it cool on a wire rack for at least 1 hour before slicing.
- Cook Time: 19 hours 0 minutes