Follow Me On Pinterest!


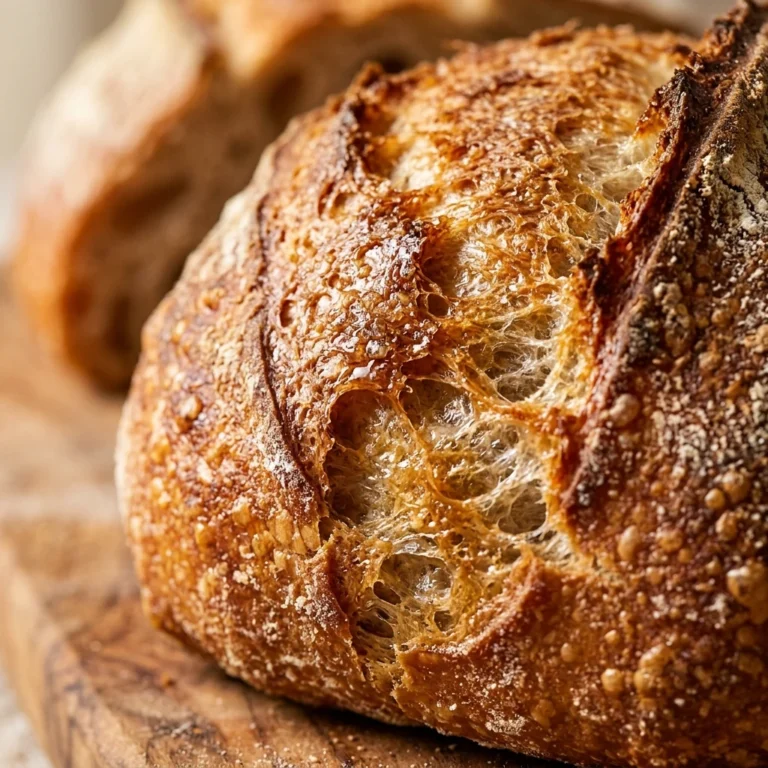
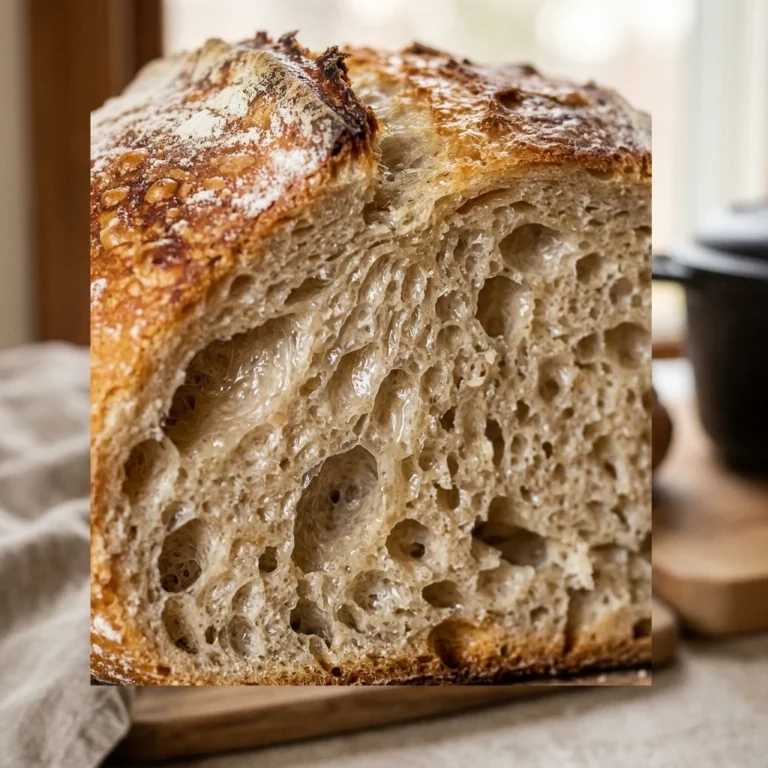
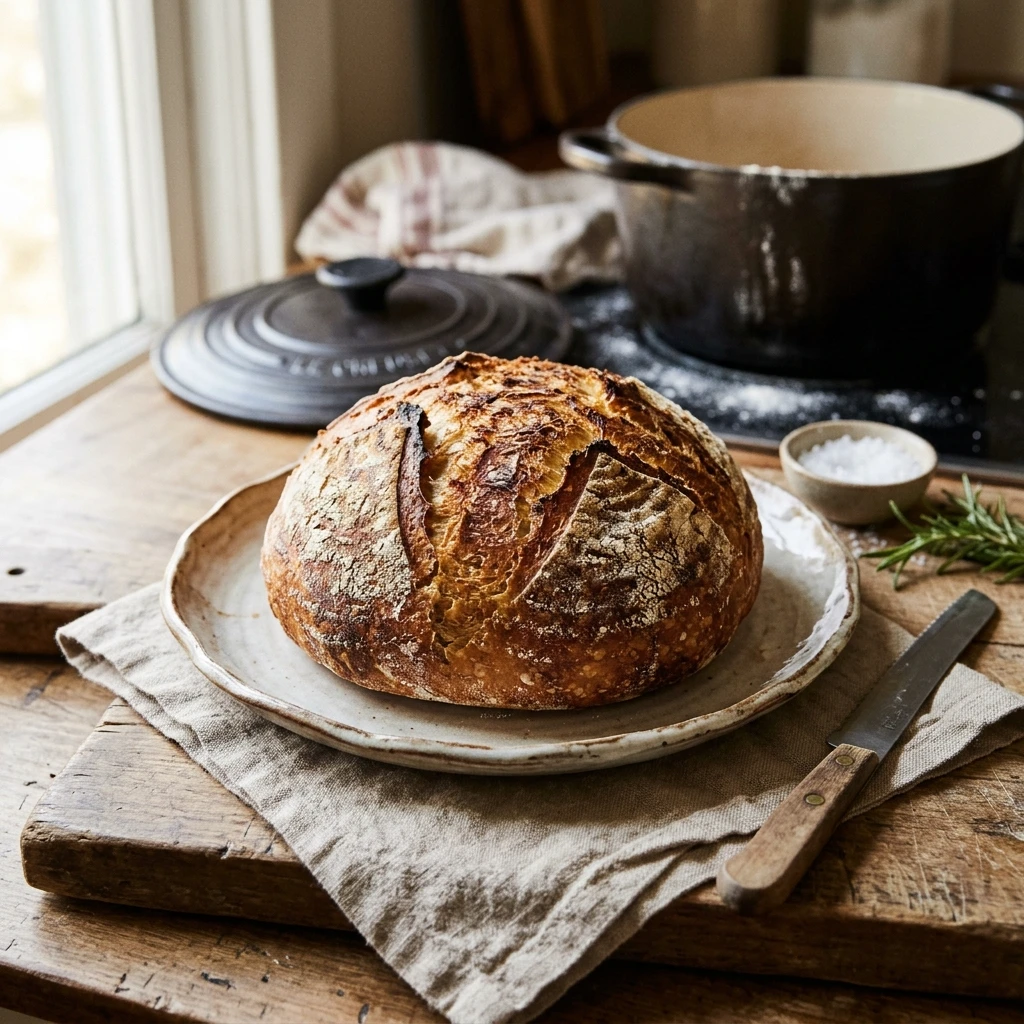
January is the time for tightening the belt after the holidays, but that doesn’t mean you have to sacrifice delicious, high-quality food. This No-Knead Dutch Oven January Budget Bread is the ultimate kitchen hack for anyone looking to save money while enjoying bakery-style results at home. With just four basic pantry staples and about five minutes of actual work, you can create a loaf with a shatteringly crisp crust and a soft, airy interior. It is the perfect companion for budget-friendly soups and stews during the cold winter months. Stop overpaying for artisanal loaves and start your year with the satisfying aroma of fresh bread filling your home.
Recipe Information
- Prep Time: 5 minutes (plus 12-18 hours rising time)
- Cook Time: 45 minutes
- Total Time: 12 hours 50 minutes
- Servings: 1 loaf (approx. 10 slices)
- Difficulty: Easy
Nutrition values
- Calories: 185 kcal per slice
- Protein: 5g
- Carbs: 38g
Why Make This No-Knead Dutch Oven January Budget Bread Easy 4 Ingredient Cheap
This recipe is a game-changer for several reasons. First, it is incredibly cost-effective; each loaf costs mere cents to produce compared to several dollars at a bakery. Second, it requires zero kneading, which means you don’t need a stand mixer or strong arm muscles. The long fermentation process does all the work for you, developing a complex flavor and perfect texture naturally. Finally, using a Dutch oven creates a steam-filled environment that guarantees a professional, golden-brown crust every single time.
Ingredients
- 3 cups All-purpose flour (plus extra for dusting)
- 1 ½ cups Warm water (about 100°F)
- 1 ½ teaspoons Salt
- ½ teaspoon Instant yeast (or active dry yeast)
Directions
Step 1: Mix the Dough
In a large mixing bowl, whisk together the flour, salt, and instant yeast. Pour the warm water into the center. Use a sturdy spoon or your hands to mix the ingredients until a shaggy, sticky ball forms and no dry flour remains. Do not overwork the dough; you only need to ensure everything is incorporated.
Step 2: The Long Rise
Cover the bowl tightly with plastic wrap or a damp kitchen towel. Place the bowl in a warm, draft-free spot in your kitchen. Let the dough rest for at least 12 hours, though 18 hours is ideal for the best flavor. The dough will double in size and become covered in tiny bubbles.
Step 3: Preheat the Dutch Oven
Place your empty Dutch oven (with the lid) into the oven. Preheat the oven to 450°F (230°C). Allow the pot to heat up for at least 30 minutes. This preheating step is crucial for achieving a crispy crust and an immediate rise once the dough hits the hot surface.
Step 4: Shaping the Dough
While the pot preheats, turn the sticky dough out onto a well-floured surface. Gently fold the edges toward the center to form a rough ball. Place the dough onto a piece of parchment paper. If desired, dust the top with a little extra flour and score a shallow “X” across the top with a sharp knife.
Step 5: Baking with Steam
Carefully remove the hot Dutch oven from the oven. Use the parchment paper to lift the dough and lower it into the pot. Place the lid back on and return the pot to the oven. Bake for 30 minutes with the lid on. The trapped steam allows the bread to expand fully without the crust hardening too soon.
Step 6: The Final Crisp
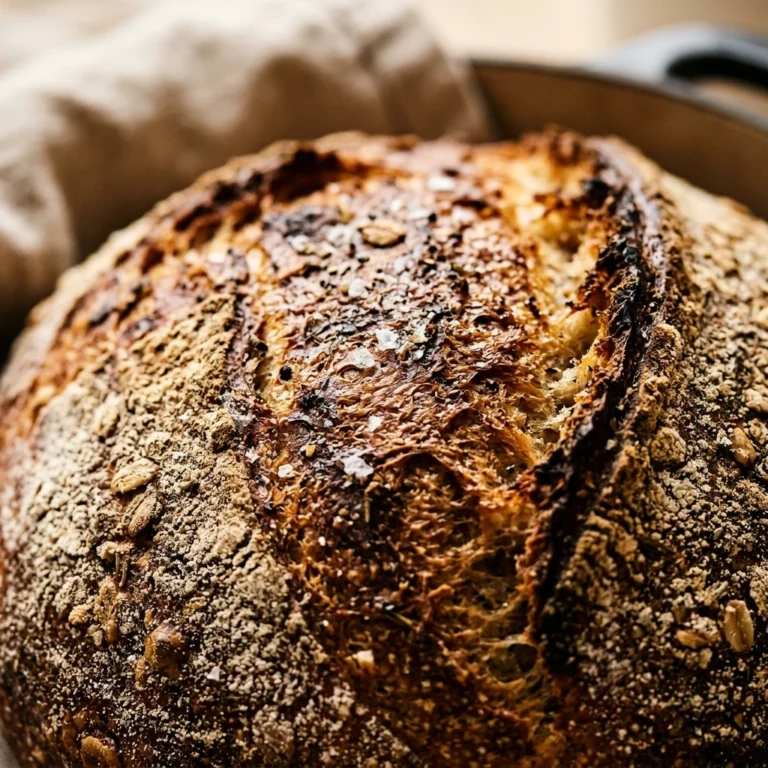
Remove the lid from the Dutch oven. Continue baking for another 12 to 15 minutes, or until the crust is a deep golden brown. Carefully lift the bread out of the pot and place it on a wire rack to cool completely. Resist the urge to cut into it immediately; the bread continues to cook internally as it cools.
Expert Tips for Perfect No-Knead Dutch Oven January Budget Bread Easy 4 Ingredient Cheap
To ensure the best results, use a kitchen scale for the most accurate flour measurement. If your kitchen is particularly cold during January, you can let the dough rise inside an oven that is turned off but has the light on. If you do not have parchment paper, you can drop the dough directly into the preheated pot, but be very careful not to burn yourself. Always ensure your yeast is fresh; if it doesn’t bubble when mixed with a little warm water, it is time to buy a new jar.
Delicious Variations
- Rosemary and Garlic: Fold in 1 tablespoon of dried rosemary and 2 cloves of minced garlic during the initial mixing phase.
- Everything Bagel Style: Sprinkle 2 tablespoons of everything bagel seasoning over the top of the loaf before baking.
- Honey Wheat: Replace 1 cup of all-purpose flour with whole wheat flour and add 1 tablespoon of honey to the water.
- Cheesy Jalapeño: Fold in ½ cup of shredded cheddar and 2 tablespoons of chopped pickled jalapeños for a spicy kick.
Frequently Asked Questions
Can I use active dry yeast instead of instant yeast?
Yes, you can. If using active dry yeast, dissolve it in the warm water first and let it sit for 5 minutes until it becomes foamy before adding it to the flour and salt. This ensures the yeast is active and ready to work.
What if I don’t own a Dutch oven?
You can use any heavy, oven-safe pot with a tight-fitting lid, such as a cast-iron skillet with a lid or a ceramic casserole dish. The key is to have a vessel that traps steam. If you have no lid, place a pan of water on the bottom rack of the oven to create steam.
Why is my dough so sticky?
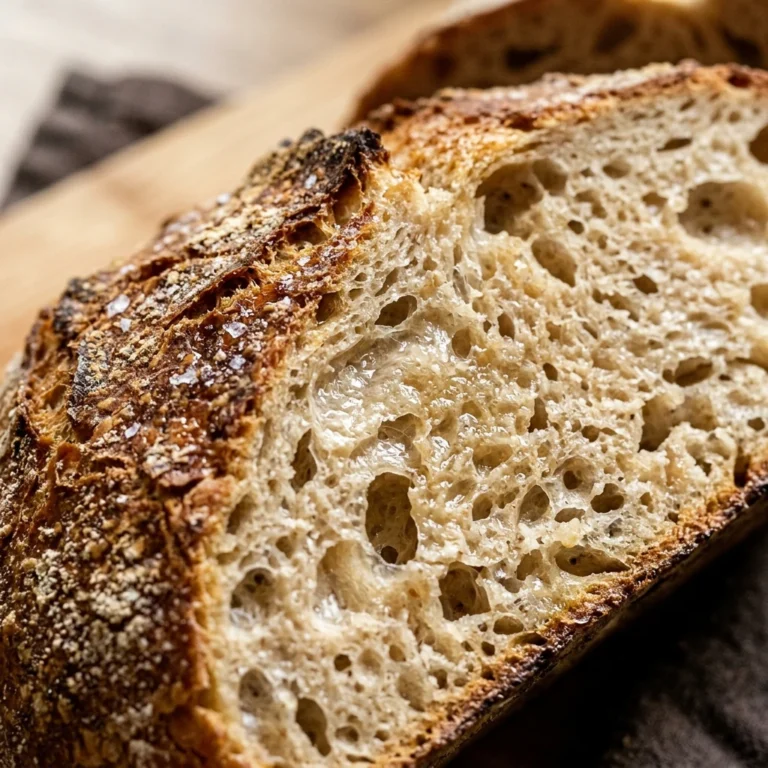
This dough is meant to be very hydrated and sticky. High hydration is what creates those beautiful air pockets inside the bread. Use plenty of flour on your hands and the work surface when shaping to prevent it from sticking to you.
How should I store this bread?
Keep the bread at room temperature in a paper bag for up to two days to maintain the crust. For longer storage, slice the bread and freeze it in a zip-top bag. Toast the frozen slices directly when you are ready to eat.
Can I speed up the rising process?
While the long rise develops the best flavor, you can increase the yeast to 2 teaspoons and use warmer water to make the dough rise in about 2 to 3 hours. However, the texture and flavor will be slightly less complex than the overnight version.
Conclusion
Mastering the No-Knead Dutch Oven January Budget Bread is a rewarding skill that saves you money and provides your family with wholesome, preservative-free food. This simple process proves that you don’t need expensive equipment or fancy ingredients to eat like royalty. Give this recipe a try this week, and you will likely never want to go back to store-bought loaves again. Happy baking!
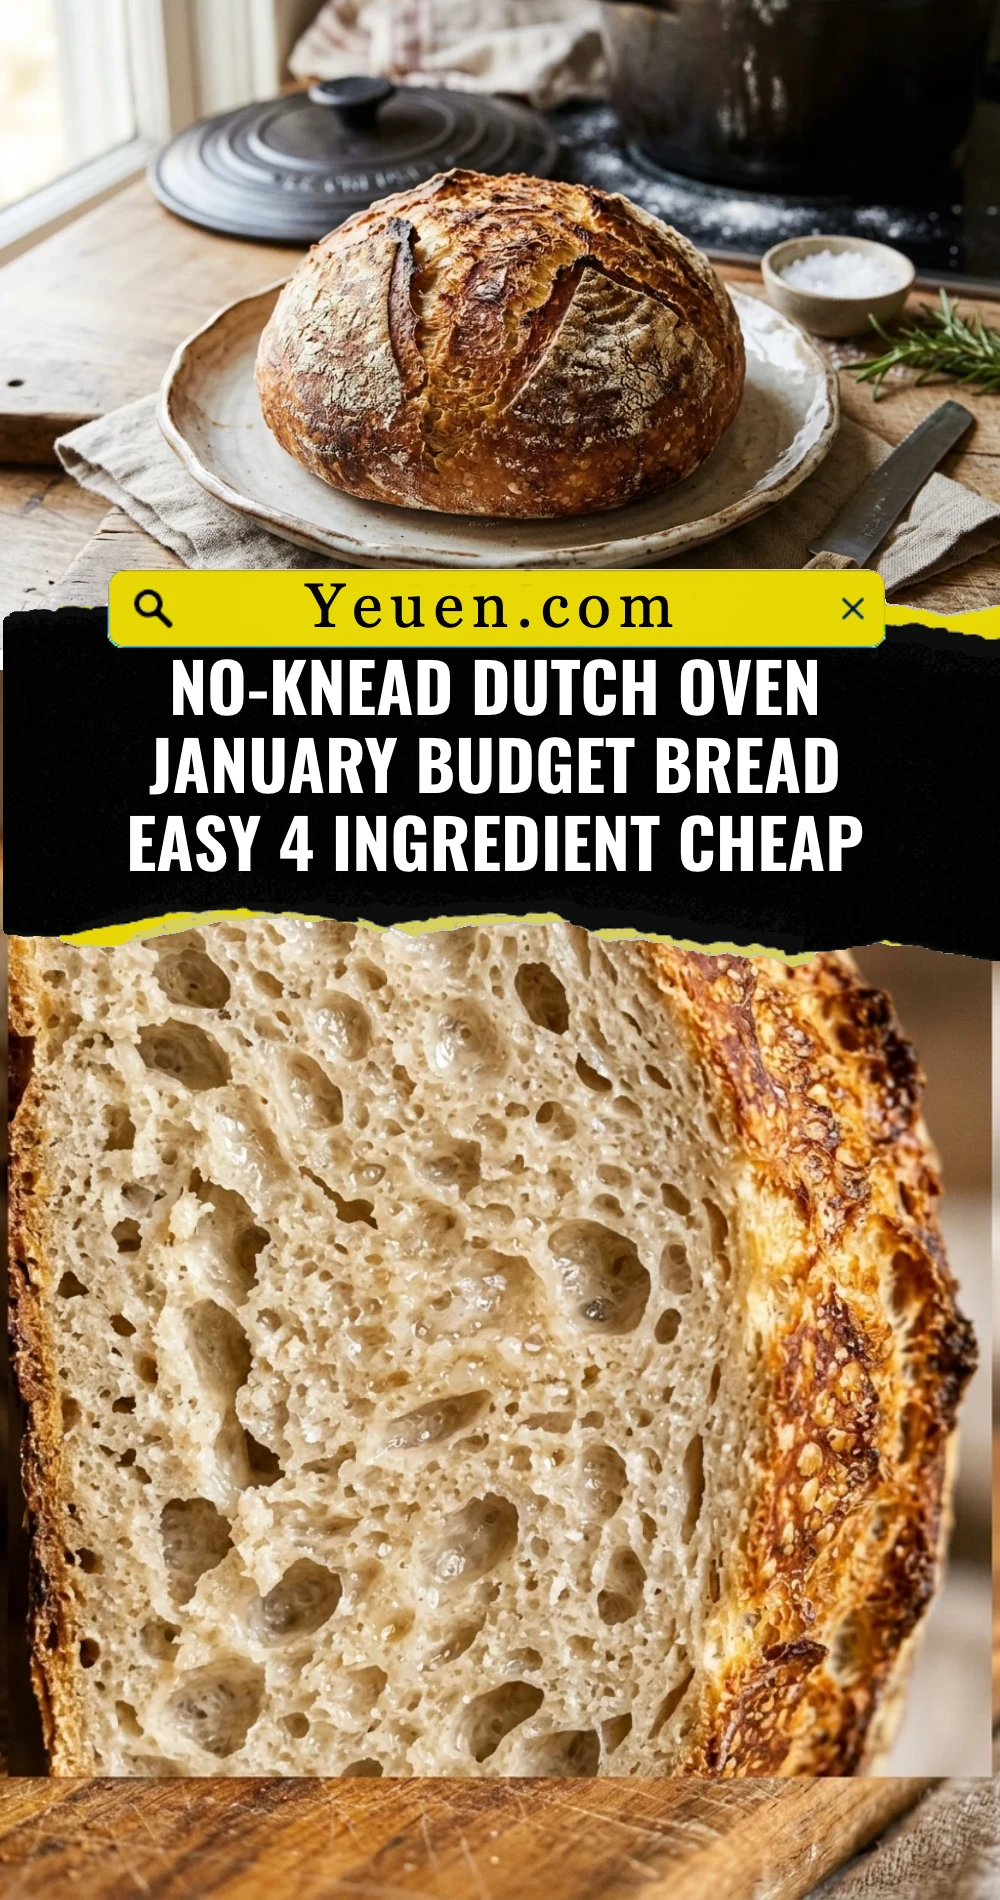
No-Knead Dutch Oven January Budget Bread Easy 4 Ingredient Cheap
- Total Time: 12 hours 50 minutes
- Diet: Vegetarian
Ingredients
Scale
- 3 cups All-purpose flour (plus extra for dusting)
- 1 ½ cups Warm water (about 100°F)
- 1 ½ teaspoons Salt
- ½ teaspoon Instant yeast (or active dry yeast)
Instructions
- In a large mixing bowl, whisk together the flour, salt, and instant yeast. Pour the warm water into the center. Use a sturdy spoon or your hands to mix the ingredients until a shaggy, sticky ball forms and no dry flour remains. Do not overwork the dough; you only need to ensure everything is incorporated.
- Cover the bowl tightly with plastic wrap or a damp kitchen towel. Place the bowl in a warm, draft-free spot in your kitchen. Let the dough rest for at least 12 hours, though 18 hours is ideal for the best flavor. The dough will double in size and become covered in tiny bubbles.
- Place your empty Dutch oven (with the lid) into the oven. Preheat the oven to 450°F (230°C). Allow the pot to heat up for at least 30 minutes. This preheating step is crucial for achieving a crispy crust and an immediate rise once the dough hits the hot surface.
- While the pot preheats, turn the sticky dough out onto a well-floured surface. Gently fold the edges toward the center to form a rough ball. Place the dough onto a piece of parchment paper. If desired, dust the top with a little extra flour and score a shallow “X” across the top with a sharp knife.
- Carefully remove the hot Dutch oven from the oven. Use the parchment paper to lift the dough and lower it into the pot. Place the lid back on and return the pot to the oven. Bake for 30 minutes with the lid on. The trapped steam allows the bread to expand fully without the crust hardening too soon.
- Remove the lid from the Dutch oven. Continue baking for another 12 to 15 minutes, or until the crust is a deep golden brown. Carefully lift the bread out of the pot and place it on a wire rack to cool completely. Resist the urge to cut into it immediately; the bread continues to cook internally as it cools.
- Cook Time: 12 hours 50 minutes