Follow Me On Pinterest!


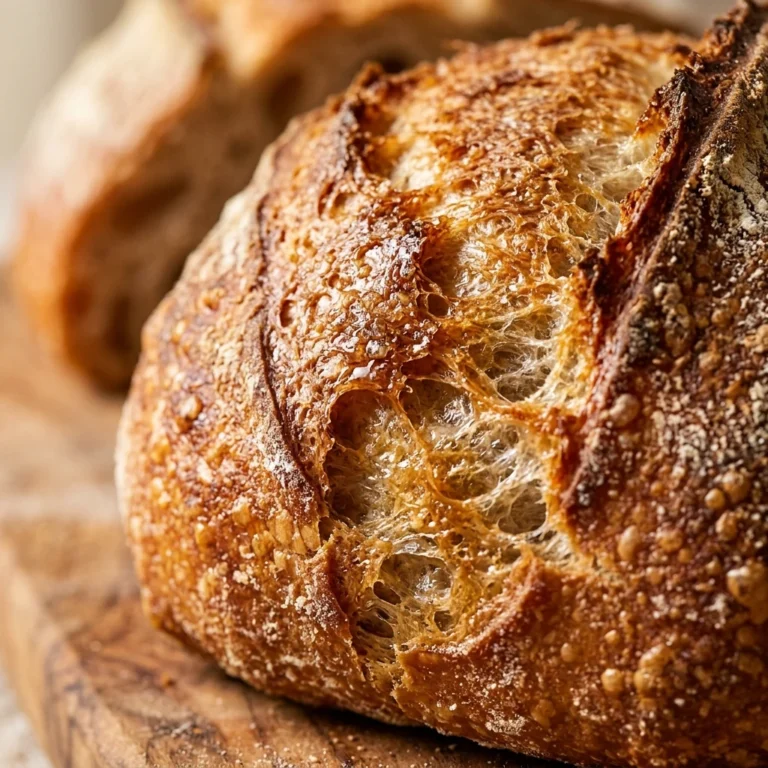
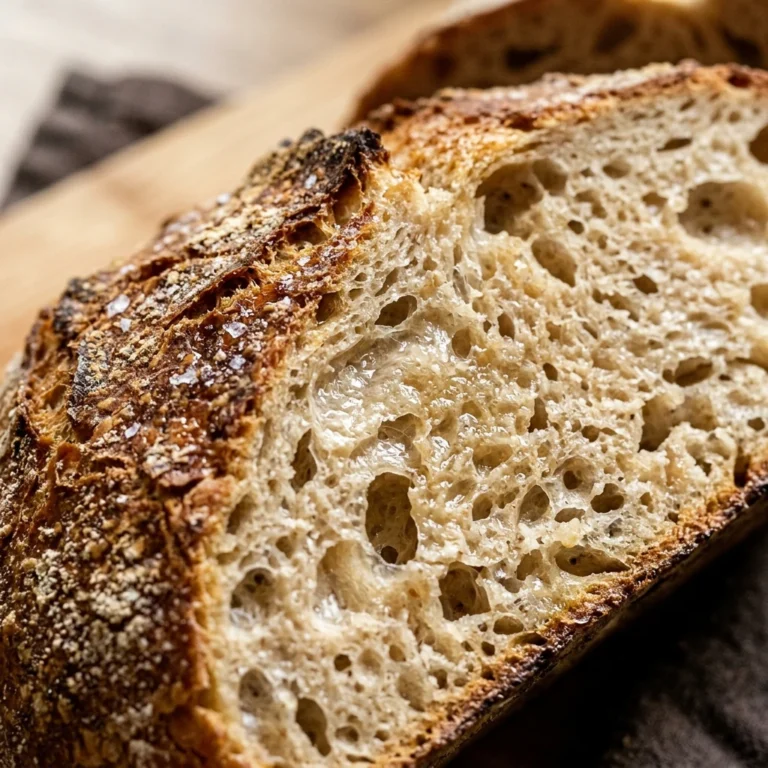
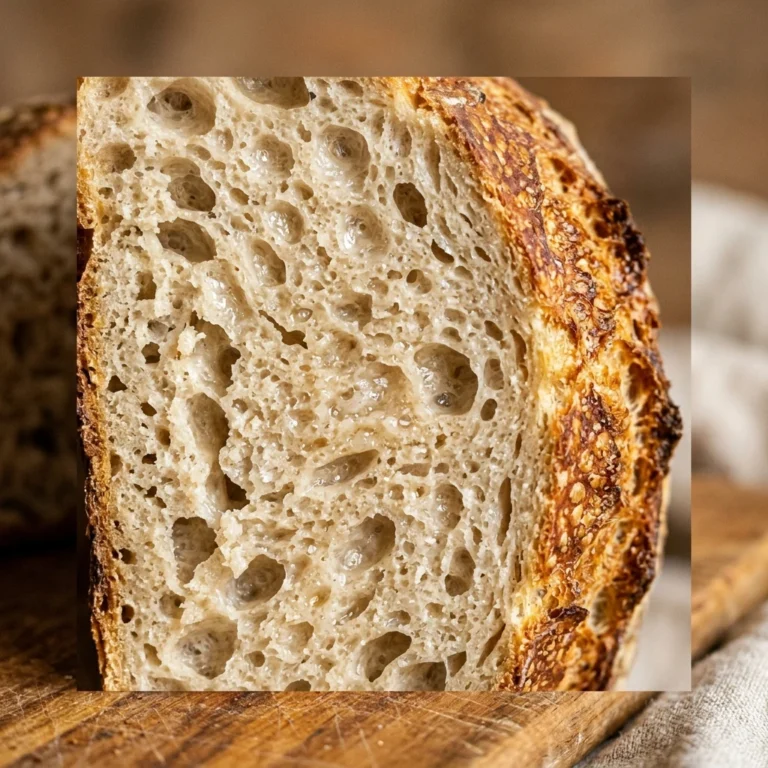
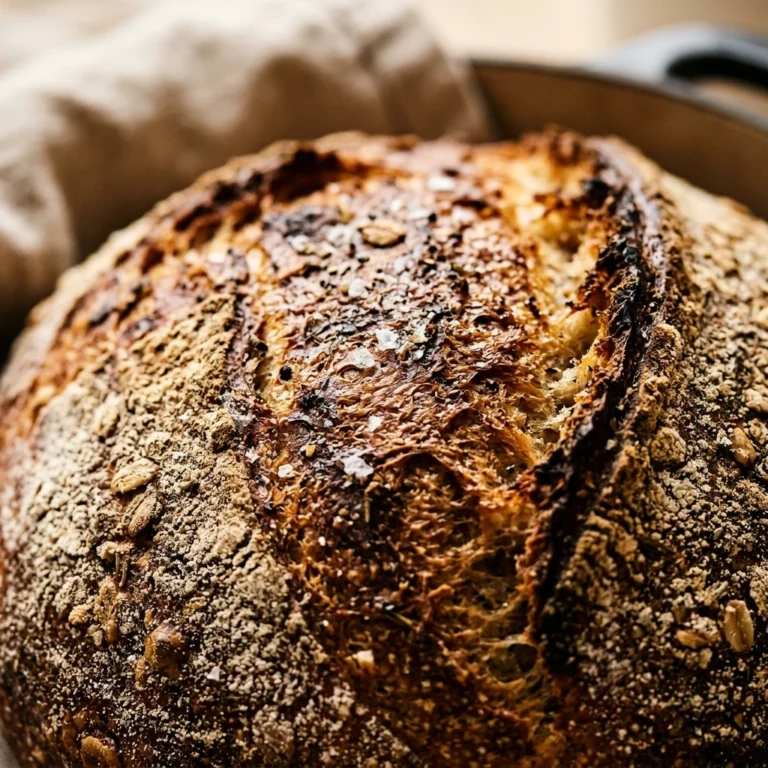
There is nothing quite like the smell of fresh bread wafting through the house on a cold January afternoon. This sourdough recipe removes all the intimidation of traditional bread making. Forget the hours of exhausting kneading. This easy artisan method relies on time and a Dutch oven to do the heavy lifting for you. Whether you are a total beginner or a seasoned baker looking for a low-effort loaf, this sourdough will become your new winter staple. It yields a crispy, golden crust and a soft, airy interior that rivals any professional bakery.
Recipe Information
- Prep Time: 20 minutes (plus 12-18 hours rising time)
- Cook Time: 45 minutes
- Total Time: 18 hours 45 minutes
- Servings: 1 loaf (approximately 10 slices)
- Difficulty: Easy
Nutrition values
- Calories: 185 kcal per slice
- Protein: 6g
- Carbs: 36g
Why Make This No-Knead Dutch Oven January Sourdough Bread Easy Artisan Beginner
This recipe is the perfect entry point into the world of sourdough. It requires zero special equipment other than a Dutch oven and a basic glass bowl. Because January often brings cooler indoor temperatures, the long, slow fermentation process develops a deep, complex flavor that quick breads simply cannot match. You do not need strong arm muscles for kneading; you just need patience. The Dutch oven creates a steamy environment that mimics a professional deck oven, ensuring your crust is shatteringly crisp while the inside stays moist and tender.
Ingredients
- 100g active, bubbly sourdough starter (fed within 4-8 hours)
- 350g warm filtered water (about 80°F)
- 500g unbleached bread flour
- 10g fine sea salt
- Extra flour for dusting
Directions
Step 1: Mixing the Shaggy Dough
In a large glass bowl, whisk together your active sourdough starter and the warm water until the starter is mostly dissolved and the water looks milky. Add the bread flour and the sea salt. Use a sturdy wooden spoon or a dough whisk to mix the ingredients until a shaggy, sticky ball forms. Ensure there are no pockets of dry flour left at the bottom of the bowl. Cover the bowl with a damp cloth or plastic wrap and let it rest for 30 minutes.
Step 2: The Stretch and Fold Process
Instead of kneading, you will perform “stretch and folds.” Wet your hand slightly to prevent sticking. Reach under one side of the dough, pull it upward, and fold it over the center. Rotate the bowl and repeat this four times. Cover and let rest for 30 minutes. Repeat this stretching process two more times at 30-minute intervals. This builds the gluten structure gently without heavy labor.
Step 3: Bulk Fermentation
Cover the bowl tightly and leave it on your counter overnight or for 10 to 12 hours. Since it is January, find a spot away from cold drafts. The dough is ready when it has doubled in size, looks jiggly, and shows small bubbles on the surface. If your house is very cold, this may take up to 15 hours.
Step 4: Shaping the Loaf
Gently tip the dough onto a lightly floured surface. Fold the edges toward the center to create a round ball. Flip the dough over so the seam side is down. Using your hands, gently pull the dough toward you on the counter to create tension on the surface. Place the dough into a parchment-lined bowl or a proofing basket. Let it rest for 1 hour for its final rise.
Step 5: Preheating and Scoring
Place your empty Dutch oven inside the oven and preheat to 450°F (230°C). Let the pot heat for at least 30 minutes. Once hot, carefully lift the dough using the parchment paper. Use a sharp knife or a razor blade to score a deep line or a “cross” across the top of the dough. This controls where the bread expands during the bake.
Step 6: Baking the Bread
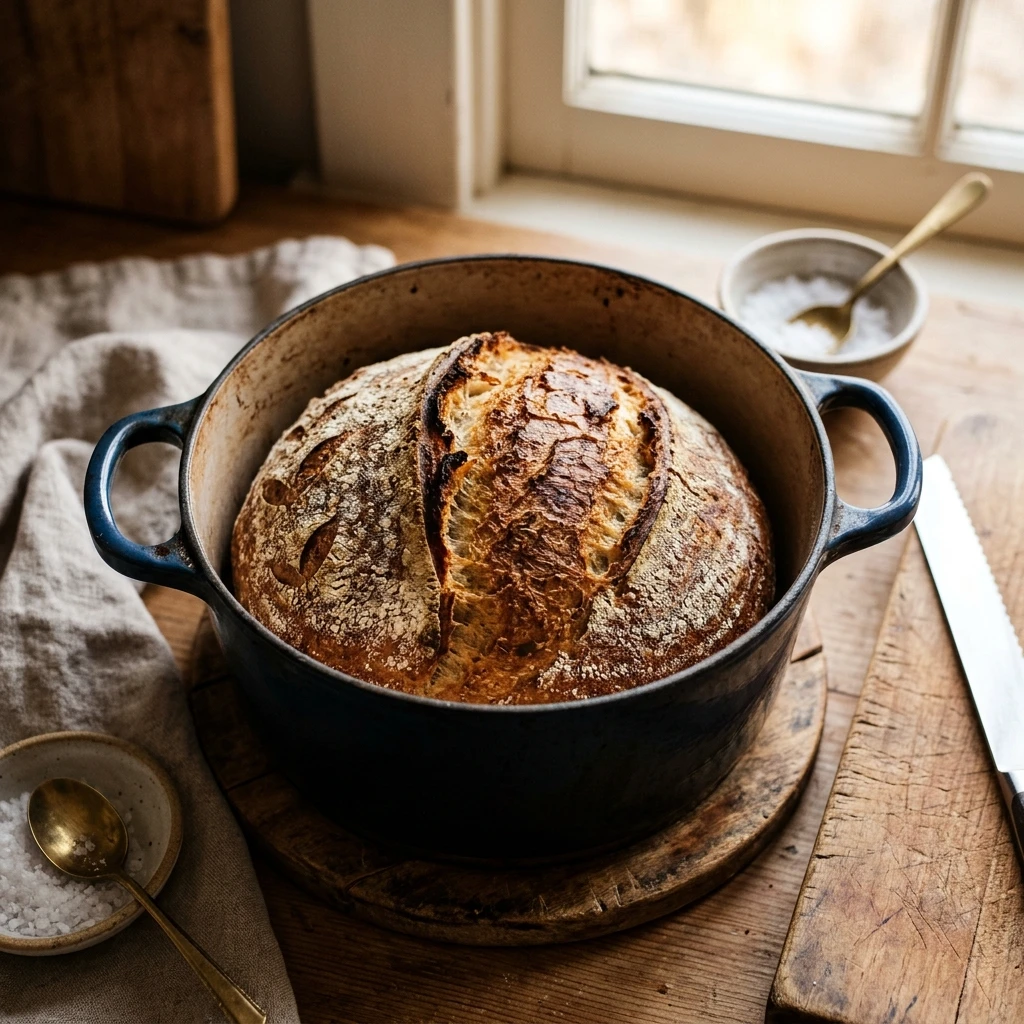
Carefully lower the parchment and dough into the scorching hot Dutch oven. Put the lid on and bake for 20 minutes. The lid traps steam, which allows the bread to rise fully. After 20 minutes, remove the lid. You will see a pale, expanded loaf. Continue baking uncovered for another 20 to 25 minutes until the crust is a deep golden brown.
Step 7: Cooling
Remove the bread from the Dutch oven and place it on a wire cooling rack. Resist the urge to cut into it immediately! The bread is still cooking on the inside. Wait at least one hour before slicing to ensure the crumb structure sets properly and does not become gummy.
Expert Tips for Perfect No-Knead Dutch Oven January Sourdough Bread Easy Artisan Beginner
- Watch the Temperature: In the winter, dough rises slower. If your kitchen is under 68°F, put your dough inside the oven with the light turned on (but the oven turned off).
- Use Weighted Measurements: For consistent results, always use a digital kitchen scale rather than measuring cups.
- Check Your Starter: Your starter should be at its peak—bubbly and doubled in size—before you start the recipe.
- Don’t Over-Flour: Use just enough flour to handle the dough. Too much extra flour makes the bread dense and dry.
- Steam is Secret: If your crust isn’t crispy enough, spray a little water on the dough surface right before putting the lid on the Dutch oven.
Delicious Variations
- Rosemary and Sea Salt: Add 2 tablespoons of chopped fresh rosemary and an extra sprinkle of flaky salt during the first mixing step.
- Cheddar and Jalapeño: Fold in 100g of cubed sharp cheddar and 1 chopped jalapeño during the final stretch and fold.
- Cranberry Walnut: Add a handful of dried cranberries and toasted walnut pieces for a sweet and nutty winter loaf.
- Everything Bagel Style: Sprinkle everything bagel seasoning over the top of the loaf immediately after scoring.
- Whole Wheat Blend: Swap 100g of the bread flour for whole wheat flour for a heartier, nuttier flavor profile.
Frequently Asked Questions
Can I use a regular pot instead of a Dutch oven?
A Dutch oven is preferred because it holds heat and traps steam. However, you can use a heavy oven-safe pot with a tight-fitting lid. If the lid isn’t tight, you may need to add a pan of water to the bottom of your oven to create steam.
My dough is too sticky to handle. What should I do?
Sourdough dough is naturally stickier than commercial yeast dough. Wet your hands with water instead of using more flour when handling it. This prevents the dough from sticking to your skin without altering the hydration level of the bread.
How do I know if my bulk fermentation is finished?
The dough should look bubbly, have a domed top, and wiggle like jelly when you shake the bowl. If it still looks dense and flat, it needs more time to ferment.
Can I use sourdough discard for this recipe?
This specific “no-knead” recipe works best with an active, bubbly starter to ensure a good rise. If you use discard, the bread will likely be much denser and flatter because the wild yeast is not at its strongest.
How should I store my sourdough bread?
Store the cooled bread in a paper bag or wrapped in a clean tea towel at room temperature for up to 3 days. Avoid plastic bags, as they soften the crust. For long-term storage, slice the loaf and freeze it in a freezer-safe bag.
Conclusion
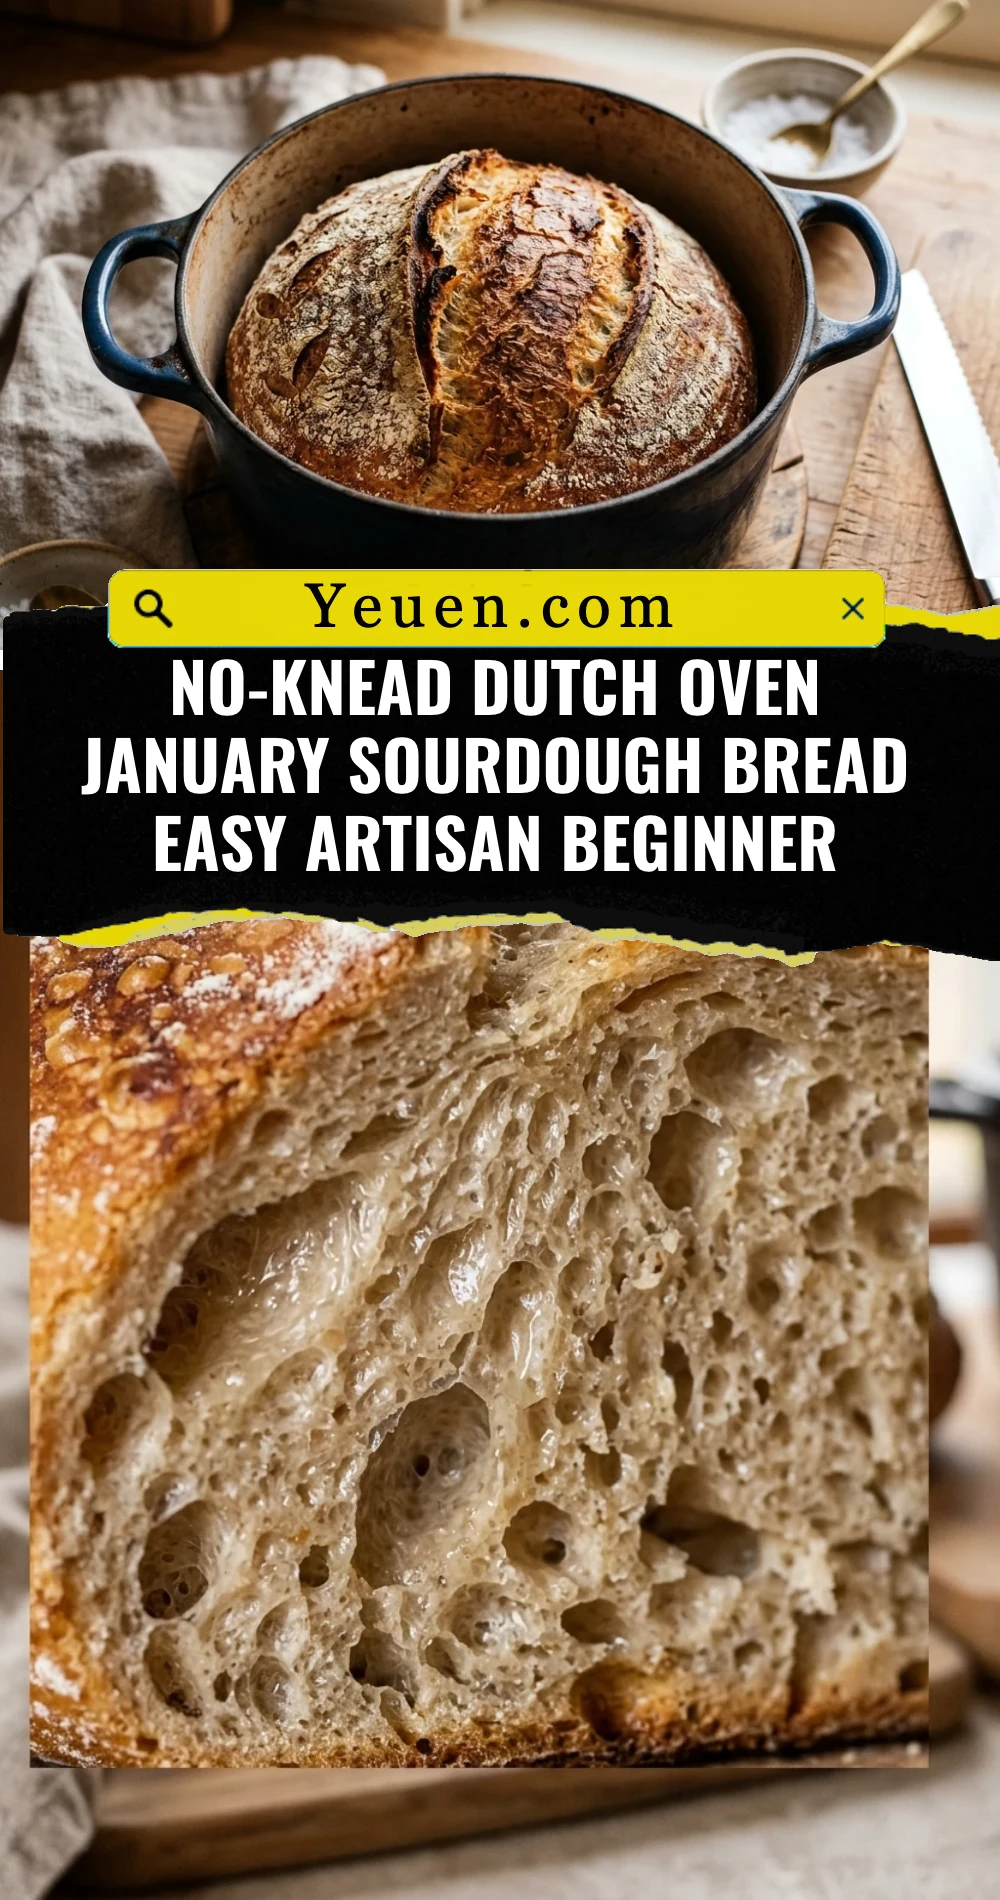
Baking this No-Knead Dutch Oven January Sourdough Bread is a rewarding way to embrace the slow pace of winter. By letting time do the work, you create a loaf that is nutritious, delicious, and visually stunning. Don’t be afraid of the sticky dough or the long wait; the results are worth every second. Once you pull that first golden loaf out of the oven, you will never want to go back to store-bought bread again. Happy baking!
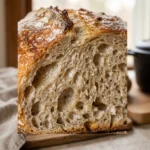
No-Knead Dutch Oven January Sourdough Bread Easy Artisan Beginner
- Total Time: 18 hours 45 minutes
- Diet: Vegetarian
Ingredients
Scale
- 100g active, bubbly sourdough starter (fed within 4–8 hours)
- 350g warm filtered water (about 80°F)
- 500g unbleached bread flour
- 10g fine sea salt
- Extra flour for dusting
Instructions
- Mixing the Shaggy Dough: In a large glass bowl, whisk together your active sourdough starter and the warm water until the starter is mostly dissolved and the water looks milky. Add the bread flour and the sea salt. Use a sturdy wooden spoon or a dough whisk to mix the ingredients until a shaggy, sticky ball forms. Ensure there are no pockets of dry flour left at the bottom of the bowl. Cover the bowl with a damp cloth or plastic wrap and let it rest for 30 minutes.
- The Stretch and Fold Process: Instead of kneading, you will perform “stretch and folds.” Wet your hand slightly to prevent sticking. Reach under one side of the dough, pull it upward, and fold it over the center. Rotate the bowl and repeat this four times. Cover and let rest for 30 minutes. Repeat this stretching process two more times at 30-minute intervals. This builds the gluten structure gently without heavy labor.
- Bulk Fermentation: Cover the bowl tightly and leave it on your counter overnight or for 10 to 12 hours. Since it is January, find a spot away from cold drafts. The dough is ready when it has doubled in size, looks jiggly, and shows small bubbles on the surface. If your house is very cold, this may take up to 15 hours.
- Shaping the Loaf: Gently tip the dough onto a lightly floured surface. Fold the edges toward the center to create a round ball. Flip the dough over so the seam side is down. Using your hands, gently pull the dough toward you on the counter to create tension on the surface. Place the dough into a parchment-lined bowl or a proofing basket. Let it rest for 1 hour for its final rise.
- Preheating and Scoring: Place your empty Dutch oven inside the oven and preheat to 450°F (230°C). Let the pot heat for at least 30 minutes. Once hot, carefully lift the dough using the parchment paper. Use a sharp knife or a razor blade to score a deep line or a “cross” across the top of the dough. This controls where the bread expands during the bake.
- Baking the Bread: Carefully lower the parchment and dough into the scorching hot Dutch oven. Put the lid on and bake for 20 minutes. The lid traps steam, which allows the bread to rise fully. After 20 minutes, remove the lid. You will see a pale, expanded loaf. Continue baking uncovered for another 20 to 25 minutes until the crust is a deep golden brown.
- Cooling: Remove the bread from the Dutch oven and place it on a wire cooling rack. Resist the urge to cut into it immediately! The bread is still cooking on the inside. Wait at least one hour before slicing to ensure the crumb structure sets properly and does not become gummy.
- Cook Time: 18 hours 45 minutes