Follow Me On Pinterest!


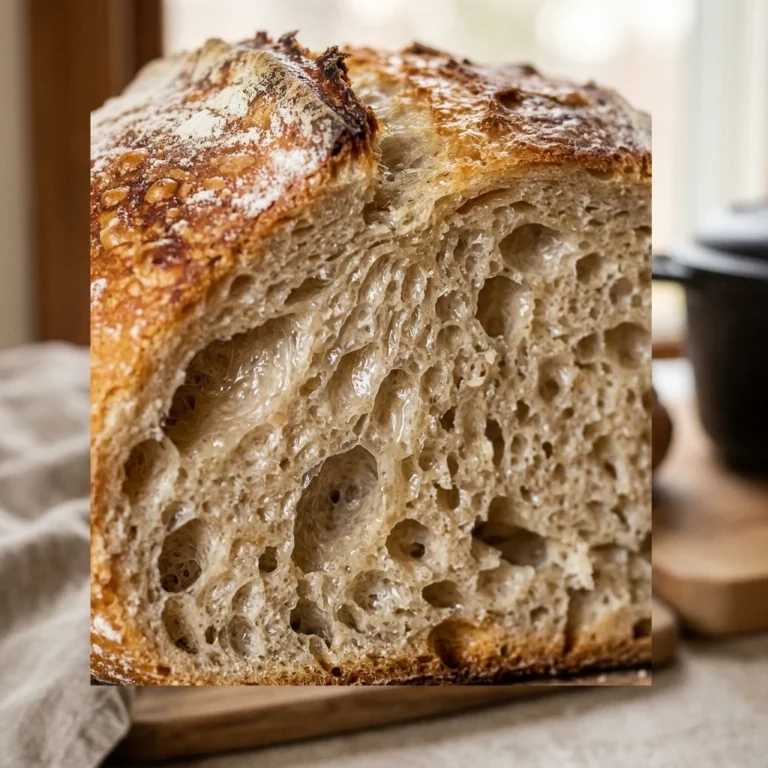
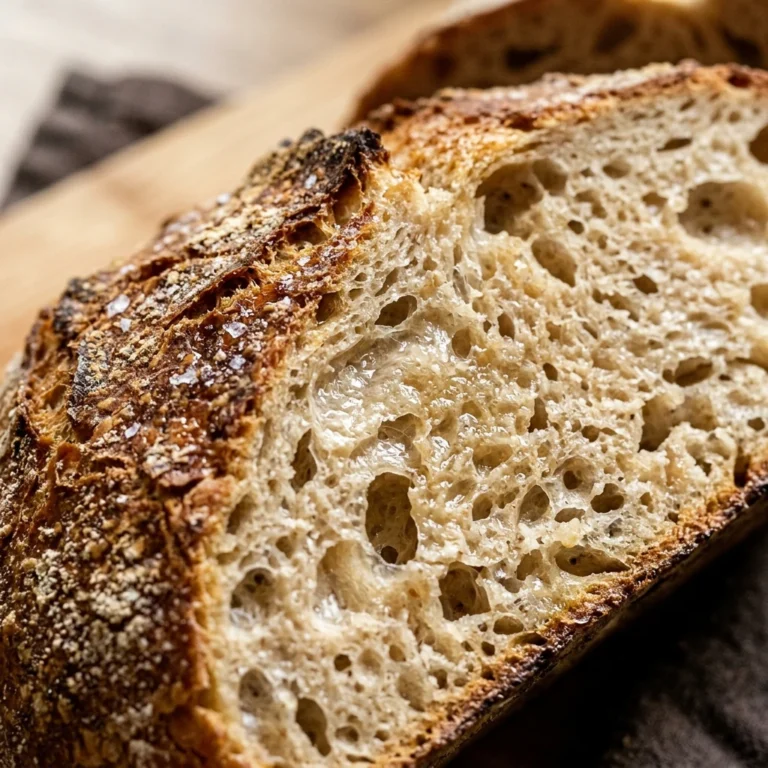
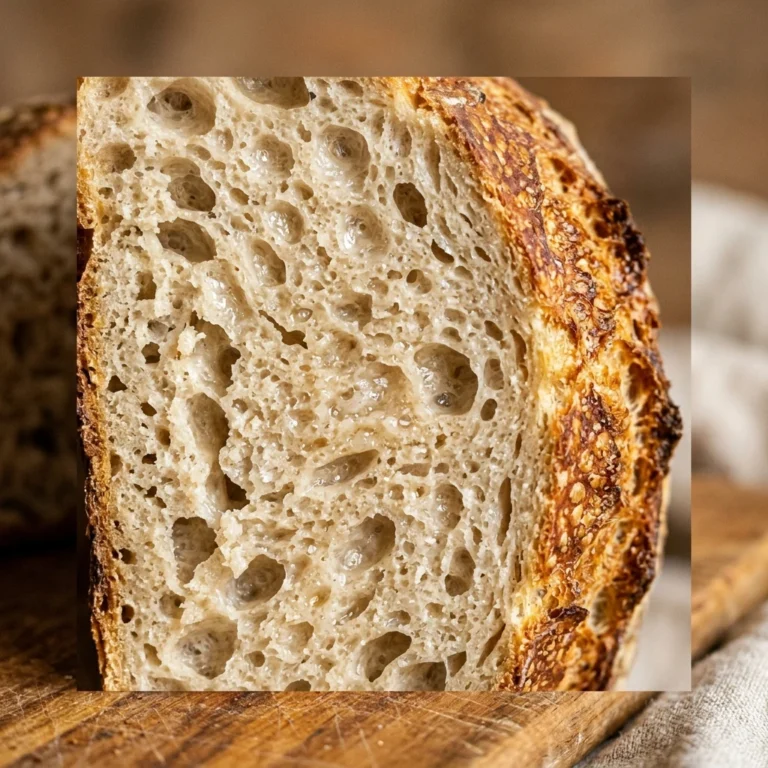
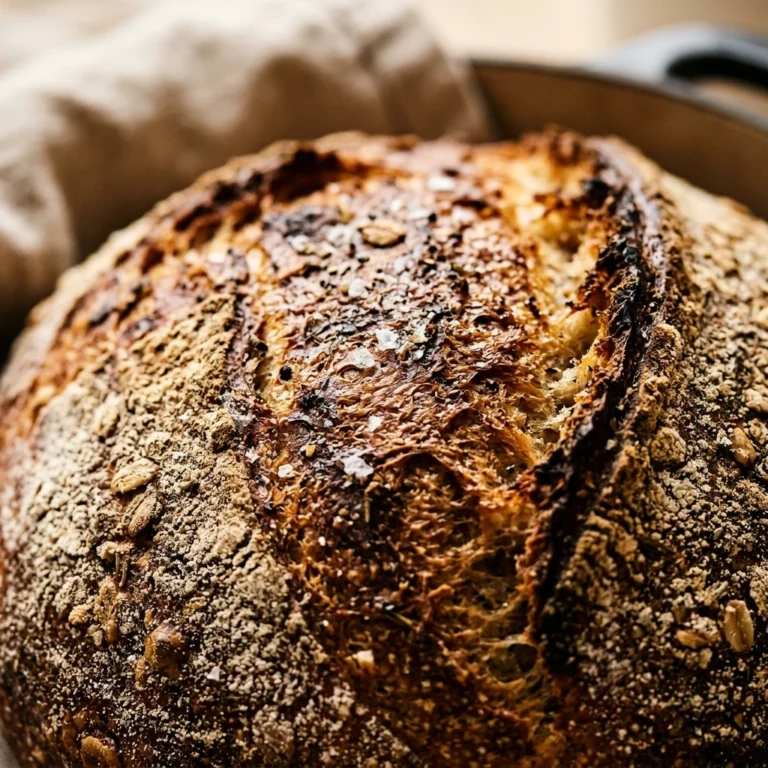
There is nothing quite like the aroma of freshly baked bread filling your home on a chilly January afternoon. If you have always wanted to dive into the world of sourdough but felt intimidated by complex kneading schedules and hydration percentages, this recipe is for you. This No-Knead Dutch Oven January Sourdough Bread is designed for the absolute beginner. We let time do all the heavy lifting, resulting in a crispy, golden crust and a soft, airy interior that rivals any professional bakery. Grab your starter and a Dutch oven, and let’s create some winter magic in your kitchen.
Recipe Information
- Prep Time: 20 minutes (active time)
- Cook Time: 45 minutes
- Total Time: 13 hours 5 minutes (includes overnight rise)
- Servings: 10 slices
- Difficulty: Easy
Nutrition values
- Calories: 185 kcal per slice
- Protein: 6g
- Carbs: 38g
Why Make This No-Knead Dutch Oven January Sourdough Bread Easy Artisan Beginner
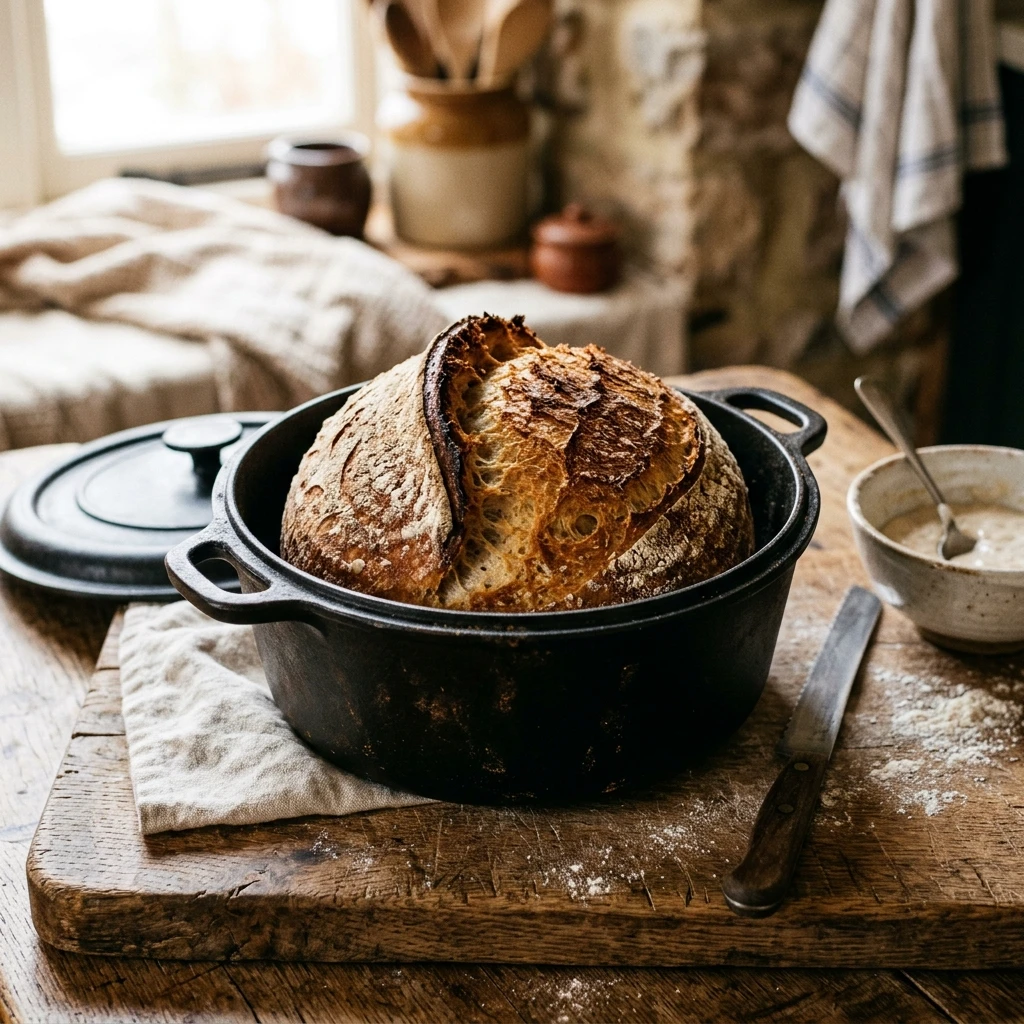
This recipe is the perfect introduction to artisan baking because it removes the stress of kneading. By using a Dutch oven, you trap steam during the first half of the bake, which is the secret to that iconic “ear” and crunchy crust. January is the ideal time for slow fermenting; the cooler ambient temperature in most kitchens allows the flavors to develop deeply without the dough over-proofing too quickly. It is cost-effective, uses only four pantry staples, and provides a gut-healthy alternative to store-bought bread.
Ingredients
- 100g active, bubbly sourdough starter
- 350g warm water (filtered is best)
- 500g bread flour (unbleached)
- 10g fine sea salt
- Extra flour for dusting
Directions
Step 1: Preparation and Mixing
In a large glass bowl, whisk together your active sourdough starter and warm water until the starter is mostly dissolved and the water looks milky. Add the bread flour and sea salt to the bowl. Use a sturdy spatula or your hands to mix until a shaggy dough forms and no dry flour streaks remain. Cover the bowl with a damp cloth or plastic wrap and let it rest for 30 minutes to allow the flour to fully hydrate.
Step 2: Bulk Fermentation and Stretching
Instead of kneading, you will perform “stretch and folds.” Reach under one side of the dough, pull it upward, and fold it over the center. Rotate the bowl and repeat this four times. Cover the bowl and let it sit in a warm spot in your kitchen for 8 to 12 hours (overnight is best). The dough should double in size and show small bubbles on the surface by morning.
Step 3: Shaping and Final Proofing
Gently tip the dough onto a lightly floured surface. Fold the edges toward the center to create a round ball. Flip it over so the seam side is down and use your hands to tension the surface by pulling the dough toward you. Place the dough into a parchment-lined bowl or a proofing basket (banneton). Let it rest for 1 hour while you preheat your oven to 450°F (232°C) with the Dutch oven inside.
Step 4: Cooking in the Dutch Oven
Carefully lift the parchment paper with the dough and lower it into the hot Dutch oven. Use a sharp knife or a razor blade to score a deep slash across the top of the loaf. Place the lid on the pot and bake for 20 minutes. After 20 minutes, remove the lid to reveal the rise, and continue baking for another 20 to 25 minutes until the crust is a deep golden brown.
Step 5: Plating and Cooling
Carefully remove the bread from the Dutch oven and place it on a wire cooling rack. Resist the urge to cut into the bread immediately! The bread continues to cook on the inside as it cools. Wait at least one hour before slicing. Serve with salted butter, hearty winter stews, or use it for the ultimate grilled cheese sandwich.
Expert Tips for Perfect No-Knead Dutch Oven January Sourdough Bread Easy Artisan Beginner
To ensure success, always use a starter that has been fed 4 to 8 hours prior and is at its peak height. If your kitchen is very cold in January, you can place your dough in the oven with the light turned on (but the heat off) to create a cozy fermentation chamber. Always use weight measurements (grams) rather than cups for accuracy, as flour density varies wildly. Finally, ensure your Dutch oven is preheated for at least 30 minutes to guarantee the best oven spring.
Delicious Variations
- Rosemary and Garlic: Fold in 2 tablespoons of chopped fresh rosemary and 3 cloves of minced roasted garlic during the mixing phase.
- Jalapeño Cheddar: Add 1/2 cup of cubed sharp cheddar and a handful of diced jalapeños during the first set of stretch and folds.
- Cranberry Walnut: Perfect for winter, add 1/2 cup of dried cranberries and 1/2 cup of toasted walnuts for a sweet and nutty loaf.
- Everything Bagel: Generously coat the outside of the dough with everything bagel seasoning right before scoring and baking.
Frequently Asked Questions
Can I use all-purpose flour instead of bread flour?
Yes, you can, but bread flour has a higher protein content which helps create a stronger gluten structure and a better rise. If using all-purpose, your loaf might be slightly flatter and softer.
What if my starter doesn’t float in water?
The “float test” is a good indicator of activity. If it sinks, your starter might not be bubbly enough yet. Give it another feeding and wait a few more hours until it is doubled and foamy.
Why did my bread stick to the bottom of the Dutch oven?
Using parchment paper is the easiest way to prevent sticking. If you aren’t using parchment, ensure you sprinkle a little cornmeal or extra flour on the bottom of the pot before adding the dough.
My crust is too hard to cut. What happened?
Artisan sourdough naturally has a thick crust. To soften it slightly, you can wrap the loaf in a clean kitchen towel while it cools, which traps a bit of the residual steam.
How should I store my leftover sourdough?
Store the bread cut-side down on a wooden cutting board for 24 hours. For longer storage, keep it in a paper bag or wrap it in beeswax wrap. Avoid plastic bags, as they make the crust soggy.
Conclusion
Baking your own No-Knead Dutch Oven January Sourdough Bread is a rewarding process that brings warmth to the winter months. With just a few simple steps and a bit of patience, you can master the art of the artisan loaf. This recipe proves that you don’t need a professional bakery or years of experience to enjoy incredible, crusty sourdough at home. Happy baking!


No-Knead Dutch Oven January Sourdough Bread Easy Artisan Beginner
- Total Time: 13 hours 5 minutes
- Diet: Vegetarian, Vegan
Ingredients
Scale
- 100g active, bubbly sourdough starter
- 350g warm water (filtered is best)
- 500g bread flour (unbleached)
- 10g fine sea salt
- Extra flour for dusting
Instructions
- In a large glass bowl, whisk together your active sourdough starter and warm water until the starter is mostly dissolved and the water looks milky. Add the bread flour and sea salt to the bowl. Use a sturdy spatula or your hands to mix until a shaggy dough forms and no dry flour streaks remain. Cover the bowl with a damp cloth or plastic wrap and let it rest for 30 minutes to allow the flour to fully hydrate.
- Instead of kneading, you will perform “stretch and folds.” Reach under one side of the dough, pull it upward, and fold it over the center. Rotate the bowl and repeat this four times. Cover the bowl and let it sit in a warm spot in your kitchen for 8 to 12 hours (overnight is best). The dough should double in size and show small bubbles on the surface by morning.
- Gently tip the dough onto a lightly floured surface. Fold the edges toward the center to create a round ball. Flip it over so the seam side is down and use your hands to tension the surface by pulling the dough toward you. Place the dough into a parchment-lined bowl or a proofing basket (banneton). Let it rest for 1 hour while you preheat your oven to 450°F (232°C) with the Dutch oven inside.
- Carefully lift the parchment paper with the dough and lower it into the hot Dutch oven. Use a sharp knife or a razor blade to score a deep slash across the top of the loaf. Place the lid on the pot and bake for 20 minutes. After 20 minutes, remove the lid to reveal the rise, and continue baking for another 20 to 25 minutes until the crust is a deep golden brown.
- Carefully remove the bread from the Dutch oven and place it on a wire cooling rack. Resist the urge to cut into the bread immediately! The bread continues to cook on the inside as it cools. Wait at least one hour before slicing. Serve with salted butter, hearty winter stews, or use it for the ultimate grilled cheese sandwich.
- Cook Time: 13 hours 5 minutes (includes overnight rise)